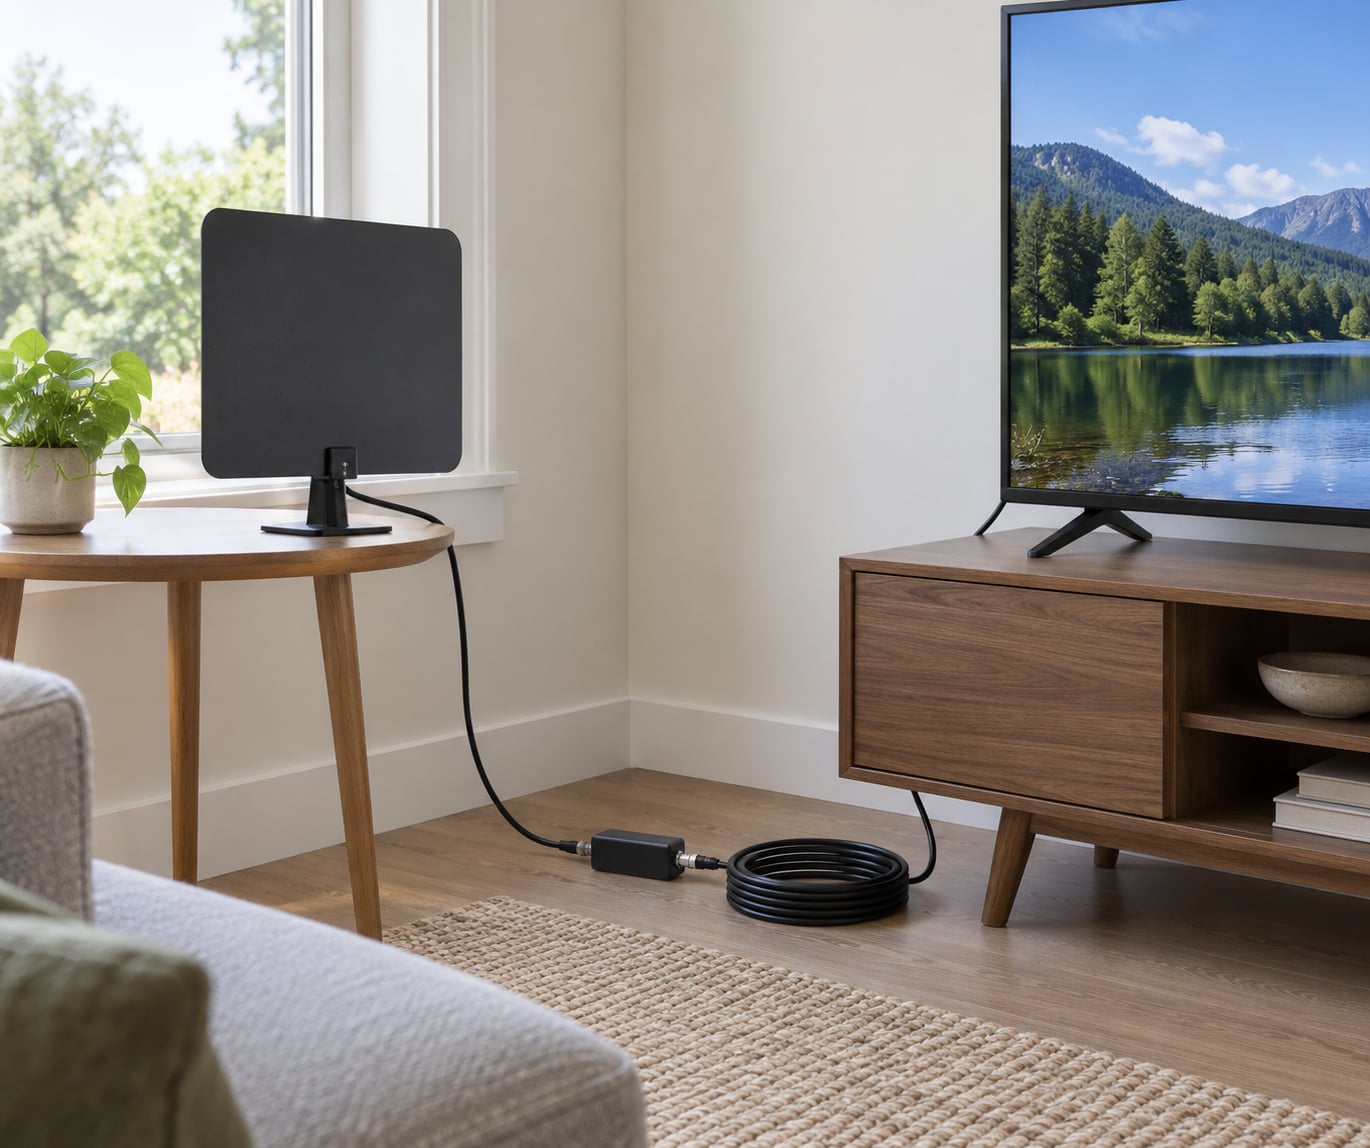
To set up an antenna for free over the air TV, you do three things: screw the antenna’s coax cable into the Antenna In jack on your television, switch the input to Antenna or Air instead of Cable, and run a channel scan. That is the whole procedure, and most people finish in fifteen minutes.
The part that eats an hour is what comes after. Antenna reception depends on where your broadcast towers sit relative to your walls, so a few degrees of rotation and one more scan often fixes a picture that looked hopeless. This guide walks through the setup in order, then the fixes that solve the problems people actually hit.
Table of Contents
- 1What You Need
- 2Step-by-Step
- 31. Check Your TV’s Tuner and Antenna Connector
- 42. Choose the Right Antenna for Your Location
- 53. Connect the Antenna to the TV or Tuner
- 64. Place the Antenna Near a Window or Higher on a Wall
- 75. Scan for Local TV Channels
- 86. Improve Reception by Adjusting the Antenna
- 97. Install an Outdoor or Attic Antenna if Needed
- 10Common Mistakes
- 11Frequently Asked Questions
- 12Do I need an antenna tuner to receive free over-the-air TV?
- 13How much does an over-the-air TV antenna cost?
- 14Will an antenna amplifier fix my reception?
- 15How do I know which direction my TV antenna should point?
- 16Can I still use cable if I have an over-the-air antenna?
- 17Conclusion
What You Need
The only hard requirement is a television or tuner with an ATSC digital tuner and a 75-ohm F-connector input. Most flat-panel sets bought in the last decade have both, even the cheap ones. If your screen has no coax jack at all, you will need an external converter box, and that box becomes the tuner for the whole setup.
On the antenna side, you are choosing between three families. Indoor antennas work for most people living within roughly 30 miles of a broadcast tower in flat terrain. Attic and outdoor antennas exist for fringe areas, hills, or buildings that sit between you and the transmitters. Amplified indoor antennas add a preamplifier to boost weak signals, and they help in some situations while making reception worse in others.
That last point catches people out. An amplifier raises the strength of everything coming down the coax, including noise and, in some cases, a signal that was already strong enough. Too much gain can overload a tuner, and a single overloaded channel is a much harder problem than a weak one. Buy the amplifier only after you have tried an unamplified antenna in the same spot and watched it fail.
Optional gear, in rough order of how often it gets used: a length of RG6 coax if the antenna’s attached cable is too short, a 2-way or 4-way coax splitter if you plan to feed more than one television, a grounding block and ground rod for any outdoor or attic install, and mounting hardware plus a grommet for a roof penetration. Broadcasts themselves cost nothing once the hardware is bought.
Step-by-Step
1. Check Your TV’s Tuner and Antenna Connector
Turn the television around and look for a round threaded jack labeled Antenna In, RF In, or Air. That is your destination. Right next to it you will usually find a second, identical-looking jack labeled Cable In, and plugging into that one is the single most common reason people report zero channels.
If you cannot find either jack, the set has no built-in tuner. That happens with most computer monitors, many projectors, and some imported sets. A converter box with an ATSC tuner and an HDMI output solves it, and everything below then applies to that box instead of the television.
Success check: the input menu lists an Antenna, Air, or OTA source. If it does not, the set needs a converter box.
2. Choose the Right Antenna for Your Location
Before you buy anything, open the FCC DTV reception map at fcc.gov and enter your address, or use the TV Guide antenna locator. Both draw the towers serving your area and give you a rough azimuth, which is the compass direction from your house to the transmitter. That single number saves you from pointing an antenna at a hill.
Once you know the direction and distance, pick accordingly. Inside a single town, an unamplified flat panel or a set of rabbit ears usually picks up the major networks. In the suburbs or a valley, a directional antenna with a built-in preamplifier gives you margin. Out in open country more than 40 miles out, or behind terrain, plan on a rooftop or attic-mounted directional antenna.
Worth knowing: many stations share one transmitter and one channel number, so one antenna can deliver dozens of sub-channels such as 14.1, 14.2 and 14.3. That is why channel counts in a major metro can run past a hundred. You are tuning free over-the-air broadcasts, not a subscription package, so the size of the haul depends entirely on your towers.
Success check: you know which direction the towers are and which antenna family that direction justifies.
3. Connect the Antenna to the TV or Tuner
The antenna ends in an F-connector, a screw-threaded copper fitting. Unscrew it, feed the connector over the antenna’s coax until the braid underneath touches the center contact, then screw the collar back down. Tighten it by hand until snug, and use the little plastic wrench that ships with most antennas if you have one. Pliers round the collar and cause trouble later.
Push the other end into the Antenna In jack on the television and finger-tighten the same way. If the picture breaks up, a connector that is a quarter turn short of snug is the first thing to check. Old RG6 from a previous cable install is another suspect, because aged coax and compression fittings lose signal in ways that look exactly like a bad antenna.
Use a splitter only when you genuinely need two or more outputs. A two-way splitter costs you several decibels on every channel, and that is often the difference between locking a weak station and missing it entirely. One antenna per television is the cleaner long-term answer.
Success check: the television’s signal strength or signal quality meter reads something other than zero while the input is set to Antenna.
4. Place the Antenna Near a Window or Higher on a Wall
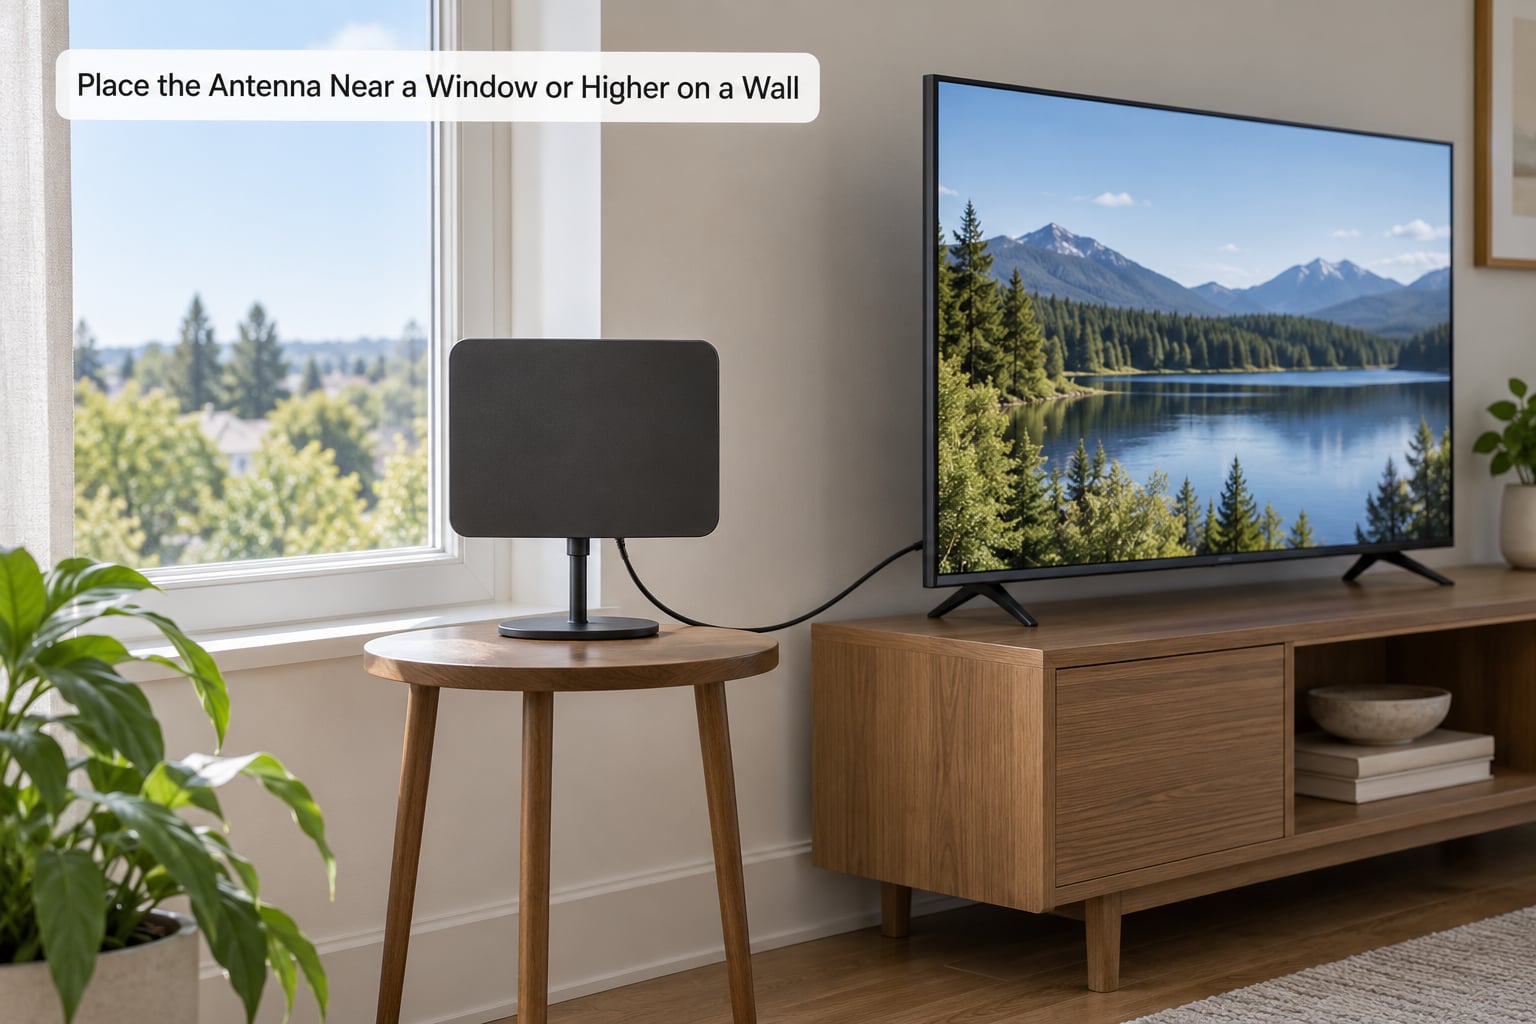
Start the antenna next to a window facing the towers. Glass is transparent to the frequencies broadcast television uses, while siding, foil-backed insulation, metal shelving, and appliances are not. If the towers are to the other side of the house, an antenna in the window on that side routinely pulls in stations a wall-mounted position never sees.
Height matters more than people expect. An antenna on the floor behind a console loses more than most people think, so prop it up on a stand, a bookshelf, or a wall bracket at about eye level. Keep it a few feet clear of TVs, microwaves, LED lighting, and power strips, and never bundle the coax tightly with mains power cable.
Then test it properly. Note how many channels the scan finds with the antenna near the window, then move it to the far side of the room and scan again. The difference is often five channels, and it tells you instantly which wall is helping you.
Success check: one scan in a good spot produces a channel list you would be happy with.
5. Scan for Local TV Channels
The menu path differs by brand, and this is where most guides send you hunting. These are the current paths on the major platforms:
Samsung (Tizen, 2015 and newer): Press Home, then Settings, then Broadcasting, then Channel Setup, then Auto Tuning. Choose the Antenna source and let it run to the end.
LG (webOS): Open the gear icon or Home, then All Settings, then Channels, then Manual Tuning, then Start. Set the source to Antenna.
Roku TV: Home, then TV antenna under the TV input options, or Settings, then TV, then Antenna TV, then Start. Roku also offers an aerial screensaver app that pulls channels into a grid view.
Fire TV: Settings, then Live TV, then Scan for Channels. The Live TV section is added after the first scan or from the channel row on the home screen.
Vizio SmartCast: Press the V button, then Scan, then Watch Over-the-Air. The prompt to scan also appears when you choose the Antenna input directly.
Converter box: Most follow the same shape: Menu or Setup, then Channel, then Scan or Auto-Tune, then Antenna. Manual tuning lets you enter a physical channel number one at a time, which is useful when a station is the only one missing.
Whatever the brand, make sure the input you selected is Antenna or Air, not HDMI 1 or Cable. A scan started on the wrong input returns an empty list with no error message, so people assume the antenna is broken.
Success check: your local stations appear in the guide with their call signs, logos, and program schedules.
6. Improve Reception by Adjusting the Antenna
Rescan after every change, and change one thing at a time. Rotate the antenna a few degrees, run the scan, and note which channels appeared or vanished. Then repeat. Users in cord-cutting forums consistently solve stubborn problems with this rotate-and-rescan loop rather than with new hardware.
Two details trip people up. First, virtual channel numbers do not match physical ones, so station 10.1 might sit at physical channel 31, and a channel you lost may simply have moved position in the list. Second, a channel appearing in the scan only means the tuner locked onto it, not that it will watch cleanly all evening. Watch a couple of minutes of the weakest station before you call the job done.
If a single channel or channel group pixelates while the rest are solid, it is usually a weaker or VHF-band signal rather than a cable problem. Those are the ones that fail first as the signal degrades, which is the digital cliff: digital reception does not fade gradually into noise like analog did, it holds together and then falls apart completely once you cross the threshold.
Success check: every channel you want watches cleanly for a few minutes, not just at the moment of the scan.
7. Install an Outdoor or Attic Antenna if Needed
Move up only after indoor placement has genuinely failed. An attic mount is the usual next step because it gives you height and a clear shot at the towers without touching the roof, at the cost of roofing material and foil-backed insulation that can dampen a signal. Users report attic mounts working well as a compromise between indoor convenience and rooftop performance.
A rooftop mount with a directional yagi performs best because it has an unobstructed line of sight. Safety is the deciding factor: never work on a roof in wet or windy conditions, use a proper ladder on level ground, and hire a qualified installer for anything above a single story or anywhere near power lines.
For any outdoor or attic install, bond the antenna system to a grounding block and a ground rod as required by local electrical code, and weatherproof every roof penetration with a grommet and exterior-grade sealant. Grounding does not improve reception. It gives lightning and stray voltage a path to the earth instead of through your coax into the house.
Success check: a scan from the higher antenna finds the full list of stations, with fewer dropouts on the weakest channels.
Common Mistakes
Almost every failed setup is one of the following. Here is what each one looks like and what actually fixes it.
No channels at all after scanning. The input was on HDMI or Cable instead of Antenna, or the TV has no tuner. Switch the input source and scan again; if the Antenna option is missing from the menu, you need a converter box.
Antenna bought before checking coverage. You now own the wrong type for your location. Use the FCC DTV reception map first, and match the antenna style to the distance and direction it reports.
Antenna left on the floor or behind the TV. A low position near metal and wiring loses most of what it could have received. Raise it to a window or a wall bracket and rescan.
Scanning once and giving up. A scan tells you about the antenna’s position at that moment, not the best it can do. Make one small move, rescan, and keep iterating.
An amplifier added too early. Near a strong tower, a preamplifier can push the signal past what the tuner can handle and make reception worse across the board. Test without it first.
Looping extra coax for tidiness. Every coil of cable is signal loss. Use the shortest run that works, keep it in one straight line, and avoid tight bends and staples through the jacket.
Loose or mismatched connectors. A quarter turn short of snug, or a connector with no braid touching the center pin, causes dropouts that look like tower problems. Hand-tighten both ends and recheck.
Splitting the feed to a second TV. A splitter weakens every channel. If the picture degrades once you add an output, run a second antenna or a distribution amplifier instead.
Roof work done casually. Fall injuries and lightning are the two real risks here, and both are avoidable with a ladder on level ground, a qualified installer, and proper grounding.
Expecting the antenna to work on a streaming box. Roku, Fire TV, and Apple TV have no ATSC tuner, so the app cannot read your television’s antenna. Use the television’s own tuner, or a network tuner with its own antenna input.
One habit pays off later: write down your channel list, the antenna position, and the date before you make changes. Channel numbers shift after a station renegotiates its multiplex, and knowing what you had last month turns a mystery into a five-minute fix.
Frequently Asked Questions
Do I need an antenna tuner to receive free over-the-air TV?
Only if your screen has no built-in tuner. Most flat-panel televisions sold in the last decade include an ATSC tuner and a 75-ohm Antenna In jack, so the antenna plugs straight into the back of the set. Computer monitors, projectors, and many streaming boxes have no tuner at all, so those need an external converter box with an HDMI output. You do not buy a separate tuner if your television already lists an Antenna or Air input in its menu.
How much does an over-the-air TV antenna cost?
Prices change constantly and vary by model, so check current listings for today’s figures. What matters more is the range: basic unamplified indoor antennas sit at the low end, amplified panels and amplified rabbit ears sit in the middle, and outdoor or attic directional antennas with mounting hardware sit higher. A converter box is a separate purchase. Once the hardware is bought, every broadcast station is free with no monthly fee, which is the whole point of the switch.
Will an antenna amplifier fix my reception?
Sometimes, and often it does the opposite. A preamplifier boosts whatever reaches the antenna, so it helps in fringe areas with long cable runs where the signal is genuinely weak. Near a strong tower it can push too much signal into the tuner and overload it, which makes previously fine channels drop out. Test an unamplified antenna in the same position first, and treat the amplifier as a fix for weak signal rather than a default accessory.
How do I know which direction my TV antenna should point?
Use the FCC DTV reception map or the TV Guide antenna locator and enter your address. Each draws the broadcast towers that serve your location and shows the compass direction, or azimuth, from your home to the transmitter. Face the antenna that way, then fine-tune by rotating a few degrees and rescanning after each move. A compass gets you close; the rescan loop is what actually locks in the stations.
Can I still use cable if I have an over-the-air antenna?
Yes. The antenna is just another source, selected from the same input menu you use for HDMI. Plenty of people keep a streaming service and drop cable entirely, while others switch between them depending on what is on. Remember that an OTA antenna carries only broadcast stations, so cable or satellite still reaches cable-only networks. Both can also be run through a switcher box or a soundbar with multiple inputs.
Conclusion
Start with five things: confirm your television has an ATSC tuner and an Antenna In jack, look up your towers on the FCC DTV reception map, connect the coax and hand-tighten both ends, run a channel scan on the Antenna input, then move the antenna a few inches and rescan.
Give it a few rounds of rotate-and-rescan before spending on anything bigger. Most reception problems are placement, connector tightness, or a channel that fell past the digital cliff, and none of those need new hardware. Move to an amplified or outdoor antenna only after you have watched an unamplified indoor setup fail in the same spot.