To check SSD health, read the S.M.A.R.T. data the drive keeps about itself — its wear level, error counters and temperature — using a free tool. On Windows, CrystalDiskInfo takes about two minutes and needs no install. Mac and Linux users get the same data from smartmontools. Back up first, because checking does not protect your files.
SSDs rarely fade out politely. A drive that is fine on Tuesday can be unreadable on Wednesday, and when it goes it usually takes everything stored on it with no clean warning. A health check is the one thing that gives you a head start.
Below I walk through Windows, macOS and Linux, then explain what the numbers mean — because a report full of 20-odd rows is useless if nobody tells you which rows to look at.
Table of Contents
- 1What You Need
- 2Step-by-Step: How to Check SSD Health
- 3How to Check SSD Health in Windows
- 4How to Check SSD Health on macOS
- 5How to Check SSD Health on Linux
- 6Run a Full SMART and Wear Test
- 7Confirm Signs of a Failing SSD
- 8Common Mistakes
- 9Common Mistakes and What to Do Instead
- 10Frequently Asked Questions
- 11How do I check SSD health without installing anything?
- 12What does a low SSD health percentage actually mean?
- 13How accurate is CrystalDiskInfo?
- 14What is the command to check SSD health in Windows?
- 15How do I read smartctl output?
- 16Can I check the health of an external or USB SSD?
- 17Conclusion
What You Need
Almost nothing. You need to know which physical drive you are checking, because Windows will happily report the health of the C: drive when you were worried about the external one in your bag.
Admin or sudo access is required for the deeper checks, since SMART data is not readable by a standard user account on macOS or Linux. On Windows, PowerShell reliability counters usually work from a normal account but not always.
Most important: a current backup. A health check is read-only and will not hurt a healthy drive, but nothing you do here copies your data somewhere else. Do that first, then read on.
Step-by-Step: How to Check SSD Health
How to Check SSD Health in Windows
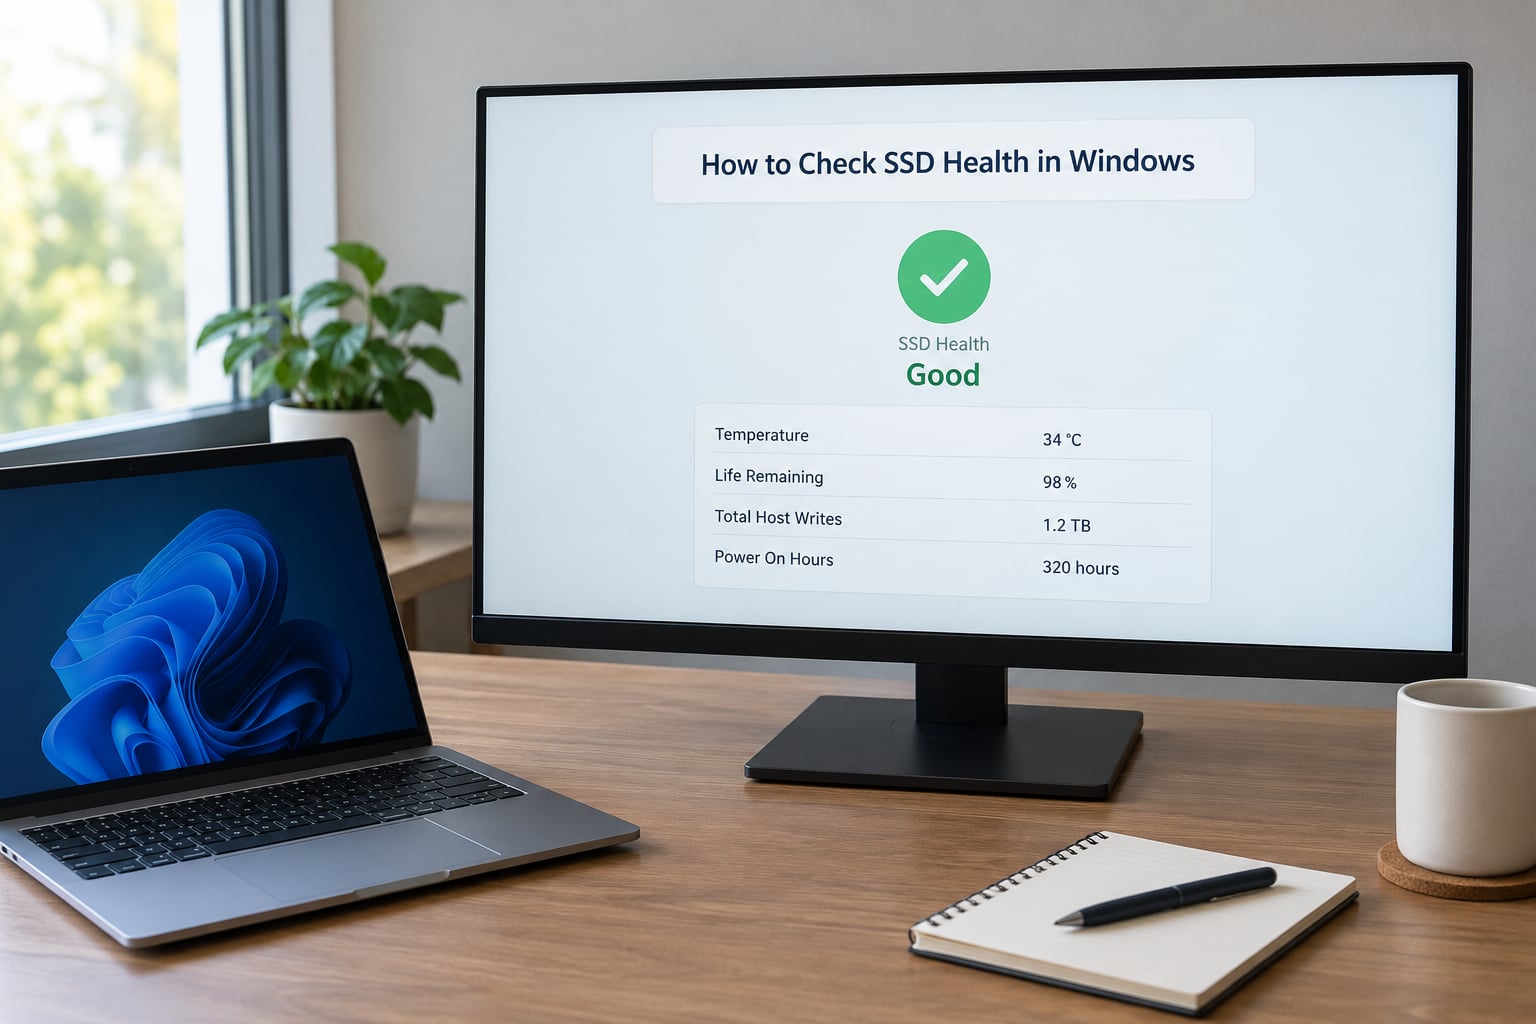
Windows 11 shows a basic health status for NVMe drives without any extra software. Open Settings, go to System, then Storage, then Advanced storage settings, then Disk and volumes. Select your drive and look at the health line. It says Good, Caution or Warning, and it will not give you a percentage.
For everything else, the Command Prompt is a fast second look. Open it as administrator and run:
wmic diskdrive get statusYou get OK or Pred Fail per drive. Treat Pred Fail as a replacement trigger, and treat OK as barely useful — it is a pass/fail flag, not a health reading, and plenty of dying drives still report OK.
PowerShell gives you actual numbers. Run this in an admin PowerShell window:
Get-PhysicalDisk | Get-StorageReliabilityCounter | Format-ListLook for Temperature, Wear, ReadErrorsTotal, WriteErrorsTotal and PowerOnHours. PowerOnHours is the most useful field here for spotting a drive that has been quietly grinding for five years.
Now the real answer. Download CrystalDiskInfo, run the executable, and it shows every internal and USB drive with a health percentage and a Good / Caution / Bad label at the top. No install needed. A caution color on a temperature cell just means that drive is warm right now, not that it is failing.
You can also check in the BIOS/UEFI before booting — most boards list drive health under System Information or Storage. Useful when the OS will not start.
How to Check SSD Health on macOS
macOS hides its S.M.A.R.T. readout, but it is there. Open Disk Utility (in Applications, Utilities), select the drive in the sidebar, then click the First Aid tab. The S.M.A.R.T. Status line reads Verified or an error. Verified means the drive passed the check — it is not a percentage and not a lifespan estimate.
For a fuller picture, install smartmontools through Homebrew:
brew install smartmontools
sudo smartctl -a /dev/disk0
Replace disk0 with the identifier from diskutil list. Output includes Percentage Used, Media and Data Integrity Errors and Temperature, plus available spare. macOS may ask you to grant full disk access to your terminal first, and external drives over USB frequently return nothing useful at all — see below.
DriveDx and similar Mac utilities give a friendlier layout of the same data if you would rather not read raw output.
How to Check SSD Health on Linux
smartmontools is the standard here and is usually already installed. If not: sudo apt install smartmontools on Debian and Ubuntu, or sudo dnf install smartmontools on Fedora.
Find the device, get the quick verdict, then pull the full report:
sudo smartctl --scan
sudo smartctl -H /dev/sda
sudo smartctl -a /dev/nvme0
For NVMe drives, five lines matter more than the rest: Percentage Used, Available Spare, Media and Data Integrity Errors, Error Information Log Entries and Temperature. On SATA SSDs, watch Total Bytes Written, Wear Leveling Count, Reallocated Sector Count and Current Pending Sector.
Prefer a window? GNOME Disks and KDE Partition Manager both show health and SMART attributes without the terminal, though they cover fewer fields than smartctl.
Run a Full SMART and Wear Test
A quick SMART read is a snapshot. A self-test actively reads the drive and reports unreadable regions:
sudo smartctl -t short /dev/sda
sudo smartctl -t long /dev/sda
sudo smartctl -l selftest /dev/sda
The short test runs a couple of minutes. The extended one scales with capacity — budget a few hours on a large drive — and it must not be interrupted, so keep a laptop on AC power and avoid moving an external drive mid-test. If the drive is mounted and busy, smartctl will refuse; unmount it first. A failed or interrupted extended test is worth taking seriously.
Confirm Signs of a Failing SSD
If a report worries you, check for a pattern rather than a single number. Rising Media and Data Integrity Errors, a Reallocated Sector Count that is no longer zero, or an Available Spare below 100 percent all point the same way. On older drives, Current Pending Sector above zero means unreadable data you may not have noticed yet.
Then match it against symptoms. Users on r/DataHoarder describe a healthy baseline as steady, even performance with the occasional dip — a sustained drop into erratic territory is the pattern they watch for. A machine that hangs on file access, a system that takes far longer to boot than it did last month, or files that fail to copy with no reason given are all worth pairing with a SMART reading.
Sudden speed loss with 100 percent health usually means thermal throttling or a controller problem rather than wear. Heat is the quiet killer: sustained temperatures above roughly 70 C during ordinary use shorten lifespan even when every wear counter looks fine.
Common Mistakes
Checking the wrong physical device. Checking the system drive when the external one is making noise. Running a self-test on a laptop running on battery. Reading only the health percentage and ignoring the error counters behind it. And treating a clean SMART report as a promise that the drive will not fail.
Common Mistakes and What to Do Instead
Identify the drive first. Match the model and serial number from CrystalDiskInfo, smartctl or Disk Management to the physical drive you care about, since a machine can easily have three of them.
Back up before anything else, not after a scare. A cloud copy of the documents folder and a local copy of anything large takes minutes and removes the whole problem.
Read all the attributes, not just the summary. A drive can sit at 90 percent health while Media and Data Integrity Errors climb steadily, and the other way round. The counters tell you why; the percentage only tells you where it sits.
Compare over time, not once. Save or photograph a report, then check again in a month. A value that moves is a far better signal than a single reading, and a number that stays flat across months is usually the answer you get.
Replace on warnings and symptoms, not on a magic threshold. A caution label, a failing self-test, or a drive that throws filesystem errors deserves a replacement plan. A 30 percent reading with zero errors and no symptoms is not an emergency — it is a drive to watch.
If it is still inside warranty, check the endurance figure on the box or spec sheet. Total Bytes Written above the rated TBW is a straightforward RMA case, and vendors rarely argue with their own counter.
Frequently Asked Questions
How do I check SSD health without installing anything?
On Windows 11, open Settings, then System, then Storage, then Advanced storage settings, then Disk and volumes, and read the health line for your NVMe drive. For a percentage, Command Prompt and PowerShell are already on the machine: wmic diskdrive get status gives a pass or fail flag, and Get-PhysicalDisk piped to Get-StorageReliabilityCounter shows wear, error totals and power-on hours. macOS has Disk Utility built in, where the First Aid tab shows a S.M.A.R.T. status of Verified or an error.
What does a low SSD health percentage actually mean?
The percentage is the drive’s own estimate of how much of its rated write endurance is left, and most controllers calculate it from total bytes written against the TBW figure. It is not a countdown to failure. Plenty of drives sit at 3 percent and keep working for years. What matters more is whether error counters are climbing, whether a self-test passes, and whether you see real symptoms like freezes or copy failures.
How accurate is CrystalDiskInfo?
CrystalDiskInfo reads the drive’s own S.M.A.R.T. log and changes nothing, so it is as accurate as the firmware that filled that log in. Its health percentage is the vendor’s own calculation, which means two drives of the same capacity from different brands can show very different numbers for identical usage. It also cannot report anything for a drive hidden behind a USB bridge that does not pass S.M.A.R.T. commands through.
What is the command to check SSD health in Windows?
Run wmic diskdrive get status in an administrator Command Prompt for a quick OK or Pred Fail per drive. For real numbers, use PowerShell: Get-PhysicalDisk | Get-StorageReliabilityCounter | Format-List, which returns temperature, wear, read and write error totals and power-on hours. For a full breakdown including a health percentage, CrystalDiskInfo reads the same data and lays it out in one window.
How do I read smartctl output?
Skip the wall of vendor-specific rows and read a handful of fields. On NVMe, check Percentage Used, Available Spare, Media and Data Integrity Errors, Error Information Log Entries and Temperature. On SATA SSDs, check Total Bytes Written, Wear Leveling Count, Reallocated Sector Count and Current Pending Sector. If those four or five values look normal and the overall self-assessment passes, the rest of the output rarely matters.
Can I check the health of an external or USB SSD?
Often, but not always. Many USB enclosures pass S.M.A.R.T. commands through, and then CrystalDiskInfo or smartctl will list the drive normally. Some bridges block the commands entirely, and the drive then shows as a plain storage device with no health data at all. If yours is blocked, connect it directly over SATA or put it in the machine temporarily. There is no third-party tool that can read data the bridge will not pass through.
Conclusion
Back up the files you would miss, run the check that matches your operating system, and read the whole report rather than the headline number. If error counters are climbing, a self-test failed, or the drive is throwing filesystem errors, replace it and file a warranty claim while the evidence is still on screen.