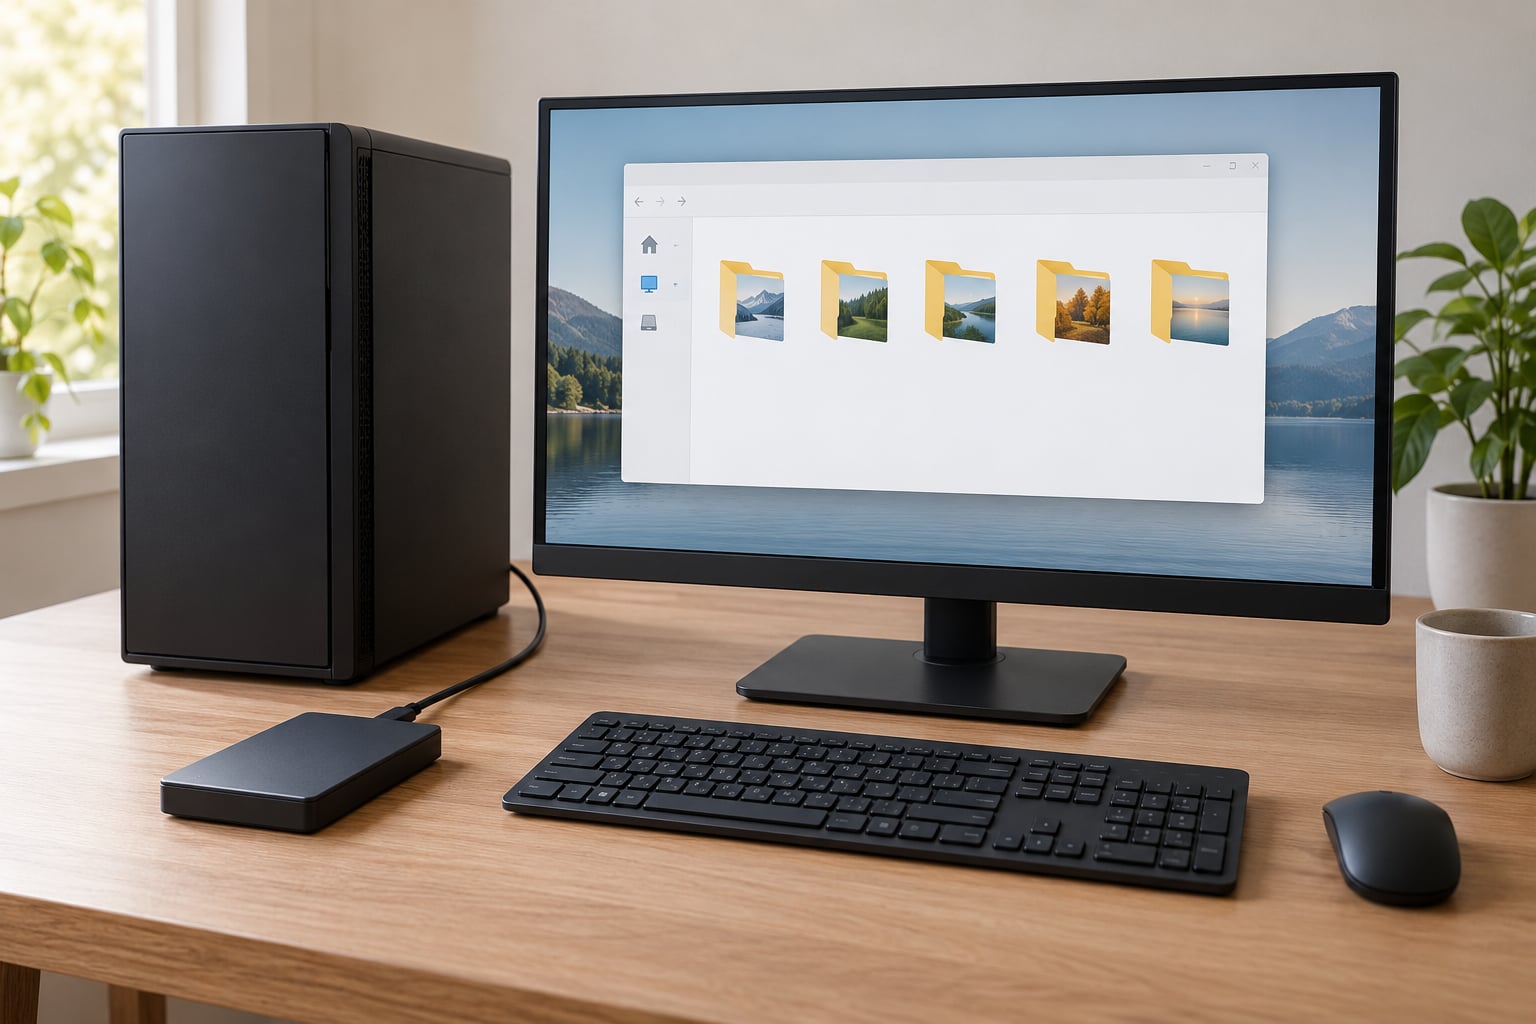
Windows does not back anything up on its own. Out of the box, a fresh Windows 11 or Windows 10 install creates restore points and nothing else, so knowing how to set up automatic backups on Windows is a fifteen-minute job you have to do yourself. The good news is that the tool you need is already installed: turn on File History, point it at a second drive, and it starts saving timestamped copies of your files on a schedule you choose.
This guide covers Windows 11 and Windows 10, including the places where the menus differ and the features that only exist on certain editions. It also covers the part most guides skip, which is proving your backup actually ran and can be restored from.
Table of Contents
- 1Quick Answer: How to Set Up Automatic Backups on Windows
- 2What You Need
- 3Step-by-Step: How to Set Up Automatic Backups on Windows
- 4How to Set Up Automatic Backups on Windows With File History
- 5Choose What File History Backs Up
- 6Protect Backup Copies From Changes
- 7Set Up Windows Backup on a USB Drive
- 8Schedule a System Image With Backup and Restore (Windows 7)
- 9Verify the Backup and Test a File Restoration
- 10Maintain and Check the Backup Schedule
- 11Common Setup Errors and How to Fix Them
- 12Common Mistakes
- 13Frequently Asked Questions
- 14Are Windows automatic backups encrypted?
- 15How long should I keep an external backup drive connected?
- 16Can automatic backups protect files if my computer fails?
- 17How much storage space should I reserve for automatic backups?
- 18Can I use the same backup drive with multiple Windows PCs?
- 19Conclusion
Quick Answer: How to Set Up Automatic Backups on Windows
- Connect an external drive that is not your system drive.
- Open Control Panel, search for File History, and open it.
- Choose Add a drive, pick your external drive, then click Select.
- Click Choose which folders to include and confirm your Libraries, Desktop, Documents and Downloads.
- Select Advanced settings to set the backup frequency and how many copies are kept.
- Click Turn on File History. The first run starts immediately.
- Open File History again and check the Most recent backup line under Backup your files.
That is File History. If you also want a full system image, follow the Windows Backup and Backup and Restore sections below.
What You Need
A Windows 10 or Windows 11 PC that you can sign into with an administrator account. Standard user accounts cannot change backup destinations.
A separate destination drive. This is the single most important requirement. An external hard drive, a USB-connected external SSD, a second internal drive, or a network share all work. What does not work is pointing File History at a folder on your C: drive, because a drive failure or a reinstall takes the backup with it.
Free space on that destination. File History keeps multiple versions of every file that changes, so it needs room to grow. If you back up 200 GB of photos and keep copies for a year, budget several times that. The system image path is different: Windows keeps one image, so it needs space roughly equal to the used space on your system drive.
A USB drive for the Windows Backup route. If your edition supports Windows Backup, that tool wants a USB drive of at least 16 GB, and a larger drive is better if you want room for recovery files. A spinning HDD with more capacity is fine here; speed matters less than capacity and it being somewhere other than your laptop bag.
Signed-in account details where a feature asks for them. Windows Backup will prompt you to add or confirm a Microsoft account so files can be protected. You can decline that part and still create a local backup to the USB drive.
Power. A desktop can stay plugged in during a first system image. On a laptop, close the lid and plug it in before the scheduled run, or the job may never start.
Step-by-Step: How to Set Up Automatic Backups on Windows
There are two built-in tools and they do different jobs. File History copies your personal files on a schedule and keeps old versions of files that change. Windows Backup, on newer editions, protects your folders and can save a full system image to a USB drive. Backup and Restore (Windows 7) is the older image tool that still ships on every edition and is still the right answer for scheduled full images on Windows 10.
Most people want both: File History for daily protection, and an occasional system image for the day the drive dies.
How to Set Up Automatic Backups on Windows With File History
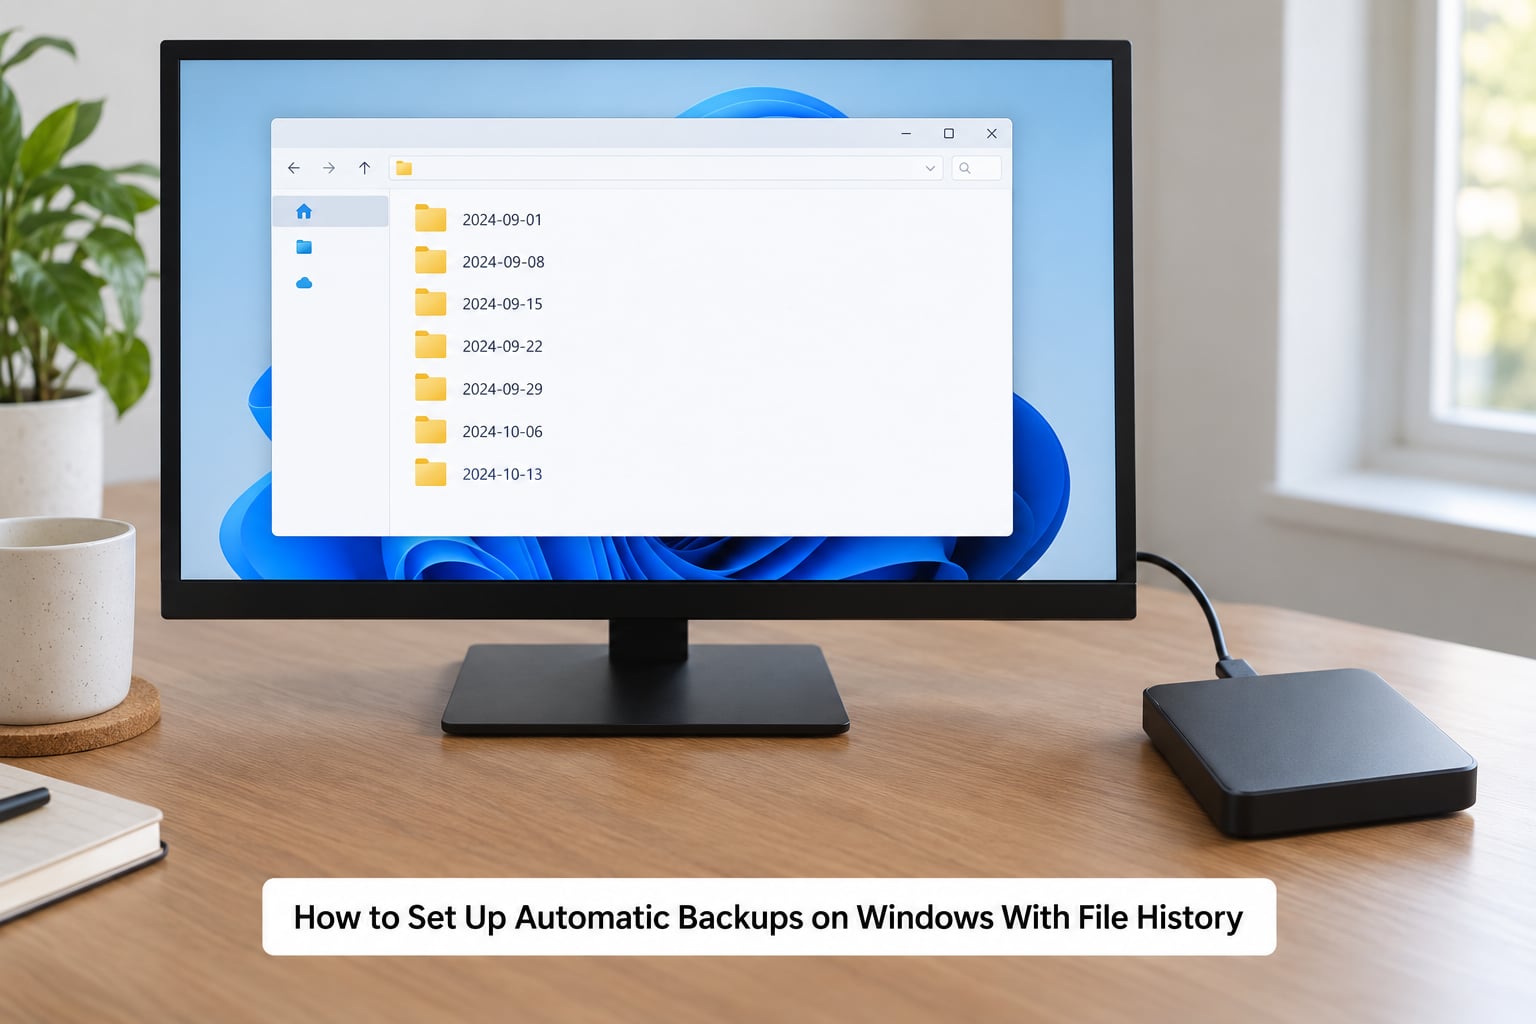
File History is the built-in answer on Windows 10 and on Windows 11 Pro, Pro for Workstations, Pro Education and Enterprise. Home editions do not include it, which is the single most common reason people say Windows 11 has no backup program.
To turn it on, open Control Panel from the Start menu. In the search box at the top right, type File History and open the result. You land on a page with an Add a drive button and a Turn on File History button that is greyed out until a destination exists.
Click Add a drive. Windows lists removable drives that are currently attached. Select your external drive and click Select. Then click Choose which folders to include and leave the default list alone for now: Desktop, Documents, Downloads, Pictures, Music, Videos and Favorites. Click Start backup to confirm.
File History saves your changes immediately the first time you set it up, then switches to its schedule. The default is every ten minutes while the drive is connected.
To change that, choose Advanced settings from the File History menu on the left. There you set:
- How often to save files: every 10 minutes, 15 minutes, 30 minutes, hourly, 3 hours, 6 hours, 12 hours, or once a day.
- Keep copies of files for: the retention period, from until the drive is full up to 24 months.
- Show backed up folders in Explorer: a convenience link that opens the FileHistory drive in a window.
- File History Drive: the menu name for the backup folder itself.
Click Save changes, then select Turn on File History. On Windows 11, File History lives in the same Control Panel as ever. The modern Settings app does not expose it, so if you cannot find it in Settings, use Control Panel.
To confirm it worked, leave File History open and look at the middle panel. It shows the drive you chose and a line reading Most recent backup with a date and time. If that line is empty, the run failed or the destination is not available.
Choose What File History Backs Up
Out of the box, File History covers your Libraries, which means every folder in your user profile that sits in a library, plus your desktop, documents and downloads. Anything outside your user profile is missed. This is the complaint you will read most often in support threads, and the fix is to add folders yourself.
In Advanced settings, select Add a folder. Browse to the location and pick it. Useful additions include a second internal data drive, a folder holding mail archives, and any project directory you keep outside your profile.
Remove folders from the include list with the Remove button if you want to slim the backup down. Large, regenerable folders such as downloads and video caches are the first candidates.
To exclude subfolders inside a backed-up folder, open Advanced settings at the top, click Change which folders are included in the backup, select the folder, then choose the small exclude icon to tick subfolders you do not want.
Two different things get confused here. Backing up your user profile protects documents, photos and desktop files. Backing up an entire drive protects programs, settings and the Windows installation too, but File History cannot do that. For a full drive copy you need a system image, covered further down.
Never choose a destination folder inside the folder you are backing up. File History will copy its own backup folder into itself until the drive fills.
Protect Backup Copies From Changes
The Keep copies of files for setting is what makes File History a real backup rather than a mirror. Each time a file changes, the old version is kept, so a mistaken overwrite or a corrupted export can be rolled back to an earlier state.
Leave it set to until the drive is full if you have room. That option never deletes a version just because a newer one exists.
Remove that option only when space is genuinely tight. With Keep versions of files set to a fixed period such as 12 months, File History deletes versions older than that to make room for new ones. With it removed, only the most recent copy of each file survives, and File History starts overwriting older copies sooner.
The tradeoff is simple. Longer retention means more recovery points and a drive that fills faster. Shorter retention means a smaller drive but a shorter window for recovering a file nobody noticed was damaged.
For photos and documents, keep the retention period long. For a folder full of large working files that change daily, a shorter period is usually fine.
Set Up Windows Backup on a USB Drive
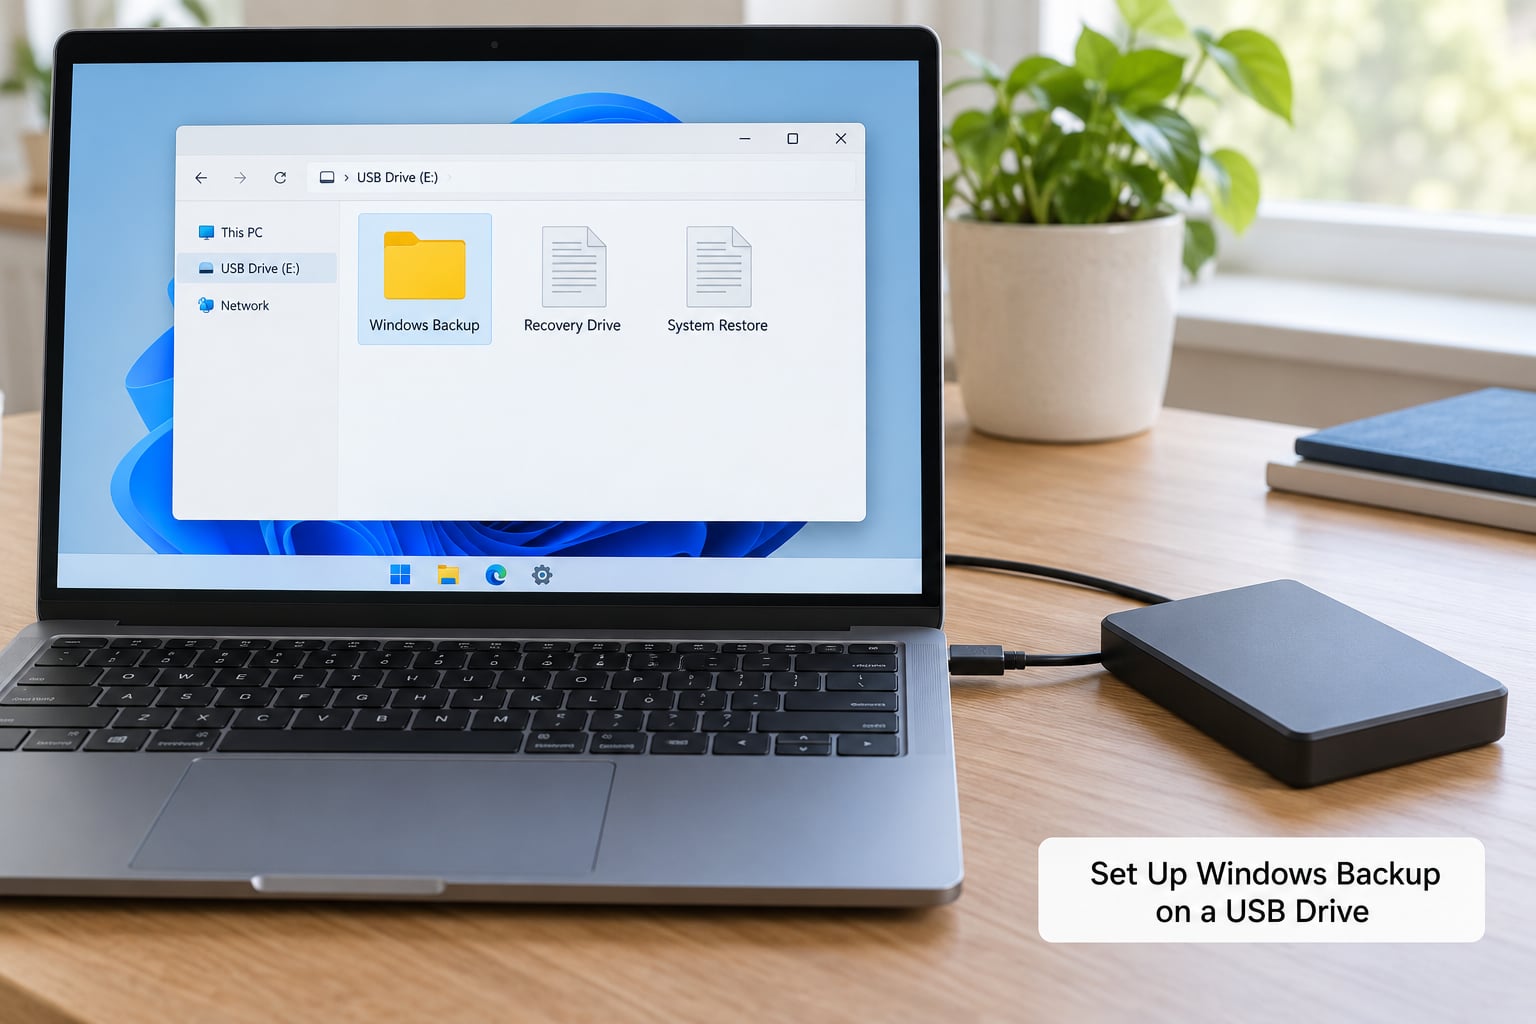
Windows Backup is the newer path. On supported editions it appears in Settings under System, then Windows Backup. It replaces the old Control Panel flow on Windows 11 and is the only built-in option on Home editions.
To use it, connect a USB drive of 16 GB or more. Open Settings, choose System on the left, then Windows Backup. The page shows two choices: Back up now for a one-time backup, and Back up files, with options to add folders or include an entire drive.
To add your documents and pictures, select Back up files, then Choose what to back up, and tick the folders or the C: drive. Select Back up now. Windows writes the backup to the USB drive and lists it on the page.
For scheduled runs, look for Backup up to date automatically and Back up files automatically. The scheduling controls depend on the sign-in state. When a Microsoft account is connected, the page offers a schedule and a folder list in OneDrive settings. Without one, automatic folder backup to the USB drive may not be offered at all, and you fall back to File History or Backup and Restore for a schedule.
Keep the USB drive reasonably large and connect it on a schedule. A 32 GB drive is cramped for anything beyond documents. A 1 TB external drive gives room for a drive image plus recovery files, and rotation is cheap insurance: keep one drive at home and one in a bag or at another site.
Edition differences are worth knowing. Windows 11 Home gets Windows Backup but not File History. Pro editions get both, plus Backup and Restore for image schedules. Windows 10 does not have Windows Backup at all; use File History and Backup and Restore (Windows 7) instead.
Schedule a System Image With Backup and Restore (Windows 7)
The name sounds outdated because it is. The tool has shipped unchanged since Windows 7 and is still present on Windows 11, which is why it is still the most direct way to schedule a full disk image in the operating system.
To set one up, open Control Panel, search for Backup and Restore (Windows 7), and open it. Select Set up backup from the left panel. Choose Back up your files and folders or Let me choose, then pick the drive you want from the drop-down list.
A USB flash drive cannot be used for a system image. Windows reports the drive is not a valid backup location because there is no room for the EFI system partition data. Use an external hard drive, a USB-connected external SSD, or an internal drive.
Next, select Change schedule under Schedule this backup. The default is weekly with Windows suggesting a day and a time. Pick daily, weekly, monthly or notify me only, then save settings. Choosing Not every day is also useful when you only want periodic full images.
Select Back up now to create the first image straight away. Windows writes a full image first, then uses incremental changes on later runs, so subsequent backups take a fraction of the time.
Windows prompts you to create bootable recovery media at the end. Make that USB stick and store it away from the computer. A system image you cannot boot into is still better than nothing, but recovery media makes the difference between an afternoon and an afternoon plus a reinstall.
Verify the Backup and Test a File Restoration
This is the step people skip and the reason backups fail silently for years. Seeing a folder full of dated copies on the drive tells you almost nothing about whether a restore will work.
To check status, open File History and read the Most recent backup line. Open Windows Backup in Settings to see its last run time and whether any files need attention. For Backup and Restore (Windows 7), open Control Panel, search for the tool, and look at the schedule and the last backup time shown on the left.
Then browse the destination. File History writes dated folders under a FileHistory folder on the drive, each one named for the date and time of the run, and each contains the changed files with their names rewritten to include a timestamp. Backup and Restore stores its image in a dated WindowsImage folder with a metadata XML file beside it. If the folder for the most recent run is missing, that run did not complete.
Finally, restore something. Open File History, click Select files, or Browse and restore files, and pick a small file that is not critical. Restore it into a temporary folder on your desktop. Open it and check the contents.
Users on support forums are blunt about this: they trust a backup once they have watched it restore. Ten minutes of testing removes most of the doubt that a scheduled job is quietly failing every week.
Maintain and Check the Backup Schedule
Automatic backups fail for boring reasons. Knowing them in advance saves the expensive kind of surprise.
When the drive fills up, File History prunes old versions per your retention setting and keeps running, but Backup and Restore stops with a message that the drive has insufficient space. Check free space after the first image and after any large media project.
When the drive is disconnected, File History simply reports that your backup drive was not connected and waits. That is expected behaviour, not a failure. Reconnect the same drive and it resumes. Windows 11 backup drives that are frequently unavailable will prompt you to disconnect the drive in the backup status page.
When the drive letter changes, File History usually recovers because it tracks the volume, but a network share with a new UNC path can trigger a full reset of the backup history. Avoid pointing File History at a network location you rename often. For NAS and network share setups, a mapped drive with a stable letter is the more reliable option, and Windows Backup cannot target a network share at all in most builds.
When you use the same drive on another PC, give each machine its own drive. File History stores one backup set per drive, and a second computer can trigger a cleanup that discards the first machine’s versions.
When the computer is asleep, scheduled jobs do not run. On a laptop, open Power Options, set the screen and sleep timers to something sensible for when the machine is plugged in, and avoid setting the lid close action to hibernate on a docked laptop.
A monthly habit of opening the status page and restoring one file catches failures while they are still fixable.
Common Setup Errors and How to Fix Them
Four errors account for most of the trouble people report.
The drive you chose is not a valid backup location. USB flash drives cannot hold a system image because Windows needs reserved space for the EFI system partition. Use an external hard drive or external SSD instead.
There is not enough space on the selected drive. A system image needs roughly the amount of space your system drive uses. Clear space or use a bigger drive.
0x80780119 or a failure to prepare the shared folder for backup. Windows Defender or endpoint security is blocking the backup write. Exclude the destination drive folder from real-time scanning, then run the backup again.
The EFI system partition is locked or could not be accessed. BitLocker or a full-page encryption tool is holding the partition. Turn off device encryption temporarily, create the image, then turn encryption back on.
On Windows 11 Home, if File History is missing entirely, that is the edition, not a broken install. Windows Backup under Settings takes its place.
Common Mistakes
Most people who end up restoring from backup made one of these calls at setup time.
Backing up to the system drive. A File History folder on C: disappears with a dead drive or a reinstall. Point the backup at a physically separate destination.
Treating OneDrive or Dropbox sync as a backup. Sync mirrors deletions. Delete a file on one machine and it is gone from the cloud copy too. Sync is useful for access, not for recovery.
Expecting File History to cover everything. It saves libraries, desktop, documents and downloads by default. Programs, browser profiles and files outside your user profile need to be added by hand or handled with a system image.
Never testing the restore. The only way to know a backup works is to put one file back. Schedule it every few months.
Leaving the backup drive permanently attached and forgetting rotation. Two copies in the same room protect against a failing drive, not against theft, fire or flood. The cheap version of the 3-2-1 rule is two drives, one of them off-site or in a different building.
Skipping bootable recovery media. Create a Windows recovery USB after the first system image and label it. Store it apart from the PC.
A few habits cover most of the rest. Name the drive something obvious like WINDOWS-BACKUP so the right one gets plugged in. Recheck the status page after each major Windows update, since feature updates sometimes reset the schedule. Keep the destination drive on a schedule you can actually honour, whether that is a nightly docking ritual or a weekly plug-in.
On the hardware side, an external SSD transfers a first backup several times faster than a spinning drive, which matters for a system image over USB. Capacity per unit of money is higher with a hard drive. Either works for a nightly schedule, since the difference is minutes rather than correctness. Use a drive with a native size of 4 TB or more only if you need it; very large drives can complicate partition tools more than they help.
Frequently Asked Questions
Are Windows automatic backups encrypted?
File History does not encrypt the backup it writes to an external drive. Anyone who has the drive can read the files on it, so an unencrypted backup sitting in a laptop bag is a real exposure. Encrypt the destination with BitLocker or device encryption if the drive supports it. Note that File History cannot use a BitLocker-protected network share without unlocking it first, and encryption keys tied to one machine will not unlock the drive on another.
How long should I keep an external backup drive connected?
Windows only writes a backup while the destination drive is connected and mounted. A desktop on a desk can stay connected permanently with no downside beyond power and occasional heat. A laptop is better left undocked, connecting the drive every day or two to catch up. Rotation works well too: one drive at home for routine backups, one stored elsewhere and swapped in weekly. What matters is that the connection habit is realistic enough that you actually keep it.
Can automatic backups protect files if my computer fails?
Yes, as long as the destination is physically separate from the machine. A File History run to an external drive survives a failing system drive, a stolen laptop and a failed Windows reinstall, because the files were copied somewhere else first. What it does not survive is theft or fire if the backup drive is in the same bag or the same room. Keeping one copy at a second location turns a local disaster into a recoverable one.
How much storage space should I reserve for automatic backups?
For File History, allow several times the size of the data you back up, because it stores a new version every time a file changes and deletes old versions based on your retention setting. A user profile of 100 GB commonly consumes 300 GB or more of backup space with default settings. For a system image, reserve space roughly equal to the used space on your system drive, plus room for recovery files on the same or a separate USB drive.
Can I use the same backup drive with multiple Windows PCs?
Not safely with File History. The drive holds one backup set, and connecting a second computer can trigger a cleanup that discards the first machine’s versions. Windows Backup on Windows 11 also treats the USB drive as a single-device destination. For two computers, use one drive each, or point each machine at its own folder on a larger drive or network share. Cheap drives make rotation the simplest workable answer.
Conclusion
Connect a drive that is not your system drive. Turn on File History and let the first run finish. Then restore one file nobody cares about and open it. That ten-minute test is the difference between having a backup and believing you have one.
Once that works, add a scheduled system image through Backup and Restore (Windows 7) if you want to recover the whole operating system, keep a second copy away from the PC, and check the status page every few months. Updated for 2026, the menus above apply to current Windows 11 and Windows 10 builds.