To automate your lights on a schedule you need one controllable light (a smart bulb, smart switch, or smart plug), the app that manages it, and a rule that says when to switch on and off. One lamp takes about 15 minutes; a whole house is an evening’s work.
That rule has three parts, and every platform handles them differently: a trigger (a fixed time, sunset, or motion), a target (which bulb, room, or group), and an action (on, off, dim, colour temperature). Once you know those three, the menu path stops mattering.
Table of Contents
- 1What You Need
- 2Smart bulbs versus smart switches and plugs
- 3Safety before you touch a switch
- 4Step-by-Step: How to Automate Your Lights on a Schedule
- 5How to Automate Your Lights on a Schedule with a Smart Bulb
- 6How to Automate Your Lights on a Schedule with Smart Switches
- 7How to Automate Your Lights on a Schedule Using a Hub or Voice Assistant
- 8Common Mistakes
- 9Frequently Asked Questions
- 10Can I automate lights without a smart hub?
- 11What is the difference between a lighting schedule and a routine?
- 12Will my light schedule keep working if the internet goes down?
- 13How do I set different schedules for multiple rooms?
- 14What happens to my light schedule after a power outage?
- 15Should I use smart bulbs or smart switches?
What You Need
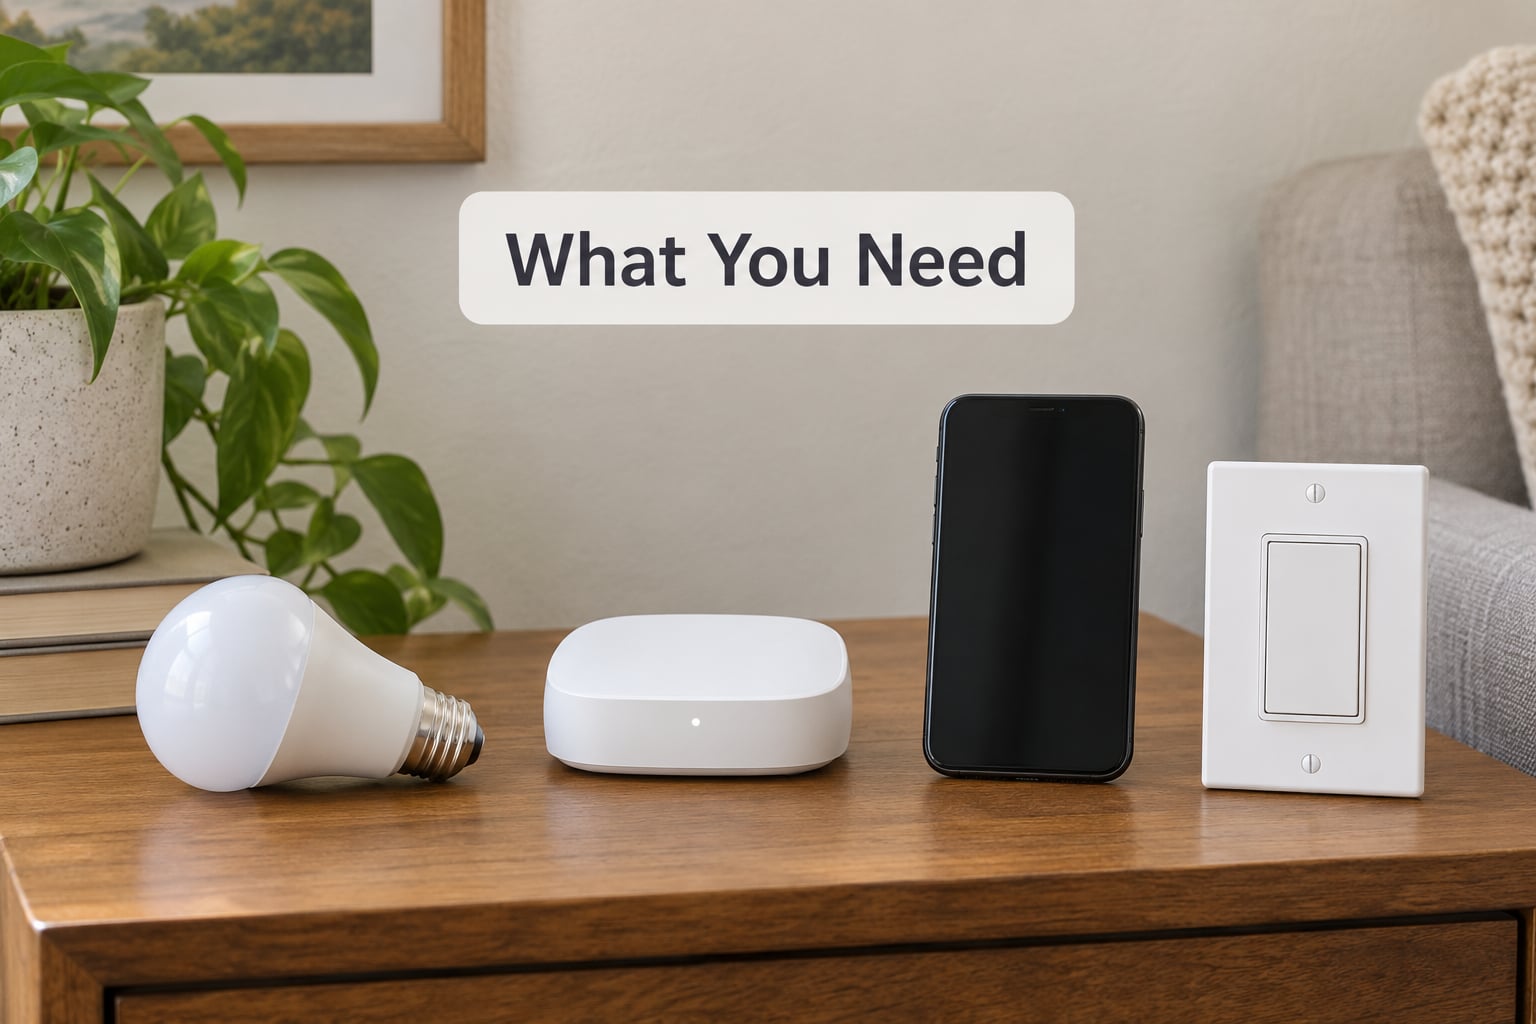
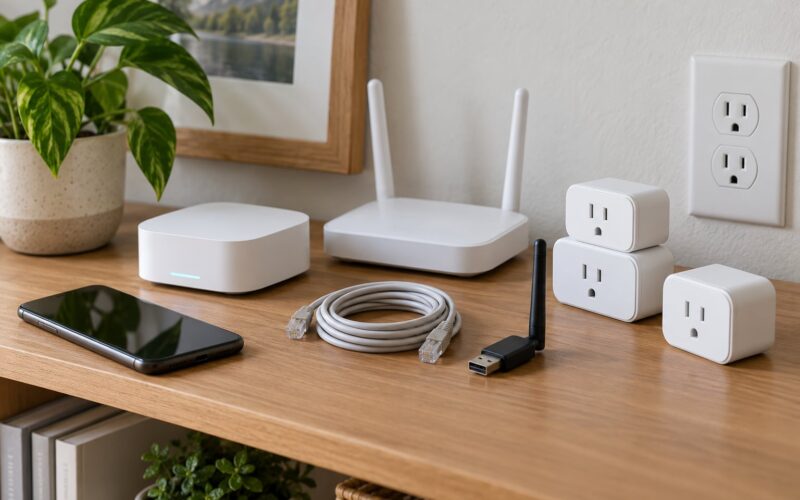
The minimum is lower than most people expect. A Wi-Fi or Bluetooth smart bulb plus its manufacturer’s app is genuinely enough for a working schedule; no hub, no extra account, no wiring.
- A controllable light. A smart bulb, a smart switch, or a smart plug. Bulbs are easiest because you just unscrew one.
- An app on your phone. Each manufacturer writes its own, and the schedule feature usually lives there.
- A reliable connection. 2.4 GHz Wi-Fi for most Wi-Fi bulbs, Bluetooth for the newest ones, or a hub if you are on Zigbee or Thread.
- An account with the manufacturer, which is where your schedule is stored.
- A hub only if you want Zigbee or Thread devices, mixed brands under one roof, or automation that keeps working when the internet does not.
Smart bulbs versus smart switches and plugs
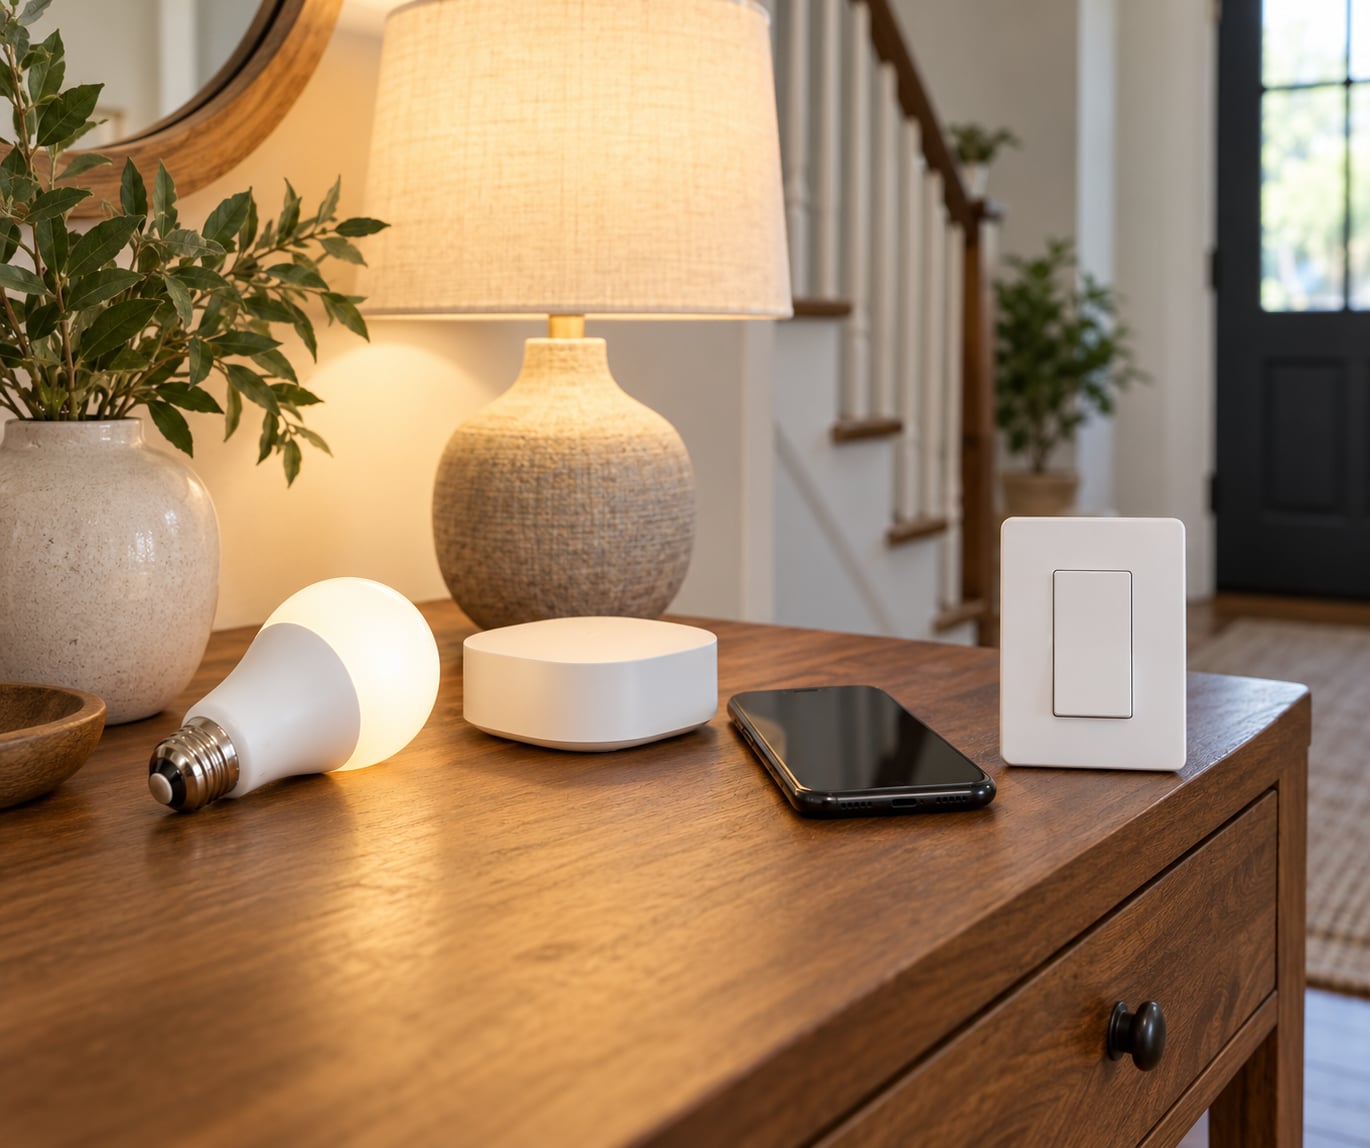
A bulb replaces the bulb. A switch replaces the wall switch and controls whatever is wired behind it, including fixtures with bulbs you already own. A plug sits in the outlet and controls a lamp, a string of holiday lights, or a floor lamp that has its own switch.
If you are starting with table lamps, bulbs and plugs are the least disruptive. For ceiling fixtures, porch lights, or anything on a pull chain, a switch is the honest answer. For a non-dimmable fixture, a plain on/off switch works fine; dimmable fixtures need a switch rated for the load and, ideally, for dimming.
One caveat worth stating early. If a smart bulb is controlled by a wall switch that is switched off, the bulb loses power and drops off the network. Any schedule stops running. Decide now whether that wall switch stays on permanently.
Safety before you touch a switch
Swapping a wall switch means working on mains wiring. Switch off the breaker, confirm the circuit is dead with a tester, and follow the manufacturer’s diagram. If you are not comfortable with that, use smart plugs and bulbs instead or hire a licensed electrician.
Step-by-Step: How to Automate Your Lights on a Schedule
All three routes below follow the same five steps: add the light to its app, group it with anything that should move together, create the schedule, set the trigger, then test it and watch for a couple of days. The differences are in the menu names.
How to Automate Your Lights on a Schedule with a Smart Bulb
This is the fastest route and the one to try first. Bulb in, schedule made, done.
- Screw the bulb in at the fixture or lamp you want to automate, and power the fixture on.
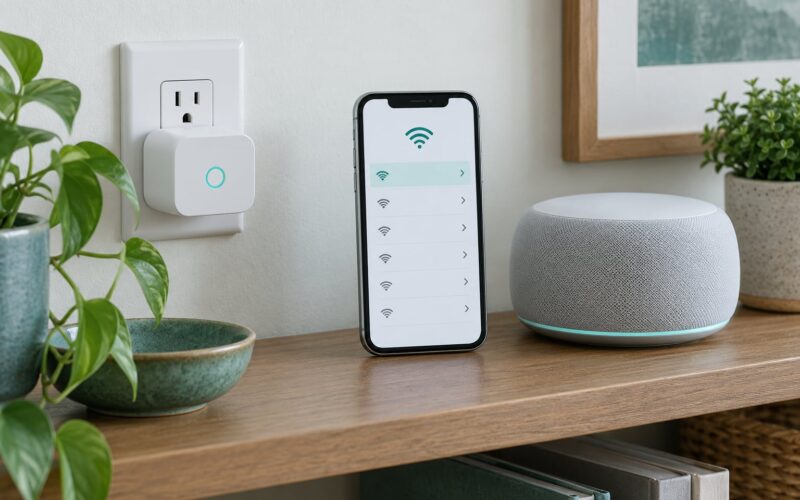
- Open the manufacturer’s app and tap Add Device or the plus button. Put your phone on the same 2.4 GHz network as the bulb if it is Wi-Fi based.
- Follow the pairing prompt. Most bulbs blink a few times while they join; if the app cannot find it, the bulb is usually on the 5 GHz or 6 GHz band, or your router has the phone and the bulb on separate networks.
- Open the bulb’s own page in the app and find Schedule, Timer, or Routine. Add a row for the on time, pick the days of the week you want it to repeat, then add a second row for the off time.
- Check the time zone in app settings before you walk away. If your phone is set correctly, most apps copy it; a few ask you to pick the city manually.
- Test it. Use the app’s Test or Try Now button rather than waiting for morning. Then watch one full cycle before you trust it.
Sunset is usually one tap away from the clock option in the same dialog, often labelled At sunset or Sun event. Set the hour and minute for a fixed schedule, or pick sunset and adjust the offset when you want the lights to come on before it gets dark rather than after.
If you want a wind-down instead of a hard off, set the brightness and colour temperature in the action rather than only on and off. Dimming to a warm 30% at 10:30 pm reads better than going black at the same second.
How to Automate Your Lights on a Schedule with Smart Switches
A smart switch is the right call when the bulbs are already in place, when the fixture is too high to reach for a bulb, or when you want the wall switch to keep working normally.
- Choose the switch type. Plain on/off for non-dimmable fixtures, dimmer for LED loads, and a three-way or four-way variant if the light is controlled from more than one location.
- Power off at the breaker before removing the existing switch. Follow the wiring diagram that came in the box.
- Wire and secure the new switch, then restore power and turn the wall switch on once so the switch joins the network.
- Pair it in the app using Add Device. Confirm that the app reports both an on and an off state when you press the switch by hand.
- Create the schedule against the switch or the room group it belongs to, with the same weekly repeat you used for bulbs.
- Verify normal use. Flip the wall switch a few times and watch the app state follow. If the app state does not track the physical switch, the schedule will fire at the wrong times.
Most current switches have a setting for what the physical switch does. If you pick the option that cuts power to the fixture, any schedule stops whenever someone hits the switch. Choose the setting where the switch sends a command instead of breaking the circuit, and set it at the documented speed. Many bulbs then have their own software-level cutoff for that case.
For lamps you would rather not rewire, the usual move is to leave the existing bulb and dimmer alone and let a smart switch or smart plug do the scheduling. Home automation forums repeat the same advice: the controller, not the fixture, decides when things switch on.
How to Automate Your Lights on a Schedule Using a Hub or Voice Assistant
Once you have more than two rooms, stop creating schedules light by light. Group first, then schedule the group. That single habit is the difference between six rules and sixty.
- Google Home. In the Google Home app, open Home, scroll to Automations, and create a routine. Pick At a time or At sunset, choose the days, select the device or group under Then, set brightness or colour temperature if you want it, and save. Routines created under your home are shared with the household automatically.
- Amazon Alexa. In the Alexa app, open Routines, tap Create routine, choose At a time or At sunset, then set what Alexa should do and which lights or group to act on. Build the group first in the app’s Groups area, or the routine will only ever see one bulb.
- SmartThings. Tap the plus button, choose Automation, name it, set the condition (time of day, date, or sunset and sunrise), then add an action that turns the light on or off and sets level. Save it under a name you will recognise in six months.
- Apple Home and Shortcuts. In the Home app, use the automation editor and a time or sunrise and sunset trigger. For anything more layered, build a shortcut that turns the lights on or off, then in the Shortcuts app open Automation, Create Personal Automation, choose Time of Day, and pick that shortcut.
- Home Assistant. Go to Settings, then Automations and scenes, then Create automation. Use the visual editor to add a time or sun event trigger, an optional condition such as a workday sensor, and your action, then use the run button to test before saving.
A sun event trigger with a negative offset is the quiet favourite among Home Assistant users, because the darkness moves all year while a fixed clock time does not. A 30-minute negative offset means lights at half an hour before sunset, which is the practical reading time in most rooms.
After you create a routine in a voice platform, confirm it landed in the right home and the right room. A Google Home routine created on a tablet signed into a second account is the most common reason a schedule appears in the app but never runs.
Common Mistakes
Routines rarely fail loudly. They fail silently, and you notice days later. Work through this list in order when a schedule does not fire.
- Wrong time zone or daylight saving mishap. Check the time zone setting inside the lighting app, not just on your phone. A rule created as an absolute offset from UTC will drift twice a year; a local-time rule will follow the clock correctly but will not follow the sunset.
- The schedule is disabled. Many apps let you switch a schedule off without deleting it, and the row looks identical when it is greyed out. Open the schedule and confirm it is enabled.
- Two networks instead of one. Guest Wi-Fi, IoT VLANs, and some mesh setups keep the phone and the bulb apart. The bulb will appear offline even though both are working.
- The wall switch is off. It cuts power to a smart bulb, so the schedule has nothing to switch. Put the switch permanently on and accept the muscle memory.
- The device lost power. After a power cut or a breaker reset, bulbs rejoin slowly and some take minutes to pick their schedule back up. Power-cycling a hub or a bulb is usually enough.
- Incompatible hardware. Non-dimmable bulbs on a dimmer, a cheap non-Zigbee bulb on a Zigbee hub, or a device on the wrong Wi-Fi band. Check the compatibility list in the app before you rebuild anything.
- Naming collisions. Two devices with the same name, or a room and a light sharing one, make voice and routine targeting unpredictable. Prefix names by room, for example “Hall downlights”, and keep them unique.
- Conflicting automations. A dimming schedule and a brightness-dependent feature such as adaptive lighting will fight each other. Decide which one owns brightness and remove the other.
- Cloud dependency. A cloud-run routine needs the vendor’s servers and your internet connection. During an outage it quietly does nothing.
Two habits fix most of the above. Test every schedule from the app the day you create it rather than waiting for the first trigger, and write a short list of what each routine is supposed to do. Users on home automation forums describe the same problem in different words: a pile of unnamed automations that nobody dares to touch, and the fix is always to delete the duplicates and rebuild four clear ones.
Beyond that, review your schedules twice a year. Sunset offsets and seasonal routines need adjusting, and a five-minute tidy now beats an hour of tracing broken rules later.
Frequently Asked Questions
Can I automate lights without a smart hub?
Yes, for most people a hub is unnecessary. Wi-Fi and Bluetooth smart bulbs connect straight to the manufacturer’s app on your phone and run their own schedules on the device, so a schedule keeps working even when the router is busy. A hub earns its place when you use Zigbee or Thread bulbs, want several brands in one app, or want automation that runs locally without the cloud.
What is the difference between a lighting schedule and a routine?
A schedule is the narrow case: a time of day, a set of days, and an on or off action. A routine is the wider feature, and it can combine several triggers, conditions, and actions, such as turning lights on at sunset only on workdays and dimming them at 10:30 pm. Most apps use the words interchangeably, so read the description of what the rule actually contains.
Will my light schedule keep working if the internet goes down?
It depends on where the automation runs. Schedules stored in the bulb, hub, or a local Home Assistant install keep firing through an outage, because the rule lives on your network. Cloud-run routines in Google Home, Alexa, SmartThings, and Apple Home need both your connection and the vendor’s servers, so they will skip a trigger while you are offline and usually catch up or fail quietly.
How do I set different schedules for multiple rooms?
Group by room first, then schedule each group instead of each bulb. In Google Home, Alexa, and SmartThings you can create a room or device group and target that group in one routine. Home Assistant users often group lights into a named area or use a helper group, which keeps the routine list short and stops automations piling up light by light.
What happens to my light schedule after a power outage?
The schedule itself is not lost. Bulbs and hubs rejoin your network after power returns, reload their rules, and re-sync the clock, though it can take a few minutes. The usual problem is a hub that boots before your router, leaving devices offline until it is restarted, so check the hub first and power-cycle it if nothing responds.
Should I use smart bulbs or smart switches?
Use smart bulbs for table lamps and fixtures you can reach easily, since nothing else changes. Use smart switches for ceiling fixtures, porch lights, pull chains, and any room with more than one switch, because they keep the bulbs you already own and the wall switch stays usable. Smart plugs sit between them for anything with its own cord and a reachable outlet.
Start with one room. Pick the two lights you always forget, group them, give the routine a name that says what it does, and test it the same day. Once that one works, copying the pattern across the rest of the house takes minutes rather than an evening, and you will have learned how to automate your lights on a schedule for every room you own.