Git is a free, open-source version control system that records every change you make to a project’s files, so you can see what changed, go back to any earlier version, and work on risky ideas without breaking the version that works. Learning how to use Git for beginners takes about an hour of practice if you follow one project all the way through: install Git, tell it who you are, create a repository, make your first commit, and look at the history you just created.
Most people get stuck on Git for one reason: nobody shows them the whole loop. They learn three commands from a video, forget them, and conclude Git is for other people. This guide keeps one small practice project open from the first command to the first push, so you see what each command does to the same folder.
You do not need programming experience. You need a computer, a terminal, and about ten commands you will use constantly.
Table of Contents
- 1What You Need
- 2Install Git on macOS, Windows, or Linux
- 3Tell Git who you are
- 4Step-by-Step: How to Use Git for Beginners
- 51. Create a repository with git init
- 62. Check what Git sees with git status
- 73. Choose what to record with git add
- 84. Save a commit
- 95. Read the history with git log and git diff
- 10How do I know my Git changes were saved?
- 116. Branch, change, and merge
- 12How do branches work in a beginner Git project?
- 137. Connect a remote and push
- 14Common Mistakes
- 15Undo commands compared
- 16What not to commit
- 17Five habits that prevent most pain
- 18Frequently Asked Questions
- 19Do I have to learn Git on the command line?
- 20What is the difference between Git and GitHub?
- 21Is Git suitable for someone who does not write code?
- 22How do I undo changes I already committed?
- 23Why does Git insist on git add before git commit?
- 24How do I start using Git with a project that already exists?
- 25Conclusion
What You Need
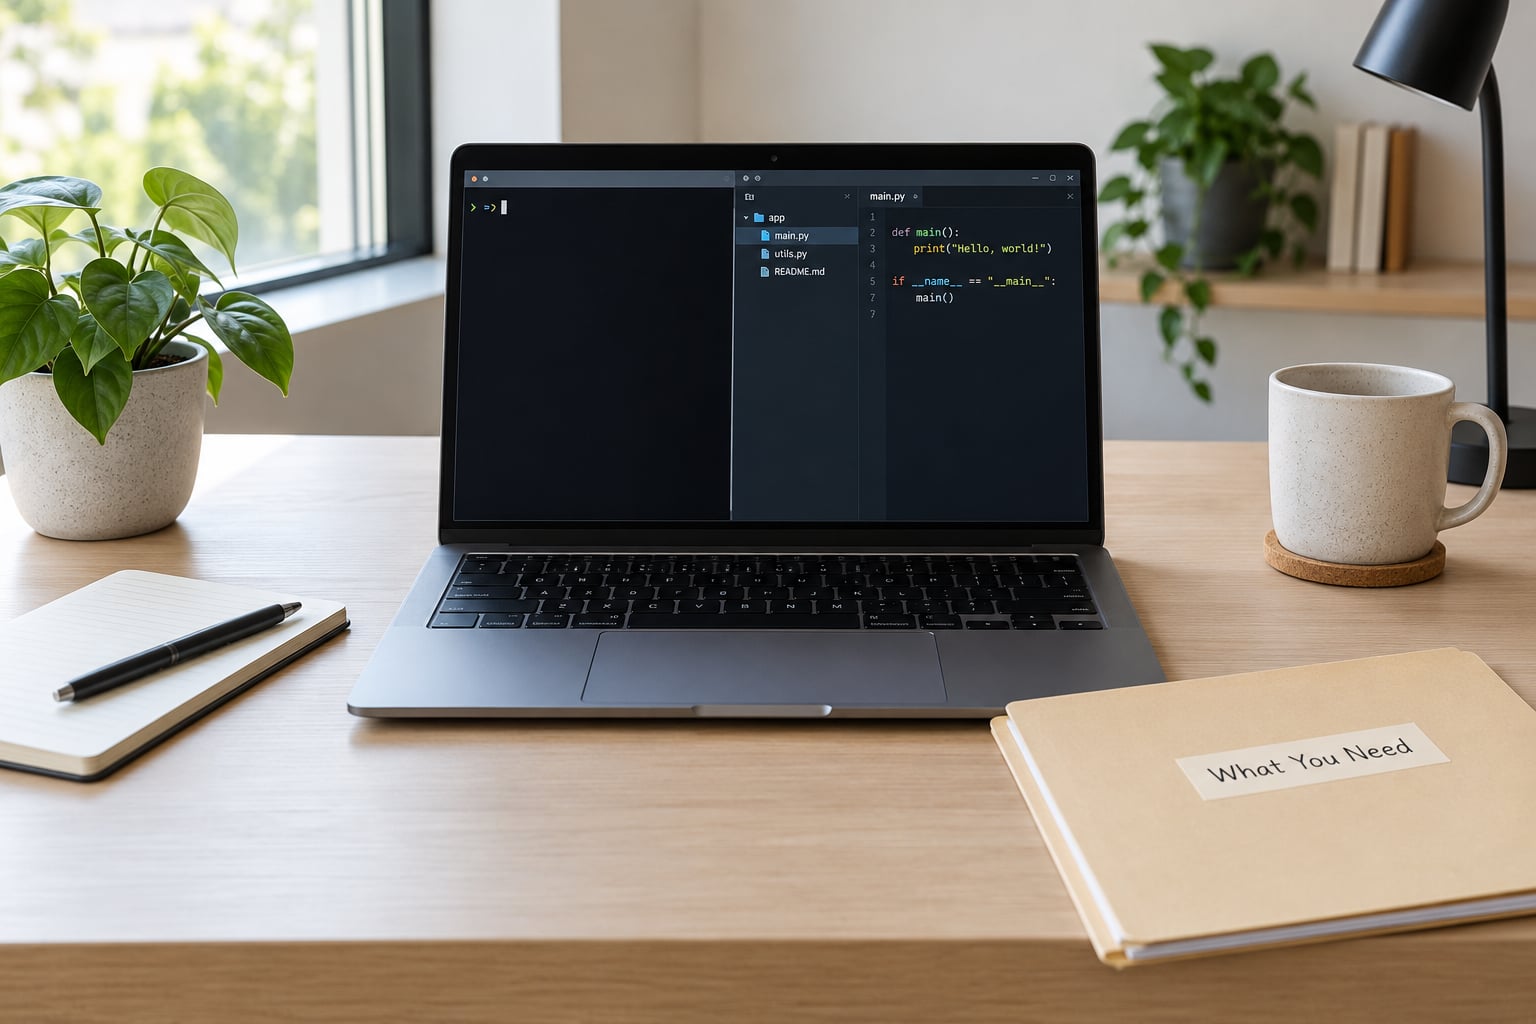
Four things, and only the first two are mandatory: a computer with Git installed, a terminal, a text editor or IDE for writing project files, and optionally an account on a hosting service like GitHub, GitLab, or Bitbucket.
The terminal is the app you type commands into. On macOS it is called Terminal and lives in Applications > Utilities. On Linux open your distribution’s terminal app. On Windows, installing Git also installs Git Bash, a terminal that understands the same commands as macOS and Linux, which saves a lot of confusion later. PowerShell and Command Prompt work too, but Git Bash behaves identically to the tutorials you find online.
Install Git on macOS, Windows, or Linux
On macOS with Homebrew, run brew install git. Many Macs already ship with a basic version of Git, so check first with git --version before installing anything.
On Windows, run this in PowerShell:
winget install --id Git.Git -e --source winget
If you downloaded the installer manually, tick the box that adds Git to your PATH and accept the default line ending settings. Afterward, right-click any folder in File Explorer and you should see Git Bash Here, which is the fastest way to open a terminal already pointed at the right directory.
On Ubuntu or Debian:
sudo apt update
sudo apt install git
On Fedora:
sudo dnf install git
Verify it worked by typing git --version. Any output that starts with git version means Git is installed and ready.
Tell Git who you are
Every commit records an author name and email, and Git refuses to commit until those two settings exist. That is what causes the Please tell me who you are message that surprises a lot of new users. Set them once per computer:
git config --global user.name "Your Name"
git config --global user.email "[email protected]"
Use the email you plan to use on GitHub or GitLab. Check the result any time with git config --list, or check one value at a time with git config user.name.
Step-by-Step: How to Use Git for Beginners
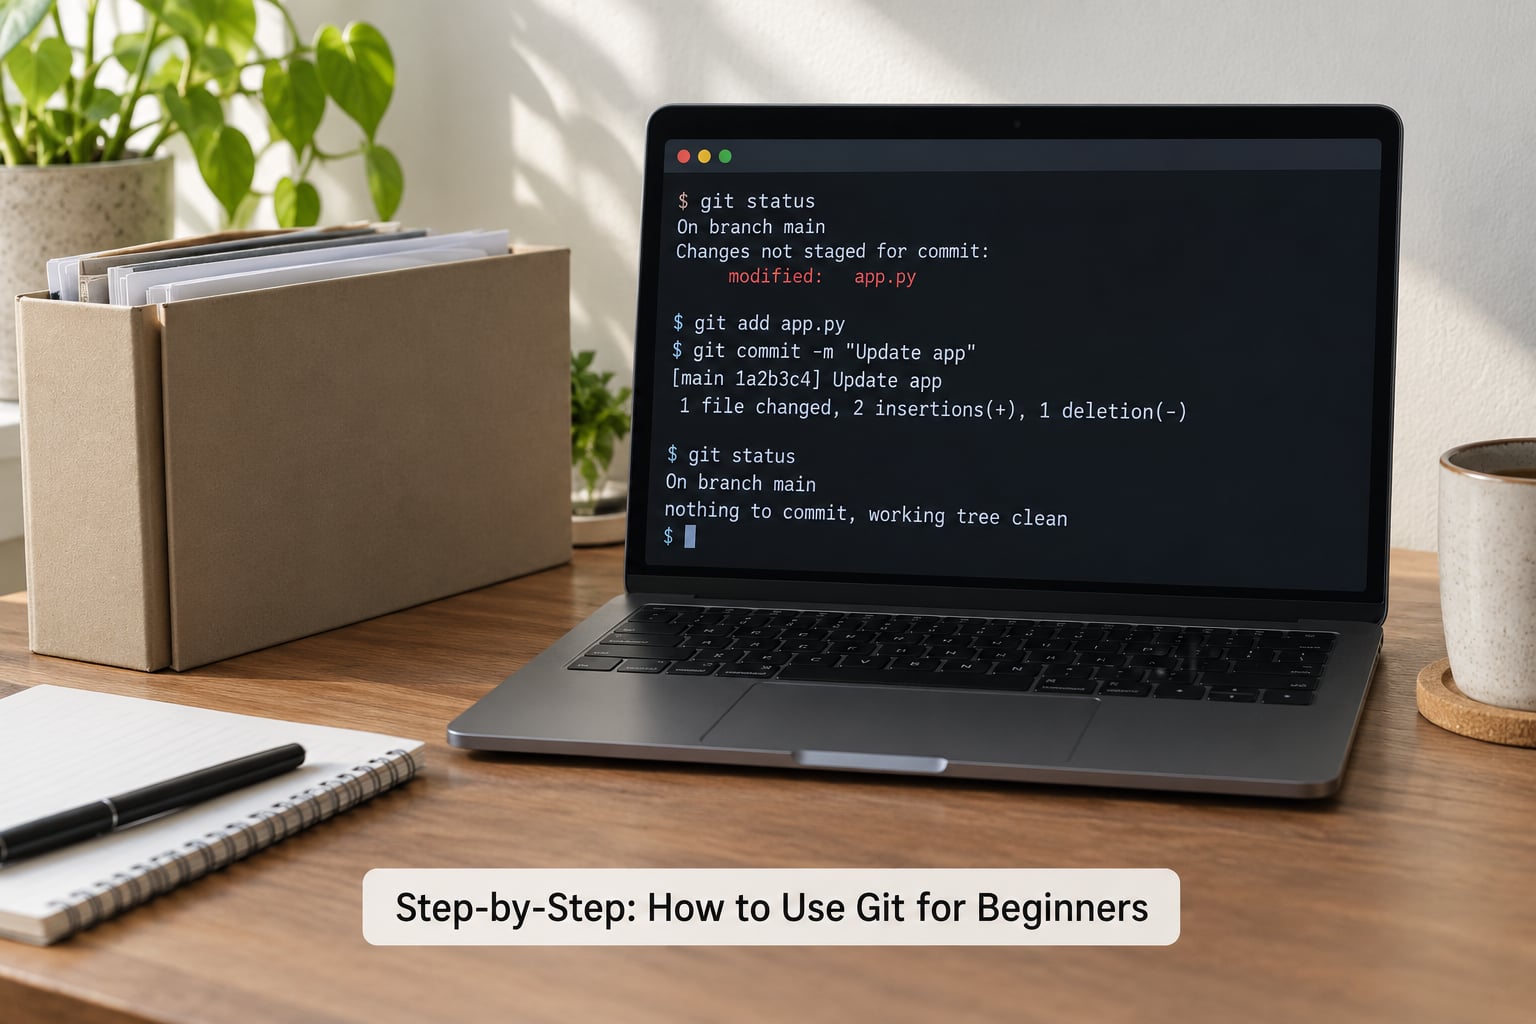
Work through these steps in one folder. Create a directory called git-practice, put a text file in it, and change into that folder in your terminal using cd git-practice. Every command below runs from inside it.
1. Create a repository with git init
git init
That single command creates a hidden .git folder inside git-practice. The .git folder holds the entire history: commits, branches, config, and author information. Never edit it by hand, and never copy it somewhere on its own, because a repository is only the folder plus its .git directory.
You should see output along the lines of Initialized empty Git repository in /Users/you/git-practice/.git/. That confirms the repository exists.
2. Check what Git sees with git status
git status
Run it often, more often than feels necessary. Git lists files as untracked (Git has never seen them), modified (you changed them since the last commit), or clean. Until you tell Git which files to track, it deliberately ignores them, so a new file sitting in the folder shows as untracked rather than modified.
3. Choose what to record with git add
git add notes.txt
git add .
git add copies the current version of a file into the staging area, a holding pen for the changes you intend to commit. Git gives you three places to work: the working directory where you edit files, the staging area where you pick what goes in, and the repository where finished snapshots live. This staging step is why beginners ask why they cannot simply commit straight away, and the answer is control. Staging lets you commit one clean change instead of a messy mix of everything you touched while debugging.
git add . stages everything changed in the current folder and its subfolders, which is what you want most of the time. git add -A stages changes across the whole repository including deletions and files nested elsewhere. git add * only picks up some of them and skips files whose names begin with a dot, which is why experienced users avoid it.
Run git status again. Your file now appears under Changes to be committed instead of Untracked files. That move is how you know staging worked.
4. Save a commit
git commit -m "Add project notes"
A commit is a snapshot with a message attached, plus a unique ID called a commit hash. Write the message in the present tense describing what the change does: “Fix login redirect”, not “stuff”. Future you reads those messages to work out why something was written, and a clear message is most of the value of using Git at all.
Good commit messages:
- “Add contact form validation”
- “Fix crash when config file is missing”
- “Update README install steps”
Git prints the short hash, the branch name, and the files changed. Seeing that output means your work is safely recorded on your machine.
5. Read the history with git log and git diff
git log --oneline
git log --oneline --graph --all
git log shows every commit, newest first, with author, date, and message. The --oneline flag compresses each entry to one line, and --graph --all draws the branch structure once you have more than one branch.
git diff shows unstaged changes line by line. git diff --staged shows what you have staged and not yet committed. Both are the fastest way to check your work before you commit it.
How do I know my Git changes were saved?
Ask Git, in this order: git status for the summary, git diff for the unstaged line-by-line detail, git diff --staged for what is waiting in the staging area, and git log for the list of commits already saved.
If git status says working tree clean, there is nothing outstanding: every change is inside a commit. If a file appears under Changes not staged for commit, you edited it but never ran git add. If it appears under Changes to be committed, it is staged and waiting for git commit.
6. Branch, change, and merge
git switch -c new-idea
git add .
git commit -m "Try the new layout"
git switch main
git merge new-idea
A branch is a movable label pointing at a commit, and creating one costs nothing. You can experiment on new-idea while main keeps pointing at the working version, then merge when you are happy. git branch lists branches, git switch main goes back, and git branch -d new-idea deletes the branch once it is merged.
Newer Git tutorials use git switch and git restore because they say what they do. Older material uses git checkout for the same job, and you will see both in the wild. If git merge stops with a conflict, open the named file, look for the <<<<<<<, =======, and >>>>>>> markers, decide which version you want, delete the markers, then run git add and git commit to finish. Nothing is lost until you abort, and git merge --abort cancels the whole operation.
How do branches work in a beginner Git project?
Each branch is an independent line of work that shares the same history up to the point it was created. You switch between branches with git switch branch-name, make separate commits on each, and combine them with git merge branch-name while you are standing on the receiving branch.
If you create a branch and decide the idea was a mistake, switch back and delete it. Unmerged work disappears with it, so commit anything you want to keep on main first. A conflict means the same lines changed differently on both branches. Git marks the file, you pick a version, and the merge completes once every file is staged and committed.
7. Connect a remote and push
git remote add origin https://github.com/you/git-practice.git
git push -u origin main
Replace the URL with your own. On GitHub, open your profile, go to Settings, then Developer settings, and choose Personal access tokens. Create a token, keep it somewhere safe, and paste it in when Git prompts for a password during the push, because GitHub stopped accepting account passwords for command line access. GitLab and Bitbucket use the same idea.
git pull
git fetch
git push uploads your commits to the remote repository. git pull downloads incoming commits and merges them into your current branch, and it can produce the same conflicts a merge does. git fetch downloads without merging, which is the safer habit when you are not sure. The -u flag in the first push sets the upstream so later pushes are just git push.
You can also copy an existing repository instead of creating one, using git clone followed by the HTTPS or SSH URL that the hosting service shows on the repository page.
Common Mistakes
Almost every beginner Git problem is one of a short list, and the error text usually tells you which one it is.
| What you see | What it means | Fix |
|---|---|---|
Please tell me who you are | No author name or email set | git config --global user.name and user.email |
fatal: not a git repository | You are in the wrong folder, or you never ran git init | cd into the project folder and run git init |
| Push asks for a password, then fails | Hosting services no longer take account passwords for Git | Create a personal access token and paste it as the password |
Updates were rejected or non-fast-forward | Someone else pushed commits to the same branch | git pull, resolve anything that conflicts, then push again |
nothing added to commit but untracked files present | You created files but never staged them | git add ., then commit |
CONFLICT (content): Merge conflict in file | Both branches changed the same lines | Edit each marked file, git add it, then git commit |
| Your changes vanished after a checkout | Changes lived only in the working directory | Check git stash list and git reflog before rewriting anything |
Committed secrets or a huge node_modules | You committed what should have been ignored | Add those entries to .gitignore before committing next time |
Undo commands compared
Fear of destructive commands stops a lot of beginners, and the fear is mostly out of date. Pick the command that matches what you want to happen.
| Command | What it does | Use it when |
|---|---|---|
git restore file.txt | Discards unstaged edits to a file | You changed something by accident and have not staged it |
git restore --staged file.txt | Removes a file from the staging area, keeps the edit | You staged the wrong file |
git stash | Shelves changes and cleans the folder | You need a clean tree to switch tasks |
git revert <hash> | Creates a new commit that undoes an old one | The commit is already pushed, so history must stay intact |
git reset --hard <hash> | Moves your branch pointer and discards local changes | You are still local and certain the old commit was wrong |
git reflog | Lists every position HEAD has held | You think you lost a commit or deleted the wrong branch |
git reflog is the safety net behind all of them. Every commit and branch move is recorded locally for weeks, so almost anything that looks lost can be recovered by finding its hash in the reflog and resetting to it.
What not to commit
Create a file named .gitignore in your project root before your first commit. It lists files Git should never track:
# Secrets
.env

# Dependencies
node_modules/

# Build output and logs
dist/
build/
*.log

# Editor and OS clutter
.DS_Store
.vscode/
Once a secret is committed, deleting the file in a later commit does not remove it from history, so prevent the first mistake rather than cleaning up after it. Rotate any credential that has already been pushed.
Five habits that prevent most pain
- Commit often, in small pieces with one subject per commit.
- Run
git statusbefore anything else when output confuses you. - Test an idea on a branch, never directly on
main. - Write messages that describe the change, not the act of committing.
- Pull at the start of a work session and push at the end of it.
Frequently Asked Questions
Do I have to learn Git on the command line?
No, and many people never do. GitHub Desktop, GitHub’s web editor, and the Source Control panel inside VS Code wrap the same Git commands in buttons and lists, and they are a sensible way to start if the terminal feels like a barrier. The catch is that you still need to know what stage, commit, branch, and push mean, because those tools show you the same concepts. Learn the commands later when you want the full control.
What is the difference between Git and GitHub?
Git is software you install on your computer that tracks file changes locally. GitHub is a website where you store that history online and collaborate with other people. Git works completely offline and GitHub is optional, though you need a hosting service like GitHub, GitLab, or Bitbucket to share work or back it up. Other tools like Subversion also exist; GitHub is simply the most widely used host.
Is Git suitable for someone who does not write code?
Yes. Git tracks any file you can edit, including Word documents, spreadsheets, shell scripts, configuration files, and notebooks. Writers, data scientists, and system administrators use it for the same reason developers do: to see exactly what changed, recover an earlier version, and test an edit on a branch without disturbing the working copy. The commands are identical regardless of what is inside the files.
How do I undo changes I already committed?
It depends on whether the commit left your machine. For a local commit, git reset –hard hash moves your branch back and discards the changes. For a commit already pushed, use git revert hash, which adds a new commit that reverses it and keeps the shared history intact. If you have lost track of the hash, git reflog lists recent positions so you can find it.
Why does Git insist on git add before git commit?
Git separates deciding what goes into a commit from saving it. git add moves chosen files into the staging area, which is the exact set of changes the next commit will contain, and git commit writes only that set. Without the staging step, every commit would swallow every file you happened to touch, including half-finished debugging work. It is an extra step that buys you clean, reviewable history.
How do I start using Git with a project that already exists?
Skip creating anything new. Open a terminal, change into the folder that holds your existing files, and run git init. Then create a .gitignore so generated files stay out, run git add ., and make your first commit. If you want a backup copy online, create an empty repository on your hosting service, run git remote add origin with its URL, and push.
Conclusion
Run the same five commands in a scratch folder before you touch anything real: git init, git status, git add ., git commit -m "First commit", then git log --oneline. Repeating that loop until it feels boring is the fastest way to learn how to use git for beginners, because the mental model clicks only once you have watched a file move from untracked to staged to committed.
Once that is comfortable, add branches, then remotes, one at a time. Git stopped being confusing for me when I stopped treating commits as uploads and started treating them as local snapshots I choose to share.