If your motion sensor keeps alerting you when nobody is there, the fastest fix is almost never a new sensor. Start by reading the alert history for patterns, then check where the sensor sits and what crosses its detection zone, and adjust one setting at a time until the nuisance triggers stop. Most people solve this in an afternoon.
The reason matters. A passive infrared (PIR) sensor does not detect movement; it detects changes in infrared energy across a grid of Fresnel lens zones. A warm body crossing those zones changes the signal enough to trip the sensor, which is why sunlight through a window, an HVAC vent pushing a curtain, or a 70-pound dog jumping on a couch can produce the exact same result as an intruder.
That shared mechanism is the whole story. Once you know the sensor is reacting to heat-pattern change rather than to a person, the troubleshooting stops being guesswork. The order that works in 2026, whether you run an alarm panel or a consumer camera, stays the same: pattern first, placement second, settings third, hardware last.
Table of Contents
- 1What You Need to Reduce False Alerts on Motion Sensors
- 2Step-by-Step Troubleshooting
- 31. Identify When False Alerts Happen
- 42. Check Sensor Placement and Detection Area
- 53. Adjust Sensitivity, Range, and Motion Zones
- 64. Reduce Pet and Environmental Triggers
- 75. Verify Power, Environment, and Hardware
- 86. Test and Confirm the Fix
- 9Common Mistakes When You Try to Reduce False Alerts
- 10Maintenance and monitoring habits
- 11Frequently Asked Questions
- 12Why is my motion sensor triggering without anyone walking by?
- 13What is the best setting for reducing false alerts from pets?
- 14Can I reduce false motion alerts without creating blind spots?
- 15Should I replace a motion sensor after repeated false triggers?
- 16Why does my outdoor motion sensor alert at night?
- 17How do I stop security app motion notifications without changing detection?
- 18Conclusion
What You Need to Reduce False Alerts on Motion Sensors
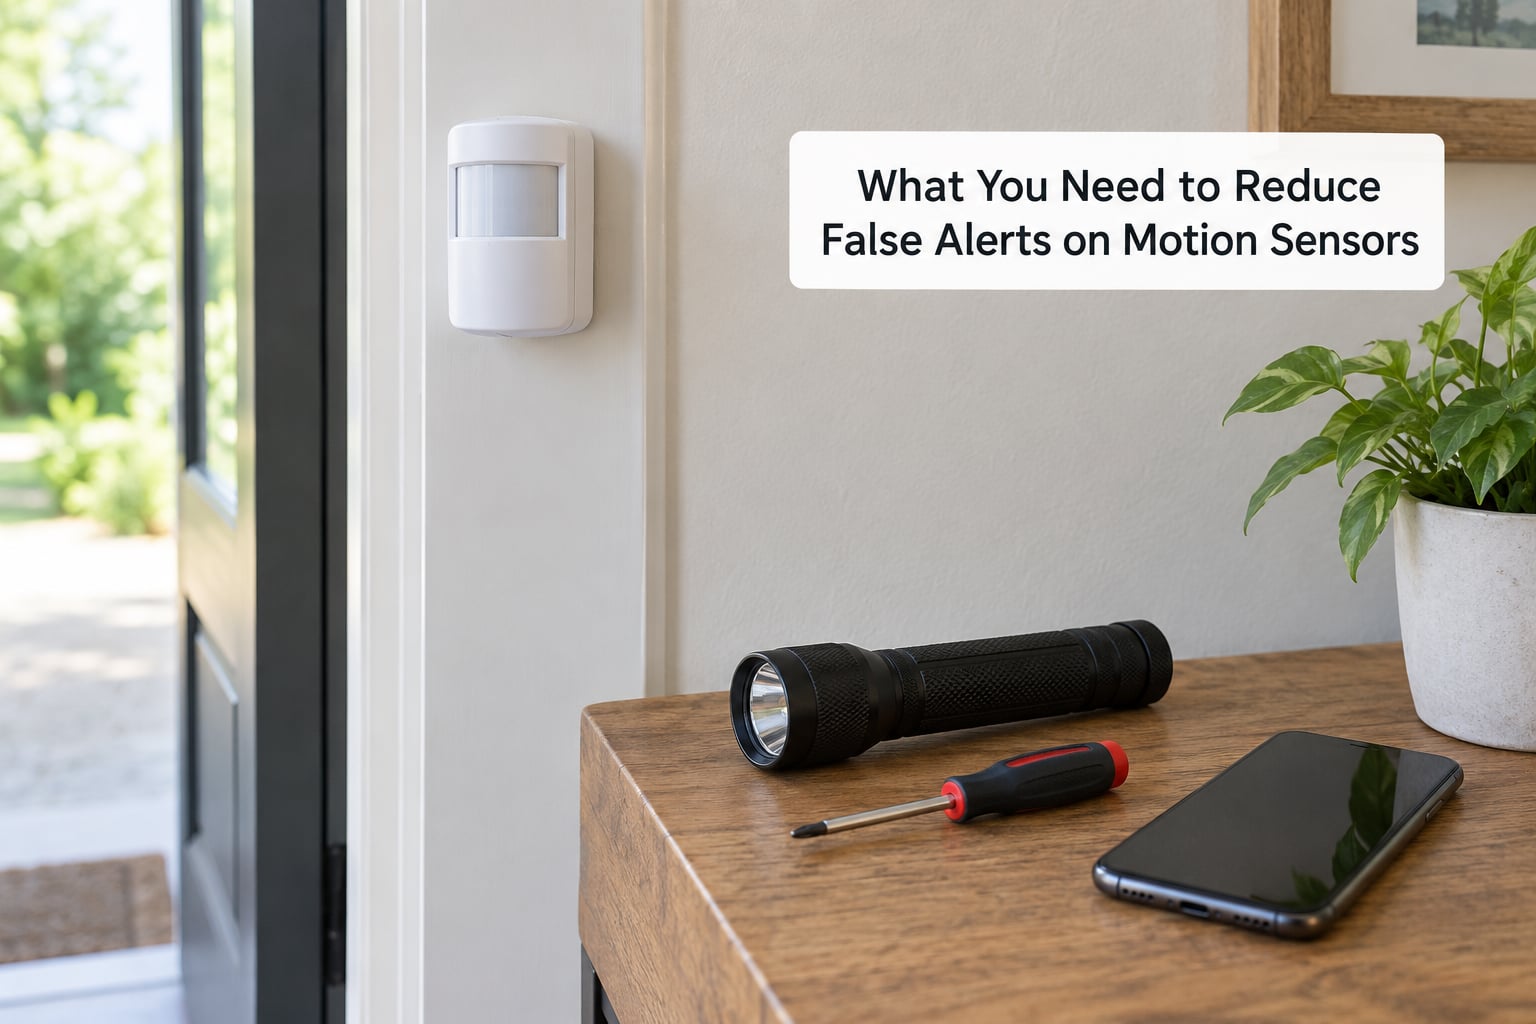
Before you change anything, gather what you need. Most of this job is observation, so the important items are access to your logs and a way to see the sensor’s face clearly.
- The sensor model and its manual — the model number is usually printed inside the housing or on the back label, and it tells you whether pet immunity or adjustable sensitivity exist at all.
- Access to your panel or app — you need the settings, the sensor’s zone assignment, and the event log where each alert is timestamped.
- A ladder or step stool — many sensors sit 6 to 8 feet up in a corner.
- A flashlight — for checking the lens, the mounting screws, and any gap behind the housing.
- Your phone — for photographing the sensor position, recording the time of each trigger, and watching the live feed while you walk.
- A notepad or note app — write down what you changed and when, because you will want to undo the wrong adjustment.
If your sensor is hardwired and part of a monitored system, ask your monitoring provider before touching anything. Some panels log settings changes and some companies require a technician code.
Step-by-Step Troubleshooting
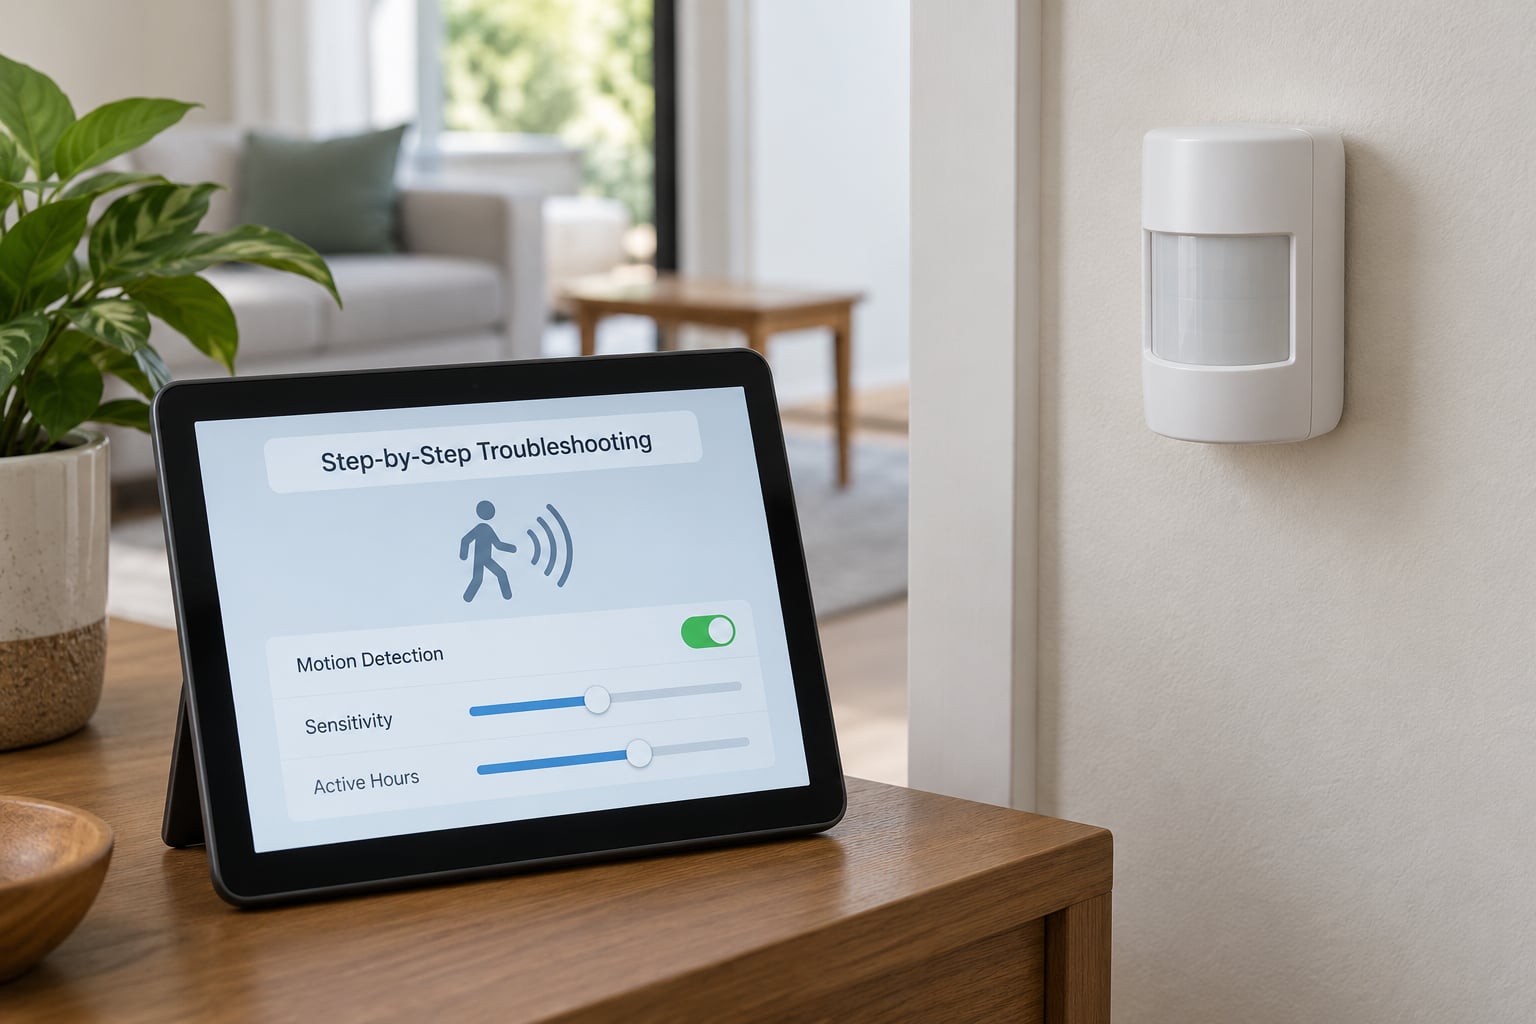
Work through these six steps in order. Each one costs a few minutes, and stopping early wastes less time than turning the sensitivity slider down to minimum and hoping.
1. Identify When False Alerts Happen
Read the alert log for the last week and record the time of every false trigger. What you are looking for is a pattern, not a diagnosis.
Note the time of day, the direction or zone that fired, whether anyone was home, the weather, and whether a pet was active. One recurring pattern is sun through windows, and it explains alerts that appear at the same hour on clear days and disappear during rain.
Write each entry in one line: date, time, zone, and what was happening in the room. After six or seven entries the cause usually names itself.
2. Check Sensor Placement and Detection Area
Most false alerts trace back to something physical in the detection zone. Stand where the sensor is mounted and look along its field of view, not at it.
Look for these specific problems:
- Sunlight or glare on a window or mirror — a moving sun patch or a reflection walks straight through the zone.
- HVAC vents, ceiling fans, fireplace, or a heater — moving warm air shifts the infrared background and can trigger the sensor repeatedly.
- Curtains, blinds, plants, drying laundry, or a decoration on a stand — anything that moves inside the zone.
- A busy street, driveway, or sidewalk — headlights, passing cars, and pedestrians all cross the zone.
- An open door or window the sensor covers — the breeze alone is enough.
Fixes are usually small. Turn the sensor a few degrees so the window is out of the cone, move the device to a side wall, or close the door and re-test. If the sensor has physical masking lenses, fit them over the zones that cover the problem area rather than reducing the whole sensor.
3. Adjust Sensitivity, Range, and Motion Zones
Only change settings after placement is right. A sensitivity slider cannot tell a person from a curtain, so it will never solve a placement problem without costing you real detection.
Menu names differ by system, so here is the general path. In most systems: open the app, select the device, then look for Motion Settings, Sensitivity, Motion Zones, or Detection Settings.
- Reduce detection range first — a shorter range is the least damaging adjustment because it trims the far end of the zone where traffic and foliage usually sit.
- Lower sensitivity in small steps — drop it about 20 percent, re-test for a day, then decide whether to go further.
- Turn on person-only or intelligent detection — if the camera supports AI person or vehicle classification, enable it and keep activity alerts off.
- Mask or disable one bad zone — a targeted exclusion beats a global sensitivity cut.
- Check schedule and arming rules — some systems are armed overnight and still alerting while you are home, which produces duplicates.
One warning worth taking seriously: turning sensitivity all the way down is the advice that breaks real security. A sensor so insensitive that it misses a person at the window is worse than a noisy one, because the noise can be ignored while the miss cannot.
4. Reduce Pet and Environmental Triggers
Pets are the second most common cause in pet households. The rating on the box refers to a weight threshold, often 40 to 80 pounds, and that threshold fails in a predictable way: a large pet that jumps onto furniture puts its torso closer to the sensor than the rating assumes.
Pet-immune sensors use a modified Fresnel lens that splits the detection pattern into a lower zone with less sensitivity. That helps with pets on the floor and fails with pets on furniture. Real-world options in order of my preference:
- Move or re-aim the sensor so the pet’s favorite furniture sits outside the zone.
- Use the masking lenses on the lower, pet-level zones.
- Set a lower detection range so the pet has to pass through a narrow corridor to reach the zone.
- Enable person-only detection on cameras, which is the single most effective filter for pet households.
- Replace the sensor with one rated for your actual pet size if the household has two large animals.
Outdoors, the same logic applies to branches, clouds casting moving shadows, insects near the lens, and vehicles at the curb. Shadow alerts are the hardest to tune out because the shadow crosses at the same speed a person does; restricting the zone to a walkway rather than the whole yard usually works better than lowering sensitivity.
5. Verify Power, Environment, and Hardware
If a sensor has been false-alarming since you replaced its batteries, that is the prime suspect. Low battery voltage degrades the sensor’s ability to distinguish a weak signal from noise, and the result is a sensor that reports everything. Check the battery level in the app before anything else, and replace the cells or the pack even if the app says the level is acceptable.
Then check the physical unit:
- Lens cleanliness — dust, cobwebs, and a spider nest just in front of the lens are a common cause and take a minute to fix with a dry cloth.
- Condensation or moisture — outdoor and garage sensors fog inside, and moisture on the lens flattens the detection pattern.
- Mounting stability — a sensor knocked slightly out of level or moved by a door can face a completely different zone than the one you tested.
- Temperature extremes — sensors perform worst in unheated garages and attics in deep winter.
- Wireless signal strength — weak signal causes dropped reports and retries, which show up as odd behavior rather than clean misses.
Hardwired sensors have their own checklist: check the terminals for a loose connection, confirm the voltage at the detector matches the panel’s requirement, and look for corrosion. Anything involving mains wiring or a hardwired alarm loop belongs to a licensed technician.
6. Test and Confirm the Fix
A fix you have not tested is a guess. Run a controlled walk test in the same conditions that produced the alerts.
- Daylight test — open the app live view and walk the intended detection path at normal walking pace, then repeat it from a crouch and from a climb.
- Night test — repeat after dark with lights off, because night-specific triggers behave differently.
- Pet test — if there is a pet, have it use its usual routes and furniture for a few minutes.
- Negative test — stand in the area that used to trigger and stay still for several minutes. You should get nothing.
- Log review — wait 24 to 48 hours, then read the log again and confirm the pattern is gone.
If the log still shows triggers in the same spots, revert the last change before making another one. Changing five things at once is the fastest way to end up back where you started.
Common Mistakes When You Try to Reduce False Alerts
Dropping sensitivity to the minimum. It silences the alerts and quietly removes your ability to detect a real intruder. Adjust range and zones instead, then re-test.
Changing several settings before each test. You cannot attribute the result to any single change. Make one change, test for a day, record the outcome.
Ignoring the log. Without timestamps and zones, you are guessing at a cause. Ten minutes reading the history saves hours of blind adjustment.
Masking the sensor’s face with tape or a cover. It blocks part of the lens and creates an unpredictable blind spot rather than a defined one. Use the manufacturer’s masking lenses if they exist.
Blaming the sensor when the battery is low. A depleted battery is the most common hardware cause and the easiest to rule out. Replace it before declaring the unit faulty.
Installing a replacement without walking it first. The new sensor will face the same window or the same pet path and produce the same alerts. Test the position before the purchase.
Assuming false alerts can be eliminated. They can be reduced to a level you can live with. A sensor in a busy environment will always have some residual noise, and expecting zero leads people to disable detection entirely and end up with no protection at all.
Maintenance and monitoring habits
Wipe the lens with a dry microfiber cloth every month or two, and check the battery level on the same schedule. Run a walk test each season, since temperature shifts change how a sensor reads a room. If your system is monitored, repeated false dispatches can run into local false alarm ordinances, so keeping your own trigger rate low protects both your record and your wallet.
Frequently Asked Questions
Why is my motion sensor triggering without anyone walking by?
Most sensors respond to changes in infrared energy, not to people. Sunlight moving across a window or mirror, HVAC airflow shifting a curtain, insects at the lens, a pet on furniture, and passing cars in view are the usual triggers. Check the event log for a time pattern, then inspect what actually crosses the detection zone before touching any settings.
What is the best setting for reducing false alerts from pets?
Enable person-only or intelligent detection if your camera offers it; that filters more pet movement than any sensitivity slider. Otherwise use the masking lenses over the lower zones, lower the detection range, and re-aim the sensor so your pet’s furniture sits outside the cone. Pet immunity ratings are weight thresholds, roughly 40 to 80 pounds, and they fail once an animal jumps up.
Can I reduce false motion alerts without creating blind spots?
Yes, if you trim zones and range instead of sensitivity. Excluding the window or driveway that causes the nuisance alerts removes only the problem area, while turning sensitivity down to minimum weakens detection across the entire field. Change one setting, run a walk test, and confirm you still catch a person walking slowly through the intended path.
Should I replace a motion sensor after repeated false triggers?
Replace it only after you have ruled out the cheap causes: battery level, lens dirt, moisture, mounting position, and a detection zone pointed at a window or busy street. If alerts continue through a controlled walk test with clean power and correct placement, the unit is likely faulty. Replacing it without testing the position first usually reproduces the same false alerts.
Why does my outdoor motion sensor alert at night?
Night brings several new triggers that daylight hides: insects drawn to porch lights, headlights and street lighting crossing the zone, temperature swings that upset the sensor’s background calibration, and small animals. Restrict the zone to the walkway or entrance rather than the whole yard, keep the lens clean, and choose a sensor with a sealed housing rated for outdoor use.
How do I stop security app motion notifications without changing detection?
If the detection settings are already correct, the fix is in the notification layer. Disable activity or motion-only alerts and keep person or vehicle alerts on, adjust the quiet hours window for night alerts, and lower the notification priority so events do not interrupt. Set one device as the only one that sends pushes so a single movement does not buzz three phones.
Conclusion
Start with the alert log, not the app settings. Read a week of timestamps and zones, and the cause usually names itself in ten minutes.
Then look along the sensor’s field of view and find the window, vent, branch, curtain, or pet path crossing it. Fix that physically, adjust one setting at a time, and run a walk test in daylight and at night before deciding anything is faulty. Keep sensitivity off the floor, and the alerts drop to a level you can live with without giving up real detection.