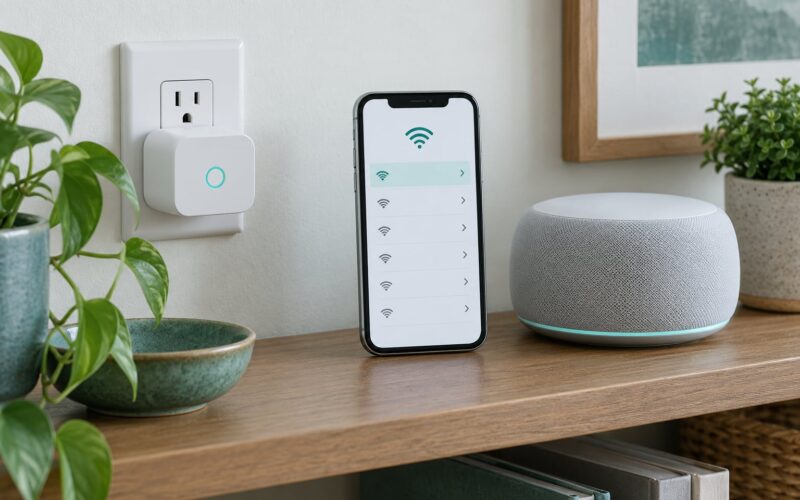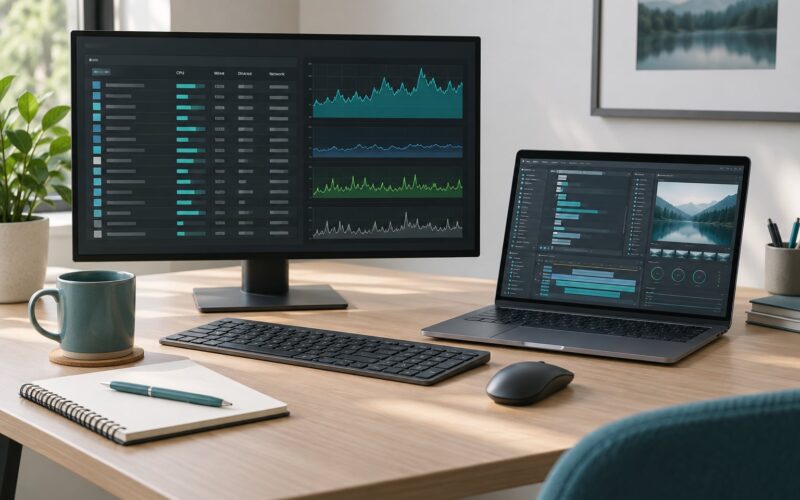
Setting up a smart home without a subscription costs about as much as one small computer and takes an afternoon to get started. You run free hub software, such as Home Assistant, on hardware that sits inside your house, pair devices that speak local protocols like Zigbee or Z-Wave, and let automations run on your own network instead of a manufacturer’s server. Nothing in that chain requires a vendor account, and almost none of it stops working when your internet drops.
The software is not the hard part. The hard part is choosing devices that stay local, because “works with Alexa” or “works with Home Assistant” tells you nothing about whether that hallway light still responds the day the vendor retires its cloud. Here is the order that works: decide what to automate, pick a hub, install it, add a radio, pair a few devices, write one automation, then test what survives a power cut.
Table of Contents
- 1What You Need to Build a Subscription-Free Smart Home
- 2The hub computer
- 3The radio
- 4The devices
- 5What to skip on the first pass
- 6Step-by-Step: How to Set Up a Smart Home Without a Subscription
- 71. Map the Devices You Want to Automate
- 82. Choose a Local Hub and Compatible Devices
- 93. Connect the Hub and Install Its Automation Software
- 104. Add Lights, Sensors, and Other Devices
- 115. Create Automations That Work Locally
- 126. Add Optional Voice Control Without a Paid Plan
- 137. Test Remote Access, Backups, and Recovery
- 14Common Smart Home Setup Mistakes and Their Fixes
- 15Buying devices that only work through a vendor cloud
- 16Assuming “works with Home Assistant” means “works locally”
- 17Confusing Wi-Fi compatibility with hub compatibility
- 18Placing sensors badly
- 19Mixing incompatible ecosystems
- 20Not testing automations before living with them
- 21Assuming everything works offline
- 22Overloading Wi-Fi with Wi-Fi-only devices
- 23A few closing tips
- 24Frequently Asked Questions
- 25Can I set up a smart home with no internet connection?
- 26Do I need a hub to avoid smart-home subscriptions?
- 27Which smart-home devices work without a cloud service?
- 28How can I tell whether a device works locally?
- 29Can I use a Raspberry Pi or home server as a smart-home hub?
- 30What should I do if a manufacturer requires a cloud account?
- 31Conclusion: Start With One Hub and One Room
What You Need to Build a Subscription-Free Smart Home
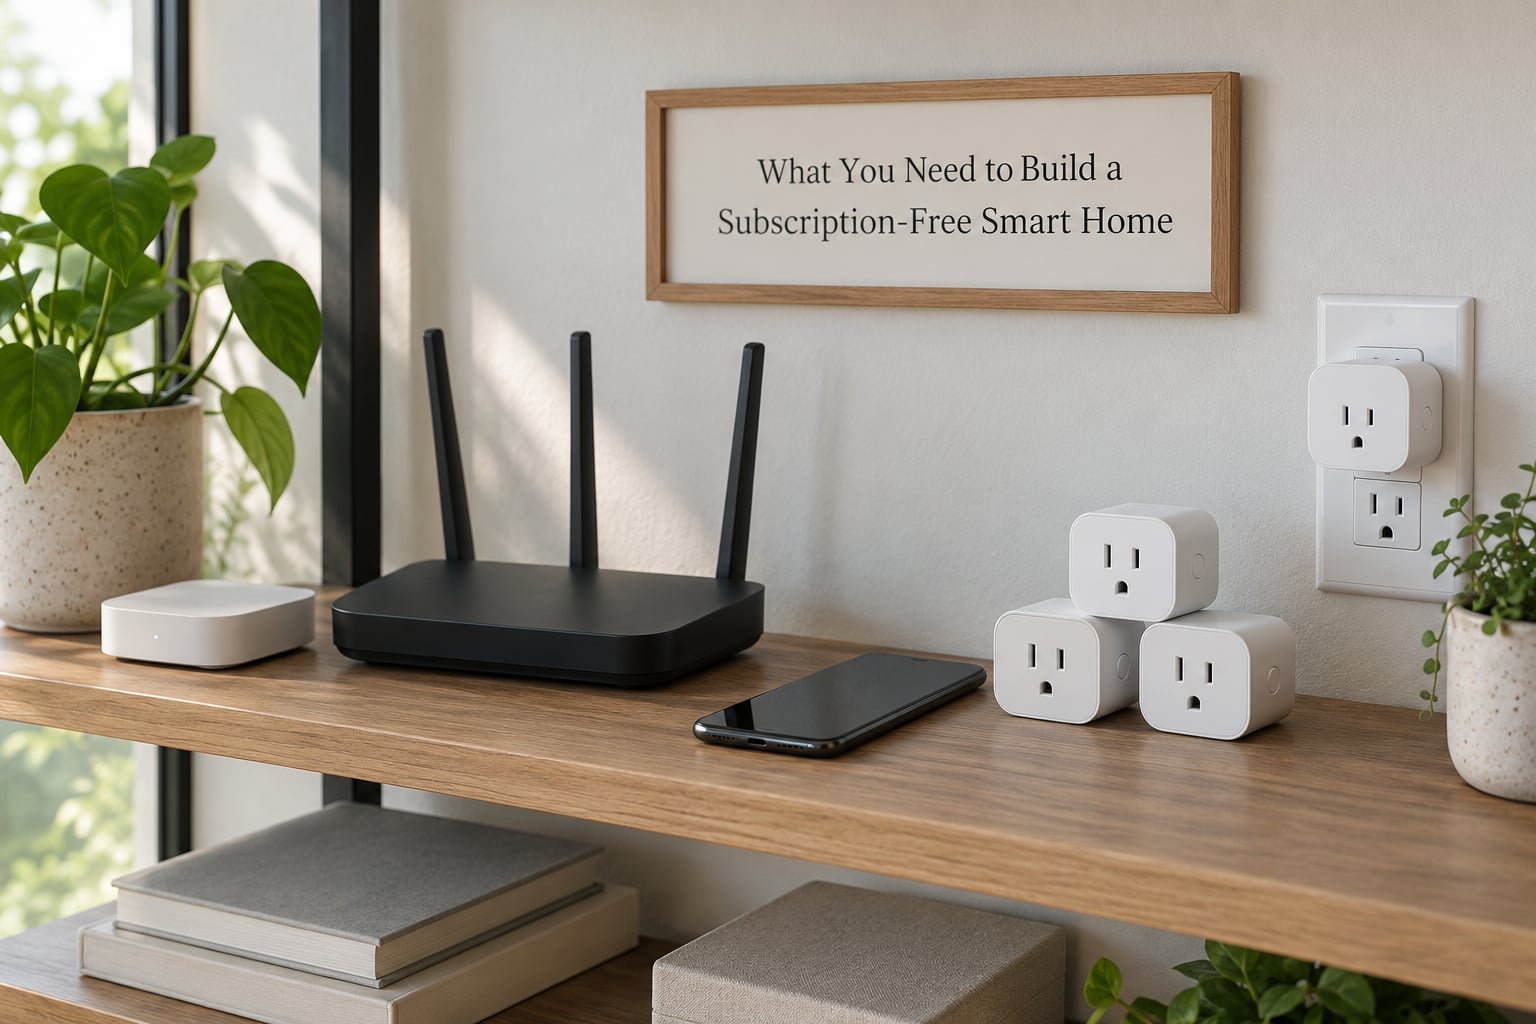
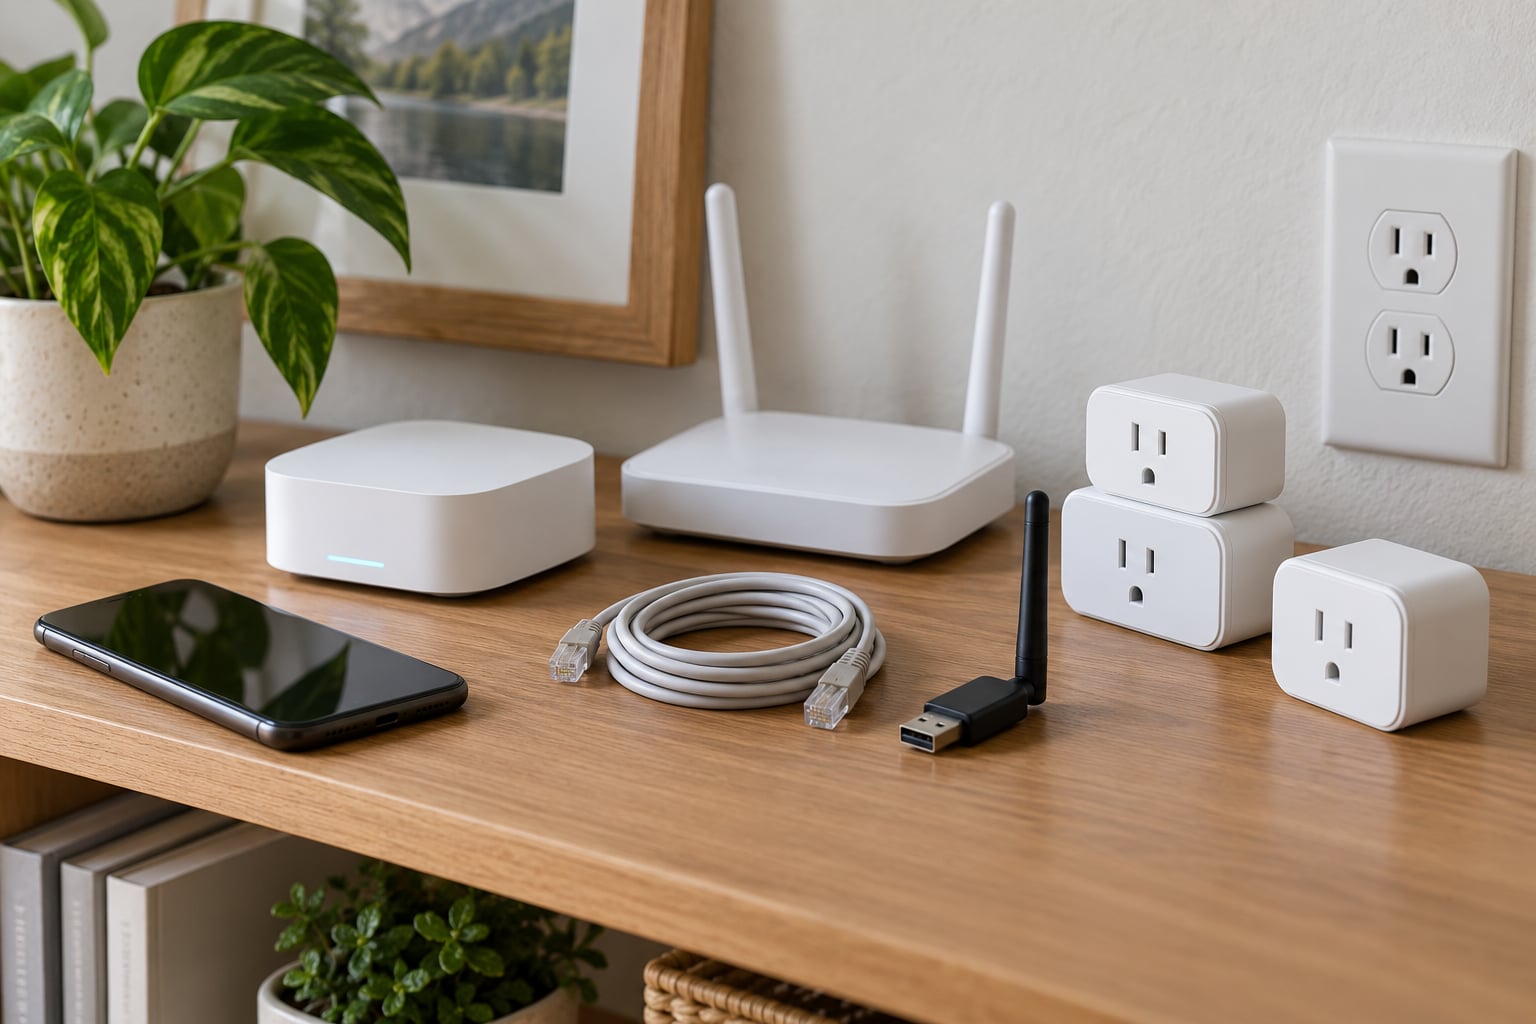
Three things are genuinely required: an always-on computer to run the hub software, one radio that speaks a local device protocol, and devices chosen specifically for local control. Everything else on your list is a convenience, and buying it before the first three work is the most common way people end up with an expensive pile of gear that does nothing.
| Component | What it does | Difficulty |
|---|---|---|
| Hub computer | Runs the controller and evaluates your automations | Low if you buy a ready-made unit, moderate if you flash an image yourself |
| Radio or coordinator | Speaks Zigbee, Z-Wave or Thread to your devices | Low, usually a USB dongle that just plugs in |
| Local-control devices | Bulbs, plugs, switches, sensors, locks, thermostats | Low |
| Reliable home network | Wired backhaul and a router that does not throttle devices | Low |
| Optional: storage | SSD or NAS for local camera recording and backups | Moderate |
| Optional: voice hardware | A speaker or phone used for local voice commands | Moderate |
The hub computer
Home Assistant is the most common starting point, and it runs on several kinds of hardware. A ready-made unit such as Home Assistant Green boots straight into the software with no image flashing, which is why it suits beginners. A Raspberry Pi 5 with a good-quality power supply works and is cheap, but the microSD card is a weak point you will replace eventually. A small fanless mini PC with an SSD is the option most people end up on because storage wear stops being a topic of conversation.
If you already run a NAS or a Linux home server, you can add Home Assistant in a container instead of adding another machine to the shelf. That saves power and space, and it means one box to maintain rather than three.
The radio
This is the piece people forget, and it is the piece that decides how many devices you can mix. Zigbee and Z-Wave devices do not talk to Wi-Fi, so they need a coordinator: a USB dongle that plugs into the hub and lets the software talk to the mesh. A Zigbee dongle is the common starting point because Zigbee gear is inexpensive and widely available. Z-Wave is the alternative with a longer track record on the US 908 MHz frequency and a more predictable radio behaviour in crowded houses.
Thread is different again. It runs over the Wi-Fi radio your router already has, but you need something acting as a Thread border router, and support has been uneven across platforms. If Thread is the only protocol on your wish list, wait or buy a second hub.
The devices
Buy devices that expose local control, not devices that merely mention a voice assistant. Bulbs, plug-in modules, wall switches, contact and motion sensors, leak sensors, smart locks, thermostats and blinds from the mainstream Zigbee and Z-Wave brands all work locally. Cameras are the exception that needs care: local recording requires either a camera with an RTSP stream or a camera brand whose local integration genuinely records to your storage.
Cheap no-name gear sold on marketplace sites is the risk area. A large share of it runs on the Tuya platform, which phones home to a vendor cloud by default. It can be locked down with the Tuya Local integration plus a firewall rule on your router, but that is a project in itself, not a first purchase.
What to skip on the first pass
Skip voice hardware, smart appliances, robot vacuums and any bundle that mixes protocols you have not researched. Skip Wi-Fi-only bulbs entirely if anyone in the house works from home, because a house full of Wi-Fi bulbs congests the same radio your laptop and video calls compete for.
Budget roughly a weekend for one room, and ten to twenty hours spread across a few weekends for a whole house. The time goes into physical installation and pairing, not into writing code, as long as you stay inside the graphical editor that Home Assistant, Hubitat Elevation and openHAB all ship with.
Step-by-Step: How to Set Up a Smart Home Without a Subscription
Seven steps in order: map what you want to automate, choose a hub and a radio, install the software, add your first devices, write automations that run locally, add voice only if you want it, then test remote access, backups and recovery. Do them in that sequence and each stage is verifiable before the next one starts.
1. Map the Devices You Want to Automate
Start with a list, not a shopping cart. Write down every light, plug, lock, sensor, camera and appliance you want to control, and next to each one mark how it should behave. “Hallway light on at night” is a spec. “Make the house smarter” is not.
Then sort that list by what can work locally. Lights, plugs, switches, contact sensors, motion sensors, leak sensors, locks, blinds and most thermostats all have local protocols or local APIs today. Cameras with cloud-only video history usually do not, and neither do appliances whose brand has ended integration support.
Picking one room first is the advice I would give anyone starting over. Automate the hallway or the living room, live with it for two weeks, then extend. Systems that begin with thirty devices usually end up half-paired and abandoned.
Success at this stage is simple: you have a list where every row says local or cloud, and you know which cloud rows you are willing to keep.
2. Choose a Local Hub and Compatible Devices
Home Assistant is the default choice for a reason: it is free, open source, and runs the automation engine on your hardware rather than on a vendor’s servers. Hubitat Elevation is the sensible middle ground if you want local control without touching an operating system, and it has a strong device catalogue and a rule engine that does not require YAML. openHAB is a mature alternative for people who already live in the Java world. Gladys leans toward a small, friendly UI over deep protocol coverage.
| Hub | Running cost | Local control | Learning curve | Best for |
|---|---|---|---|---|
| Home Assistant | Free, hardware costs once | Full, for supported devices | Steep at first, then flat | Maximum device choice and control |
| Hubitat Elevation | Free on local hubs | Full for officially supported devices | Gentle | Households that do not want to manage Linux |
| openHAB | Free, hardware costs once | Full for supported devices | Steep | Tinkerers who like detailed model control |
| Gladys | Free, hardware costs once | Improving per device | Gentle | A minimal first system |
| SmartThings | Free tier exists but is limited | Partial, many features cloud-backed | Gentle | Avoid if avoiding subscriptions is the goal |
Whatever you choose, verify local support before you buy a device, not after. Look for a local API, a local integration, or a published compatibility list. If the only integration route is the manufacturer’s own cloud, that device will stop reporting status the moment the company changes something server-side.
On cost, do the arithmetic once with a pen. Write down what you would cancel and what you would buy once. The break-even point is your one-time replacement spend divided by the annual fees you no longer pay, and if that number is small, the maths is not close.
On protocols: Zigbee is cheap and plentiful, Z-Wave is steadier and more expensive per device, Wi-Fi is fine for a handful of devices and painful past that, and Matter over Thread is genuinely promising but still uneven in device availability and feature depth. Buy Matter devices now if you want to support the standard going forward and you can accept that some features may arrive later. Wait if you need a feature to work today.
Success means your hub, your radio and your first three devices are all on terms you can check offline.
3. Connect the Hub and Install Its Automation Software
Give the hub a wired network connection and a static IP address through your router’s DHCP reservation. Static addressing is not optional in practice: without it, the address can change after a reboot and integrations that talk to the hub by IP will break quietly.
On a Raspberry Pi, you flash the Home Assistant OS image to the microSD card with a disk imaging tool such as Etcher, boot it once on the wired network, and open the interface at homeassistant.local in a browser. On a ready-made unit there is nothing to flash. On a NAS or home server, you run the container and publish the web interface to a port on your network. Menu names differ between these routes, but the sequence is identical: write the image, power it up on ethernet, find the local address, create the administrator account from the first-run screen.
Give the account a real password and turn on two-factor authentication once the system is running. This account controls your locks, so treat it like a bank login.
Then install the radio. If you are using Zigbee, add the ZHA integration or the Zigbee2MQTT add-on and point it at the serial port your dongle created. If you are using Z-Wave, add the Z-Wave JS add-on, pick the correct serial path, and confirm the controller is radio-online before you attempt any pairing.
Success: the hub sits at a fixed address, the admin account exists, and the software reports your radio as connected with a network map you can open.
4. Add Lights, Sensors, and Other Devices
Start with two bulbs or two plug-in modules, because pairing failures are far easier to diagnose with a small batch. Put the hub in pairing mode through the integration you installed, then wake the device. Many Zigbee devices join by holding a button until an indicator blinks; Z-Wave devices usually need a triple-press exclusion or a factory reset first.
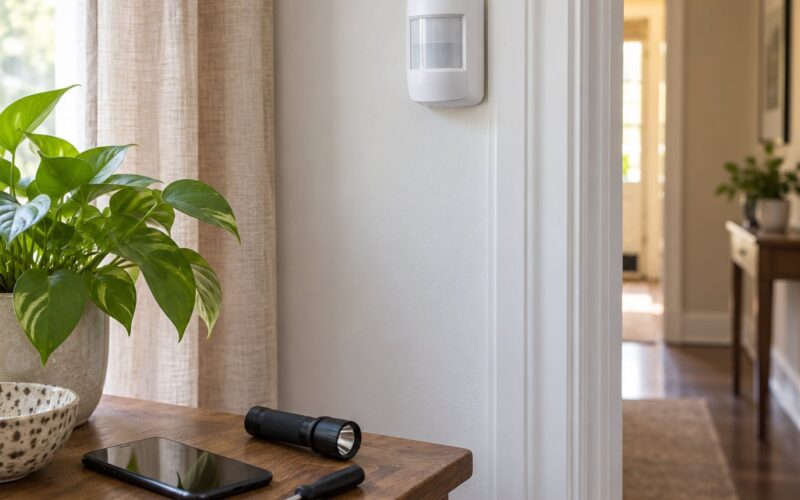
Placement matters more than most guides admit. A motion sensor that sits across the room from the hall will turn lights on late and leave them on after everyone has walked past. Aim sensors across walkways rather than along them, keep contact sensors on the door leaf or frame gap rather than buried in the jamb, and check battery levels in the device page after a week to find the units that drain fast.
If a device refuses to pair, move it closer to the hub before you reset it. Zigbee messages get swallowed by walls and by metal boxes, and a device that fails from the far end of the house often pairs instantly in the same room as the hub.
Watch for the classic mistake: buying a five-pack of Wi-Fi bulbs before confirming the coordinator works at all. Zigbee mesh improves as you add nodes, because mains-powered devices act as repeaters. Wi-Fi just gets busier.
Success: every paired device shows a live state that you can change from the hub’s dashboard without touching any vendor app.
5. Create Automations That Work Locally
Every automation is the same three parts: a trigger, optional conditions, and actions. A motion sensor is detected as active, the sun is down, and the hallway light turns on. That whole chain is evaluated by your hub, so it fires in under a second and it fires during an outage.
Build four automations to start, because between them they cover most homes:
- Motion-activated hallway light. Trigger on motion, condition on low light or sunset, action to turn the hallway light on, then a timed turn-off. This is the one automation that makes people visible to the rest of the household, so build it first.
- Evening scene. Trigger at sunset or a set time, actions to switch on the lamps you use in the evening and dim or turn off the overheads. Scenes are just groups of actions with one trigger, and they are where the daily convenience comes from.
- Door notification. Trigger on a contact sensor opening, action to send a phone alert. Works locally if you run your own notification path; more on that in step seven.
- Temperature-based heating. Trigger when a room sensor reports a temperature below a set point, condition that nobody is home, action to nudge the thermostat or turn on a plug-in heater. Combining trigger, condition and action is where the real value sits.
Save each one, then trigger it by hand before you walk away. If a light does not respond, the problem is nearly always in the device, not the automation: check the entity name, confirm the bulb is on the correct hub, and check that nothing else claimed the same device.
Success: every automation runs when you trigger the sensor, with your internet disconnected.
6. Add Optional Voice Control Without a Paid Plan
Voice is the step that most often reintroduces a subscription, so treat it as optional. Home Assistant ships with a local voice pipeline that can run on your hub, which means a wake word, intent recognition and response all happen on your hardware. You pair any ordinary speaker or a phone and the sentences never leave the house.
You can still keep Alexa, Google Assistant or Siri as a voice front end if you like, and point them at your local controller instead of a vendor hub. What you gain is that the voice assistant is a remote control, not the brain. What you do not gain is offline operation, because the assistant’s speech recognition happens in the vendor’s cloud. Understand that trade before you build voice-dependent automations.
Check three settings before you speak a single command: whether microphone recordings are stored, whether the account can be used from other people in the household, and what remote access means in the vendor’s privacy controls. If you have already accepted those terms years ago, this is the moment to read them.
Success: a voice command triggers a local automation, and you can state plainly which parts of the voice path touch the internet.
7. Test Remote Access, Backups, and Recovery
Remote access is where people get surprised. Three routes exist: a hosted relay run by the hub’s vendor, a VPN into your own network from wherever you are, or a mesh overlay network that connects your devices directly. The vendor relay is the easiest and is the one that reintroduces a dependency on someone else’s server. A VPN costs nothing but a few hours of router configuration. An overlay network is similarly free and often the least troublesome on mobile connections.
Be honest about which of your features survive losing the internet. Lights, plugs, switches, sensors, locks, blinds, thermostats and local camera recording all keep working. Push notifications to your phone need a path from your hub to a notification service, so decide deliberately whether you want that dependency. Weather in automations, media casting, package tracking, voice recognition and anything that calls a manufacturer’s API all need the internet too.
Then do the test that most guides skip: pull the internet cable from your router, turn off the Wi-Fi radio on your phone, and walk the house. Everything in the list above should still respond. Do it once a quarter.
Set up backups next. Export your automations and configuration on a schedule, and store a copy somewhere other than the hub itself, because the hub is exactly the thing that fails. Keep the backup of your hub configuration on the same network but on separate storage, and keep one copy off-site. On a microSD card build, run the backup to a USB SSD or NAS rather than back onto the card you are backing up.
Finally, test recovery. Unplug the hub, plug it back in, and confirm it comes back with all devices reconnected. Write down which device addresses matter and where your backups live, because that is the note future-you will want at midnight.
Success: you can state, from memory, exactly what works offline and what does not, and you have a backup you have actually restored once.
Common Smart Home Setup Mistakes and Their Fixes
Almost every abandoned local smart home failed on one of these. Each has a direct fix, and none of them require starting over.
Buying devices that only work through a vendor cloud
The integration exists, the device shows up in your dashboard, and everything looks fine until the vendor changes an API. A dashboard tile is not proof of local control. Fix it by checking for a local API or local integration before purchase, and by adding the device to your power-cut test list before you trust it.
Assuming “works with Home Assistant” means “works locally”
Adding your existing Ring or Nest camera to Home Assistant usually mirrors it rather than replacing it, and the camera still depends on the manufacturer’s cloud for the features people actually pay for. Home Assistant does not remove those cloud requirements. Fix it by treating each cloud device as a separate project: swap the storage layer to a local recorder, keep the device, and understand what you will lose.
Confusing Wi-Fi compatibility with hub compatibility
A bulb can support both Matter and a vendor app, or be Wi-Fi only, and neither fact tells you whether your hub can control it locally. Fix it by reading the protocol list rather than the compatibility badge, and by confirming the hub has a radio for the protocol the device speaks.
Placing sensors badly
Sensors aimed along a walkway instead of across it, contact sensors buried in a door frame, and motion sensors next to a heat source all produce automations people disable within a week. Fix it by spending ten minutes on placement before you write the rule, and by walking the route the sensor is meant to watch.
Mixing incompatible ecosystems
One brand’s hub forces you into that brand’s accessories, and cross-brand automations stop dead. Fix it by choosing one hub early and judging every device against it, rather than buying hardware first and searching for a controller afterwards.
Not testing automations before living with them
An untested automation fires at 2am with a light on and nobody home. Fix it by triggering every automation by hand on the day you build it, and by adding a timeout to anything that turns something on.
Assuming everything works offline
Notifications, weather, media, package tracking and voice recognition all assume a working internet connection, and pretending otherwise leads to an expensive redesign later. Fix it by writing your own offline list and treating anything not on it as internet-dependent.
Overloading Wi-Fi with Wi-Fi-only devices
Homes with several remote workers suffer first, with slow video calls and flaky smart devices blamed for each other. Fix it by capping Wi-Fi-only devices at a small number, and by putting mains-powered Zigbee devices in place so the mesh extends itself.
A few closing tips
Give every household member their own login rather than sharing one account. Keep the hub on wired ethernet. Update on a schedule you will actually follow, since unpatched hub software on a network-exposed device is a real risk. Replace sensor batteries on a calendar reminder rather than waiting for failures, and budget for that along with storage and a small backup drive. If you maintain none of this, buy a hardware hub that does the work for you.
Frequently Asked Questions
Can I set up a smart home with no internet connection?
Yes, once the hub is installed. Lights, plugs, switches, sensors, locks, blinds and local camera recording all run on your own network and keep working during an outage. Phone notifications, weather data, media casting, package tracking and voice recognition still need an internet connection, because they rely on an outside service to reach you.
Do I need a hub to avoid smart-home subscriptions?
Not strictly, but you almost certainly want one. Some vendors and voice assistants include basic local control with no recurring fee, which covers lights and a few plugs. A hub is what lets you combine brands, run automations locally, store camera footage yourself, and keep working when a vendor changes or ends a service.
Which smart-home devices work without a cloud service?
Most Zigbee and Z-Wave devices do: bulbs, plug-in modules, wall switches, contact sensors, motion sensors, leak sensors, smart locks, blinds and most thermostats. Cameras are the usual exception, since video history is where subscriptions live, though many cameras can record to your own storage over RTSP or a local integration.
How can I tell whether a device works locally?
Look for a documented local API or local integration, and read whether automations execute on your hub or on the vendor’s servers. Then test it: disconnect your internet, power cycle the device, and confirm it still responds and still reports status. A dashboard tile and a working voice command both prove nothing on their own.
Can I use a Raspberry Pi or home server as a smart-home hub?
Yes, and it is the most common approach. A Raspberry Pi 5 with a solid power supply runs Home Assistant OS well, while a mini PC or an existing NAS with an SSD gives you more headroom and better storage longevity. In every case, connect by ethernet, reserve a static IP address, and keep backups on separate storage.
What should I do if a manufacturer requires a cloud account?
Add the device to your dashboard if you like, but treat it as cloud-dependent and keep it out of any automation you need to survive an outage. Replace it one device at a time with a local alternative, and cancel the subscription only after the replacement handles the job you actually used the fee for, such as video history.
Conclusion: Start With One Hub and One Room
The subscription-free smart home is not a different category of product. It is the same lights, plugs and sensors, connected to a hub you own, running automations on hardware inside your house. That shift moves the monthly bill to a one-time purchase and moves the reliability risk away from somebody else’s servers.
The first action is small: pick one room, choose a hub, and put two devices on it. Everything after that is repetition. Add a radio, pair two bulbs and a motion sensor, write the hallway automation, then pull the internet cable and confirm it still works. Once you have done that once, extending the system is bookkeeping rather than a project.
Cancel one subscription at a time, and only after the local replacement has done the job you were paying for. That is how to set up a smart home without a subscription without ending up with a house full of devices that depend on a service you do not control.