You can upgrade RAM in a laptop by replacing or adding SODIMM modules inside the case, as long as the memory is socketed rather than soldered to the motherboard. The swap itself takes about twenty minutes with a screwdriver. Most of the work happens before you buy anything, because the wrong DDR generation simply will not fit.
The procedure is far less delicate than it looks. Memory modules click into plastic clips at a slight angle, then lock flat. Nobody has ever told me that going in at 45 degrees was the moment they nearly ruined a laptop, and I have helped a lot of people through it.
Table of Contents
- 1What You Need
- 2Step-by-Step
- 3How to Check What RAM Your Laptop Uses
- 4How to Prepare and Safely Open the Laptop
- 5How to Remove the Old RAM Modules
- 6How to Install the New RAM
- 7How to Reassemble and Test the Laptop
- 8Common Mistakes
- 9Frequently Asked Questions
- 10Can I upgrade the RAM in any laptop?
- 11How much RAM can I put in my laptop?
- 12What type of RAM does my laptop need?
- 13Will more RAM make my laptop faster?
What You Need
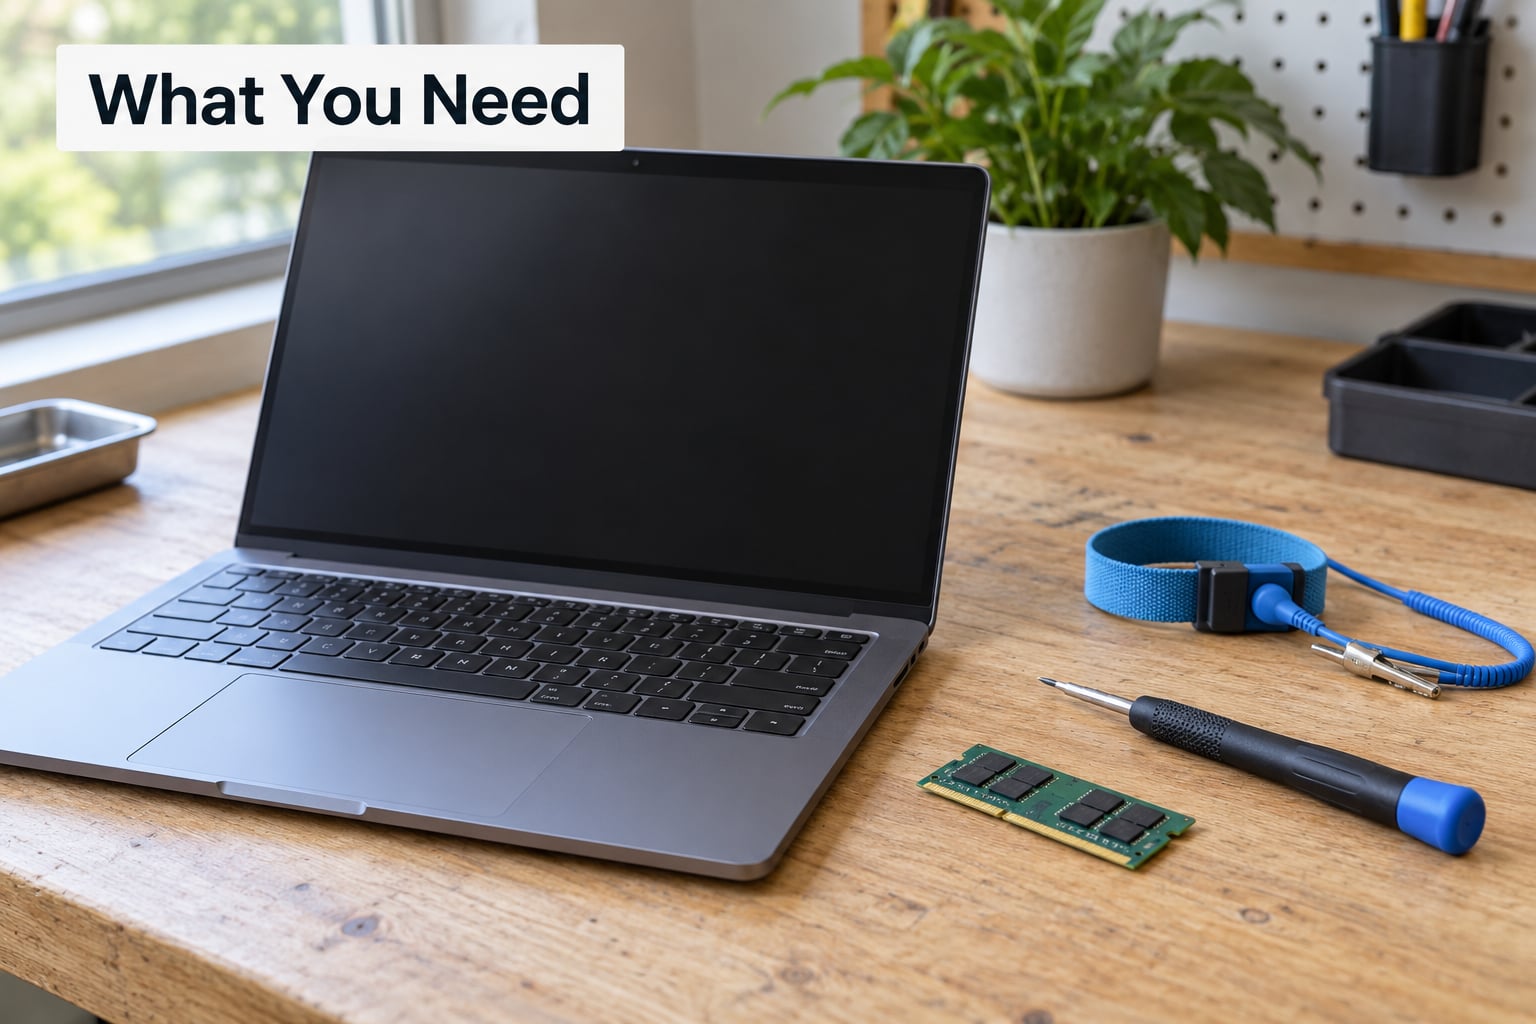
Three things, really: the right module, a small screwdriver, and about thirty minutes of patience.
- A precision Phillips #0 screwdriver. Laptop base panels use tiny Torx or Phillips heads. A magnetic mat stops you losing screws into the carpet.
- A plastic pry tool or guitar pick. Metal tools snap plastic clips and cut traces. A credit card works in a pinch.
- The replacement memory. Match the DDR generation, form factor and speed of what is already inside.
- The service manual for your exact model. Dell, HP and Lenovo all publish maintenance manuals with panel-removal order and screw lengths marked.
- An antistatic wrist strap if you own one, plus a hard surface that is not carpet or a fabric sofa.
Static kills memory quietly. A wrist strap clipped to an unpainted metal screw or a grounded object costs a few dollars and takes the whole risk off the table. If you skip it, work on a wooden desk, touch something metal first, and keep the modules in their anti-static packaging until the second before you insert them.
Step-by-Step
How to Check What RAM Your Laptop Uses
Open Task Manager with Ctrl+Shift+Esc, click Performance, then Memory. The panel shows installed capacity, speed in MT/s, and the form factor. If it reads SODIMM, the memory is replaceable. If it reads something else, or the machine reports a fixed single block of memory with no free upgrade path, keep looking.
Look for the slots used and slots available fields. Two slots used out of two means you will be removing modules, not adding. Zero of two means you are adding, which is easier.
On macOS, click the Apple menu, About This Mac, then More Info. On Linux, run sudo dmidecode -t memory in a terminal. Both show the module type and the populated slots.
Then find your maximum supported capacity in the manufacturer specification sheet. This is the number people most often get wrong. A laptop may take 16GB per slot but cap at 32GB total, or support only 8GB per slot regardless of what the modules themselves can hold. The CPU memory controller and the motherboard both limit you, not the module.
Check whether the RAM is soldered while you are at it. On soldered machines, the memory chips sit directly on the board with no slots and no clips, and the bottom panel may not even have a cutout over the memory area. Apple has shipped soldered or unified memory in its laptops since 2012, and most thin modern Windows machines follow the same pattern.
Photograph the label on your existing module before you buy anything. It carries the part number, the speed and often the voltage. That label is the most reliable compatibility source you have.
How to Prepare and Safely Open the Laptop
- Back up your files and save every open document.
- Shut the laptop down fully rather than sleeping it. Sleep keeps power on the board.
- Unplug the charger and remove every USB device.
- Hold the power button for ten to fifteen seconds to drain residual charge.
- Flip the laptop face down on a soft cloth and remove every base panel screw.
- Start prying at a corner seam and work around the edge with a plastic tool.
- Lift the panel off gently. If it resists, stop and check for a hidden screw or a separate M.2 drive cover.
- Disconnect the internal battery connector before touching anything else, where the battery is a separate pack.
On laptops with a battery glued to the chassis, there is no connector to pull. The practical alternative is to keep the charger unplugged, finish in one session, and never touch the board with a bare finger while powered.
Opening the panel yourself rarely voids a warranty on its own, but some manufacturers tie coverage to damage caused during a self-repair. Read the warranty terms for your model before you start.
How to Remove the Old RAM Modules
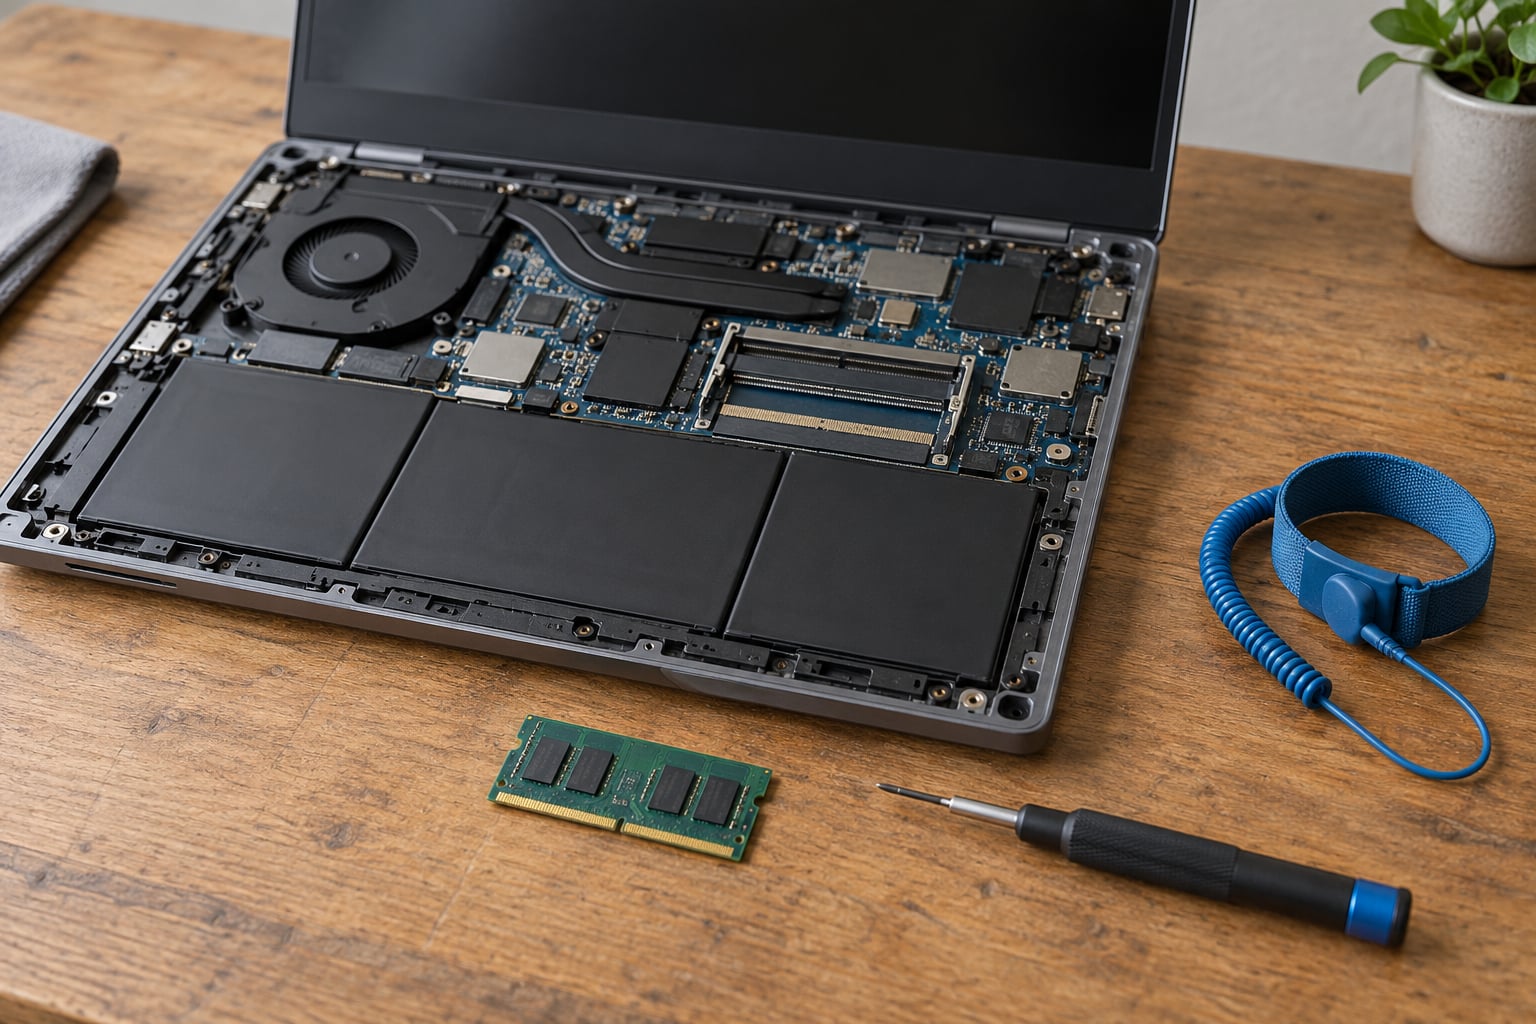
Look for the memory slots near the centre of the board. Each has two hinged plastic retaining clips at the short ends.
Press gently on both ends of the module at the same time. The clips swing outward and the module pops up to around a 45-degree angle on its own. Do not pry the clips with a screwdriver. If they do not move, you are pushing in the wrong direction.
With the module at that angle, pull it straight out along the length of the slot. Keep your fingers on the short metal edges. Never touch the gold contact edge, the black memory chips or any small surface-mounted components on the module.
If you are only adding memory, skip this entirely and leave the existing module where it is.
How to Install the New RAM
Hold the module with your thumb and index finger at the short ends, gold contacts facing down. Find the notch, the cut-out keying in the gold edge, and line it up with the matching ridge inside the slot. The notch is the only way it goes in, and forcing it will bend the contacts.
Slide the module into the slot at roughly a 30 to 45-degree angle until the notch reaches the ridge, then push down firmly and evenly on both ends. The clips snap inward over the ends of the module with an audible click. That click is the whole test: if you do not hear it, the module is not seated.
With two modules, fill the slot nearest the CPU first. If you are adding to an existing machine with one stick in place, put the new module in the empty slot unless you are also replacing the old one. Two matched modules from the same kit run in dual-channel mode and deliver noticeably more bandwidth than one. Two mismatched modules run in what is often called flex mode: the first 8GB or 16GB of paired space runs dual-channel and the remainder runs single-channel. It still works, and it is better than one stick alone.
Never mix ECC and non-ECC modules. ECC memory is common in business laptops and generally will not run at all alongside non-ECC in a consumer machine.
How to Reassemble and Test the Laptop
Reconnect the internal battery connector if you disconnected one. Seat the base panel, press along the edges until the clips click, and replace every screw in its original hole. Length matters here; a long screw in a short hole can poke through the board.
Plug in the charger, press the power button, and boot. Then confirm the new total:
- Windows: Task Manager, Performance, Memory. Read the capacity top right, the slots used line, and the speed.
- Windows settings: Settings, System, About, then look at Installed RAM.
- macOS: Apple menu, About This Mac.
- Linux:
sudo dmidecode -t memory.
If the total is higher than what you installed, something is wrong. If it is lower than expected, check that both modules are identical in capacity and that the machine supports what you fitted. If only half your new capacity appears, one module is usually not seated properly or the slot is disabled in firmware.
Common Mistakes
- Buying a desktop DIMM instead of a SODIMM. Desktop modules are roughly twice as long and will not enter the slot. Check the form factor field in Task Manager first.
- Buying the wrong DDR generation. DDR3, DDR4 and DDR5 have different notch positions, pin counts and voltages. A DDR4 module physically cannot seat in a DDR5 slot.
- Forcing the clips. If a module will not lock flat, something is misaligned. Pull it out, check the notch, and start again rather than pressing harder.
- Overtightening the base panel screws. Stripped heads and cracked plastic cost far more than the RAM did. Tighten until snug.
- Skipping the battery disconnect and the static precautions. Residual power can damage the board, and an electrostatic discharge can kill a module before it ever boots.
- Assuming every laptop has slots. Soldered memory cannot be removed without micro-soldering equipment and a reworked logic board. Check before you buy anything.
- Mixing ECC with non-ECC, or mixing generations. The machine may simply not boot. Match what is already installed.
Frequently Asked Questions
Can I upgrade the RAM in any laptop?
No. Some laptops use removable SO-DIMM or LPDDR modules in accessible slots, while others have memory soldered directly to the motherboard with no upgrade path. Check the form factor in Task Manager under Performance and Memory, or look for a memory cutout in the bottom panel, before you buy anything. Apple laptops since 2012 and most thin modern Windows machines are soldered.
How much RAM can I put in my laptop?
The ceiling is set by the laptop model, its memory controller and its motherboard, not by the module you want to buy. Check the manufacturer specification sheet or service manual for the maximum supported capacity, and check whether that figure is per slot or for the whole system. Some laptops cap at 8GB per slot regardless of what larger modules support.
What type of RAM does my laptop need?
Laptops commonly use DDR4 or DDR5 SO-DIMM memory, and the required voltage, speed, pin count and physical dimensions must all match the motherboard. Shape alone is a weak test, since several generations look similar at a glance. Confirm the exact laptop model first, read the label on the module already inside, or use a manufacturer compatibility tool before ordering.
Will more RAM make my laptop faster?
More RAM helps when the computer is running out of memory, with many browser tabs, large applications or heavy multitasking. If your available memory sits high and nothing is stalling, extra RAM will change nothing you can perceive. More memory does not speed up a slow processor or a spinning hard drive, so check your workload before spending on modules.
If your laptop has replaceable memory, start in Task Manager and confirm the form factor, the slots used and your maximum supported capacity, then photograph the label on the module already inside before you order anything. Once the module is in hand, the install is ten minutes of clicking plastic clips and the verification is one screen in system settings.