Updated for October 2026
To choose the right monitor resolution for your desk, aim for roughly 90 to 110 pixels per inch at your normal viewing distance. That single number decides most of it: 22 to 24 inch screens want 1920×1080, a 27 inch screen wants 2560×1440, and 32 inches or larger wants 3840×2160.
The reason is simple. Resolution is just a count of pixels, and a pixel is a fixed physical dot on the panel. Pack more pixels into the same width and the text gets crisper. Spread the same pixels wider and the text looks soft, no matter how much you paid.
Here is the short version most people need. If you only remember one thing, remember this:
| Screen size | Best resolution | Approx. pixel density | Windows scaling to set |
|---|---|---|---|
| 22 inch | 1920×1080 (Full HD) | 100 PPI | 100% |
| 24 inch | 1920×1080 (Full HD) | 92 PPI | 100% |
| 24 inch | 2560×1440 (QHD) for text-heavy work | 122 PPI | 100% or 125% |
| 27 inch | 2560×1440 (QHD) | 109 PPI | 100% or 125% |
| 28 inch | 2560×1440 (QHD) | 105 PPI | 100% or 125% |
| 32 inch | 3840×2160 (4K UHD) | 138 PPI | 125% or 150% |
| 34 inch | 3440×1440 (21:9 ultrawide) | 110 PPI | 100% or 125% |
| 42 inch | 3840×2160 (4K UHD) | 105 PPI | 150% |
Table of Contents
- 1What You Need
- 2Step-by-Step: How to Choose the Right Monitor Resolution for Your Desk
- 31. Measure Your Desk and Viewing Distance
- 42. Match Resolution to Screen Size
- 53. Choose a Resolution You Can Actually Drive
- 64. Pick the Resolution for Your Main Tasks
- 75. Test Before You Buy
- 8Common Monitor Resolution Mistakes
- 9Dual Monitors and Laptops: Two Cases Worth Handling Separately
- 10Frequently Asked Questions
- 11What is a good pixel density for a monitor?
- 12Why does my 1920×1080 monitor look blurry?
- 13Is 1920×1080 or 2560×1440 better?
- 14What display scaling should I use on a 4K monitor?
- 15Does a higher resolution monitor need a better graphics card?
- 16What monitor resolution is best for coding and spreadsheet work?
What You Need
Before you look at a single monitor, gather five things. The more of these you know, the shorter the decision takes.
- Your current screen size and resolution. Check the settings on the monitor you own now. On Windows, open Settings, then System, then Display. On macOS, look under Displays. Knowing your present numbers tells you whether you are upgrading or just rearranging.
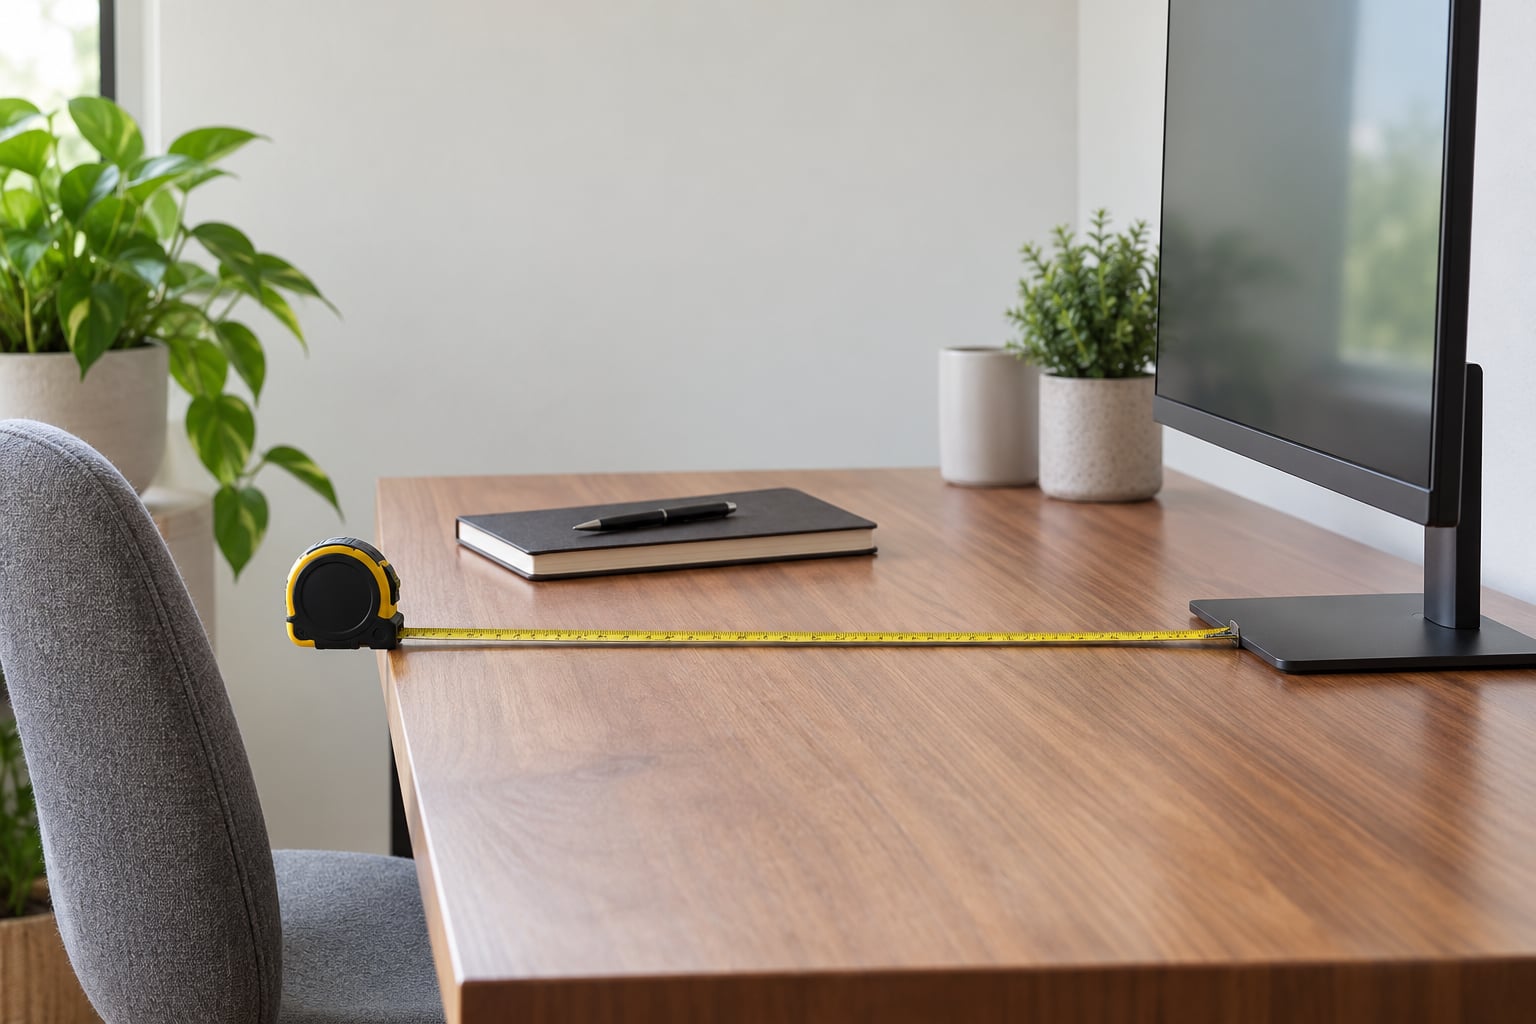
- Desk depth and width. Measure the front-to-back space and the clear width where the stand or monitor arm has to sit.
- Your real viewing distance. Sit at your normal working position and measure from your eyes to the centre of the screen.
- What your computer can output. Laptop model, graphics card, and which ports you actually have free.
- Your daily workload. Spreadsheets, code, photo editing, video timelines, or games. Resolution choice follows the work.
That is it. Five minutes with a tape measure removes most of the doubt later.
Step-by-Step: How to Choose the Right Monitor Resolution for Your Desk
1. Measure Your Desk and Viewing Distance
Desk depth sets the ceiling on screen size before resolution even enters the conversation. A 27 inch monitor needs roughly 55 to 60 cm of front-to-back desk space once you account for the stand foot and a little tilt room. Push it to 32 inches and you are looking at closer to 70 cm.
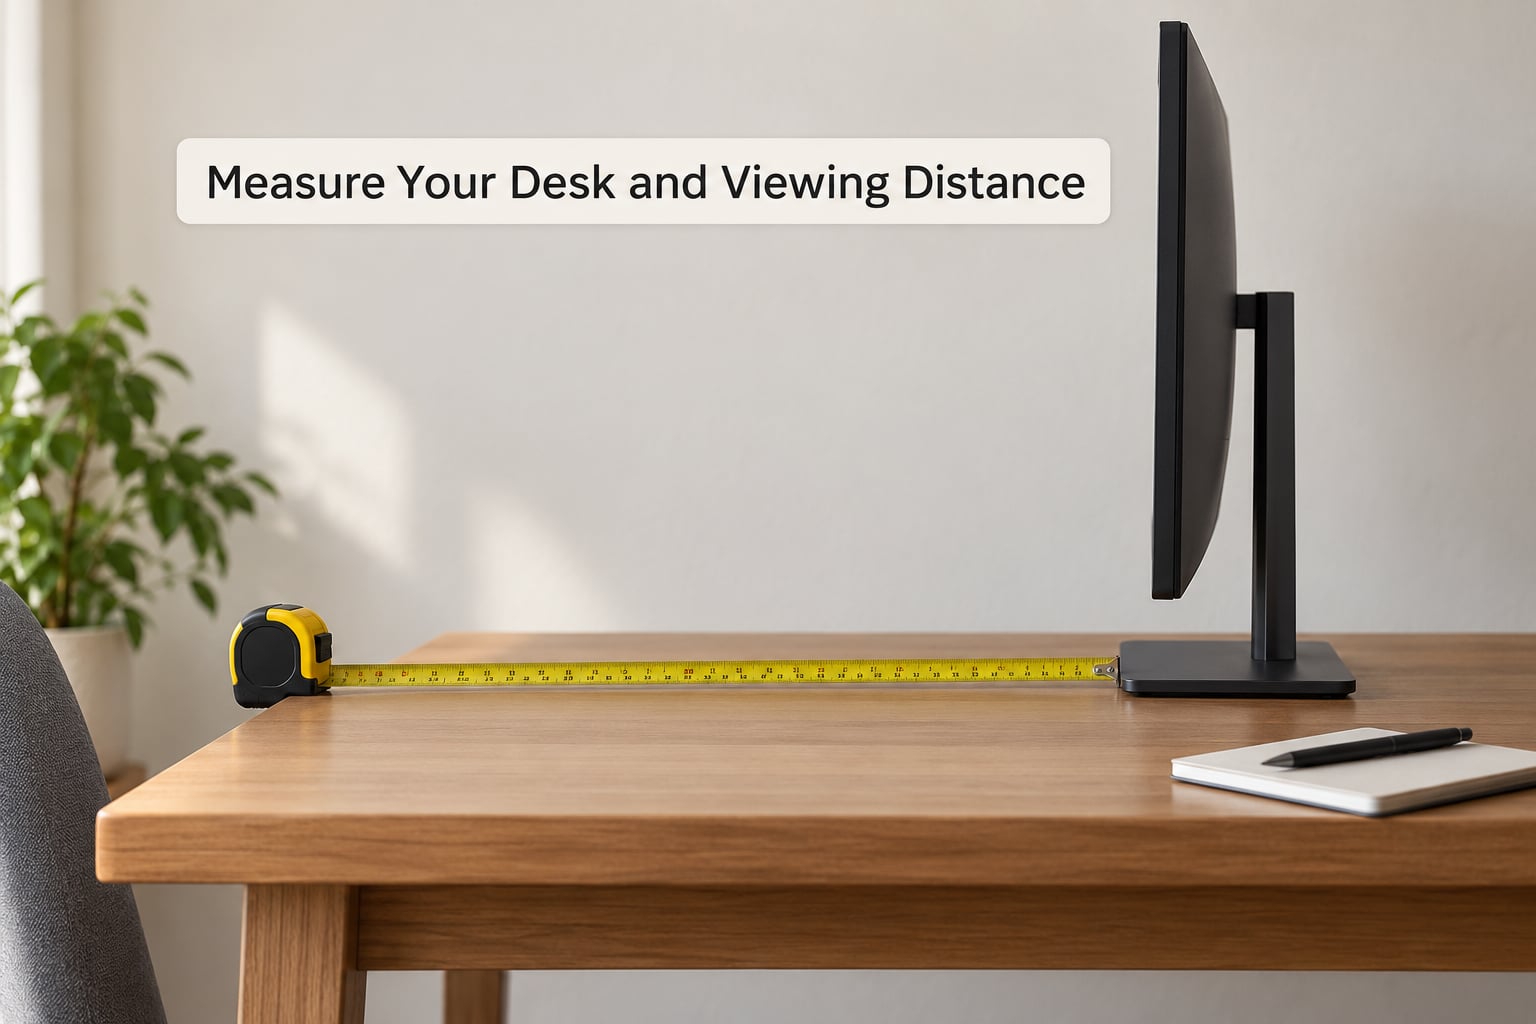
Here is what typical setups look like once you measure them.
| Setup | Desk depth | Comfortable viewing distance | Largest sensible screen |
|---|---|---|---|
| Dorm or kitchen desk | 40 to 50 cm | 50 to 60 cm | 24 inch |
| Standard home office | 60 to 70 cm | 60 to 80 cm | 27 inch |
| Large workstation | 80 cm or more | 80 to 110 cm | 32 inch, or two smaller panels |
| Ultrawide desk | 80 cm or more | 90 to 120 cm | 34 inch 21:9 |
Viewing distance is the number people skip, and it is the one that makes a big screen comfortable instead of tiring. The rule of thumb I use: an inch of screen width per 1.2 to 1.5 inches of eye distance. A 24 inch 16:9 panel is about 21 inches wide, so 26 to 32 inches of eye distance suits it. A 34 inch ultrawide is about 32 inches wide, so you want 38 to 48 inches, which is why ultrawides belong on big desks and further back.
Two other things worth measuring while the tape is out. The stand footprint, because a 27 inch base is usually around 24 cm wide, and the clearance above your desk if you plan to use a monitor arm. A VESA 100×100 mount is common at this size, and an arm needs about 10 cm of headroom to raise the panel to eye level.
2. Match Resolution to Screen Size
Here is the arithmetic nobody in this conversation bothers to do. Screen density is measured in pixels per inch, and you can calculate it from two numbers you already know: the pixel dimensions and the diagonal size in inches.
PPI = square root of (horizontal pixels squared + vertical pixels squared) divided by diagonal inches
Worked example for a 24 inch Full HD monitor: the square root of 1920 squared plus 1080 squared comes out to about 2203 pixels along the diagonal. Divide 2203 by 24 and you get roughly 92 PPI.
Now the same 1920×1080 panel on a 27 inch screen: 2203 divided by 27 is about 82 PPI. Those two screens hold an identical number of pixels, so the 27 inch version stretches each one of them across more glass. That is the whole reason a 27 inch 1080p monitor looks soft, and it is the most regretted monitor purchase in the enthusiast forums I have read.
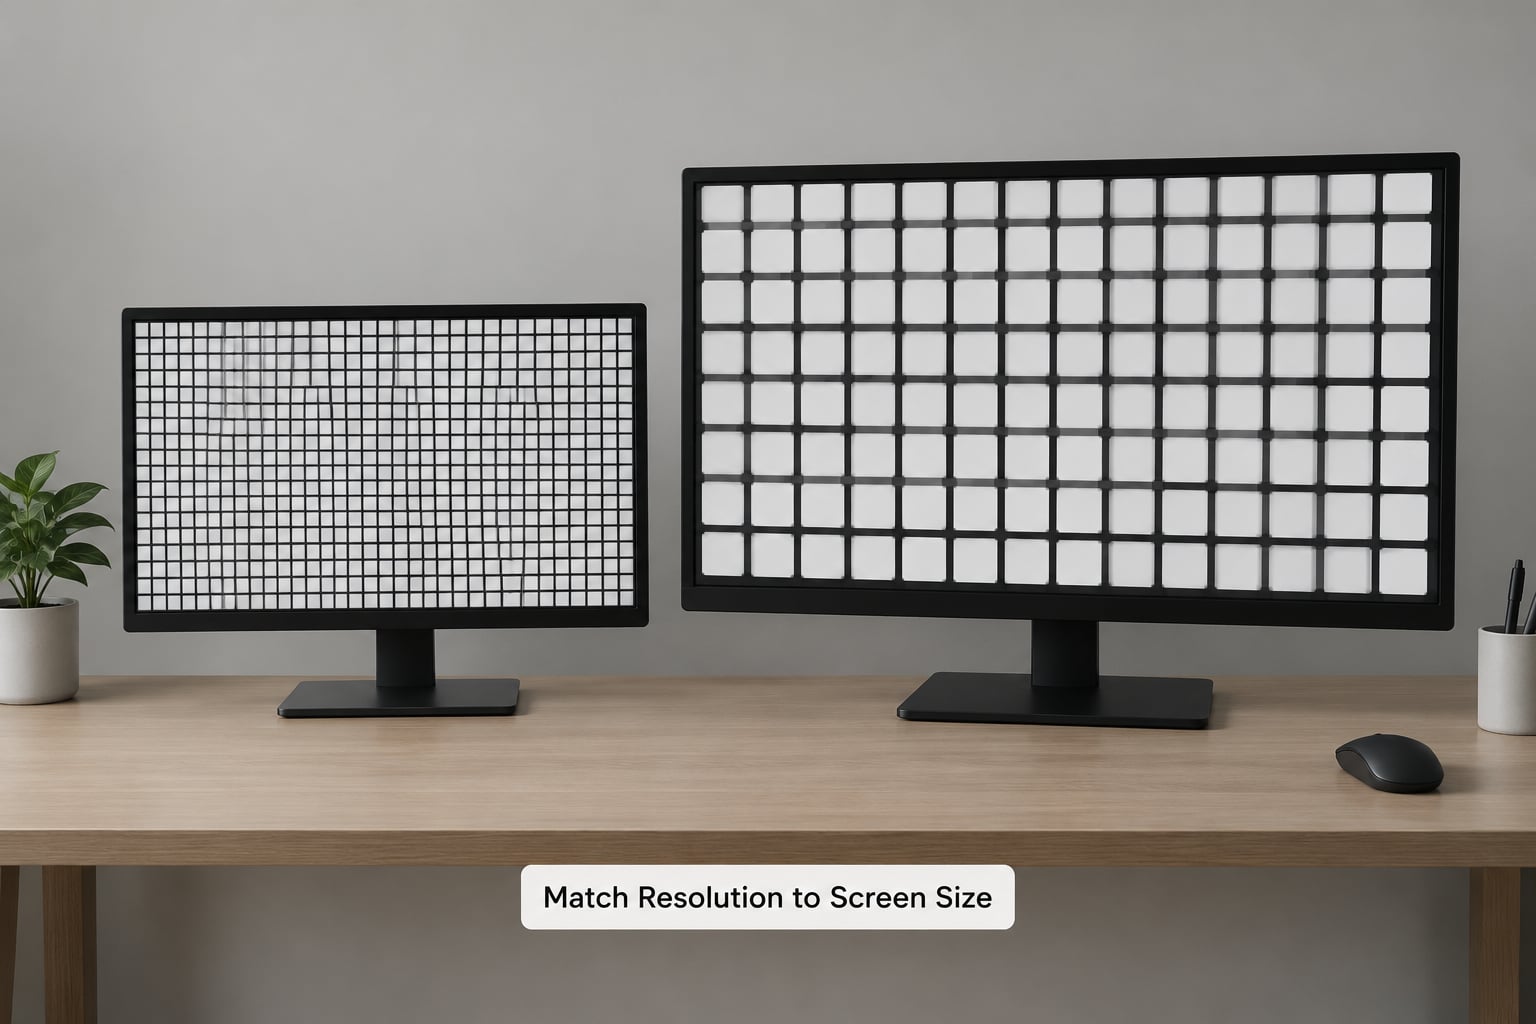
Here is how the common combinations land.
| Panel | Pixels | Pixel density | Verdict |
|---|---|---|---|
| 22 inch 1920×1080 | 2.07 million | 100 PPI | Well matched, sharp, no scaling needed |
| 24 inch 1920×1080 | 2.07 million | 92 PPI | The classic office pairing, still fine |
| 27 inch 1920×1080 | 2.07 million | 82 PPI | Too soft. Avoid. |
| 32 inch 1920×1080 | 2.07 million | 69 PPI | Badly stretched. Never buy this. |
| 24 inch 2560×1440 | 3.69 million | 122 PPI | Crisp, but small text unless you scale to 125% |
| 27 inch 2560×1440 | 3.69 million | 109 PPI | The text sweet spot |
| 32 inch 2560×1440 | 3.69 million | 92 PPI | Noticeably soft at this size, skip it |
| 27 inch 3840×2160 | 8.29 million | 163 PPI | Excellent with 150% scaling |
| 32 inch 3840×2160 | 8.29 million | 138 PPI | Sharp and roomy, scale to 125% or 150% |
| 34 inch 3440×1440 | 4.95 million | 110 PPI | Good density across a very wide surface |
The target band of 90 to 110 PPI exists because of how we read. Below roughly 85 PPI you start seeing individual pixels in letter shapes and straight edges look wobbly. Above about 140 PPI the gains get small unless you sit close, and you usually also need display scaling turned up, which changes the effective workspace you thought you were buying.
That second effect surprises people. Windows and macOS scaling does not shrink the pixels, it tells the operating system to draw larger interface elements. A 27 inch 4K monitor at 150% scaling behaves almost exactly like a 27 inch 1440p monitor in terms of how much you can fit, except the text and icons are drawn with four times the pixel data underneath.
3. Choose a Resolution You Can Actually Drive
A resolution is only useful if your hardware can push every pixel at the refresh rate you want. Two things can get in the way: the port and the graphics processor.
Start with the port. DisplayPort 1.4 and USB-C with DisplayPort Alt Mode handle 3840×2160 at 60 Hz with full 8-bit colour, and 1.4 pushes to 120 Hz. HDMI 2.0 reaches 4K at 60 Hz but often drops chroma subsampling to squeeze the signal through, which flattens fine text detail. HDMI 2.1 is the one that gets 4K at 120 Hz or 144 Hz. If your computer has USB-C ports only, confirm the port supports video output at all, since many do not.
Then check the graphics load. Moving from 1080p to 1440p means pushing 3.69 million pixels instead of 2.07 million, and 4K means 8.29 million. That is four times the 1080p workload, every frame, and it hits the graphics card first in games and video editing.
For office work, browsing and code, the processor’s integrated graphics handles 4K output without complaint. Integrated laptop graphics can drive one or two 4K displays at 60 Hz, but light gaming on that same panel will suffer. A dedicated graphics card handles 4K gaming comfortably at the settings most people actually use.
One more hardware note for laptop users. Docks and adapters have their own limits, and a single USB-C cable carrying video, charging and USB devices does not always negotiate the full pixel count and refresh rate you expect. If you plan to run a 4K panel at 60 Hz or more, test with the exact dock and cable before committing.
Finally, check that the monitor lists your target resolution as native. Native resolution is the one the panel is built from. Run a screen at anything else and the display has to stretch or shrink the image, which produces the blurry look people complain about most.
4. Pick the Resolution for Your Main Tasks
Each resolution tier has a job. Here is the honest version, based on what people do all day rather than on spec sheets.
1920×1080 (Full HD). 2.07 million pixels and a 16:9 frame. It suits screens up to about 24 inches, and it is the right pick for a small desk, a shared family computer, or a laptop user adding a second display on a tight budget. Spreadsheets, email and documents all fit comfortably.
2560×1440 (QHD or Quad HD). 3.69 million pixels, also 16:9. On a 27 inch panel this lands at 109 PPI, which is the combination most people describe as the sweet spot, and they are not exaggerating. You get 78% more pixels than 1080p at 1440p’s typical refresh rates, and it is where spreadsheets, side-by-side documents and code editors start to feel roomy.
3840×2160 (4K UHD). 8.29 million pixels. Worth it on 27 inch and larger panels, especially for video editing timelines, photo work and large text documents. The catch is that most applications look wrong at 100% scaling because everything becomes tiny, so set 150% on a 27 inch screen or 125% to 150% on a 32 inch one.
3440×1440 (21:9 ultrawide). 4.95 million pixels spread across a much wider surface. A 34 inch ultrawide sits at 110 PPI, so the density stays healthy even though the panel is huge. It is a genuine alternative to two monitors: one continuous desktop, one cable, no bezel gap down the middle. The trade is that a very wide screen pushes the far edges outside your comfortable head movement, so it needs a deep desk and a straight-on position.
Aspect ratio deserves a sentence of its own. 16:9 is the standard on most monitors. 16:10 gives about 11% more vertical space, which suits web pages and documents. 21:9 gives you a very wide workspace for timelines and side-by-side windows. Taller and wider are not automatically better, but they do change what the resolution means in practice.
Scaling is the last piece of the puzzle, and getting it wrong is the number one source of post-purchase regret I see described in monitor forums.
| Screen and resolution | Windows scaling | macOS scaling | Notes |
|---|---|---|---|
| 22 or 24 inch at 1920×1080 | 100% | Default (looks like 1x) | Nothing to change |
| 27 inch at 2560×1440 | 100% or 125% | Default or one step up | 125% is easier on the eyes for long text sessions |
| 27 inch at 3840×2160 | 150% | Default HiDPI mode | The usual pairing; 100% makes text very small |
| 32 inch at 3840×2160 | 125% or 150% | Default HiDPI mode | 150% suits long reading, 125% suits more content |
| 34 inch at 3440×1440 | 100% or 125% | One step up if text feels tight | 100% shows more, 125% is more readable |
5. Test Before You Buy
If a shop lets you look at the screen in person, do it properly. Open a page of plain black text on a white background at 100% zoom. Read it from your normal sitting distance rather than from arm’s length, and check whether letter edges look clean or whether you can see the pixel grid.
Then check the scaling. Most shops run a demo desktop at default settings, so menus will look small on a 4K panel. Ask whether the display is at native resolution, and ask them to move a window or change the scale so you can see how the interface responds.
If you are buying online, order through a return window and test the monitor where it will live. Run these checks on the first evening:
- Text sharpness on a document and in your browser at your usual reading distance.
- Interface size at the scaling setting you plan to use daily.
- Motion in a scrolling page and a video, to check for smearing on a slow panel.
- Glare and reflections with your blinds and lighting as they actually are, not as they are in the shop.
- Desk fit, including stand footprint, tilt range and whether the top edge sits at or just below eye level.
- Comfort after an hour of real work, not five minutes of browsing.
Check the panel type while you are there. IPS panels give accurate colour and wide viewing angles and suit office and creative work. VA panels offer deeper blacks and higher contrast for media. TN panels are faster but have narrower angles, and they are the ones I avoid for text-heavy desks.
Common Monitor Resolution Mistakes
Most bad monitor decisions come down to one of these. Each has a simple correction.
1. Buying a 27 inch or larger monitor at 1080p. The pixels get stretched across more glass and text looks soft. The fix is simple: 27 inch means 2560×1440, and 32 inch means 3840×2160. If a listing shows a large screen at 1080p, treat it as a small screen with wasted desk space.
2. Choosing 4K only because the number is bigger. Resolution is not a ranking. A 4K panel at 100% scaling on a 24 inch screen gives you a 184 PPI interface that is genuinely unpleasant to use. Higher is only better when the size and the scaling setting support it.
3. Ignoring display scaling entirely. The default 100% setting on a 4K monitor makes every menu and tooltip microscopic, and lots of people conclude the monitor is bad when the setting is the problem. Set 125% or 150% before you judge anything.
4. Running a non-native resolution. If your desktop looks soft in a way that has nothing to do with the panel size, check that the resolution in the display settings matches the monitor’s native resolution. Windows in particular likes to offer a lower resolution for compatibility, and some games and docking utilities do it silently.
5. Picking a 32 inch screen for a shallow desk. Physical fit is not a detail you can fix later. Measure first, and if your desk is under 65 cm deep, stay at 27 inches or smaller.
6. Buying high resolution without checking the graphics hardware. A 4K gaming panel pushes four times the pixel count of 1080p. With integrated graphics, especially on a laptop, you will lose the frame rates you paid for. Check what your system can output before you choose the tier.
7. Forgetting that scaling changes your real workspace. Turning scaling up makes everything look bigger and reduces how much fits on screen. Decide deliberately whether you want more readable interface or more simultaneous content, because you are choosing between the two, not getting both.
8. Overlooking the ultrawide fit. A 34 inch 21:9 screen gives you 44% more width than a 27 inch 16:9 panel, which is excellent for timelines and side-by-side windows. It also needs a deeper desk and a more square-on sitting position, because the edges sit far outside a comfortable head turn.
Dual Monitors and Laptops: Two Cases Worth Handling Separately
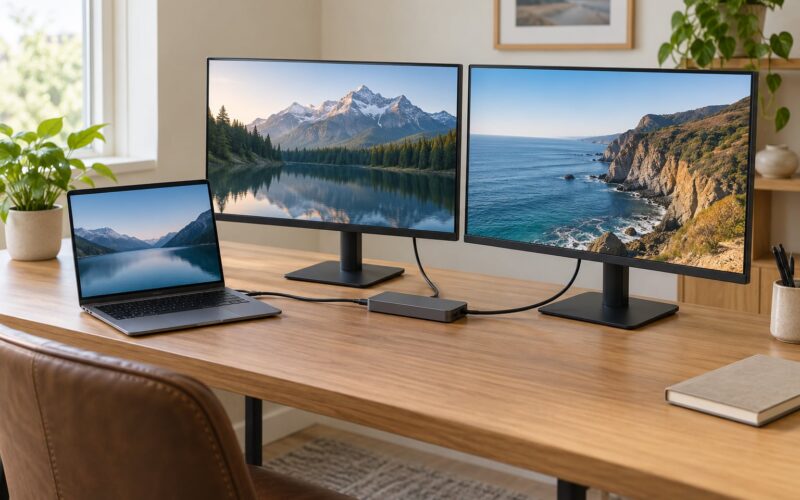
Two screens at 1920×1080 give you 4.14 million pixels of workspace. One 34 inch ultrawide gives you 4.95 million, on one panel with no bezel gap. If your work involves dragging windows between displays, the ultrawide wins on continuity; if you need a reference window on one side and your editor on the other, two panels win on placement.
When you run two monitors, match their vertical resolution and get their pixel densities close. A 24 inch 1080p screen at 92 PPI next to a 27 inch 1440p screen at 109 PPI produces two different UI sizes, and dragging a window between them changes how large everything looks. Two matching 27 inch 1440p panels at 109 PPI behave like one very large desktop, and that consistency is worth planning for.
Laptop users face a narrower version of the same problem. Common laptop screens run 13.6 to 16 inches at 1920×1080, 2560×1600, or 2880×1800. A 13.6 inch 2560×1600 panel works out to about 177 PPI, so a matching external monitor at 1920×1080 will show text noticeably smaller than the laptop lid does. Pairing a laptop with a 24 inch 1080p display is the most common comfortable setup, and a 27 inch 1440p display is the step up if you have the port bandwidth and the desk depth.
Frequently Asked Questions
What is a good pixel density for a monitor?
For most desk work, 90 to 110 pixels per inch is the comfortable band. At that density, text edges look clean at normal reading distance and interface elements stay usable without heavy scaling. Below about 85 PPI you start seeing individual pixels, and above 140 PPI the extra sharpness is hard to notice unless you sit close. Check the spec sheet for the panel’s PPI before buying.
Why does my 1920×1080 monitor look blurry?
There are three usual causes. The display may be running a non-native resolution, which forces Windows to stretch the image. It may be set to 125% or 150% scaling, which resamples text and softens it. Or the panel may simply be a large screen at 1080p, such as 27 inch or 32 inch, where the pixel count is too low for the size. Check the resolution setting first, then the scaling, then the size pairing.
Is 1920×1080 or 2560×1440 better?
2560×1440 is better in nearly every case, and the gap is large. It offers 78% more pixels than 1080p, which means noticeably cleaner text, more rows in a spreadsheet, and more code visible at once. It only makes sense to stay at 1080p on a 22 or 24 inch screen where the density is already right, or on a tight budget. A 27 inch screen at 2560×1440 sits at about 109 PPI, which is the pairing most people settle on.
What display scaling should I use on a 4K monitor?
On a 27 inch 4K panel, set scaling to 150%. That lands the interface at roughly the same physical size as 1440p at 100% while rendering text with far more pixel data. On a 32 inch 4K panel, 125% fits more on screen and 150% suits long reading sessions. Try both for a day. On Windows 11 the setting is in Settings, System, Display, then Scale.
Does a higher resolution monitor need a better graphics card?
For office work, browsing, and code, almost any modern system drives a 4K panel, including integrated laptop graphics at 60 Hz. For games and video editing, the load is real: 4K renders 8.29 million pixels per frame, four times 1440p’s 3.69 million. Integrated graphics will struggle with 4K gaming. Your port matters too, since HDMI 2.0 and DisplayPort 1.4 handle 4K at 60 Hz but differ at higher refresh rates.
What monitor resolution is best for coding and spreadsheet work?
For text-heavy work, 2560×1440 on a 27 inch screen is the strongest balance at about 109 PPI. It gives you 78% more pixels than 1080p, so more lines of code and more spreadsheet columns fit at once, and the text is sharp at 100% or 125% scaling. If your budget stretches further, a 32 inch 4K panel at 125% scaling gives similar physical text size with a much larger canvas.
Start with the tape measure, not the spec list. Know your desk depth and your viewing distance, then pick the resolution that lands the panel between 90 and 110 PPI at that size. Set the display scaling on day one, before you decide you dislike the monitor, and the choice stops being a guess.