AirDrop moves photos, videos, documents and other files between an iPhone and a Mac wirelessly, with no cable, no email and no cloud upload in the middle. To learn how to use AirDrop between iPhone and Mac, turn on Bluetooth and Wi-Fi on both devices, set how each one can be discovered, keep them within about 30 feet (10 meters) of each other, then pick the other device from the Share Sheet or the Share menu. The whole transfer takes seconds once the two devices see each other.
Most of the frustration people hit comes from one setting: who each device allows to discover it. Get that right and AirDrop just works. Get it wrong and your Mac will not appear in the list at all, which is the single most reported problem in Apple’s own support forums.
Table of Contents
- 1What You Need
- 2Step-by-Step: How to Use AirDrop Between iPhone and Mac
- 3Prepare Both Devices for AirDrop
- 4How to Use AirDrop on iPhone to Send Files to Mac
- 5How to Use AirDrop on Mac to Send Files to iPhone
- 6Choose What AirDrop Does with Accepted Files
- 7Common Mistakes
- 8How to Fix an AirDrop Transfer That Stops or Fails
- 9Quick Tips for Faster and Safer AirDrop Transfers
- 10Frequently Asked Questions
- 11Is AirDrop between iPhone and Mac safe?
- 12Why does my Intel Mac not appear in AirDrop?
- 13Does AirDrop use mobile data or internet data?
- 14Why does my Mac ask me to accept every AirDrop transfer?
- 15Can I AirDrop a link or note from an app that does not show AirDrop?
- 16Conclusion
What You Need
AirDrop needs four things lined up before it will do anything.
- Two Apple devices. An iPhone and a Mac both support it. So do iPads, and so do most Apple TVs and HomePods.
- Bluetooth on and Wi-Fi on. Bluetooth handles discovery; Wi-Fi carries the actual data. Turn either one off and AirDrop disappears from the Share Sheet.
- Range. Keep the devices within about 30 feet (10 meters). In the same room is ideal.
- An Apple Account signed in on each device. This is what powers the Contacts Only mode.
There is one hardware limit worth knowing about. AirDrop needs Bluetooth Low Energy, which means Macs built before 2012 with Intel processors cannot take part. AirDrop on those older machines needs a USB cable, which defeats the purpose. Every Mac made since then, and every Mac with Apple silicon, is fine.
You do not need an internet connection for the transfer itself. The devices talk directly to each other.
Step-by-Step: How to Use AirDrop Between iPhone and Mac
Prepare Both Devices for AirDrop
Start by unlocking both devices. A locked Mac or a screen showing the lock screen will not show up properly, so open them and tap or click through to the desktop.
Next, turn off Airplane Mode on both. Airplane Mode switches Bluetooth off along with Wi-Fi, and AirDrop cannot start until both radios are back on. Check that Bluetooth and Wi-Fi are each switched on independently.
On the iPhone, open Control Center and tap the AirDrop tile. Swipe down from the top-right corner on current iPhone models. On older models with a Home button, swipe up from the bottom of the screen instead. The tile cycles through three states as you tap it, and the text under the icon tells you which one is active right now.
On the Mac, open System Settings, click General in the sidebar, then click AirDrop and Continuity. On macOS versions before Ventura, the same setting lives under Apple menu, System Preferences, then the Sharing pane. Any guide that still says only System Preferences is written for an older Mac and will send you looking in the wrong place.
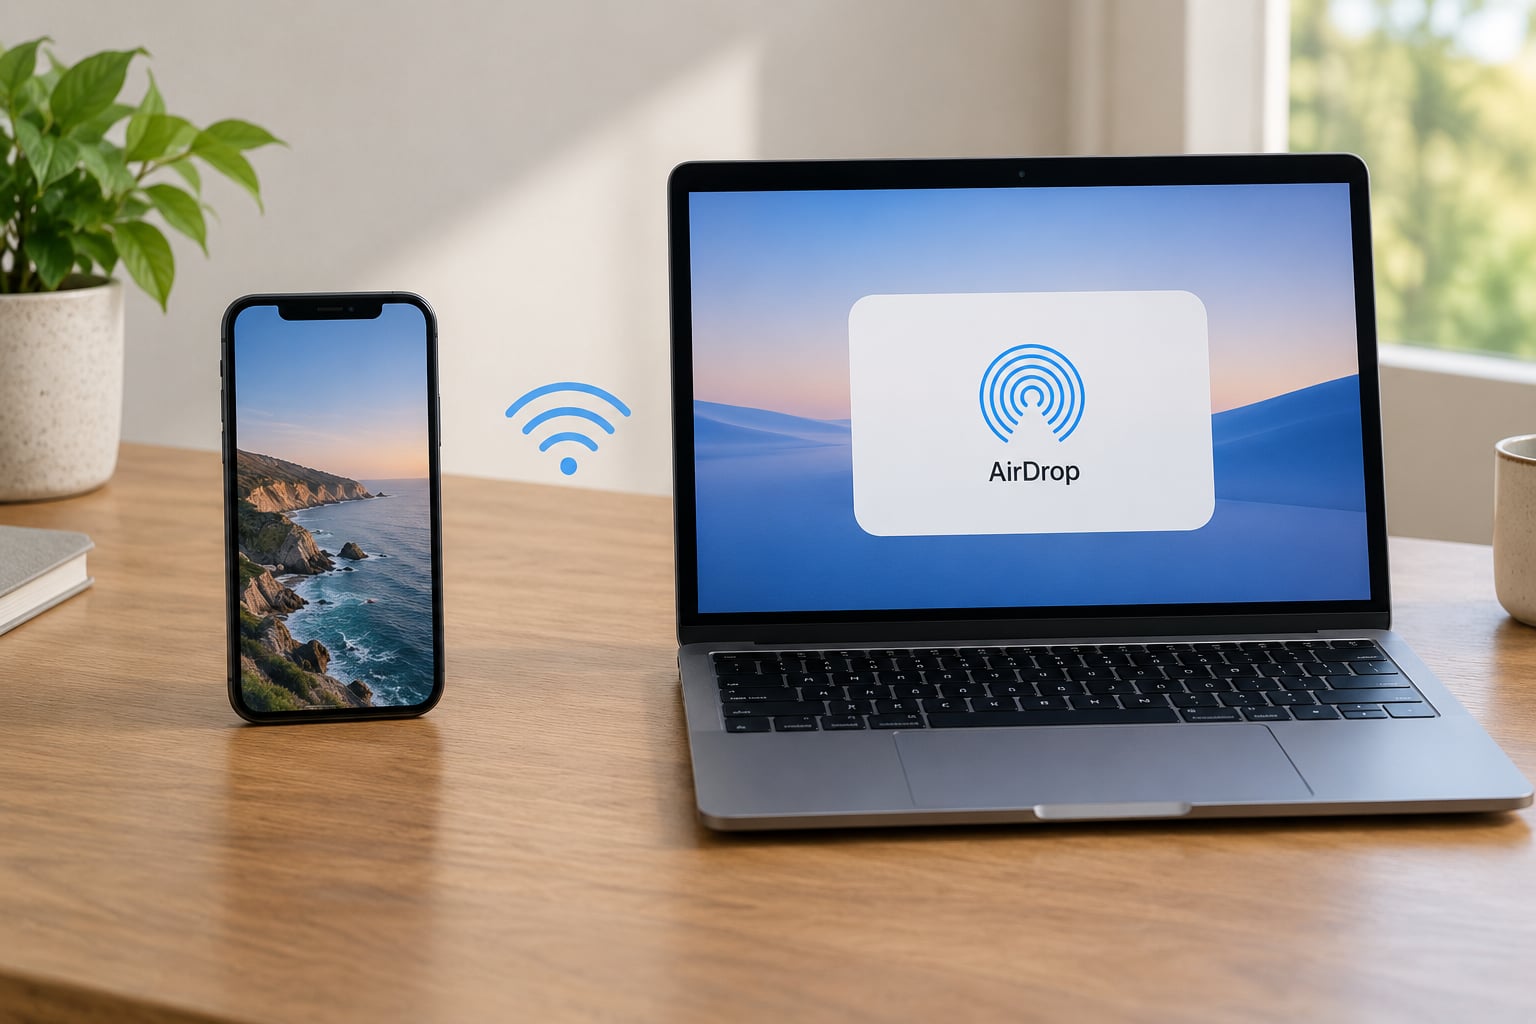
That is also where you decide who can find you. Three options control it:
| Setting | Who can discover you | When to use it |
|---|---|---|
| Receiving Off | Nobody | In public, or when you do not want any transfers at all |
| Contacts Only | Devices belonging to people in your Contacts | The everyday setting, and the safest of the two open options |
| Everyone | Any nearby Apple device | Short transfers to someone who is not in your contacts. It reverts on its own after about ten minutes |
Contacts Only frustrates people when a friend or a colleague is not saved in their phone. The other device then shows as a grey circle with initials you do not recognise. Switching to Everyone for a moment is the usual fix.
How to Use AirDrop on iPhone to Send Files to Mac
This is the direction most people want: getting photos off the phone.
- Open the item you want to send. In Photos, tap the thumbnail, then tap the Share button in the top-right corner.
- Scroll to the top of the Share Sheet and tap AirDrop.
- Tap your Mac in the list of nearby devices. Give it a few seconds to appear.
- If the Mac asks you to confirm, tap Accept on the Mac or enter its password.
- Check the file arrived. It lands in the Downloads folder by default, named after the device that sent it.
For several photos at once, open Photos, tap Select in the top-right corner, tap the thumbnails you want, then tap Share and choose AirDrop. Very large batches of a few hundred photos can sit on Preparing for a long time, so sending in groups of roughly fifty is steadier.
The same Share Sheet route works for PDFs, documents, voice memos, contacts and files from the Files app. Whatever you tap, AirDrop sends the file itself, not a link to it.
How to Use AirDrop on Mac to Send Files to iPhone
The reverse direction starts in Finder. There are three ways to do it, and all three end in the same place.
Select one or more files in a Finder window, then click the Share button in the toolbar and choose AirDrop. Pick your iPhone from the list, tap Send, and accept the incoming alert on the iPhone. A locked iPhone shows the banner, so you do not need to unlock it first, although you do need to know the passcode.
The second route is right-click. Select the file, right-click it, choose Share, then AirDrop and the iPhone.
The third route skips the Share menu. Open a Finder window and click AirDrop in the sidebar. Your iPhone appears inside that window as a device you can drag files straight onto. The keyboard shortcut for that same window is Command + Shift + R.
Sent files arrive on the iPhone in the Files app under Downloads, not in the Photos library. Photos sent from the Mac land in Photos; everything else goes to Files.
Choose What AirDrop Does with Accepted Files
The receiving Mac has a second setting that decides what happens after someone sends something. In System Settings, click General, then AirDrop and Continuity, then look at the dropdown next to AirDrop Received Files.
Ask Every Time is the default and the safest. The Mac shows a prompt and nothing is saved until you approve it. Accept Automatically stores incoming items straight into Downloads, which is convenient at home and a poor choice on a shared or office machine.
Set it back to Ask Every Time whenever you travel with the Mac.
Common Mistakes
The Mac does not appear in the iPhone’s AirDrop list. By far the most common problem. Usually one of these is the cause.
- AirDrop on the Mac is set to Receiving Off.
- Bluetooth or Wi-Fi is switched off, or Airplane Mode is on.
- The iPhone is set to Contacts Only and the Mac is not linked to anyone in the phone’s contacts. Switch the iPhone to Everyone for ten minutes.
- A Mac older than 2012 with an Intel processor. These cannot receive AirDrop at all.
- The devices are more than 30 feet apart, or separated by thick walls.
- A VPN client or a strict firewall on the Mac is blocking local network discovery.
The Mac sees the iPhone but the iPhone never sees the Mac. This one-directional behaviour is almost always a discovery permission rather than a broken radio. Check the Local Network permission under Privacy and Security on both devices, and confirm the Mac is not on a work profile that restricts AirDrop.
Two devices signed into the same Apple Account will not find each other. People assume this is the cause far more often than it turns out to be. Sharing an Apple Account is not a blocker. If discovery fails, the fix is to restart both devices and re-check the discovery setting.
Large batches stall on Preparing. Sending 200 or more photos in one go is the trigger. Send smaller groups.
AirDrop is missing from a particular app. Some apps build a limited Share Sheet without the AirDrop tile. Copying the item out to Photos or Files first gives you a full Share Sheet to work from.
A transferred video opens to a black screen. The file arrived intact. The receiving device lacks the codec used to record it, most often HEVC from an iPhone shot in high efficiency mode. Sending the original as H.264 avoids it.
How to Fix an AirDrop Transfer That Stops or Fails
Work down this list in order. The first few steps cost nothing and fix the majority of cases.
- Toggle AirDrop visibility. On the iPhone, tap the Control Center tile twice so it cycles through Everyone and back to Contacts Only. On the Mac, change the setting in AirDrop and Continuity and set it back.
- Move the devices closer. Same desk, not same house.
- Switch Bluetooth off and back on on both devices.
- Lock the iPhone and unlock it again, then reopen the Share Sheet.
- Restart both devices.
- Turn off any VPN client on the Mac, then try again. Firewalls and VPN software are the hidden culprit more often than people expect.
- Check Privacy and Security, then Local Network, on the iPhone and make sure the app you are sharing from has permission.
- As a last resort, reset network settings on the iPhone from Settings, General, Transfer or Reset, then Reset Network Settings. This clears saved Wi-Fi passwords, so have them ready.
Sign out of iCloud and back in on both devices also resolves a stubborn share of discovery failures, but do it after the cheaper steps.
Quick Tips for Faster and Safer AirDrop Transfers
Keep Contacts Only as your normal setting and switch to Everyone only when you genuinely need it. The Everyone option expires by itself, so it does not stay open indefinitely.
AirDrop works with no internet at all, which makes it the right tool on a plane, on a train, or in a spot with poor signal.
Accept transfers from devices you recognise. If an alert arrives from a name you do not know, decline it.
For a web address, copy the link rather than sending the page. Sending a link takes a second and delivers something readable, while AirDropping a saved page can produce an unreadable file.
There is no hard size limit, but very large video files take as long as the radios need. Keep both devices awake and close by for the duration.
If AirDrop refuses to cooperate entirely, iCloud Drive, a USB cable with Image Capture, or a shared folder over a local network will move the same files.
Frequently Asked Questions
Is AirDrop between iPhone and Mac safe?
AirDrop sends files over a direct peer-to-peer connection between the two devices, so the data does not pass through Apple’s servers or any cloud service. With Contacts Only selected, only devices linked to people in your contacts can see you at all. Keep that setting on in shared spaces and switch back to Receiving Off when you are done.
Why does my Intel Mac not appear in AirDrop?
AirDrop requires Bluetooth Low Energy, and Macs released before 2012 with Intel processors do not have the required hardware. Those machines cannot send or receive AirDrop even with every setting correct. MacBook Pro and MacBook Air models from 2012 onward, and every Apple silicon Mac, support it without any extra hardware.
Does AirDrop use mobile data or internet data?
No. AirDrop creates a direct wireless connection between your iPhone and Mac, and the file travels across that link rather than over your internet connection or cellular plan. You can transfer a large video on a plane with no signal at all. The only thing you need nearby is the other device itself.
Why does my Mac ask me to accept every AirDrop transfer?
That is the default behaviour. The setting under System Settings, General, AirDrop and Continuity is set to Ask Every Time, which means nothing is saved until you approve it. You can change it to Accept Automatically on a Mac only you use, but revert it before travelling or sharing a machine.
Can I AirDrop a link or note from an app that does not show AirDrop?
Some apps use a reduced Share Sheet that omits the AirDrop tile. Copy the text or link to the clipboard, then paste it into Notes or Messages and share from there, or save the item to the Files app first. Both give you a full Share Sheet with AirDrop available.
Conclusion
To use AirDrop between iPhone and Mac, do three things first: switch Bluetooth and Wi-Fi on for both devices with Airplane Mode off, set each device to Contacts Only or Everyone for ten minutes, and then pick the other device from the Share Sheet on the iPhone or the Share menu in Finder on the Mac. Received files land in the Downloads folder on the Mac and in the Files app on the iPhone.
If the other device never shows up, work through the fix list above from the top: cycle the AirDrop setting, close the distance, toggle Bluetooth, lock and unlock the phone, restart, then check the VPN and Local Network permissions. That order solves nearly every case without touching your accounts or your settings.