Dynamic DNS (DDNS) keeps a hostname pointed at your home server’s public IP address even when your ISP changes that address. A small client on your router or server looks up the current public IP, sends it to your DNS provider with an API token, and the A record gets rewritten within seconds. Setting it up takes about twenty minutes if you have a public IPv4 address. If your ISP puts you behind carrier-grade NAT, none of it will work, and the first section explains how to find out in thirty seconds.
Table of Contents
- 1What You Need
- 2Check whether the setup can work at all
- 3How to Set Up Dynamic DNS for a Home Server
- 4Configure the DDNS updater on Ubuntu Server
- 5Use a router or another operating system
- 6How to Expose the Home Server Safely
- 7Verify and Troubleshoot the Dynamic DNS Setup
- 8Common Mistakes
- 9Frequently Asked Questions
- 10Do I need dynamic DNS if my home server has a home IP address?
- 11Will dynamic DNS work if my ISP uses CGNAT?
- 12Do I still need port forwarding after setting up dynamic DNS?
- 13How often should a dynamic DNS client update my hostname?
- 14Is dynamic DNS safer than using a VPN for remote access?
What You Need
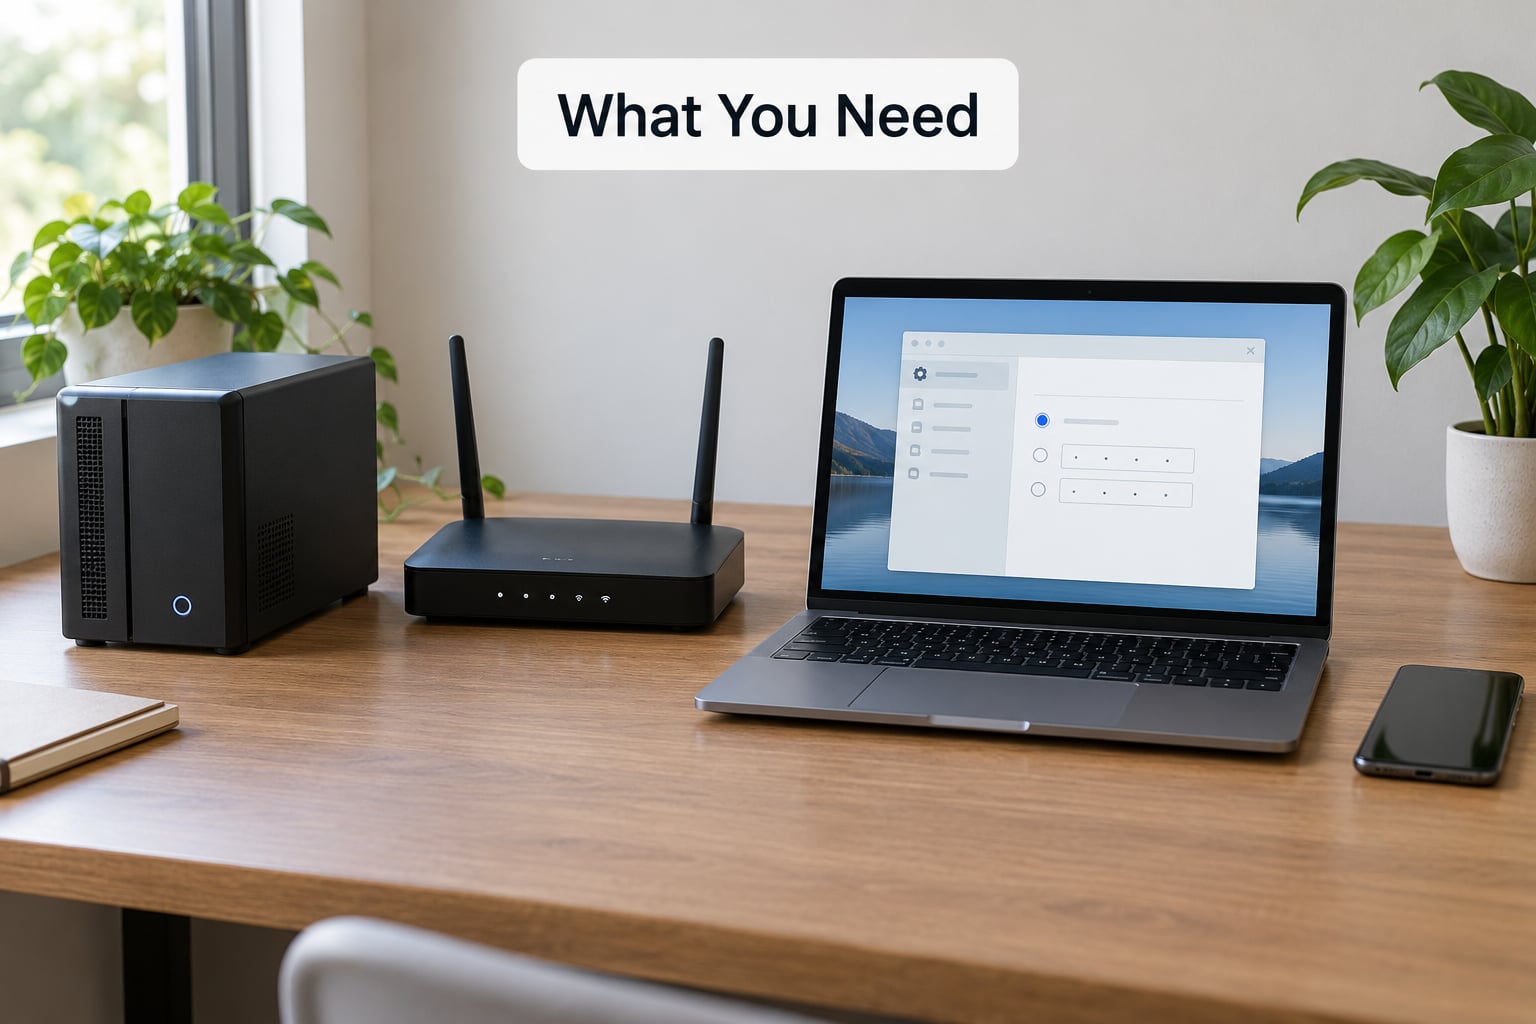
You need six things before you touch a config file. A home server running a stable Linux install or a NAS with a shell, and either a DHCP reservation on your router or a static local address configured on the server itself. Administrative access to both the server and the router. An account with a dynamic DNS provider. A domain you control, or a free subdomain from a provider that hands one out. A DDNS updater, either built into your router or a client like ddclient running on the server. And a way to test from outside your network, which is usually a phone on mobile data.
Four concepts decide whether any of this is possible.
A public IP address is an address routable on the public internet, assigned to your router’s WAN interface by your ISP. It is not the same as the 192.168.x.x or 10.x.x.x address your server has internally, and that internal address can never be typed into a browser from a coffee shop.
Carrier-grade NAT is when your ISP shares one public IPv4 address across many customers. If you are behind it, your router gets a private address in the 100.64.0.0/10 range (RFC 6598 shared address space) instead of a public one, and inbound connections from the internet have nowhere to land. No hostname and no port forwarding will fix that.
Port forwarding is the router rule that sends an inbound connection on a given port to your server’s internal address. DDNS tells the world where to aim; the forward tells the router where to deliver. You need both.
IPv6 usually arrives on a home connection with a stable prefix, and it reaches the server without any forwarding at all. If your provider hands out IPv6, an AAAA record often removes the need for a dynamic IPv4 setup entirely. Plenty of connections are IPv4-only though, so treat it as an extra path rather than a replacement.
Check whether the setup can work at all
Run this before anything else, because it is the failure that wastes the most hours.
- Open your router admin page and read the WAN IP address.
- On the server, run
curl -4 ifconfig.meor open that address in a browser to see the public IP the internet sees. - Compare the two numbers.
If the router’s WAN address starts with 100.64, 100.65 through 100.127, 10.x, 192.168.x, or 172.16 through 172.31, you are behind CGNAT or double NAT. Skip to the section on tunnels further down. If the two addresses match, you have a public IP and you can proceed. If they differ but neither looks private, you are behind a second router or a fibre ONT doing the NAT, and forwarding rules on the wrong device are the classic cause.
How to Set Up Dynamic DNS for a Home Server
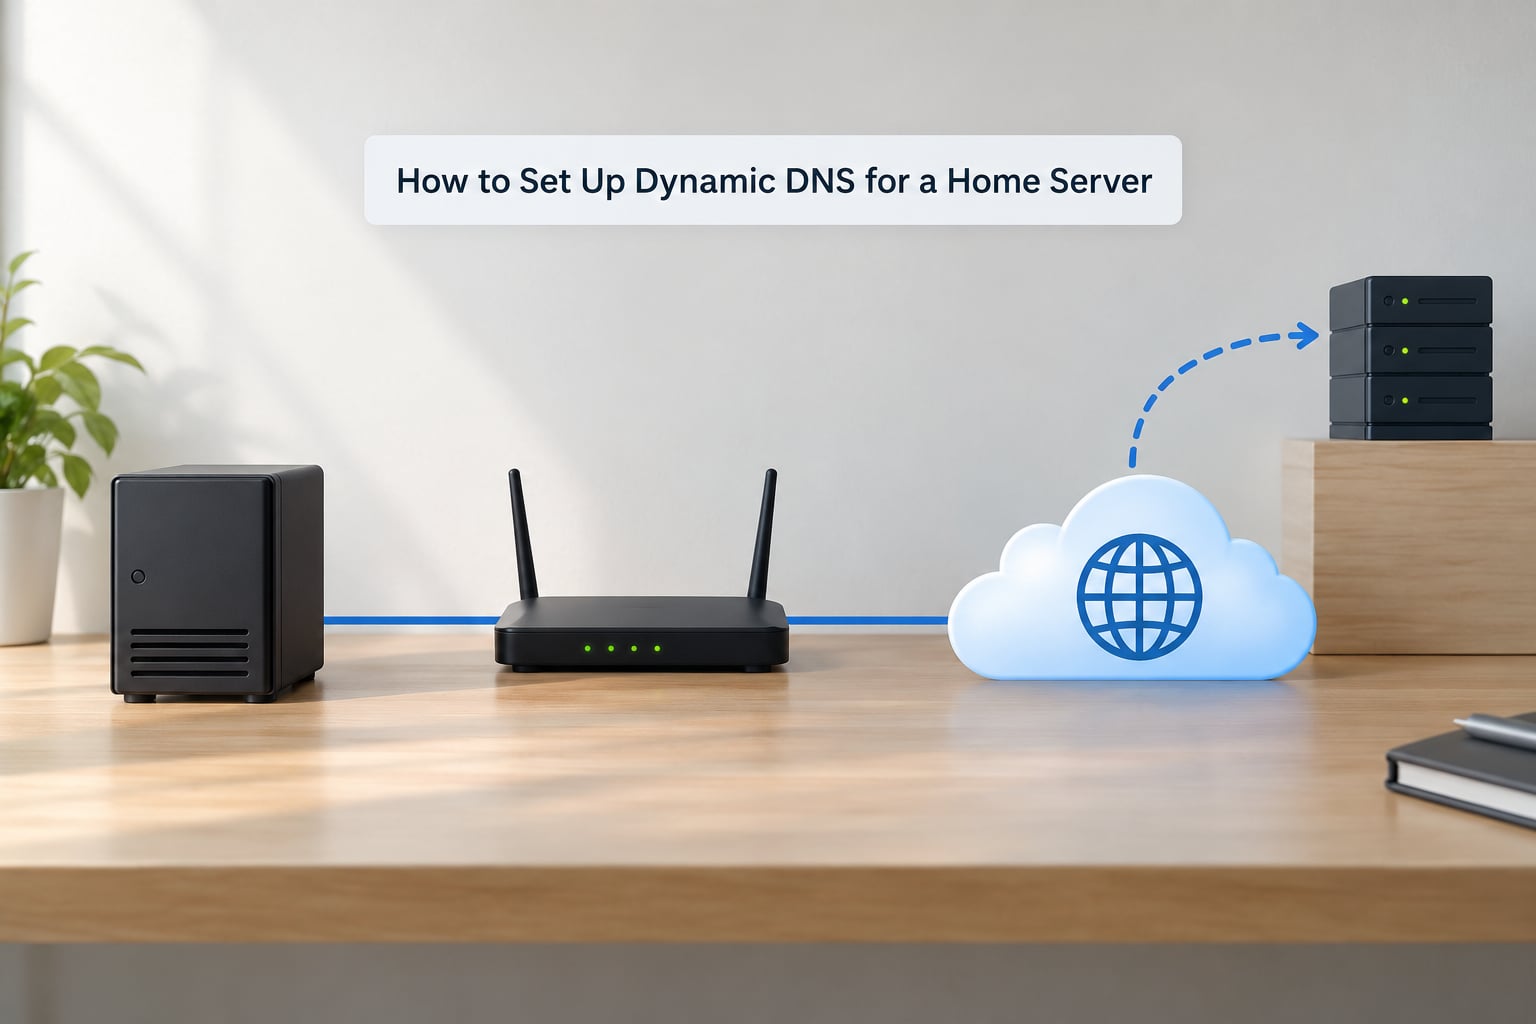
Eight steps take you from nothing to a hostname that resolves to the right address.
- Pick a hostname. Something short you will type on your phone. If you own a domain, use a subdomain like
jellyfin.example.com. If not, DuckDNS gives youyourname.duckdns.orgfree. - Create the credential. On your provider, generate an API token or token pair. Scoped beats global: a Cloudflare token with only Zone DNS Edit on one zone is fine, while the Global API Key can rewrite DNS everywhere and should not go in a config file.
- Create the DNS record. In your domain’s DNS zone, add an A record for the hostname pointing at your current public IP, with a TTL of 300 seconds. If your provider handles record creation through its own API, skip this and let the updater do it.
- Fix the server’s local address. In the router’s DHCP settings, reserve the address for your server’s MAC. Otherwise a reboot can hand it a new local IP and the forward silently points nowhere.
- Install the updater on the server.
sudo apt update && sudo apt install ddclienton Ubuntu or Debian. - Write the config. Create
/etc/ddclient.confwith the provider block shown below and lock it down withchmod 600. - Start the service.
sudo systemctl enable --now ddclient, then read the log to confirm a successful update. - Verify from outside. On a phone on mobile data, resolve the hostname and connect to the port you forwarded.
Configure the DDNS updater on Ubuntu Server
Start by confirming what address the server thinks it has. hostname -I prints local addresses, and ip -4 addr show gives you the same information with interface names attached. Neither of those is your public IP, and pasting a private address into a DNS record is the most common beginner mistake in this whole process.
For a domain you manage in Cloudflare, create a scoped API token under My Profile, API Tokens, Create Token, then set permissions to Zone, DNS, Edit for the single zone that holds your hostname. Copy the token once; the page never shows it again.
# /etc/ddclient.conf
protocol=cloudflare
use=web
zone=example.com
domain=home.example.com
login=token
password=YOUR_SCOPED_API_TOKEN
ttl=300
The `login=token` line matters. ddclient treats anything else as an email address and switches to the older key authentication path, which is where the vague failure messages in the logs come from. Do not put a scheme like `https://` in the `zone` or `server` field either; ddclient already speaks HTTPS and a stray prefix breaks the request.
For DuckDNS, the block is shorter because the token is the only credential:
# /etc/ddclient.conf
protocol=duckdns
use=web
server=duckdns.org
login=YOUR_DUCKDNS_TOKEN
password=YOUR_DUCKDNS_TOKEN
domain=home.duckdns.org
Lock the file down and enable the service. The permission bit matters because the file now contains a secret:
sudo chmod 600 /etc/ddclient.conf
sudo systemctl enable --now ddclient
sudo systemctl status ddclient
Check the log for the success line. A working run reports that the address was good or has been updated:
sudo journalctl -u ddclient -n 20 --no-pagerLook for `Status: Success` or a message saying the IP is good. If you see a generic failure with no detail, the usual causes are a wrong `login` value, an expired token, or a record set to proxied with the orange cloud on when you meant DNS-only with the grey cloud. Running `sudo ddclient -v -n` shows the full HTTP exchange, which usually names the problem outright.
Use a router or another operating system
Most routers update a hostname on their own, and that path needs nothing running on your server. On a TP-Link router the settings live under Advanced, then Network, then Dynamic DNS. On Omada gateways it is under Services, then Dynamic DNS. UniFi routers have it in the WAN settings as Dynamic DNS, where you pick the provider from a dropdown. OpenWrt installs a DDNS client package with a LuCI page that asks for the same handful of fields: service, hostname, domain, username, password.
Two rules matter here. Run one updater, not two. A router-native client plus ddclient on the server means both write to the same record, and whichever speaks last wins, which produces records that flip back and forth every few minutes. And confirm the hostname actually appears in the router’s log rather than trusting a saved-configuration banner.
On macOS, install ddclient through Homebrew and point its config path at the same syntax. On Windows, the Dynamic DNS Client app from No-IP does the same job as a small tray utility, and it takes the hostname and token from the No-IP account page. The configuration fields are identical across all three platforms, so whatever you learn on Linux transfers directly.
How to Expose the Home Server Safely
Dynamic DNS only updates a name. It does not open a firewall, forward a port, or authenticate anyone. Three separate things have to be true before a connection from outside reaches your service, and it helps to think of them in that order: the name resolves, the packet arrives at your router, and the router hands it to something that answers.
Start with the forward. In the router, create a port forwarding rule for the specific port your service listens on, pointing at the server’s reserved local address. Media servers usually want 8096, dashboards often 8123, and SSH stays on 22 or, better, moved to something higher. Check what is actually listening first:
sudo ss -tulpnThen open the host firewall. On Ubuntu with ufw the rules look like this:
sudo ufw allow from 192.168.1.0/24 to any port 8096 proto tcp
sudo ufw allow 22/tcp
sudo ufw enable
sudo ufw status numbered
Forward only what you run. Every extra open port is another service somebody can find, and the common case of forwarding 1-65535 to a server is a bad trade for convenience. If you can restrict a port to a source address, such as your office IP, do that instead of exposing it to the whole internet.
Terminate HTTPS with a reverse proxy such as Caddy or Nginx Proxy Manager in front of your services, and get a certificate with Let’s Encrypt. Dynamic DNS and certificates do not conflict, because the DNS-01 challenge validates through a TXT record rather than an inbound connection to port 80. Set the record to DNS-only if you want direct connections to arrive, or proxied if you want Cloudflare’s edge in front, and remember that proxied mode will not carry arbitrary game or VPN traffic.
The safest option remains not exposing anything. A mesh VPN like Tailscale or WireGuard, or a Cloudflare Tunnel, gives you access without opening inbound ports on your router, which removes most of the attack surface that port forwarding creates. The trade-off is that every device you connect from needs the client installed, and some services do not tolerate a proxy in front of them.
Verify and Troubleshoot the Dynamic DNS Setup
Verification has four steps and tells you which layer is broken. First, read your public address again with curl -4 ifconfig.me. Second, resolve your hostname and compare: dig +short home.example.com on the server, or nslookup home.example.com on Windows. If those two do not match, the problem is DNS. If they match and you still cannot connect, the problem is routing, and no amount of DDNS tuning will help.
Third, test from a genuinely external network. A phone with mobile data switched on is the standard check, and it is the step people skip. Many false reports of broken dynamic DNS come from testing on the home Wi-Fi, where a router feature called hairpin NAT can sometimes let internal devices reach their own public address. When it works at home and fails on cellular, hairpin NAT was the only thing making you think it functioned.
Fourth, confirm the record type matches your address family. An A record holds IPv4; an AAAA record holds IPv6. A hostname that resolves to an IPv6 address on a network with no working IPv6 path will hang until it times out, and mobile networks in particular can stall on this.
The remaining causes are quick to check. A stale NAT mapping means the router has not actually received a new public IP yet, so wait for the lease to cycle. Wrong credentials produce authentication errors in the log, and regenerating the token fixes it in about a minute. Multiple clients writing to one record cause addresses that flip between two values, which is why you pick one updater. And a record still set to proxied when you expected direct traffic sends connections through an edge that has no forwarding rule for your port.
If the hostname resolves correctly and the forward is in place but connections time out, the timeout is a routing answer, not a DNS answer. Walk it in order: check the server listens on the forwarded port, check the host firewall allows it, check the router rule points at the right local address, then check the router’s own WAN IP against what the internet sees.
Common Mistakes
Publishing a private address. Putting 192.168.1.50 in the DNS record creates a hostname that only works inside your house. Use the public address from curl -4 ifconfig.me.
Forwarding a port without opening the host firewall. The router delivers the packet, then the server drops it. Confirm the rule with sudo ufw status before you start changing DNS settings again.
Leaving credentials world-readable. /etc/ddclient.conf holds a token that can rewrite your DNS. chmod 600 the file, keep it out of any git repository, and never paste a Global API Key where a scoped token will do.
Running several updaters. Router client, ddclient on the server, and a container all writing the same record is the reason a hostname flickers between two addresses. Disable all but one.
Choosing the wrong record type. A record for an IPv6 address, or vice versa, produces connections that hang rather than fail cleanly. Match the record to the address family.
Skipping the DHCP reservation. A new local address after a reboot leaves the router forwarding to a host that no longer exists. Reserve it by MAC.
Expecting a hostname to expose a server. The name is a map. Nothing is reachable until a forward, a firewall rule, and a listening service all agree.
One maintenance habit covers most future problems: check the updater after a router swap or an ISP-side change. Long-running setups usually break because the path upstream changed, not because ddclient failed. Watch it for a week after any network change and confirm the log shows a successful update rather than assuming it.
Frequently Asked Questions
Do I need dynamic DNS if my home server has a home IP address?
Most residential connections hand out a dynamic public IP that changes whenever the router reconnects or the lease renews, so yes, you need DDNS unless your ISP gives you a genuinely static address. A home IP address on your server is always private and only works inside your own network. If your WAN address has stayed identical for months, you could skip DDNS, but it will still change eventually.
Will dynamic DNS work if my ISP uses CGNAT?
No. Carrier-grade NAT shares one public IPv4 address across many customers, so your router receives an address in the 100.64.0.0/10 shared range and inbound connections have nowhere to land. Check your router WAN address first: if it starts with 100.64, DDNS and port forwarding cannot work no matter how they are configured. Your options are a mesh VPN such as Tailscale, a Cloudflare Tunnel, or asking the ISP for a public IPv4 address.
Do I still need port forwarding after setting up dynamic DNS?
Yes, unless you are on IPv6. Dynamic DNS only updates the A or AAAA record so the hostname points at your current public IP. Port forwarding is the separate router rule that sends traffic arriving on a given port to your server’s internal address. Most routers do not forward anything by default, so even a perfectly updated hostname will time out without a matching rule and an open host firewall.
How often should a dynamic DNS client update my hostname?
Every five minutes is the sensible default, and ddclient uses close to that. Because ddclient compares the address it finds against the one currently published, an unchanged address costs nothing but a single short request. Updating every minute mostly helps a small number of users whose ISP recycles addresses aggressively, while checking hourly or daily leaves a window where connections fail after an overnight lease change.
Is dynamic DNS safer than using a VPN for remote access?
Neither is automatically safer; they solve different problems. Dynamic DNS plus port forwarding exposes your service directly to the internet, so it depends on the service’s own authentication, TLS, patching, and firewall rules. A mesh VPN or tunnel keeps inbound ports closed and gates access behind your network membership, which shrinks the attack surface but requires a client on every device you connect from.
Check your WAN address against your detected public IP before anything else, because that thirty-second step decides whether the rest of this is even possible. If they match, reserve the server’s local address, install ddclient with a scoped token, and confirm the success line in the log. Then forward one port, open it on the host firewall, and test from mobile data rather than from your own Wi-Fi.