To run Linux on Windows with WSL, you open PowerShell as Administrator, type wsl --install, restart, and finish a short setup in Ubuntu. Most people are typing at a real Linux shell within 15 minutes, with no dual boot and no virtual machine software.
WSL is Microsoft’s Windows Subsystem for Linux. It gives you a genuine Linux environment inside Windows: a bash shell, the apt package manager, Python, Git, Docker, and thousands of command-line tools. You keep Windows for everything else, and switch between the two with a keystroke. The command below installs the whole thing in one shot.
Verified on Windows 11 24H2 and Windows 10 build 19044, updated for 2026.
Table of Contents
- 1What You Need
- 2WSL 1 vs WSL 2: which one you get
- 3How to Run Linux on Windows with WSL: Step-by-Step
- 41. Check That Your PC Supports WSL 2
- 52. Install WSL and the Default Ubuntu Distribution
- 63. Finish Setting Up Ubuntu
- 74. Update the Linux Environment and Check the WSL Version
- 85. Learn Where Linux and Windows Files Belong
- 96. Install Your First Linux Tools and Test the Setup
- 107. Manage, Update, and Remove WSL
- 11Common Mistakes
- 12Frequently Asked Questions
- 13Can I run Linux on Windows 10 with WSL?
- 14Should I use WSL 1 or WSL 2?
- 15Can I run a full Linux desktop in WSL?
- 16How do I connect WSL to the internet?
- 17Will installing WSL delete my Windows files or programs?
- 18How do I completely remove a WSL Linux distribution?
- 19Conclusion: Start with Ubuntu and Verify WSL 2
What You Need
You need Windows 10 version 2004 (build 19041) or newer, or any Windows 11 release, plus administrator access to your machine. That is the entire hardware requirement list — WSL ships with Windows rather than as a separate download.
Three more things matter. First, virtualization has to be available in the BIOS or UEFI, which is on by default on nearly every machine built in the last decade. Second, you need roughly 5 GB of free disk space, since the WSL 2 virtual machine plus a default Ubuntu install takes about 3 GB. Third, an internet connection, because the Linux packages come from an online repository.
You also need a way to type a password without seeing characters appear. That is normal, and step 3 explains it.
WSL 1 vs WSL 2: which one you get
WSL 1 translates Linux system calls into Windows calls. It starts instantly and is lighter, but it has no real Linux kernel, no full systemd support, and slower access to Linux filesystems. WSL 2 runs an actual Linux kernel inside a lightweight utility virtual machine, which means far better filesystem performance and full compatibility with Docker, systemd and current Linux tooling.
For anything you are installing today, use WSL 2. WSL 1 survives mostly on older hardware and a few very specific setups. The wsl --install command in step 2 sets WSL 2 as your default, so you do not have to think about it.
How to Run Linux on Windows with WSL: Step-by-Step
1. Check That Your PC Supports WSL 2
Right-click the Start button, choose Terminal (Admin) or Windows PowerShell (Admin), and accept the User Account Control prompt. A window opens with an elevated title bar.
Run wsl --status. If you get a version and a default distribution, WSL is already present. If PowerShell says wsl is not recognized, it simply is not installed yet, which step 2 fixes.
To check virtualization directly, run systeminfo and look for “Virtualization Enabled In Firmware: Yes”. If it says No, your BIOS or UEFI has it disabled and you will need to turn it on there before anything else works.
2. Install WSL and the Default Ubuntu Distribution
In that same Administrator terminal, run:
wsl --installThat single command enables the Windows Subsystem for Linux optional feature, enables the Virtual Machine Platform, installs the WSL 2 Linux kernel, sets version 2 as the default, and downloads Ubuntu as your first distribution. On a modern Windows 11 machine the whole download runs in the background, so you can keep working.
You need to restart Windows when it finishes. A restart is not optional here: the Virtual Machine Platform is a boot-time driver, and nothing works until Windows loads it.
Prefer a different distro? Add the name: wsl --install -d Debian. Run wsl --list --online first to see the full catalog of names.
3. Finish Setting Up Ubuntu
After the restart, open Ubuntu from the Start menu. The first launch takes a minute or two while the root filesystem unpacks, then prompts you for a Linux username and a password.
Type a lowercase username — no spaces — and press Enter. Then type a password. Nothing appears on screen, no asterisks, nothing. This is the part that confuses most first-timers. The terminal is simply not echoing input. Keep typing, press Enter, and retype the same password on the second prompt. The prompt then changes to you@machine:~$, and you are logged in.
That prompt is your success signal for this step. If you see it, Ubuntu is running.
4. Update the Linux Environment and Check the WSL Version
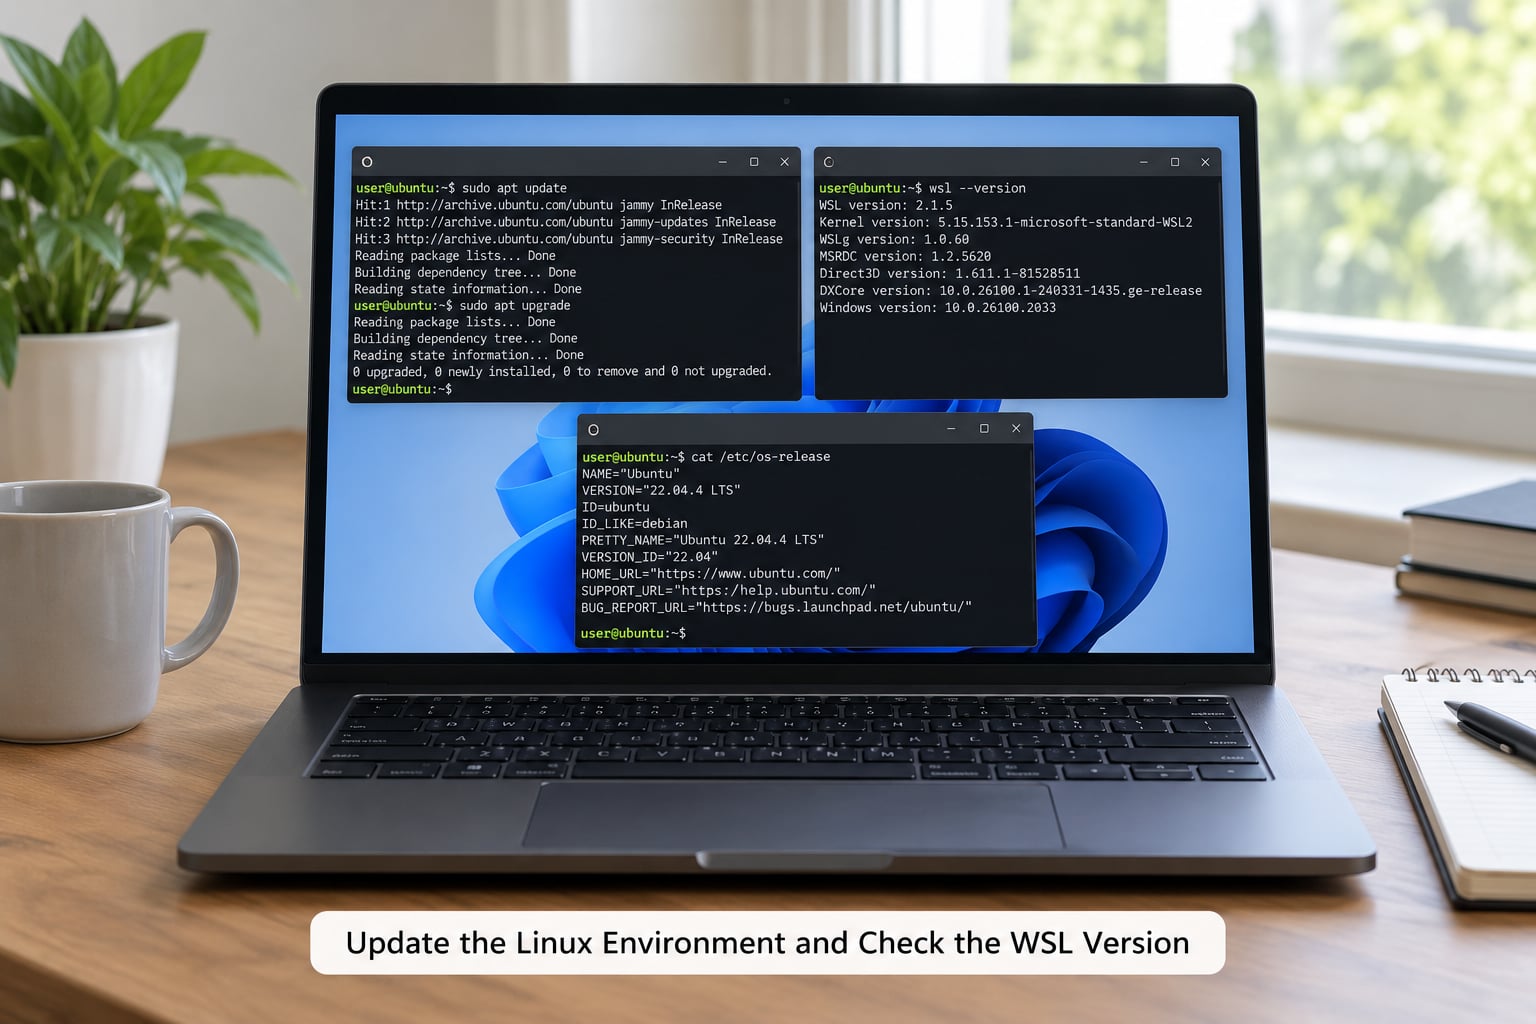
Run these in Ubuntu, one after the other:
sudo apt update
sudo apt upgrade -y
The first refreshes the package index. The second upgrades everything installed, including the kernel packages. It is worth doing immediately because a fresh Ubuntu image often ships with months of pending fixes.
To confirm which WSL version your distro is actually using, open PowerShell again and run:
wsl -l -vYou should see a VERSION column showing 2 for Ubuntu. If it shows 1, convert it:
wsl --set-version Ubuntu 2The conversion takes a couple of minutes and requires a wsl --shutdown afterwards before the change takes effect for new sessions.
5. Learn Where Linux and Windows Files Belong
WSL mounts your Windows drives under /mnt. Your C drive is /mnt/c, so cd /mnt/c/Users/YourName/Documents walks straight into a Windows folder. Anything you write there is a normal Windows file and opens in Notepad or Word.
Going the other way, type \wsl$ in the File Explorer address bar and you can browse your Linux home folder from Windows. The same path is visible from any other PC on your network if you add your PC name in front, like \wsl$MyPC.
Both directions work, but they are not equally fast. The Linux home directory, shown as ~ or /home/yourname, is stored on a virtual disk that Linux reads natively. The /mnt/c mount crosses a translation layer, and heavy operations like npm install or a large git clone there can be many times slower. Keep projects in the Linux home directory, and reach for /mnt/c only for files you actually want Windows to see.
To open the Linux folder you are sitting in, from inside Ubuntu run explorer.exe ..
6. Install Your First Linux Tools and Test the Setup
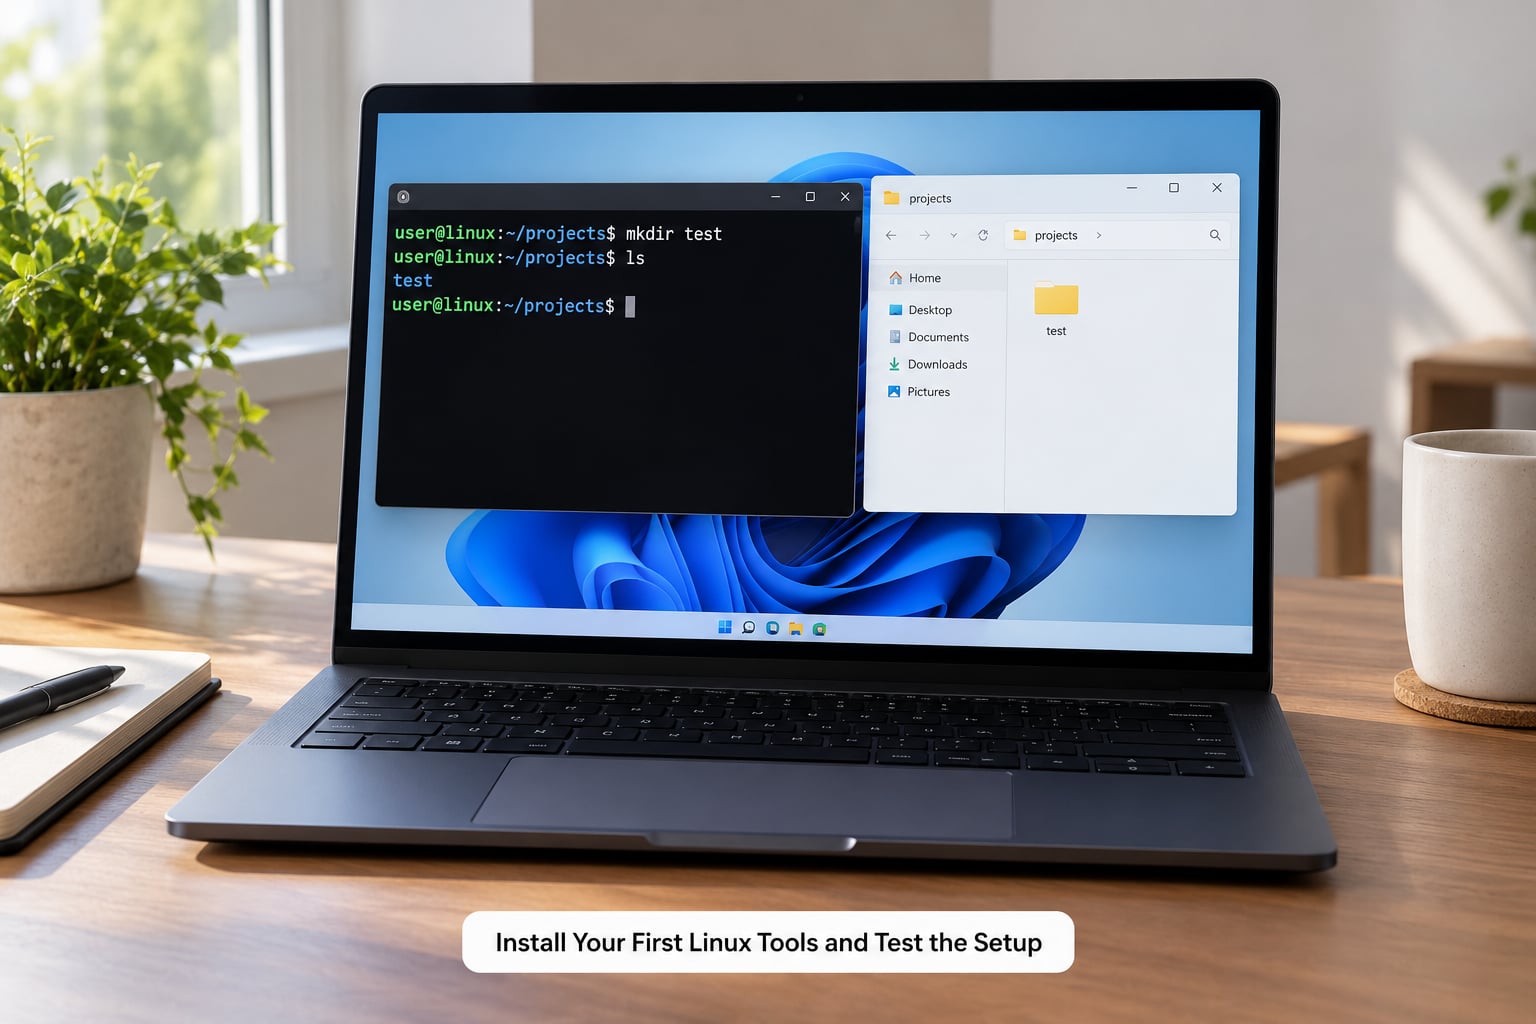
Git is the tool most people reach for first:
sudo apt install git -y
mkdir ~/wsl-test
cd ~/wsl-test
echo "hello from linux" > readme.txt
ls -la
If ls -la lists readme.txt, package installation and the filesystem both work. Now prove the round trip back to Windows: open File Explorer, go to \wsl$Ubuntuhomeyournamewsl-test, and you will see the file you just created. Edit it, save it, and cat readme.txt in the terminal shows your change.
That is the full loop: Linux writes, Windows reads, Windows writes, Linux reads.
7. Manage, Update, and Remove WSL
These commands all run in PowerShell rather than inside Ubuntu:
wsl -l -v                              # list distros and their WSL version
wsl -d Ubuntu                          # launch a specific distribution
wsl --set-default Ubuntu               # pick the distro that plain "wsl" opens
wsl --set-default-version 2            # make version 2 the default for new distros
wsl --update                           # update the WSL kernel and components
wsl --shutdown                         # stop everything, releases the VM memory
wsl --unregister Ubuntu                # delete a distro and all its files
Two habits are worth forming. Run wsl --update after a major Windows update, since new WSL features ship separately from Windows itself. And run wsl --shutdown when WSL feels sluggish or you have changed system-level settings, because the virtual machine keeps its state until it is stopped.
Back up a configured distro before a Windows reinstall with wsl --export Ubuntu D:ubuntu-backup.tar, and bring it back later with wsl --import Ubuntu D:WSLUbuntu D:ubuntu-backup.tar.
Common Mistakes
“wsl” is not recognized as a cmdlet. You are not in an Administrator terminal, or WSL is genuinely not installed. Close the window, right-click Terminal (Admin), and run wsl --install again. If you see the error while a terminal is already open, open a new one first — the PATH is not refreshed in windows that were already running.
“The system cannot find the specified path” or WSL_E_INSTALL_PROCESS_FAILED. This one has a few causes. Run wsl --shutdown and retry. Then check that virtualization is on with systeminfo. Then make sure your Windows user folder and the C drive path contain no leftover oddities, and that you have several GB free. If a previous attempt left a half-installed package, wsl --uninstall followed by a restart and a fresh wsl --install resolves most cases.
Networking errors such as 0x8007054f after a reboot. This usually means the virtual network adapter did not come back up. wsl --shutdown, then restart the machine, then launch Ubuntu again. If it persists, toggle the network adapter in Device Manager, or check that a VPN or corporate security tool is not intercepting the adapter.
The password you type does nothing. It is working. Linux does not echo passwords, and the terminal shows no asterisks by design. Type it, press Enter, and type it again at the confirmation prompt.
Everything feels slow. Two usual causes. If your projects sit in /mnt/c, move them into the Linux home directory — the filesystem difference is dramatic on large installs. If WSL 2 is being killed mid-build, it is running out of memory. Create a file called .wslconfig in your Windows user folder containing [wsl2] on the first line and memory=8GB on the second, then run wsl --shutdown.
Your distribution reports version 1. Convert it with wsl --set-version Ubuntu 2, or set wsl --set-default-version 2 before installing so new distros start on version 2.
The Microsoft Store is blocked on your work or school PC. The Store is only a delivery mechanism, so you can install a distro without it. Download the distribution’s .appx file from the Microsoft Store page on another machine, copy it over, and add it in PowerShell with Add-AppxPackage .Ubuntu.appx. On managed machines this is often the only route that works.
A few habits worth keeping: run wsl --update a few times a year, keep Windows itself updated, and never store your only copy of anything inside a distribution you are about to --unregister.
Frequently Asked Questions
Can I run Linux on Windows 10 with WSL?
Yes, as long as you are on Windows 10 version 2004 (build 19041) or newer, and version 22H2 (build 19045) is the safest target. Windows 11 has no such floor and every release supports WSL 2. On Windows 10 you may need to run wsl u002du002dupdate once so the Store-delivered WSL replaces the older inbox version, and some managed Windows 10 machines block the Store entirely.
Should I use WSL 1 or WSL 2?
Use WSL 2 unless you have a specific reason not to. It runs a real Linux kernel, so filesystem performance is dramatically better and systemd, Docker Desktop and modern tooling all work correctly. WSL 1 starts faster and uses less memory, which is its only real advantage, and it remains useful on very old hardware that struggles with virtualization. You can convert any distribution later without reinstalling it.
Can I run a full Linux desktop in WSL?
Not a full desktop the way you get from a virtual machine, but you can run individual Linux GUI applications on Windows. WSLg ships with WSL 2 and handles X11 and Wayland apps, so GIMP, VLC, LibreOffice and Linux builds of Chrome launch as normal Windows windows. A full GNOME or KDE session is technically possible but awkward, slow, and not how most people use WSL.
How do I connect WSL to the internet?
WSL 2 shares your Windows network connection through a virtual adapter, so there is normally nothing to configure. If apt update fails inside Ubuntu, run wsl u002du002dshutdown in PowerShell and restart, which recreates the adapter. Corporate VPNs are the usual culprit, since some of them block the virtual adapter entirely. Mirrored networking mode, available in recent WSL versions, also resolves most bridged-mode conflicts.
Will installing WSL delete my Windows files or programs?
No. WSL adds two Windows optional features, a Linux kernel and a separate virtual disk for your distributions. It does not touch your documents, installed programs or partition layout. Uninstalling a distribution with wsl u002du002dunregister deletes only that Linux filesystem, which is why anything you have created there is gone. Windows files stored in /mnt/c are unaffected by that command.
How do I completely remove a WSL Linux distribution?
Run wsl -l -v to see the exact distribution name, then run wsl u002du002dunregister followed by that name. This deletes the entire root filesystem for that distro, including every file, package and user account inside it, and it cannot be undone. Export a backup with wsl u002du002dexport first if you need the data. Removing the distribution leaves WSL itself installed and ready for a new one.
Conclusion: Start with Ubuntu and Verify WSL 2
Run wsl --install in an Administrator PowerShell window, restart Windows, and complete the Ubuntu username and password prompts. Then confirm the result with wsl -l -v and check that the VERSION column reads 2. If you get the you@machine:~$ prompt, Linux is running on your machine.
From there, keep your projects inside the Linux home directory rather than /mnt/c, and use /mnt/c only for files Windows needs to open. That single habit is the difference between a WSL setup that feels native and one that feels sluggish.