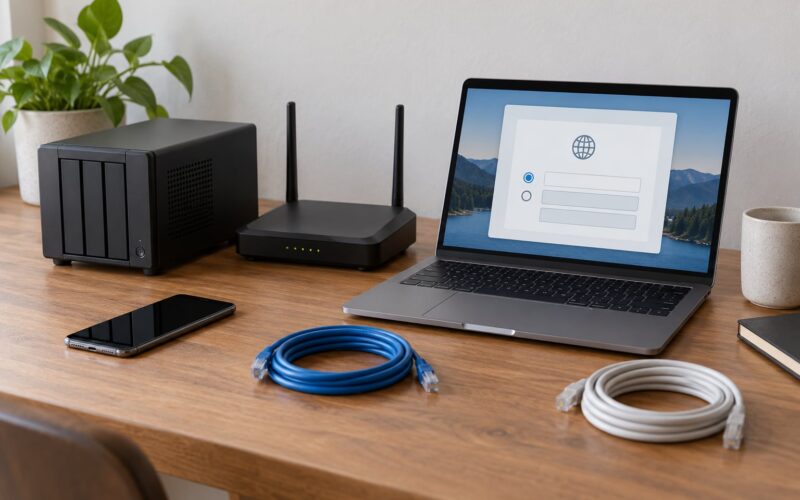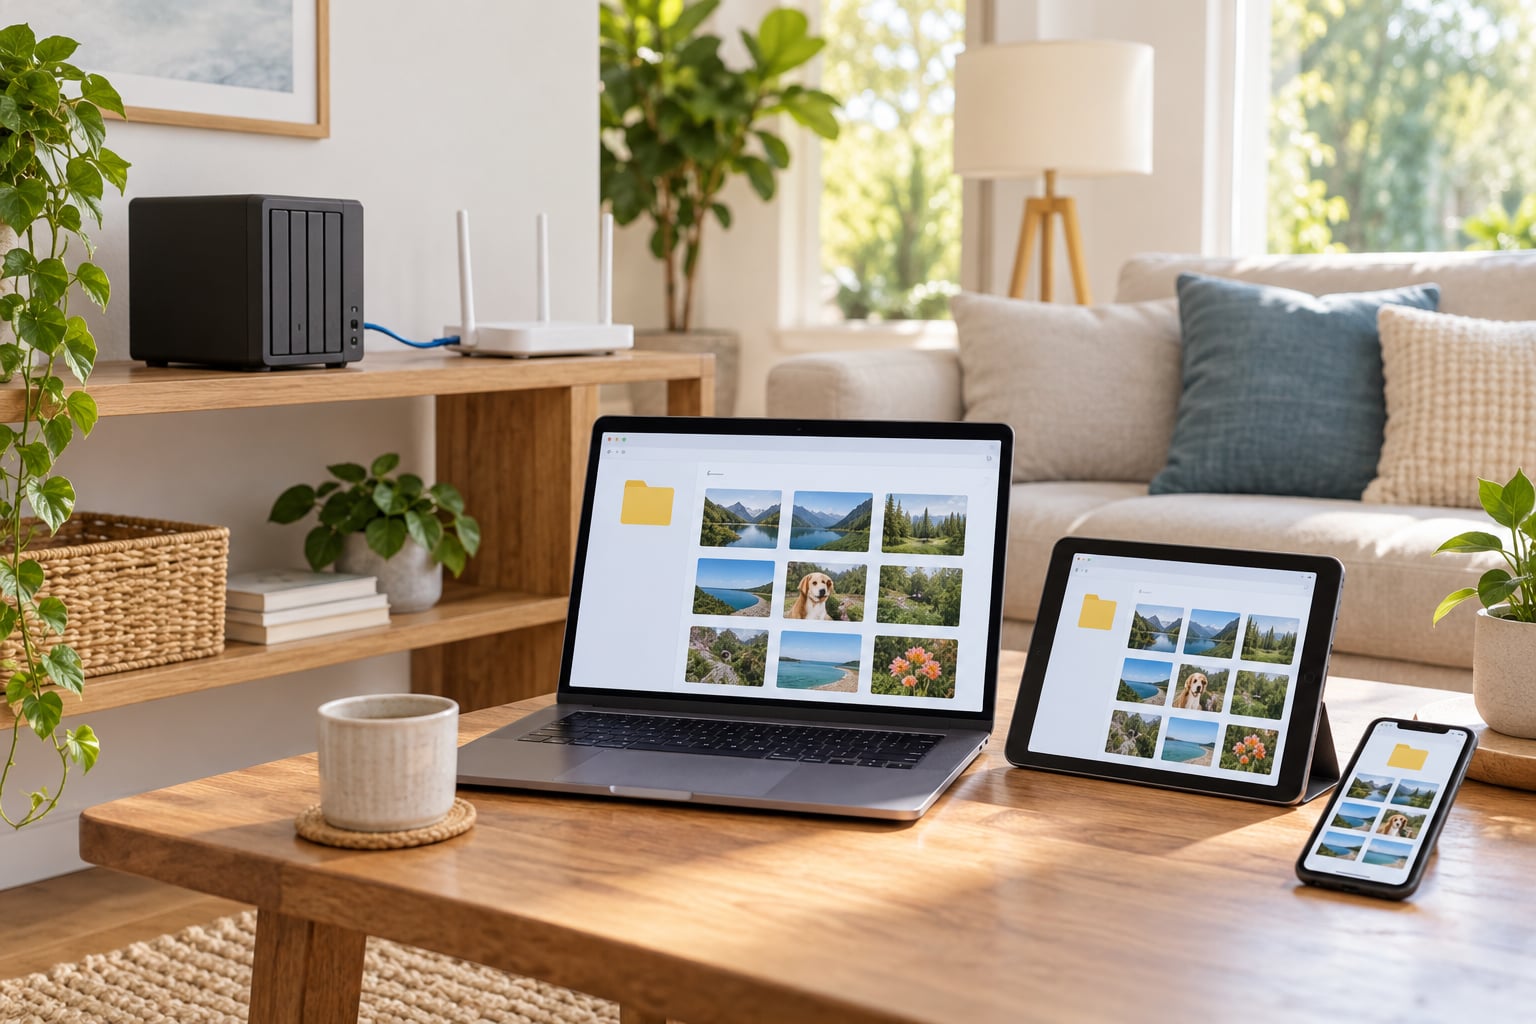
A family file server is simply a computer or dedicated storage box that sits on your home network and holds everyone’s photos, documents and school projects in one place, with a separate login for each family member. Instead of emailing a 2 GB video or passing a thumb drive around the dinner table, everyone opens a shared folder from their own device. Setting one up takes a couple of hours spread over a weekend, and you can do it with hardware you probably already own.
That is the version of this project most people actually need. Skip the virtual machines, the rack-mounted blades and the twenty-page server guides that open with acronyms. What follows is a plain Ubuntu Server and Samba walkthrough, written for a parent who has never opened a terminal, where the hardest command is copying a line and pasting it.
A note on honesty first, because most home server guides bury it: RAID is not a backup. A RAID array only keeps your server running when a single drive dies. It does nothing about a house fire, a stolen laptop, a sync that quietly failed, a ransomware infection, or a kid hitting delete. Everything on this server needs a second copy somewhere else, and I will show you how in step 8.
Table of Contents
- 1What You Need
- 2Step-by-Step
- 31. Choose the Server Computer and Storage
- 42. Install Ubuntu Server
- 53. Set the Hostname and Static Network Address
- 64. Create Family User Accounts
- 75. Install and Configure the File-Sharing Service
- 86. Create Shared Folders and Set Permissions
- 97. Connect Family Devices to the Server
- 108. Test Access and Automate Backups
- 11Common Mistakes
- 12One more thing worth deciding early
- 13Frequently Asked Questions
- 14Do I need a file server for my family, or is cloud storage enough?
- 15Can you give me an example of a file server?
- 16How do I set up a file sharing server?
- 17Can I use an old laptop or desktop as a family file server?
- 18Is RAID a backup, and what should I use for family photos?
- 19How do family members in another city reach the server safely?
- 20Conclusion
What You Need
You do not need a new computer. Most families set their first server up on a machine that is already in a drawer, which is also the cheapest and least nerve-wracking way to learn.
- A computer that can stay on. An old desktop, a spare laptop, a small mini PC, or a dedicated NAS appliance. Anything with a gigabit Ethernet port and a low-power CPU works, because file serving is a light job.
- Storage sized for your family. As a rough guide: 1 TB is comfortable for two people, 4 TB covers a typical family of four with room for video, and 8 TB or more if you are keeping years of home videos. Count what you have now before you buy anything, then double it.
- A home network with Ethernet where you can. Wi-Fi works fine for phones and tablets, but a server plugged into the router by cable is noticeably faster and drops out far less.
- An Ubuntu Server installer on a USB stick, plus a spare keyboard, screen and mouse for the install itself.
- A list of family accounts. Write down a username for each person before you start. A first name lowercased works fine.
- A backup destination. A second drive in a different room, or an offsite copy. Deciding this now saves an argument later.
On the software side you need two things and not much more: Ubuntu Server as the operating system, and Samba, which is the piece that lets Windows, macOS, Linux, iPhone and Android all open the same folder. Samba is what makes this a family file server rather than a Linux curiosity.
On storage format, pick ext4 when you install Ubuntu Server. It is the Linux default, it is stable, and it works with every tool I will show you. The more advanced options you will hear about, ZFS and Btrfs, bring useful features like snapshots and checksums, but they also bring decisions an ordinary family does not need to make on day one.
Two more things worth thinking about before you start, because they are the real downsides of a home file server. First, it runs 24/7, which means a small power draw and a fan that may hum. A small form factor with a decent CPU cooler is quieter than a full tower. Second, you will eventually lose a drive, so buy drives that report their health and keep one spare on hand if you can.
Step-by-Step
1. Choose the Server Computer and Storage
Start by deciding between three options, and the deciding question is how hands-on you want to be.
- Repurpose an old machine. Cheapest, quietest because the machine was designed to sit in a living space, and a good way to learn. Downside: it is a computer first, so you will install an operating system before you install a file server.
- Buy a ready-made NAS. A small box preloaded with an operating system built for file serving, usually with a browser-based setup wizard. You can be sharing files in under an hour. Downside: fewer choices about the software on top, and the disks are often sold separately.
- Build a new mini PC. The most flexible and the most expensive. Worth it if you want extra services later, such as media streaming or phone photo backup.
Whichever you pick, the storage decision is the same. Use internal drives where the machine has bays, and attach a USB drive only if you need more space later. USB is fine for a backup target; it is a poor home for your only copy of the family photos because the connector can be knocked loose.
One thing to decide now: RAID 1, which mirrors every file onto two drives, or no RAID at all with a single drive. For a family, RAID 1 is the sensible default. It costs you half your raw capacity and buys you the ability to lose one drive and carry on. RAID 0, where two drives are striped for speed with no redundancy, is the wrong choice for irreplaceable photos.
How you tell it worked: after the drives are installed, the installer should list every disk it found. If a drive you plugged in is missing, stop and reseat it rather than continuing.
2. Install Ubuntu Server
Create a bootable USB stick with the Ubuntu Server image and the Rufus or balenaEtcher tool, boot the machine from it, and run the installer. These are the exact choices that matter for a file server.
- Install type. Select the drive you want the server on. Be careful here: the installer erases the selected disk.
- Server profile. Choose the standard profile. The minimal install option is fine too, but it omits SSH, which you will want the first time something goes wrong from another room in the house.
- Network. Pick DHCP so the machine gets an address automatically for now. You will pin it to a fixed address in the next step.
- Hostname. Set something you will recognise in a list of devices.
familyserveris clearer than a generated string likeubuntu-focal. - Username and password. Create your administrator account. Avoid
rootas your everyday login. - OpenSSH Server. Tick it. The installer prints your server’s IP address on the screen after reboot; write it down.
How you tell it worked: after the reboot, from your own computer run ssh youruser@yourserver using the address on screen. If a terminal opens with a login prompt, the server is alive and answering on the network.
3. Set the Hostname and Static Network Address
A home file server needs an address that never changes, because anything you map or bookmark depends on it. The easiest way to get this is a DHCP reservation in your router, which ties the address to the machine’s MAC address forever. If your router offers that screen, use it and skip the manual configuration below.
To do it on the server instead, set the hostname and then edit the network file:
sudo hostnamectl set-hostname familyserver
sudo nano /etc/netplan/01-netplan.yaml
Replace the contents with your interface name, address and gateway, then apply it:
sudo netplan apply
Use an address outside your router’s automatic range, such as 192.168.1.50, to avoid a clash with a laptop that later gets handed the same number. How you tell it worked: ip a shows the address on the interface with no errors, and ping 192.168.1.1 gets replies from your router.
4. Create Family User Accounts
Give every person their own account, including the children. It takes a minute each and it is the single thing that stops this project turning into shared chaos: with separate logins, each person has a private folder nobody else can see, and you can see whose account is filling the disk.
Create each one with a home directory and a login password:
sudo adduser alex
sudo adduser sam
sudo adduser jamie
Use real, decent passwords, even at home. The server is one forgotten Wi-Fi password away from a neighbour’s laptop, and a strong passphrase is thirty seconds of work. Then decide who is an adult administrator. Anyone who can run sudo can delete every file on the server, and that is a decision worth making deliberately rather than by default.
How you tell it worked: ls /home lists every account you created.
5. Install and Configure the File-Sharing Service
Samba is the layer that turns a Linux folder into something a Windows laptop, a Mac, a phone and a smart TV can all open. Install it and check that it starts with the server:
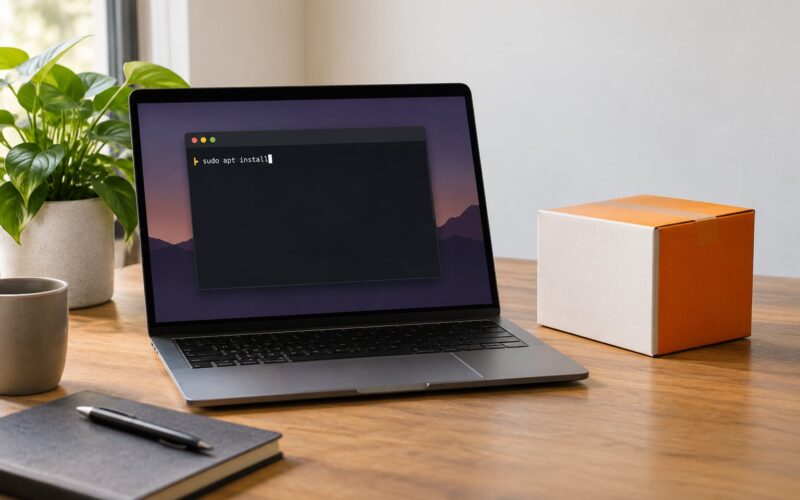
sudo apt update && sudo apt install samba
sudo systemctl enable --now smbd
Add a password for each user in Samba’s own database. The username must match the Linux account exactly, and this is the step people miss, which is why a correct password gets rejected:
sudo smbpasswd -a alex
How you tell it worked: systemctl status smbd shows active (running).
6. Create Shared Folders and Set Permissions
Build a small number of folders with clear jobs, rather than one big pile. A typical family ends up with four.
- Documents for everything the adults share: tax papers, insurance, wills, manuals.
- Photos for family photos and videos, usually read-only for children so a stray delete cannot ruin the whole library.
- School for anything a child is actively working on, writable by that child and readable by the adults.
- Transfer a temporary drop box that everyone can write to and nobody treats as permanent, because the moment something looks like an archive it gets forgotten.
Give each person’s private home directory to that person, and put the shared folders in a group both adults and the relevant children belong to. Create that group first:
sudo groupadd family
Then create the folders, set the owning group, and give the group read and write access on the directory itself:
sudo mkdir -p /srv/family/{documents,photos,school,transfer}
sudo chgrp -R family /srv/family
sudo chmod -R 2775 /srv/family
Add your family accounts to the group so the folder permissions apply:
sudo usermod -aG family alex
Now describe each folder to Samba. Open the configuration file and add one block per share, telling Samba the path, who may connect, and whether they can write:
sudo nano /etc/samba/smb.conf
For a read-only photos share, the block sets read only = yes with valid users = @family. For the school folder, set read only = no and list the specific account rather than the whole group. Then check the file before restarting, because a typo here stops the whole service from starting:
testparm
sudo systemctl restart smbd
How you tell it worked: testparm prints the parsed configuration with no errors, and each person’s private home folder is already shareable once you add a matching block for it.
7. Connect Family Devices to the Server
This is where most guides stop and most households give up, so here is every device you are likely to own. All of them use the same address: \192.168.1.50 in Windows form, or the same address typed as a location in macOS.
Windows. Open File Explorer, click the three dots in the address bar, choose Map network drive, pick a letter like P:, set the folder to \192.168.1.50documents, and tick reconnect at sign-in before you finish. The drive then reappears every time that computer starts. If Windows asks for a username, type the family account and its password, not your Microsoft account.
macOS. Open Finder, press Command-K, and in the Connect to Server box type smb://192.168.1.50, then press Go. Choose Registered User and enter the family account details. Drag the mounted folder into the sidebar so it stays in view. macOS uses SMB under the hood even though the address starts with smb://.
Linux. Open Files, press Ctrl-L, type the location, and authenticate. If your distribution asks about mounting permanently, accept it.
iPhone and iPad. Open the Files app, tap Browse, tap the three dots at the top right, and choose Connect to Server. Type smb://192.168.1.50 and tap Connect. The server then appears as a location in Files alongside iCloud Drive, and you can copy photos out of it or documents into it. The same path works in the Files app on macOS.
Android. Android has no built-in SMB file manager that shows up consistently, so use a file manager app that supports SMB, or the vendor’s own app. In most of them the setting is called Connect to server or Add server, and you enter the same address plus your account. If a TV box or tablet is Android-based, this is also how you get at media.
Smart TVs. Most modern televisions can open an SMB share directly from their network or media settings, which is usually all you need for a film library. For older sets, a streaming box is easier. If the TV sees the share but will not play anything, check the file format first; a modern media server such as Jellyfin or Plex handles the transcoding that a TV cannot do on its own.
Guests and visitors. Create one shared folder called Guest with a separate low-privilege account, and give that account no access to the family group. Do not hand out your own login because you want someone to see a photo.
Phone photo backup. Separately from manual access, install an automatic backup app on each phone so photos upload to the photos share in the background. Immich is the free option people use most for this, and it gives you the timeline search that Apple and Google charge for.
8. Test Access and Automate Backups
Test with each account, not yours. Sit at a different family member’s device, sign in with their username, open a file, create a new one, and confirm they can do the same. Then confirm they cannot see a folder they should not see. This is the step that catches a group membership mistake before it becomes a family argument.
Next, decide what happens when a drive dies. Know now where your backups go, how to restore them, and who knows the password. A backup you have never restored from is a hope, not a backup.
For a scheduled copy inside the server, the built-in scheduler handles it. Edit the root crontab:
sudo crontab -e
Add a nightly line that mirrors the family folder to the backup disk at ten past two in the morning:
0 2 * * * rsync -a --delete /srv/family/ /mnt/backup/family/
Run it once by hand first with rsync -a --delete /srv/family/ /mnt/backup/family/ and confirm files arrive before you trust the schedule. Then set up the second copy somewhere the fire does not reach: another machine, or an encrypted offsite service. The 3-2-1 rule is three copies, on two kinds of media, with one kept offsite.
How you tell it worked: create a test file, wait for the schedule or run the command manually, and open the copy. Also add a UPS, or a smart plug that cuts power cleanly during an outage, because a file system being torn off mid-write is how perfectly healthy drives get corrupted.
Common Mistakes
The share cannot be reached at all. In order of likelihood: the family member’s device is on a guest Wi-Fi network, which is deliberately isolated from your main network and will not see the server; the firewall is blocking the connection; or you typed the address with a wrong separator. On Windows the path is \ backslashes with no spaces. Check from a wired computer first, because if it works there the problem is the device, not the server.
The password is rejected even though it is correct. The Samba password was never set for that user, or it was set with a different username spelling. Also make sure the account was added to the folder’s group and has logged in once, since some permission systems need that first session to register. Re-running sudo smbpasswd -a username fixes the most common version of this in one step.
Can read but not write. The share is set read-only in the Samba configuration, or the folder on disk is not group-writable. Change read only = yes to no for that share and run chmod -R 2775 on the folder. Confirm the user is in the group with groups username.
The server is unreachable from outside the home. Do not forward port 445 or your admin panel straight to the internet. Family in another city should connect through a VPN such as Tailscale, which gives each device a private address and requires no router changes at all.
An external drive disappears after a power blip. USB drives need re-mounting, and if the mount point was faked it can leave files half-written. For a drive holding anything you care about, move it inside the machine or re-mount it properly rather than relying on a loose external connection.
A child can see or delete everything. Usually a guest user or a shared login that was meant to be temporary. Create a real account, remove the shared one, and re-check the group memberships. Resist the urge to solve this by making the server private and readable; a read-only photos share plus a writable school folder solves it without a networking course.
One more thing worth deciding early
Set the server’s own automatic updates, and check drive health periodically. Most storage platforms will email or log a warning when a drive starts reporting bad sectors, and that warning is your window to replace a drive while everything still works rather than after it stops.
Frequently Asked Questions
Do I need a file server for my family, or is cloud storage enough?
A file server earns its place when several people generate files, especially photos and video, and you are tired of scattered external drives or duplicate cloud subscriptions. If everyone already pays for cloud storage and nobody is worried about subscription costs or getting locked in, you do not need one. Families of one can safely skip it. Everyone else saves money and gains a private space per person on the second or third year.
Can you give me an example of a file server?
A small box on your router holding the family photo library, school projects, tax documents and shared videos, where each family member logs in with their own username from any device in the house. That box is a NAS, a network-attached storage device, which is the common name for a file server built for storage rather than for running applications. It replaces the thumb drive passed around the dinner table.
How do I set up a file sharing server?
Install an operating system on a computer that will stay switched on, install a sharing service such as Samba, create one user account per family member, create the shared folders, set folder permissions with directory ownership and group access, then connect each device using the server’s fixed network address. Add a scheduled copy to a second drive and an offsite destination, because the server itself is not a backup. The whole sequence takes most of a weekend.
Can I use an old laptop or desktop as a family file server?
Yes, and it is the cheapest way to start. An older machine with a gigabit network port and a few terabytes of storage will happily serve files to a household. Install Ubuntu Server on it, skip the desktop environment, and use the built-in wireless or Ethernet connection. The two things to watch are noise, since it will be running constantly, and drive health, because consumer drives were not designed for twenty-four-hour use.
Is RAID a backup, and what should I use for family photos?
RAID is not a backup. It keeps the server running when one drive fails, and it does nothing about fire, theft, ransomware, or accidental deletion. For family photos, use RAID 1 to mirror onto two drives for drive-failure safety, then take a separate scheduled copy to another drive and one more copy offsite. Following the 3-2-1 rule means three copies, on two kinds of storage, with one kept away from the house.
How do family members in another city reach the server safely?
Use a VPN rather than exposing the server to the internet. Tailscale is the easiest option for a household because it installs on phones, laptops and TVs, gives each device a private address, and needs no router port forwarding. Sign each relative in with their own account. Never forward the file sharing port or the admin panel straight to the internet; that is the single change that turns a private home server into a public one.
Conclusion
A family file server is one machine, one set of accounts and one copy command, and the hard part is deciding who gets an account rather than the technology. The order that works is to create the family accounts and one shared folder first, get every device connected with one test file, and only then tighten permissions, add remote access for relatives and automate backups.
Move a few important files across, restore one of them to check the backup actually works, and you are done. From there, adding a media server or automatic phone photo backup is a weekend project whenever the family asks for it.