Most blurry, grainy meeting video comes down to four things: light hitting your face, where the camera sits, the settings inside the meeting app, and how much bandwidth the call has. Fix those in that order and the picture usually improves dramatically, without buying anything. The whole routine takes about 15 minutes of setup and two minutes of habit per meeting.
This guide covers how to improve webcam video quality for meetings on both Mac and Windows, in Zoom, Microsoft Teams and Google Meet. Menu labels shift between app versions, so treat the paths as current for 2026 and adjust if your version words them differently.
Table of Contents
- 1What You Need
- 2Step-by-Step: How to Improve Webcam Video Quality for Meetings
- 3Step 1: Test the Camera and Internet Connection
- 4Step 2: Clean and Position the Webcam
- 5Step 3: Improve Lighting Before Changing Settings
- 6Step 4: Choose the Right Meeting Settings
- 7Step 5: Reduce Bandwidth and Improve Stability
- 8Step 6: Know When to Replace or Add Equipment
- 9Common Mistakes
- 10Frequently Asked Questions
- 11Can I improve my webcam quality without buying a new webcam?
- 12Why does my webcam look blurry only during meetings?
- 13Should I use an external webcam instead of my laptop camera?
- 14How can I make my webcam look better in a dark room?
- 15Do virtual backgrounds make my webcam video look worse?
- 16Is blurry meeting video usually caused by my internet connection?
- 17Conclusion
What You Need
You need very little to start. Almost every improvement below is free.
- A working camera. Either the built-in one on your laptop or an external USB webcam that the machine already recognises.
- A stable connection. Ideally wired Ethernet, or strong 5 GHz Wi-Fi. Check speed with a quick test before blaming the camera.
- Access to your meeting app plus the account rights to change video and audio settings.
- A ten-minute window with the room set up the way it will be on call day.
- Optional but helpful: a microfiber cloth, a small stand or stack of books to raise the camera, and a lamp or window that sits in front of you rather than behind.
Windows users: open Settings, go to Bluetooth and devices, then Cameras, to confirm the device is detected and to see the preview. Make sure your privacy setting for camera access is switched on for desktop apps, otherwise Teams or Zoom will fall back to a blank feed.
Mac users: open System Settings, then Privacy and Security, then Camera, to confirm your browser and meeting app are allowed. If you have an iPhone nearby, Continuity Camera lets you use it as a wireless camera on a Mac, and it usually looks far better than a built-in laptop lens in a dim room.
Step-by-Step: How to Improve Webcam Video Quality for Meetings
Work through these in sequence. Each step assumes the previous one is already handled, which is why lighting comes before settings and bandwidth comes near the end.
Step 1: Test the Camera and Internet Connection
Before touching anything, confirm which camera and microphone the meeting app is actually using. Most “bad webcam” complaints turn out to be the wrong device selected or a privacy toggle blocking the correct one.
On Windows 11, open Settings, go to Privacy and security, then Camera. You get a live preview plus resolution and frame rate options at the top. Set the resolution to the highest value the camera reports and confirm the frame rate is 30 fps or higher.
On macOS, open Photo Booth from Applications or Spotlight and select the camera from the Video menu in the lower strip. That gives you a live preview with manual exposure and color controls, so you can see exactly what the sensor is doing before an app adds its own processing.
Then run a browser test. Open a private window in Chrome or Edge, go to the camera test page, and check the image is sharp, correctly exposed and picking up your voice. Do this with the meeting app closed so nothing else is holding the camera.
Run a speed test on the same connection. For stable HD video with a few other participants, upload speeds around 3 Mbps per HD stream are a reasonable floor, and more headroom prevents quality drops when someone shares a screen.
Step 2: Clean and Position the Webcam
Clean the lens first. It takes ten seconds and it fixes more genuinely blurry video than anything else on this list. Built-in laptop cameras and external webcams both collect fingerprints and dust, and a smeared lens produces a soft, smeared image that no setting corrects.
Use a dry microfiber cloth and wipe gently in a circle. Skip anything abrasive, and skip the sprayed cleaner unless it is made for lens coatings.
Next, get the camera to eye level. A laptop sitting on a desk puts the lens well below your eyeline and shoots upward, which is unflattering and distorts the angle of the room behind you. Stack the laptop on a stand or a sturdy box so the top edge of the screen is near your eyes.
For an external webcam, clamp it to the monitor rather than leaving it on a desk. Leave a little space above your head in the frame, roughly an inch, so the crop in the meeting app does not clip the top of your head.
Keep the camera about two to three feet away. Sit closer than that and the wide-angle lens exaggerates your nose and crops out the context that makes you look engaged. Sit further back and the same lens shrinks you.
Watch for backlighting. If a window, a bright lamp or a bright door is behind your monitor, the camera meters for the bright background and renders your face as a dark silhouette. Turn the desk around, close the curtains, or add a light in front of you. Users on r/Zoom describe the window-behind-the-monitor mistake as the single most common fixable cause of “my webcam is bad”.
Step 3: Improve Lighting Before Changing Settings
Light is the biggest lever you have, and it outranks any setting inside the app. A decent camera in good light looks better than an expensive one in a dim room, because sensors gain detail by gathering more light rather than by adding pixels.
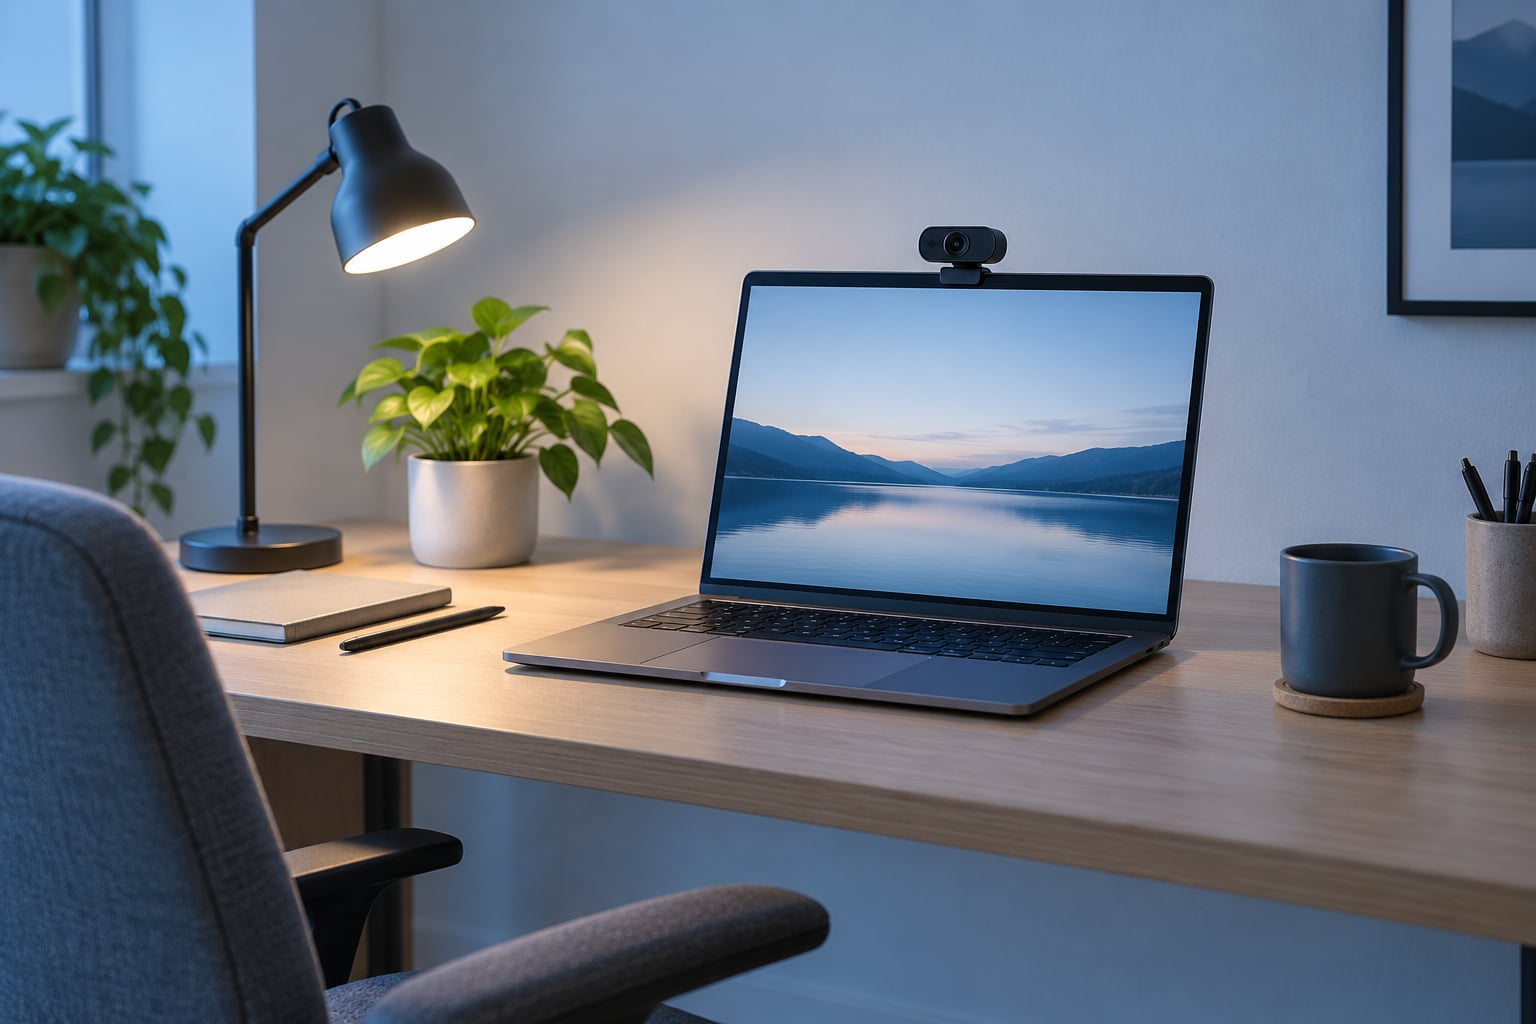
The cheapest fix is free: sit facing a window during daylight hours. The window becomes a large, soft, flattering source, and you get even light across your face with no equipment. Keep the window beside you or in front, never behind, and turn off any ceiling light that competes with it, since mixed color temperatures read as unnatural.
For evening or windowless rooms, put a small lamp between you and the camera, aimed at your face, with a white sheet of paper or a diffuser over it to soften the hotspot. A desk lamp bounced off a pale wall behind your monitor is a well-worn budget trick among people setting up home offices, and it costs almost nothing.
Avoid overhead-only lighting. A bare ceiling light puts shadows under your eyes and across your nose, which is the reason so many people feel tired on camera. A light at or just above eye height, slightly to one side, is the standard flattering position.
If you wear glasses, watch for glare. A ring light reflected in your lenses can read as two bright circles that hide your eyes entirely, and users on Reddit discuss repositioning the light to the side and bouncing it off a wall specifically to fix this. A large diffused panel placed high and off to one side works better than a small light placed dead center.
Check the result in the camera preview before the call. Look for even light on both cheeks, no blown-out window behind you, and a background that is a little darker than your face. A dimmer background with a well-lit face is what separates a professional frame from a snapshot.
Step 4: Choose the Right Meeting Settings
Once the physical setup is right, turn off the processing that degrades the image. Every app applies some of it, and heavy versions of it can cost you more quality than they give back.
Zoom: click the arrow next to Stop Video, choose Video settings, then the Camera tab. Turn on HD and set your preference to Original resolution or High definition. Adjust Brightness so your face sits around the middle of the range, and leave Touch up my appearance off or very low, since heavy smoothing flattens skin and makes faces look uncanny. The Lighting button near the bottom of the same panel adds a soft front-light effect for dark rooms.
Microsoft Teams: open the three dots menu during a meeting, choose Device settings, then Camera. Turn on Allow adjustments, then set Brightness, Contrast and Saturation, and enable Background blur only if you test it first. Teams background blur runs heavier on the processor than Zoom’s equivalent, and it can soften the edges around your head and shoulders.
Google Meet: click the three dots menu, then Settings, then Video. Turn on your camera, select Use background blur or blur, and enable Low light mode when the room is dim. Open the full settings panel to see the exact resolution the browser negotiated, because Meet drops below 720p automatically when bandwidth gets tight.
On the operating system: most laptop cameras expose fixed exposure and white balance only through the OEM app. Your computer maker’s camera utility is where those live, so check it before hunting in the meeting app. On Mac, Photo Booth gives manual exposure and color sliders. On Windows, the camera section of Settings plus the vendor utility cover most laptops.
Verify the result in a short test meeting with one other person. Look at your own thumbnail for sharpness, then ask the other participant whether your face is too dark. A test call is the only way to confirm the app is picking up the camera you think it is.
Step 5: Reduce Bandwidth and Improve Stability
Video that starts sharp and turns blocky partway through a call is a network problem, not a camera problem. That distinction saves a lot of wasted effort.
Close downloads, pause cloud sync and stop large uploads before you join. Streaming video, playing music, or a backup running in the background can eat the upload headroom that your camera needs.
Use a wired Ethernet connection for any recurring meeting that matters. Planners across several forums report that plugging in a cable resolves a large share of complaints that were misdiagnosed as camera quality, because encoding quality depends on steady upload, not on your lens.
Stop other video calls and avoid screen sharing in the same meeting if you can. Sharing a screen at high resolution competes for the same connection and usually triggers a drop for everyone.
Watch for background CPU load as well. Streaming software, a game, or a heavy browser tab can leave the processor too busy to encode video smoothly, which produces frames that are dropped and then look pixelated. Closing those apps fixes quality problems that have nothing to do with bandwidth.
Only drop the meeting resolution as a last resort. Forcing a lower resolution hides choppy video, but it throws away detail you already paid for in good light. If you do it, treat that as a signal to check the network, not as a fix.
Step 6: Know When to Replace or Add Equipment
Cleaning, repositioning and settings are free, and they resolve the large majority of complaints. Buy something when the problem survives all of that.
Replace the camera if the image stays soft no matter what you do, if autofocus hunts back and forth constantly, if the sensor has visible dead pixels, or if the cable is damaged or the port no longer fits snugly. A loose USB-C connection is a common culprit that looks like a camera fault.
Add light before you add resolution. If your setup looks grainy and soft at the same time, the sensor is starved of light, and no resolution upgrade fixes that. Reviewers on r/laptops repeatedly point out that adding a light in front of the user beats upgrading the built-in camera in a dim room.
Consider using your phone as the camera when the laptop’s lens is the weak link. macOS Continuity Camera, or a phone-as-webcam app on other systems, gives you a newer sensor, a wider choice of angles and much better low-light behaviour for calls where being seen clearly matters.
Think about the network separately. If a wired connection fixes your quality and your camera is the least modern device you own, the connection was the real problem all along.
Think about the laptop too. Machines several years old often run the camera at 720p because of CPU limits rather than hardware. If everything else checks out and the image still looks soft, that is worth knowing before you spend on a webcam.
Common Mistakes
Nearly every bad meeting video comes down to one of the following. Each has a specific fix.
Using the wrong camera. A second webcam, a capture card or the phone connected over USB can win the default device. Open the app’s video settings and check the selected camera by name before anything else.
Sitting with a window behind the monitor. The camera exposes for the brightest part of the frame, so your face goes dark and flat. Rotate the desk or close the curtains, then add a front light.
Leaning in and relying on digital zoom. Zooming in crops pixels you already have and makes the image mushy. Move physically closer to the camera instead, and reposition the laptop so you do not need to.
Leaving the app in a low-resolution mode. Automatic quality drop, background effects or a stuck low-light setting can cap the feed. Check the Camera and Video settings panels directly and confirm HD and original resolution are on.
Running on unstable Wi-Fi. Waiting for a call on a crowded wireless network is the main reason video quality falls apart mid-meeting. Test the connection beforehand and prefer Ethernet for anything important.
Never cleaning the lens. A smudged lens softens everything and adds flare. Wipe it with a dry microfiber cloth as part of your weekly routine.
Overusing virtual backgrounds. A virtual background replaces your real wall with an image, which costs processing power and edges often halo around hair and shoulders. A real, tidy, slightly dimmer background usually looks better and costs nothing.
Ignoring audio while chasing video. Bad audio undermines good video faster than the reverse. Use a headset or an external microphone if you are on a laptop’s built-in mic, and keep it off the desk surface where it picks up taps.
If you only do three things, do them in this order: fix the framing so the camera sits at eye level, fix the lighting so your face is evenly lit, then fix the bandwidth. Everything else on this list sits downstream of those three.
Frequently Asked Questions
Can I improve my webcam quality without buying a new webcam?
Yes, in most cases. Cleaning the lens, raising the camera to eye level, adding light in front of you and turning off background effects costs nothing and resolves the majority of complaints. A surprising number of users who assumed they needed new hardware found a single smeared lens or a window behind their monitor was the real problem.
Why does my webcam look blurry only during meetings?
Usually because the meeting app is applying background processing or dropping the resolution when bandwidth gets tight. Background blur, virtual backgrounds and heavy low-light modes all cost processing power and can soften the image. Check the Camera and Video settings panels, turn those effects off, and confirm HD and original resolution are enabled. If the preview is sharp but the meeting is not, the difference is the app or the network, not the lens.
Should I use an external webcam instead of my laptop camera?
An external webcam is worth it when the built-in lens stays soft or noisy in your room, or when the camera cannot be raised to eye level. It is not worth it if your laptop is newer and the problem is lighting. Test the built-in camera after a lens cleaning and a lighting change first, since many older laptops also cap video at 720p for CPU reasons, which no external camera replaces.
How can I make my webcam look better in a dark room?
Add light in front of you rather than raising the brightness setting. A desk lamp with a diffuser or a sheet of white paper over it, aimed at your face from slightly above eye level, fixes most of it. Bounce the lamp off a pale wall for softer, even light. Turning brightness up inside the app only brightens the noise the sensor already picked up, which makes a grainy image more visible, not better.
Do virtual backgrounds make my webcam video look worse?
They can, and it depends on the hardware. A virtual background consumes processing power, which can reduce the resolution or frame rate the app can send. Edges around hair and shoulders often show halos or green fringes, and it is harder to pull off than a real, tidy background with a wall behind you. Test the effect on your own setup before using it in a meeting that matters.
Is blurry meeting video usually caused by my internet connection?
Sometimes, and there is a clear pattern. If video is crisp at the start of a call and turns blocky or pixelated partway through, that is almost always a network problem. If it is blurry from the first frame, the cause is the lens, the lighting or the app settings instead. Wired Ethernet and closing background downloads fix the first case, and cleaning plus lighting fix the second.
Conclusion
Start with the free fixes in this order: clean the lens, get the camera to eye level, and put light in front of your face. Then turn off background effects, confirm HD and original resolution in Zoom, Teams or Meet, and close whatever else is using your bandwidth. If the image is still soft after that, add a light or move to a wired connection before you spend money. When a change works, note it down, because the fastest way to a professional frame is doing the same setup every single meeting.