To set up email on a custom domain, you create a mailbox with a mail provider, point your domain’s DNS records at that provider, then connect the mailbox in webmail or on your phone and computer. Budget about 30 to 60 minutes of work, plus up to a day for DNS changes to spread.
The part that trips most people up is that the domain and the mailbox are two separate things. You already own the first one. Nobody is hosting the second one yet, and until they are, mail to [email protected] has nowhere to land.
I have watched people delete working MX records because they assumed the setup finished as soon as the provider said “domain added.” It had not. The provider was only waiting to prove you own the domain.
Table of Contents
- 1What You Need
- 2Step-by-Step
- 31. Choose an email address and provider
- 42. Create the mailbox in your provider
- 53. Add the domain and configure DNS
- 64. Publish the required DNS records
- 75. Configure sending as the custom address
- 86. Test sending and receiving
- 9Common Mistakes
- 10Frequently Asked Questions
- 11Do I need separate hosting for custom-domain email?
- 12Can I use a custom email address with my existing web host?
- 13What is the difference between MX, SPF, DKIM, and DMARC records?
- 14How do I set up custom email on my iPhone or Android phone?
- 15Why does my custom-domain email go to spam or get rejected?
- 16How long does custom-domain email DNS changes to work?
- 17Conclusion
What You Need
Four things, and three of them you probably already have. First, a domain and access to its DNS zone editor through your registrar, which is the company you bought the domain from. Second, a mail provider willing to send and receive mail for that domain. Third, an admin address that already works, so you can receive the verification message. Fourth, the mail app you actually read mail in.
Two access details cause most of the failures. If your mailbox does not exist yet, some providers send the verification code to the very address you are trying to create, and you end up waiting on a message that cannot arrive. Create a working mailbox first, or use a personal address that already receives mail, and you sidestep the loop.
Web hosting and email hosting are related but not the same product. Many shared hosts bundle a mailbox with a plan, which is convenient and perfectly fine. Some cheaper setups are forwarding-only: they receive mail and hand it to another inbox, but they cannot send mail from your domain, and that limitation surprises people weeks later when they try to reply from a client.
If your domain came bundled with a site builder that does not let you edit DNS, custom domain email is not possible on it. Platforms like Blogger and the hosted versions of WordPress lock the nameservers, so check for a DNS or records menu in your registrar account before you buy a plan anywhere else. While you are in that account, turn on two-factor authentication and a registrar-level lock.
Step-by-Step
Here is how to set up email on a custom domain in six steps. The order matters more than the speed you move at: verify the domain, publish the records, then let them propagate before you test anything.
1. Choose an email address and provider
Pick the address before you sign up, because some providers restrict the local part once mail starts flowing. Common formats: first name ([email protected]), full name (maya.chen@), role-based (info@, sales@, support@), and an alias that forwards to a real mailbox.
Role-based addresses are the ones people forget until a client asks for one. On most paid plans you can create sales@ and support@ on the same domain in a couple of minutes, and a catch-all catches anything that arrives at an address you have not built yet.
On providers: Google Workspace and Microsoft 365 sit at the top for collaboration and cost the most per user. Zoho Mail runs a free tier for one user on a single domain, which is why it comes up constantly in forum threads about cheap personal addresses. Proton Mail and Tutanota lean toward privacy with encrypted storage.
Now the honest part about Cloudflare. If your DNS already lives at Cloudflare, its Email Routing feature is genuinely good, and it is free. It receives mail and forwards it. It does not send mail. You cannot reply from Cloudflare, and you cannot compose a message from [email protected]. Several people a week assume otherwise, so decide now whether forwarding alone is enough for what you need.
How do I add a domain to my Zoho Mail account? Sign in to the Zoho Mail Admin Console, open Domains, click Add, type the domain name, and Zoho shows you the TXT or CNAME record to publish at your registrar. Every provider follows that same add-domain-then-verify shape, even when the menu labels differ.
2. Create the mailbox in your provider
Create the primary mailbox now, before publishing anything. Use the full address as the username, for example [email protected], and generate a long passphrase rather than something short.
Turn on two-factor authentication as soon as the account exists. Just as important, generate an app password while you are in the security settings. Two-factor authentication blocks the plain password from mail clients, and the app password is what lets your phone and desktop apps connect later.
Add a recovery address and a recovery phone number. Mail providers differ here: some let you create an address before verifying the domain, others want the domain verified first, and a few will only issue the address once records are live. If yours insists on verification first, use a temporary personal address for the admin login.
One thing to keep straight: the mailbox login and the domain registrar login are different accounts with different passwords. People mix them up, then reset the wrong password and wonder why nothing changed.
3. Add the domain and configure DNS
Open your provider’s admin console, find Domains, and add your domain. This step does not change where your mail goes yet. It generates the records your registrar needs.
Most providers verify ownership with a TXT record or a CNAME. Zoho, Google Workspace, and Microsoft 365 all hand you a string of characters that looks like a random token. Copy it exactly, including every character, because a single typo means the verification fails with no useful error message.
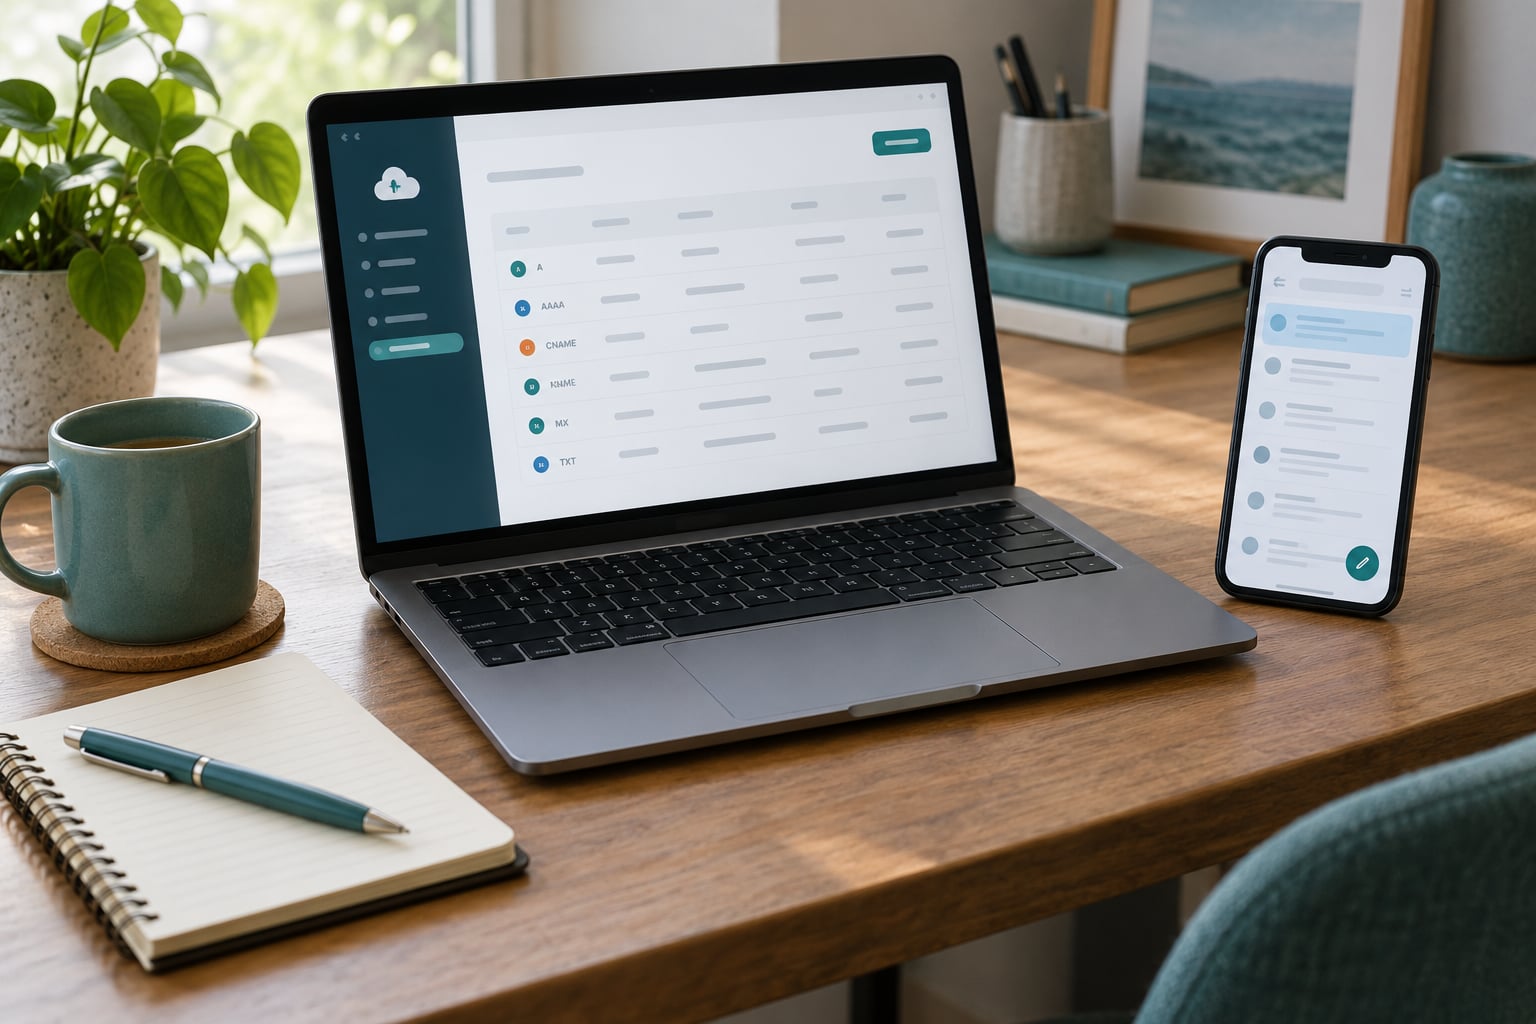
Then log into your registrar and open the DNS zone. The labels change constantly: GoDaddy says Manage DNS, Namecheap says Advanced DNS, Cloudflare sits under DNS then Records, and many smaller registrars hide it in a domain settings page. You are looking for the screen where you can add a record made of a type, a host name, a value, and usually a TTL.
On that screen, the host field is where people lose an hour. For the bare domain you normally type the at sign or leave the field empty, depending on the registrar, not mail or www. Some registrars show the full domain, some show only the subdomain part.
4. Publish the required DNS records
Add four types of record: MX for receiving, SPF and DKIM for sending, and DMARC for telling receivers what to do when those two disagree. Start with the MX records, then the authentication records.
| Provider | Type | Host | Value | Priority |
|---|---|---|---|---|
| Google Workspace | MX | @ | ASPMX.L.GOOGLE.COM | 1 |
| Google Workspace | MX | @ | ALT1.ASPMX.L.GOOGLE.COM | 5 |
| Google Workspace | MX | @ | ALT2.ASPMX.L.GOOGLE.COM | 10 |
| Google Workspace | MX | @ | ALT3.ASPMX.L.GOOGLE.COM | 15 |
| Google Workspace | MX | @ | ALT4.ASPMX.L.GOOGLE.COM | 20 |
| Google Workspace | MX | @ | ALT5.ASPMX.L.GOOGLE.COM | 30 |
| Google Workspace | TXT | @ | v=spf1 include:_spf.google.com ~all | n/a |
| Microsoft 365 | MX | @ | yourdomain-com.outbound.protection.outlook.com | 0 |
| Microsoft 365 | MX | @ | yourdomain-com.mail.protection.outlook.com | 10 |
| Microsoft 365 | TXT | @ | v=spf1 include:spf.protection.outlook.com -all | n/a |
| Zoho Mail (US) | MX | @ | mx.zoho.com | 10 |
| Zoho Mail (US) | MX | @ | mx2.mx.zoho.com | 20 |
| Zoho Mail (US) | MX | @ | mx3.mx.zoho.com | 50 |
| Zoho Mail (US) | MX | @ | mx4.mx.zoho.com | 100 |
| Zoho Mail (US) | TXT | @ | v=spf1 include:zoho.com ~all | n/a |
| Any provider (start here) | TXT | _dmarc | v=DMARC1; p=none; rua=mailto:[email protected] | n/a |
Two rules for the table above. Zoho, Google Workspace, and Microsoft 365 all generate a DKIM record for you after you add the domain: copy the exact host and value from the admin console rather than guessing, because Google and Microsoft issue a unique selector for every domain. And a minimal DMARC policy of p=none records reports without rejecting anything, which is the safe first step while you confirm your SPF and DKIM records actually pass.
Delete what is in the way. If an old host left MX records pointing somewhere else, mail keeps going there no matter what you add, because most providers ignore a second set of MX records instead of merging them. You can run two SPF records, but receivers treat that as an error, so fold everything into one record that includes every service you send from.
SPF has a hard limit of ten DNS lookups, and each include: costs one. Stack enough mailing tools and you hit the ceiling, which shows up as a permerror in the receiver’s logs. Count the includes before you add a newsletter tool on the same domain.
Set TTL to 3600 seconds so later changes spread in an hour rather than a day. Then wait. Propagation commonly takes a few minutes and occasionally runs past 24 hours, and the provider’s own checker can say unverified while a mail server already sees the record, because they poll on different schedules.
5. Configure sending as the custom address
Webmail works the moment your provider says the domain is verified. Every phone and desktop app needs the server details your provider prints in its setup page.
| Setting | Incoming (IMAP) | Outgoing (SMTP) |
|---|---|---|
| Server | Provider-supplied, commonly imap..com | Provider-supplied, commonly smtp..com |
| Port | 993 | 587 with STARTTLS, or 465 with SSL |
| Encryption | SSL/TLS | TLS required |
| Username | Full address, [email protected] | Full address, [email protected] |
| Password | App password when two-factor is on | App password when two-factor is on |
Choose IMAP rather than POP3. IMAP keeps mail on the server and syncs every device; POP3 downloads and can leave your phone holding the only copy of a message you deleted everywhere else.
On Gmail, add the address under Settings, then See all settings, then Accounts, then Add another email address, and mark it as an alias. Gmail will prompt for the SMTP server, port, and an app password generated in your Google Account security settings. On Outlook, the equivalent lives in Settings, then Mail, then Sync email, then Add account, and Outlook usually finds the settings on its own when you type the address.
On iPhone, open Mail, tap your account name at the top, tap Add Mail Account, choose Other, enter the address and password, and when the prompts appear choose IMAP Mail Server and enter the incoming and outgoing server names. Android does the same through the account setup screen once you choose the IMAP option.
If you want to read one mailbox inside a Gmail or Outlook account rather than in a separate app, add the address as an alias or delegate instead. It shows up in the same inbox, which some people like and others find confusing within a week.
6. Test sending and receiving
Send one message from the custom address to a second personal account, and reply from that account back to the custom address. Two directions, because receiving and sending fail for completely different reasons.
Check the sent folder in webmail first. If the message sits there and never arrives, the receiving server rejected it, and the bounce message tells you which check failed. Look for authentication failures in the provider’s message logs, where the same event is described as a SPF, DKIM, or DMARC pass or fail.
Confirm the From line shows the name you chose, not just the address, and that replies land in the right mailbox when a recipient hits reply. Then run the address through a public checker such as MX Toolbox or Google Toolbox checkmx to see what the outside world sees. Both report your MX, SPF, and DMARC status in one place.
Common Mistakes
Almost every broken setup matches one of these. Match your symptom first, then apply the fix.
- Nothing arrives, no bounce, no error. The MX host name is wrong, often a stray character or the wrong region suffix. Copy the value again from the admin console rather than retyping it from memory.
- Mail still goes to the old host. Leftover MX records are still present. Delete every MX row except the ones your new provider gave you, and lower the TTL before you start so the change moves quickly.
- Receivers report an SPF error. Two SPF records exist, or your sending tool added its own. Merge them into a single TXT record with one include: per service.
- The client refuses the password. Two-factor authentication is blocking plain-password login. Generate an app password in the account security settings and use that instead.
- Sending fails with an authentication error. The SMTP port or encryption is wrong. Use 587 with STARTTLS, and never leave encryption set to none.
- The app signs in as the wrong person. Autofill filled in an old address and password. Clear the saved entry and type the full custom address by hand.
- Messages pass SPF and DKIM but still get rejected. DMARC checks that the visible From domain matches the authenticated domain. Sending from a free account while claiming your domain address will fail alignment every time.
- Nothing changed after an hour. You checked before propagation finished, or your registrar ignores TTL settings. Wait a full day, then verify from a tool outside your own network.
One edge case worth naming: if your provider verifies with a CNAME and your registrar refuses a CNAME at the bare domain name, use the TXT option they also supply. And if you are moving providers, drop the old TTL a day ahead so nothing is stranded when the records shift.
Frequently Asked Questions
Do I need separate hosting for custom-domain email?
No. Your web host and your mail provider are independent. You can keep a site on one company and mail on another, because MX records decide where mail goes and nothing else depends on where your site is hosted. Many shared hosts bundle mail with the hosting plan, which is fine for a single mailbox. Buy separately when you want better spam filtering, more storage, or an address that survives moving hosts.
Can I use a custom email address with my existing web host?
Usually yes, and it is the fastest route if your plan includes it. Check the host control panel for a mail or email section, then ask for the exact MX and DNS values rather than guessing. Watch for forwarding-only setups, which receive mail but refuse to send from your domain. If your host gives you a mailbox but no DNS control, you cannot add authentication records, and deliverability suffers.
What is the difference between MX, SPF, DKIM, and DMARC records?
MX records tell the internet which servers receive mail for your domain, and they do nothing for sending. SPF lists the servers allowed to send as your domain. DKIM cryptographically signs each outgoing message so the receiver can confirm it was not altered. DMARC tells receivers what to do when SPF and DKIM disagree, and it reports the failures back to you.
How do I set up custom email on my iPhone or Android phone?
On iPhone, open Mail, tap your account name, choose Add Mail Account, pick Other, enter the full address and password, then choose IMAP Mail Server and fill in the incoming and outgoing server names from your provider. Android uses the account setup screen and offers the same IMAP choice. Both need an app password if you enabled two-factor authentication on the mail account.
Why does my custom-domain email go to spam or get rejected?
Check three things in order: SPF and DKIM must both pass, DMARC must show alignment, and the sending server needs a matching reverse DNS or PTR record. A permerror usually means two SPF records or an SPF record with more than ten DNS lookups. If you send through a marketing tool, add that service to the single SPF record so the receiver stops flagging unknown senders.
How long does custom-domain email DNS changes to work?
Most changes appear within an hour, but anything from a few minutes to a full 48 hours is normal. The waiting is caused by resolvers that cached the old answer, and their refresh timers ignore your TTL. Set TTL to 3600 seconds before editing so later changes spread faster, and verify from an external tool rather than your own network, which may be caching separately.
Conclusion
Start with the mailbox, not the DNS. Create the account, enable two-factor authentication, and generate an app password. Then add the domain in the provider’s admin console and copy the verification record it generates.
Publish the MX records next, remove anything left over from an old host, then add SPF, DKIM, and a DMARC policy of p=none. Wait for propagation, connect the mailbox in webmail and on your phone, and send one message each way before you point a client at it.
That last part is the real test of how to set up email on a custom domain. If mail moves both directions and the authentication checks pass, you are done, and the address will still be yours if you change providers later.