The way to reduce notifications without missing anything important is to sort every alert into three buckets and only silence one of them. Calls from real people, two-factor codes, calendar reminders and security warnings stay loud. Anything you can read in a scheduled check later gets batched. Marketing email, game events and group-chat pings get switched off. Setting this up takes about twenty minutes per device, and every change is reversible.
This guide covers current iOS and iPadOS, macOS, Windows 11 and a desktop Ubuntu session, and was checked against October 2026. Menu names shift slightly between releases, so each step gives you the path plus what to look for rather than pixel-by-pixel directions.
Table of Contents
- 1What You Need
- 2How to Reduce Notifications Without Missing Anything Important: Step-by-Step
- 31. Inventory the alerts you receive
- 42. Keep alerts that require a timely response
- 53. How to Reduce Notifications Without Missing Anything Important on iPhone and iPad
- 64. Adjust alerts on Mac, Windows, and Linux
- 75. Schedule quiet periods and test the result
- 8Common Mistakes
- 9Frequently Asked Questions
- 10How do I know which notifications are important?
- 11Should I turn off notification sounds but keep banners?
- 12Can I reduce work notifications without missing something urgent?
- 13How should I handle calendar and event notifications?
- 14Do smartwatch and wearable notifications need separate settings?
- 15Start With Your Top Three Alerts
What You Need
Nothing to buy and no app to install. Every fix described here lives in settings your devices already have, and each one can be undone by flipping the same switch back.
Before you start, gather:
- Your phone or tablet, unlocked, with current iOS or iPadOS.
- Your computer: a Mac, a Windows 11 PC, or an Ubuntu desktop session.
- Roughly twenty to thirty quiet minutes for the first pass, plus one ordinary day to test the result.
- A notepad or notes app, because the whole method starts with a written list.
Use the built-in system settings rather than a third-party app for the first pass. Community managers on notification forums routinely point out that advice found online is written for a different operating system or an older release, so the paths no longer match and people give up. Manufacturer skins complicate this further: Samsung’s One UI and Apple’s iOS share the Settings name but reorganise everything underneath it.
Two safety rules before you touch anything. Never mute calls, verification codes, account and payment security warnings, or any medical or family alert. And never turn off the alert on an app that is your only route to a building, a meeting or a child.
How to Reduce Notifications Without Missing Anything Important: Step-by-Step
1. Inventory the alerts you receive
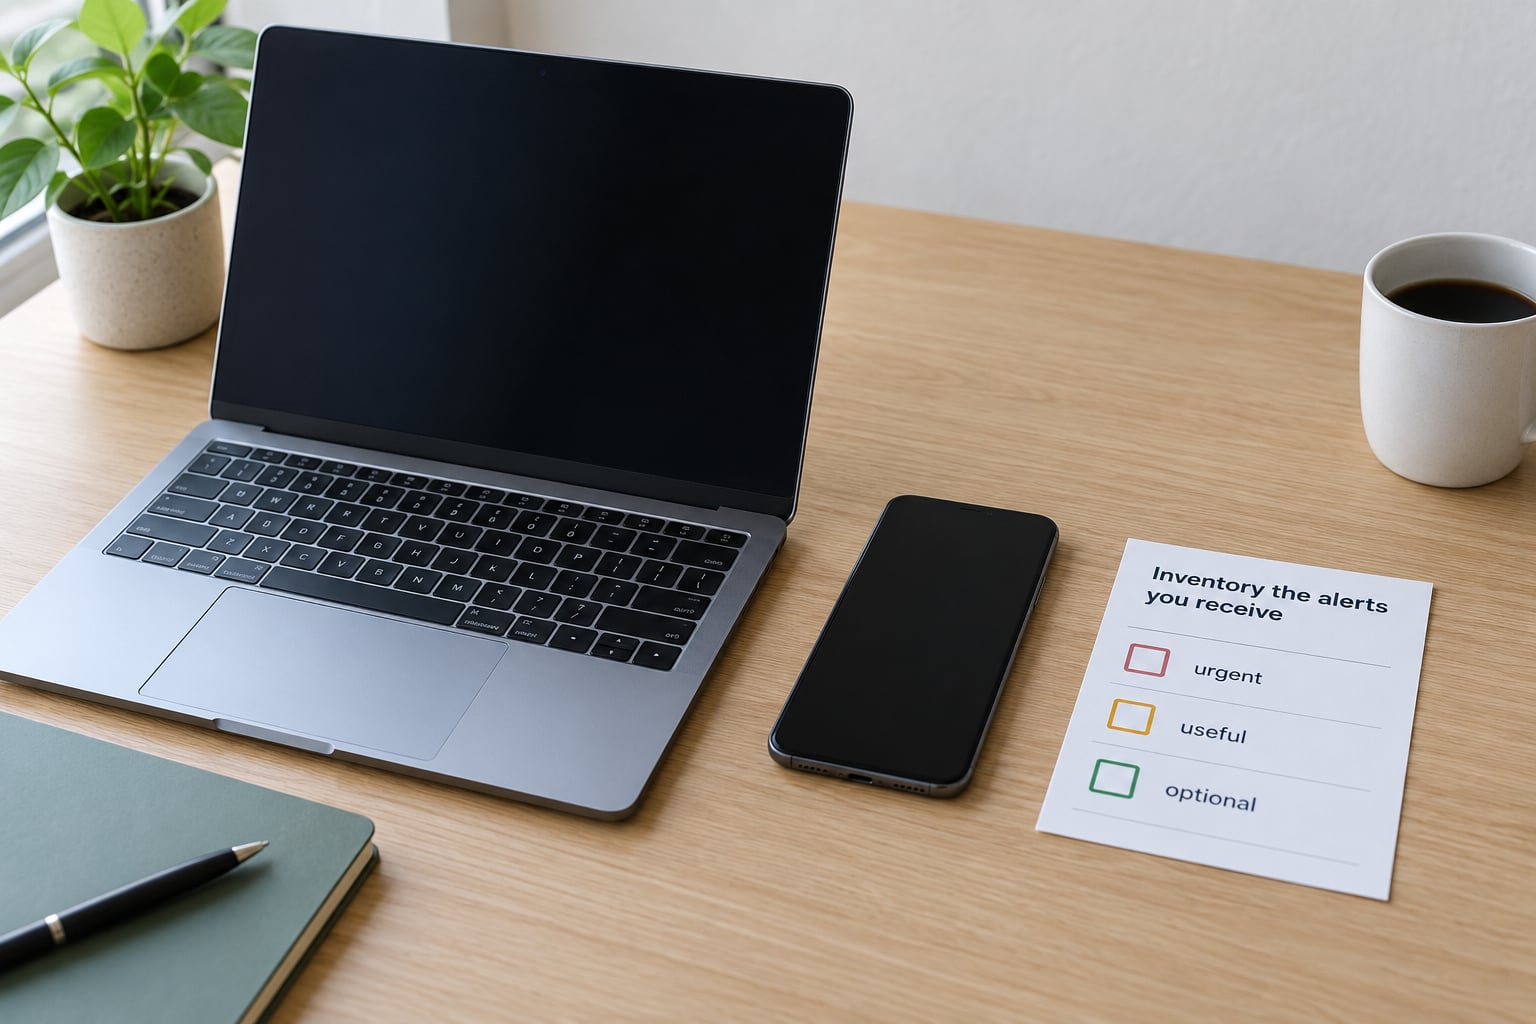
Spend ten minutes looking at what actually reached you before you change a single setting. Open your notification history, scroll back through yesterday, and list every source that interrupted you.
Where the history lives:
- iPhone and iPad: Settings > Notifications > Notification History on recent iOS and iPadOS versions.
- Mac: click the date and time in the menu bar to open Notification Centre, or go to System Settings > Notifications for the per-app list.
- Windows 11: open the notification bell on the taskbar, or Settings > System > Notifications.
- Ubuntu: open the calendar panel from the top-bar clock to see recent items, then Settings > Notifications for per-app switches.
Also check the usage report. On iPhone and iPad, Settings > Screen Time > App Activity shows which apps had the most notifications in the last seven days, which is often more honest than your memory.
Now sort what you found into three groups:
- Urgent — direct messages and calls from known contacts, verification codes, calendar reminders, account or payment warnings, work messages from your manager or on-call colleague, family and safety alerts.
- Useful — ordinary work chat, newsletters you actually read, package deliveries, board game invitations, activity summaries from your watch.
- Optional — promotional email, everything from social apps, shopping deals, game events, community and promoted post notifications, app marketing pushes.
This inventory is the baseline for every later change. Without it you end up muting things by mood and then wondering which alert you turned off three weeks ago.
2. Keep alerts that require a timely response
An alert belongs in the urgent tier when ignoring it for two hours would cost you money, access, safety or a relationship. Everything else can wait for your next scheduled check.
Keep these interrupting you, on every device:
- Incoming calls, including from numbers you have not saved, because you rarely recognise a ringing number on the first two attempts.
- Verification and two-factor codes, which time out and force a restart.
- Calendar and alarm reminders, including event invitations you did not create.
- Bank, payment and account-security warnings.
- A short allowlist of people: partner, children, manager, on-call colleague, the person who covers an emergency for you.
Run two tiers rather than one. The urgent tier breaks through every focus mode you set. The useful tier stays silent during your quiet hours and waits in the notification list, so a small, believable number of alerts still arrives and you know the rest is there.
Be careful with threaded chat apps. A conversation you have starred, pinned or marked priority can override your quiet period in several apps, and one over-starred group chat will undo an evening’s work on its own. Keep that list to people, not topics.
3. How to Reduce Notifications Without Missing Anything Important on iPhone and iPad
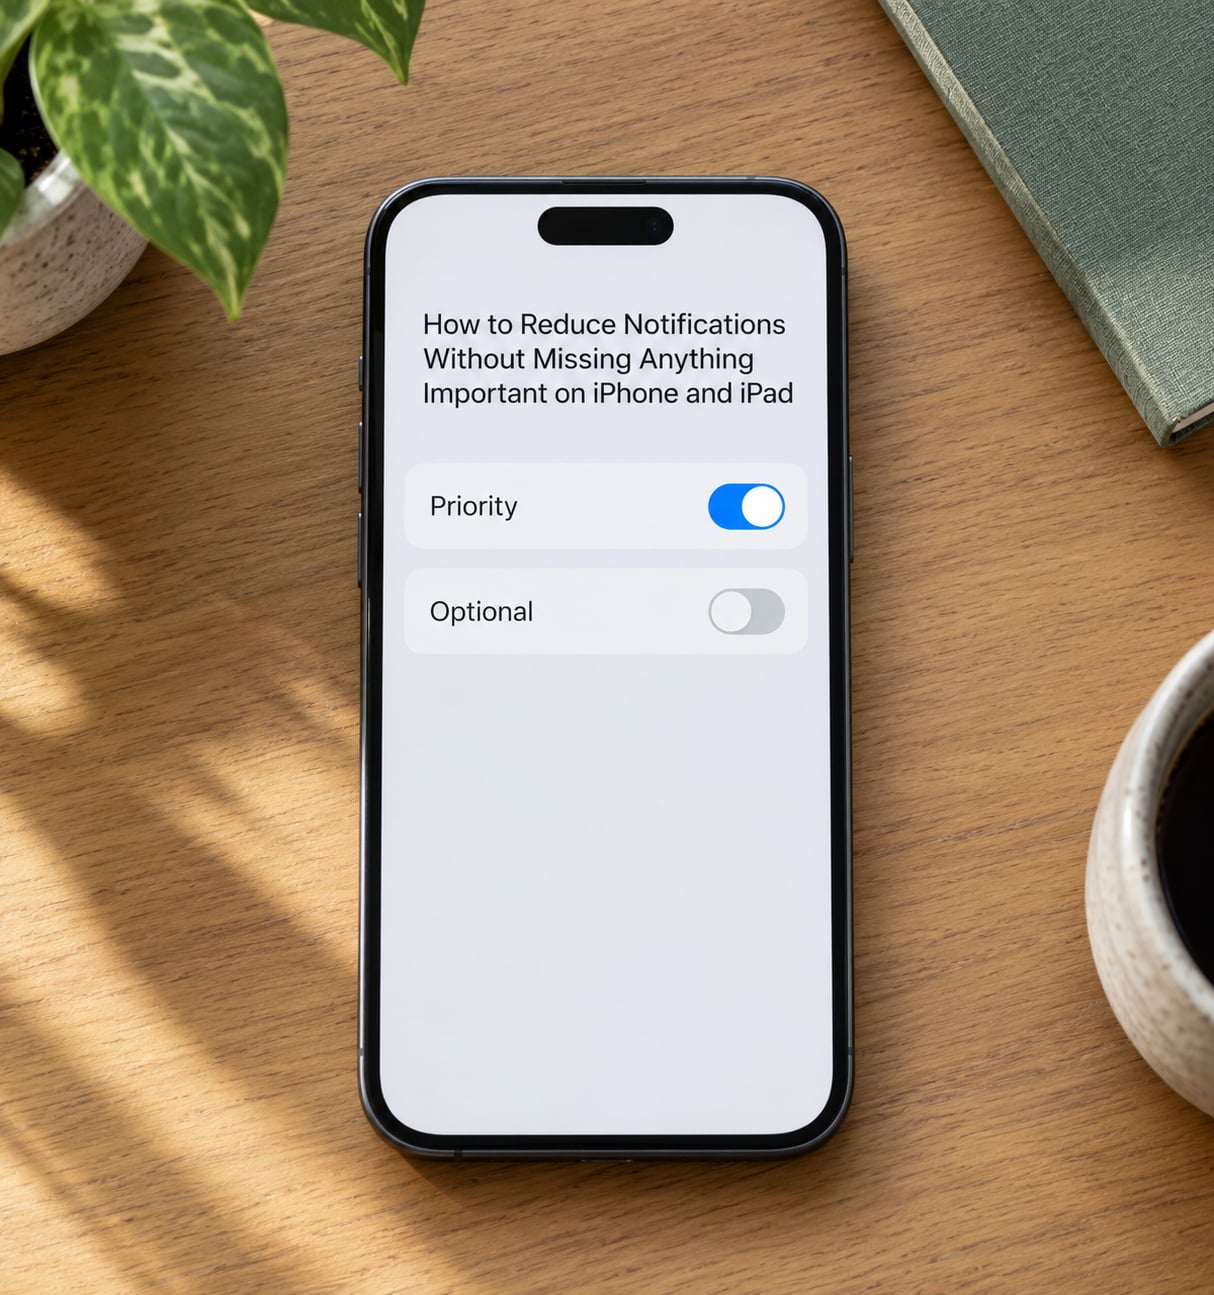
On iPhone and iPad, the whole method lives under Settings > Notifications, where each app has its own alert style, sound, badge count and time-sensitive permission.
Work through one app at a time:
- Tap the app’s name to open its screen.
- Under Alerts choose None, Banners or Notifications. Banners fade away after a few seconds, Notifications stay on screen until you clear them.
- Set Sounds per app. A distinct tone for your one or two urgent apps means you can triage by ear without looking.
- Turn Badges off for anything in the optional tier, or switch off Settings > Notifications > Badge App Icon globally.
- For chat apps, set Thread Notification Summary to Daily or Weekly so a busy channel becomes one quiet line instead of forty.
- Leave Time Sensitive Notifications on only for apps you actually trust with urgency, such as your family group or a work incident channel.
- Set Allow Notifications When Focus Is On for anything in your urgent tier, so it survives every quiet period you create.
- Under Lock Screen and Notification Center, turn off previews for chat and email if shoulder-surfing bothers you.
Then build the quiet periods. Go to Settings > Focus, open Do Not Disturb and choose Edit, then set:
- A Time schedule covering work hours, your commute, and sleep. You can add multiple schedules.
- Allowed Notifications, where you pick specific people from your contacts.
- Apps you want to allow through, such as your calendar and your authenticator.
- Smart Activation, which turns Do Not Disturb on at a location such as a cinema or an office, and off again when you travel home.
Repeat that for a Work focus filter during meetings and a Sleep focus at bedtime. Do Not Disturb blocks banners and sounds, not the notifications themselves, so everything still queues and appears when you turn the mode off.
One distinction worth knowing: time-sensitive notifications are a sender decision and break through Focus, while critical alerts are a special Apple entitlement granted only to health and safety apps. Ordinary apps cannot set critical alerts, which is why you should treat anything claiming to be a critical alert from a shopping app as a scam.
4. Adjust alerts on Mac, Windows, and Linux
A desktop duplicates everything your phone already sends you, so it is usually the bigger win. Each platform needs its own settings.
Mac. Open System Settings > Notifications and click a listed app. Three controls do most of the work: alert style (None, Banners or Alerts), Show previews (Always, Never or When Unlocked), and Play sound with its volume slider. Badge app icon keeps a red dot on your dock even when everything else is silent, so switch it off for chat and news apps. Notification Centre groups by app, which turns a busy morning into a single line. For quiet periods use the Control Centre Focus menu or the moon icon in the menu bar, and set a schedule in System Settings > Focus > Do Not Disturb. Screen Time app limits in System Settings > Screen Time can stop you opening the noisiest apps entirely.
Windows 11. Go to Settings > System > Notifications. Turn on Do not disturb, or use the Focus assist priority-only mode with a list of priority senders and priority notifications, so only your manager, family and automated reminders come through. Under Notifications from apps and other senders you get a per-app switch, plus controls for badge counts on the taskbar, the alert sound, and previews on the lock screen. Windows 10 uses Settings > System > Focus assist for the same controls. Schedule Do not disturb for your working hours and your night, then allow it to switch on automatically when you start a full-screen game or share your screen.
Linux and Ubuntu. In GNOME, open Settings > Notifications. Do Not Disturb is a single toggle, and below it each installed app has Show in Lock Screen, Show in Banner and Notification Count. Turning off the notification count alone is the gentlest first change, because the banner still appears but the number stops piling up. The top-bar clock menu mutes everything for the current session, and some desktop environments add a keyboard shortcut for it. Other Linux desktops group the same options under a Notifications or Focus panel.
Whichever platform you are on, remember that the originating app usually has its own switch. Slack, Teams, Discord, Outlook and most mail clients ship with their own notification preferences, and a desktop setting only controls the banner wrapper, not what the app decides to send. Change both, in that order.
5. Schedule quiet periods and test the result
Schedule your quiet periods like recurring calendar events, because a schedule survives a busy week while a manual toggle does not. Set one for deep work, one for meetings, one for sleep, and one you trigger by hand when you are driving or walking somewhere noisy.
Exceptions belong inside the quiet period itself, not in a separate mental note. Add the people you need as allowed senders and the apps you need as allowed apps, so a focus mode gives you the useful interruptions without needing the full volume switched on.
Test the setup on the next ordinary day rather than judging it in the first hour. Check all five channels:
- The lock screen and notification centre, for alerts that arrived silently.
- App badges, especially on the phone home screen and the taskbar.
- Sounds, by checking that the two urgent apps are still audible with the ringer switch on.
- Your watch, headphones, car or connected display, which usually mirror whatever the phone decided.
- The apps you muted, so you can confirm you genuinely do not need them that day.
Give it ten minutes the following week to review what slipped through, then adjust. People who report success with this method usually describe a couple of weeks of tuning rather than a single afternoon, and the difference between a good setup and a great one is mostly in the exceptions list.
Common Mistakes
Turning everything off first. It feels decisive, and it is the approach several people on attention forums describe using successfully, but it costs you a week of noticing what you actually need. Keep calls, verification codes, calendar and security warnings on from the start; silence everything else.
Expecting one device switch to fix a service. A message sent by a chat app is filtered by the app’s own settings first and the operating system second. Toggling the desktop setting alone changes nothing about what arrives.
Relying on silent mode. Silent mutes the sound and nothing else. Banners still light up the screen, badges keep counting, and lock screen previews still show the message. Toggle the alert style itself.
Overlooking badges. Red numbers on the home screen and taskbar create the same pressure as a sound, even when nothing rings. Turning off Badge App Icon on iPhone and badge counts on Windows is a low-friction win.
Missing calendar invitations. Several calendar apps ship with event alerts off or with a lead time of zero. Turn on Event Alerts and set at least ten minutes so a meeting never arrives without warning.
Notifications that will not go away. Community and promoted post alerts in social apps, plus some Samsung and Google system service notices, re-fire after you dismiss them. Fix the source: unsubscribe or leave the community, turn off the specific alert category inside the app’s notification settings, and on Android clear the app’s data if the category switch does not hold.
Not retesting after a major update. A big annual operating system release can reset per-app permissions. Recheck your top ten apps a few days after every major update.
Three habits keep it working: keep the two priority tiers small enough to remember, read notification history once a week instead of reacting in the moment, and hold a ten-minute review on a fixed day.
Frequently Asked Questions
How do I know which notifications are important?
Ask what happens if you ignore each alert for two hours. If the cost is money, account access, safety, health or a relationship, it belongs in your urgent tier and should break through any focus mode you set. Everything else can wait for your next scheduled check. Most people find only three or four sources truly qualify, which is why the urgent list stays short enough to remember.
Should I turn off notification sounds but keep banners?
That is a sensible middle step, and it works well if your problem is noise rather than distraction. Turn sounds off for everything in your useful tier and keep them for your urgent tier. If banners still pull your attention off the task in front of you, set those apps to Notifications instead of Banners so they stay on screen until you actively clear them.
Can I reduce work notifications without missing something urgent?
Yes, and this is where per-sender allowlists pay off. In the chat app, mute every channel except a small list and turn off keyword alerts, then set your manager, your on-call colleague and your incident channel as priority senders. Add the work chat app to your focus mode’s allowed apps. You then get the whole team in one place instead of forty separate pings.
How should I handle calendar and event notifications?
Keep event alerts on for every calendar you use, including secondary ones, and set a lead time of at least ten minutes so a meeting never arrives without warning. Add the calendar app to your focus mode’s allowed apps so it still interrupts quietly. Turn off the alerts for shared or subscribed calendars instead, since those are usually duplicates of entries you already have.
Do smartwatch and wearable notifications need separate settings?
They usually mirror whatever your phone decides, which means fixing the phone fixes the watch. But wearables add their own layers: watch apps have independent alert settings, most watches mirror only a subset of phone notifications, and some raise a haptics alert that is easy to ignore. Check the watch’s own notification list once, especially for calls and calendar events.
Start With Your Top Three Alerts
Find the three alerts that genuinely need a prompt response and keep those completely intact. Then silence or schedule the noisiest remaining apps, starting with whatever your notification history showed you ranking highest.
Test it on the next ordinary day, adjust once, and you will have a setup that cuts the volume without ever going deaf to the people and accounts that matter.