How to set up a laptop for college classes comes down to two layers of work. The first is generic machine hygiene: finish the operating system updates, remove bloatware and trial antivirus, and turn on backups. The second is the college layer your classes actually depend on: your .edu email with its free Office license, the learning management system, the video meeting app your instructor uses, a note-taking system, campus Wi-Fi, and a password manager with two-factor authentication.
Budget about 60 to 90 minutes for the whole thing, spread across a couple of evenings. Doing it before classes start means the first week is spent on coursework instead of on troubleshooting a laptop that ran out of battery in the first lecture.
Table of Contents
- 1What You Need
- 2Step-by-Step: How to Set Up a Laptop for College Classes
- 31. Secure Your Accounts and Enable Device Protection
- 42. How to Install Updates and Course Software on Either Platform
- 53. Organize Files, Notes, and Cloud Storage
- 64. Configure Focus, Notifications, and Study Tools
- 75. Back Up Your Laptop and Test the Complete Setup
- 8Common Mistakes
- 9Frequently Asked Questions
- 10Can I set up a school-issued laptop for college classes?
- 11Do I need a separate backup drive for college?
- 12How much storage do I need for college classes?
- 13What should I test before my first online class?
- 14What if my college blocks software or settings on my laptop?
- 15What to Do Before Day One
What You Need
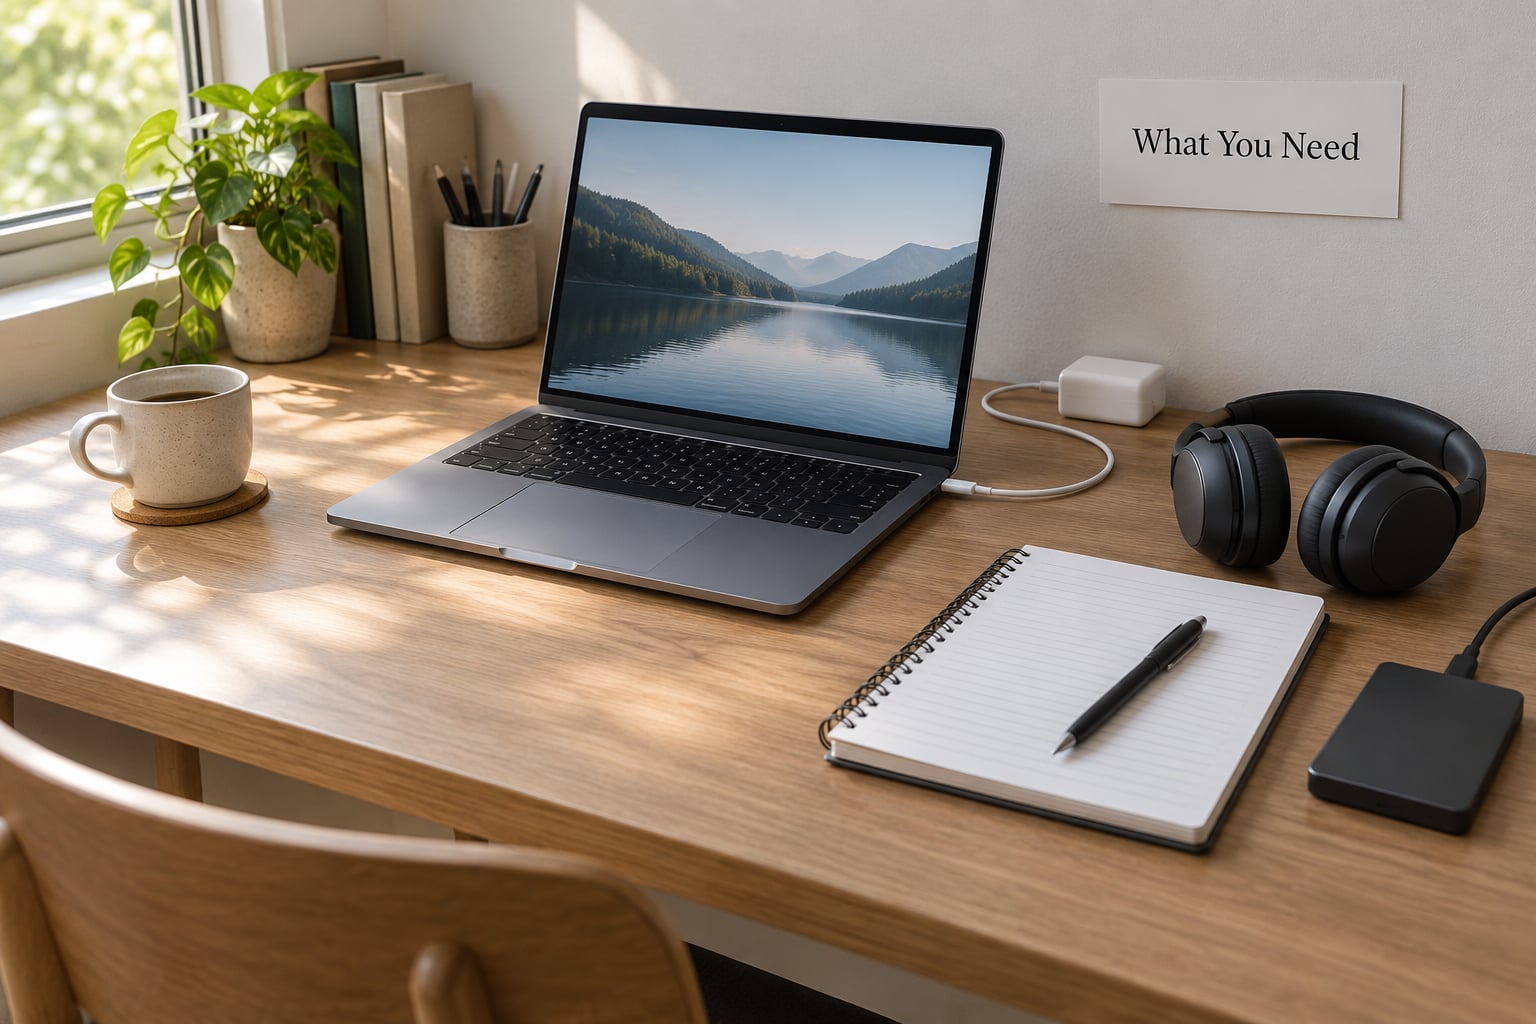
Gather these before you change a single setting. Missing one item mid-setup is what turns a 60-minute job into an evening.
- The laptop and its charger. The charger matters more than most students expect. A thin USB-C cable that came in the box may not charge at full speed, and a dead laptop two weeks into the semester is a bad surprise.
- Your school credentials. You need your student ID, your school email address, and your single sign-on password. Many colleges use one login for email, the LMS, the library databases, and Wi-Fi.
- The charger for any accessory. If you use a phone as a hotspot or a second screen, its cable counts too.
- Free storage space. Aim to start with at least 15 to 20 percent of your drive empty. Updates need room to unpack, and a nearly full SSD slows down more than most people expect.
- A list of required software. Some programs come from your syllabus, your department page, or orientation. Engineering, nursing, and design majors usually get a required list before term starts.
- A backup destination. Your school’s cloud storage plus one external drive covers the student case well.
- Optional but useful: wired Ethernet adapter, a USB hub, headphones with a boom mic for live classes, a power bank, and a privacy screen if you travel or sit in crowded rooms.
If your college issued the laptop, check the IT department page or your orientation email first. Managed devices often arrive with updates, software installs, and settings already locked down, and pushing against that policy tends to trigger a reset rather than a fix.
Step-by-Step: How to Set Up a Laptop for College Classes
Work through these in order. Security and updates come before anything else because both take time to install, and installing an app on an unfinished operating system is how you end up re-doing the job.
| Setup step | Windows 11 path | macOS path |
|---|---|---|
| Install OS updates | Settings > Windows Update > Check for updates | System Settings > General > Software Update |
| Remove bloatware and trial antivirus | Settings > Apps > Installed apps, sort by Install date | Finder > Applications, drag unwanted apps to Trash |
| Control startup items | Task Manager > Startup apps > Disable | System Settings > General > Login Items |
| Turn on device encryption | Settings > Privacy and security > Device encryption | FileVault is usually on by default; check in Security > FileVault |
| Set an automatic screen lock | Settings > Accounts > Sign-in options | System Settings > Lock Screen > Turn display off on power adapter when inactive |
| Add two-factor authentication | Settings > Accounts > Your info > Sign-in with an authenticator app | System Settings > Your name > Sign in & Security > Two-factor authentication |
| Silence notifications during class | Settings > System > Notifications > Do not disturb | System Settings > Notifications > Focus |
| Cap charging at 80 percent | Set in the vendor app, such as Lenovo Vantage or MyASUS | System Settings > Battery > Battery Health > Optimized Battery Charging |
| Track a lost device | Settings > Accounts > Your info > Find My Device | System Settings > your name > Find My |
1. Secure Your Accounts and Enable Device Protection
Start by turning on device encryption, automatic screen locking, and two-factor authentication on every account that touches your coursework. Do it before you save a single assignment to the machine, because a stolen or borrowed laptop is a much bigger problem once it holds a semester of notes.
On Windows 11, open Settings > Privacy and security > Device encryption and switch it on. The key is stored with your Microsoft account. On a Mac, FileVault is normally already enabled after setup; confirm it under System Settings > Security > FileVault by checking that FileVault is turned on and that your recovery key is stored somewhere other than the laptop itself.
Next set the screen lock. In Windows 11 go to Settings > Accounts > Sign-in options and set the screen to lock after 5 minutes, plus require a sign-in when the PC wakes. On a Mac, System Settings > Lock Screen handles the display timeout, and Privacy and Security > FileVault covers the disk.
Then handle your password. Create a new, unique password for your school account and never reuse it anywhere else. College logins get phished hard at the start of every term because everyone is logging into something new. Turn on the authenticator app option under Windows: Settings > Accounts > Your info or macOS: System Settings > Your name > Sign in and Security, and store the recovery codes in a password manager rather than a photo on your phone.
Install that password manager now, before you have thirty passwords to track. Bitwarden and 1Password both have free tiers that work for students, and macOS and Windows each ship a built-in one you can start with today.
How do you know it worked? Lock the screen with Win+L on Windows or Control+Command+Q on a Mac. If you get back in without typing anything, the timeout is wrong. Then pull up your school account page and confirm two-factor authentication is listed as on.
2. How to Install Updates and Course Software on Either Platform
Update the operating system, clear out the trial software the manufacturer pre-installed, then install what your classes need. Students report the biggest speed jump in the first hour comes from removing trial antivirus such as McAfee or Norton, which install themselves alongside a Windows security module and then fight each other in the background.
On Windows 11, open Settings > Windows Update > Check for updates, install everything offered, and restart when it asks. Some updates need two or three passes before the machine settles. On a Mac, System Settings > General > Software Update is the equivalent, and macOS usually handles it in one restart.
Then sort out software. In Settings > Apps > Installed apps, sort by Install date. Everything from the factory appears at the top, and that is your bloatware list. Trial antivirus, bundled game trials, and manufacturer store apps are the usual names. Uninstalling a third-party antivirus suite after that lets Windows Defender or XProtect take over cleanly.
Do not skip the browser. Edge and Safari both work, but most course handouts, PDFs, and video players are built and tested for Chrome or Firefox, and Chrome’s PDF viewer handles the annotation tools most professors assign. Install one second browser as a fallback.
For course software, work from three sources: your syllabus, your department’s page, and your school’s IT download portal. That last one matters, because engineering and data science labs often need licensed software that only installs through the campus portal.
On Windows 11, right-click a taskbar icon and unpin anything you never open, then open Task Manager > Startup apps and disable the entries you don’t need. On a Mac, remove them under System Settings > General > Login Items.
Claim your free school licenses next. Sign in to the Office or Google web portal with your .edu address and download the desktop apps from there rather than from a third-party site. Your school email also usually unlocks a longer library database list, a free cloud tier, and sometimes a VPN client.
Verify the update step by rebooting once more after everything installs and confirming Settings > Windows Update or Software Update shows “up to date.” For software, open each required app once and confirm it launches without an error.
3. Organize Files, Notes, and Cloud Storage
Set up one folder per course, one consistent naming pattern, and one cloud drive before you take a single note. This is the step students skip and regret by week six, when a final paper lives in Downloads under a filename that looks like final_FINAL_v3_really.docx.
Create a top folder called School, and inside it one folder per course with the course code and name. Add an Assignments folder and a Notes folder inside each. Keep lecture PDFs, slides, and readings in Notes, and anything you submit in Assignments.
Use a naming pattern you can sort by: BIOL201_Week03_Lab_Report_v1.docx. Course, week, document, version. Once you type four or five of these, searching becomes trivial, and handing in the wrong version stops being a thing that happens to you.
Point your Downloads folder at the School folder so files land somewhere sensible instead of scattering. In Windows 11, Settings > System > Storage > Advanced storage settings > Other drives > Downloads > Location > Move does it. On a Mac, Finder > Preferences > General lets you set the download location, or change it per download from the arrow in the Safari toolbar.
Enable your school’s cloud storage and let it sync the School folder. OneDrive for Windows, iCloud for Mac, and Google Drive on either platform all handle this, and each gives students more free space with an .edu address than a personal account gets.
Pick one note system now. Microsoft OneNote ships with Office and handles handwriting on a pen-enabled screen. Apple Notes is built into macOS and syncs to iCloud. Obsidian and Notion both use plain text files you own, which matters more than their features once you graduate.
Whichever you pick, test it: type a note, save it, close the app, reopen it, and confirm the note is still there on another device. That one check catches most sync and permission problems while they are still trivial to fix.
4. Configure Focus, Notifications, and Study Tools
A laptop that buzzes every twelve minutes during a lecture is a laptop you will resent. Turn off nonessential notifications, schedule a focus block for class and study time, and set up your course tabs and calendar before the term starts.
On Windows 11, Settings > System > Notifications is the control center. Turn off everything you do not need urgently, then add your class times as priority list entries in Do not disturb so only calls from people you mark as priority get through. On a Mac, System Settings > Notifications handles per-app settings and Focus handles the schedules; Do Not Disturb, Focus, or a reading-oriented Focus mode all work here.
Install your calendar next, signed in with your school account, and subscribe to your class schedule, assignment deadlines, and the academic calendar. Most learning management systems will also push deadlines into it once you connect the two.
Set up the browser for coursework. One profile per semester type helps if you share a machine, and bookmarks deserve one folder per course with the LMS, syllabus, library databases, and reading list. For live classes, open the meeting app and test your microphone and camera, then check the noise suppression setting so a dorm fan does not drown out your voice.
Add a PDF reader and a screen annotation tool. Most lecture handouts are PDFs, and being able to highlight and comment during a lecture matters more than most students realize. If you take handwritten notes, set up a text size that is comfortable for a 14 inch screen, and turn on live captions in the video app so you can catch anything spoken while you were writing.
For battery, set a charge limit at 80 percent if your machine offers one. Most vendors put it in their own app rather than the OS: Lenovo Vantage, MyASUS for Asus, and HP Commercial Power Management all expose the setting. On a Mac, System Settings > Battery > Battery Health > Optimized Battery Charging handles it. Use Balanced power mode instead of Best performance during class days, and keep a power bank in your bag for the lecture hall with no outlets.
Test the focus settings by scheduling a two-hour Do Not Disturb block and working through it. If a notification still slips through from an app you did not configure, catch it now rather than in week three.
5. Back Up Your Laptop and Test the Complete Setup
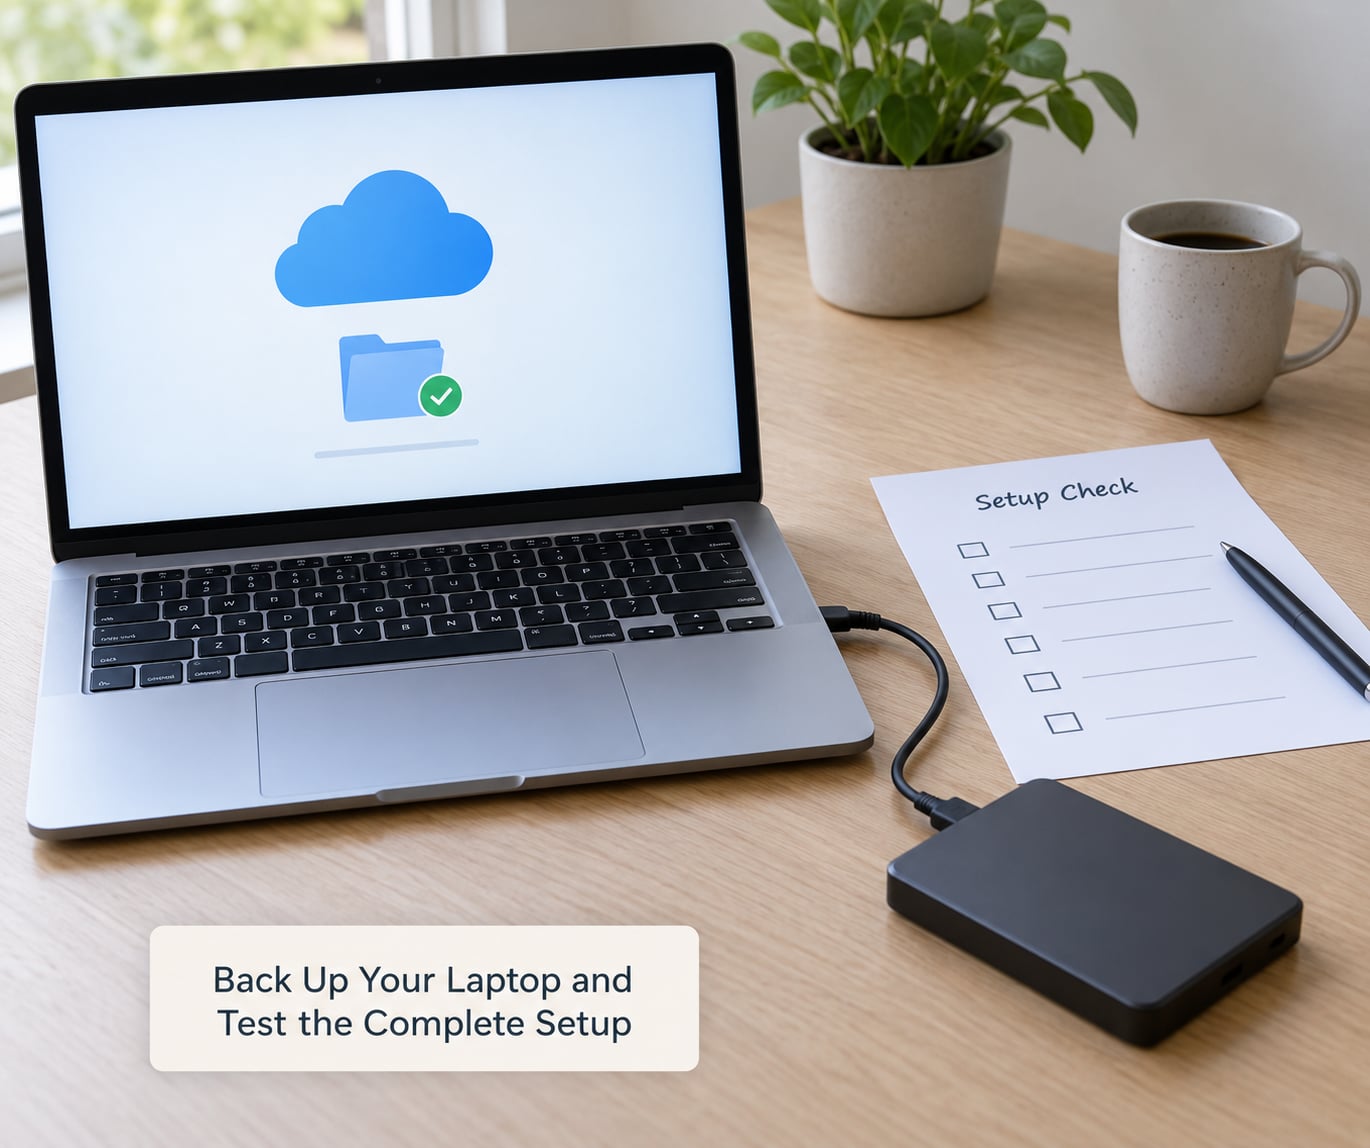
Set up two backups: automatic cloud backup for daily notes, and a weekly copy to an external drive. One backup you never test is not a backup, so the last step here is a real check rather than a checkbox.
On Windows 11, turn on folder backup through OneDrive by right-clicking your School folder and choosing Always keep on this device, then confirm the green cloud icon shows synced files. On a Mac, put the School folder inside iDrive or Google Drive and check the iCloud status circle next to the folder name.
For the external copy, an inexpensive USB drive is enough. Copy the whole School folder once a week, and keep the drive somewhere other than your bag. A backup that lives in the same bag as the laptop protects you from a sync error and nothing else.
Then run a 15-minute readiness check, in this order:
- Open your school email and confirm it loads.
- Log into the learning management system and open one course.
- Upload a small test file and download it back.
- Open the required apps for your heaviest course.
- Join a video call and confirm camera, microphone, and speakers.
- Print or scan one page at the library, if your courses need it.
- Test the classroom Wi-Fi or a phone hotspot with a video call.
- Confirm the charger works and the battery lasts a full class block.
- Open a file from your backup and check it is not corrupted.
Whatever fails here is your setup work. A course file that will not open because of a missing codec or an inaccessible storage quota is a much worse surprise than an hour of setup.
If you have a video call coming the next day, check the camera permissions first. Windows 11 blocks camera access per app under Settings > Privacy and security > Camera, and macOS blocks it under System Settings > Privacy and Security > Camera. A black rectangle on your first day of class is a settings toggle, not a broken webcam.
Common Mistakes
Almost every setup failure students report comes from one of seven things, and each has a quick fix. Work down this list and most first-week problems disappear before they happen.
Leaving trial antivirus installed. McAfee and Norton preloaded on a new Windows machine slow the whole system and sometimes block legitimate course software. Uninstall them from Settings > Apps > Installed apps and let Defender handle protection, or install one antivirus product deliberately rather than accepting two that fight each other.
Mixing personal and school accounts. Signing in to a personal Google or Microsoft account first means your school license never activates and your coursework may end up in the wrong cloud drive. Sign in with the .edu address from the start, and if you have already gone the other way, download Office from the school portal rather than the app store.
Not backing up notes. Cloud storage syncing is not backup, and a sync error can delete on both sides. Keep the weekly external copy, and export anything irreplaceable at the end of each semester.
Letting Downloads become the filing system. Move the Downloads folder under School, clear out everything older than a month, and start using the course folder pattern now. Future you is the only person who has to search those files.
Ignoring device restrictions. On a college-issued laptop, admin rights, VPN access, and software installs are often locked. Do not fight it. Email the IT help desk with your device model and the exact error, and keep working through the student-access options meanwhile.
Deferring security updates. Update prompts that get dismissed for a month are how a patched hole stays open. Set Windows Update to restart during a window when you are not mid-assignment, and leave the toggle for pause updates alone.
Not testing the microphone, camera, or printer. Do it before the first online session, not during it. Ten minutes with a camera test, a microphone level check in the app’s settings, and one printed page from the library queue covers nearly every first-class failure.
Forgetting accessibility settings. Live captions, text scaling, and a dyslexia-friendly font take about five minutes and make long lecture recordings usable later. Set them once at the start of term.
One habit worth keeping: re-read your syllabi and check your IT page every semester. Course software changes, portals move, and requirements get added in the first week. A fifteen-minute review each semester is cheaper than a missed assignment.
Frequently Asked Questions
Can I set up a school-issued laptop for college classes?
Yes, but within the limits your IT department sets. Managed laptops usually arrive with the operating system updated, a VPN installed, and restricted admin access, so skip the update and bloatware steps and focus on what you can control: your accounts, two-factor authentication, cloud storage sync, your note system, calendar, and focus settings. If a setting is greyed out, that is policy, not a fault. Email the help desk with your device model and the exact message you see, and ask whether a personal device is expected for any specific course software.
Do I need a separate backup drive for college?
A small external drive is cheap insurance, and cloud sync alone does not count as backup because a deletion or a bad sync can propagate. Aim for two copies on two different types of storage: your school cloud account for daily work and a weekly copy to a USB drive kept somewhere other than your bag. Back up notes more often than papers. If you would rather spend the money elsewhere, borrowing a drive from the library and copying monthly costs nothing.
How much storage do I need for college classes?
For most majors, 256 GB is workable and 512 GB removes the daily worry, as long as you keep cloud sync on and clear out old installers. Start with at least 15 to 20 percent of the drive free, because updates need room and a nearly full SSD slows down noticeably. Video, engineering, and design students, plus anyone with large media files, should treat 512 GB as the minimum and lean on cloud or external storage for archives.
What should I test before my first online class?
Camera, microphone, speakers, and network, in that order. Join a test call the day before, check that Windows or macOS has granted the meeting app camera and microphone access, and speak for ten seconds to watch the input level move. Then confirm your bandwidth by calling in on campus Wi-Fi and on a phone hotspot. Add a quick pass through your learning management system and a test file upload so a due-date surprise does not arrive during lecture.
What if my college blocks software or settings on my laptop?
Work with the restriction instead of around it. Ask your IT help desk which version of the software is approved, since many programs are available through the campus software portal or a virtual application you can open in a browser. For blocked settings such as a charge limit or a startup toggle, request the exception or accept the default behavior. If a required tool cannot be installed at all, your department usually has a lab machine or a remote desktop option for exactly this situation.
What to Do Before Day One
If you only do four things, do these: update the operating system and uninstall trial antivirus, turn on two-factor authentication with a password manager, claim your .edu account so free Office and cloud storage activate, and run the 15-minute readiness check.
Everything else in this guide is refinement. Those four get you through the first week without a slow laptop, a locked account, or a missing assignment file, and the rest is what makes the next four years less annoying.
Then set a recurring 20-minute block once a month to clear storage, install updates, and check your backups. Students who do that rarely notice it, which is exactly the point.