You can test a used laptop before buying it in about twenty minutes with free tools, and you do it in a fixed order: cold boot, screen, keyboard and ports, battery report, storage and memory, a short stress test, then an account and reset check. Every failure mode that matters on a second-hand machine shows up in one of those steps. Here is the sequence I walk through before I hand over any money.
Two rules before you start. Never send a deposit or transfer money to see the laptop, and do the inspection in person at a public place if the seller is local. Most used-laptop listings that go wrong involve a request for money up front followed by silence, and nothing on the machine can protect you from that one.
Everything below works whether the laptop runs Windows, macOS or Linux, and I have written it so you can follow it on the seller’s desk without opening anything or looking at their files.
Table of Contents
- 1What You Need
- 2Step-by-Step: How to Test a Used Laptop Before Buying It
- 31. Inspect the exterior before turning it on
- 42. Confirm the exact model and specifications
- 53. Test the display, webcam, speakers, and microphone
- 64. Test the keyboard, trackpad, and every port
- 75. Check storage, battery health, and charging
- 86. Stress-test performance and stability
- 97. Check privacy, accounts, and recovery state
- 108. Test the final package and negotiate before payment
- 11Common Mistakes
- 12Frequently Asked Questions
- 13Can I test a used laptop without buying it first?
- 14What should I check before paying for a used laptop?
- 15How do I know if a used laptop battery is bad?
- 16What battery health percentage is bad for a laptop?
- 17How many charge cycles is a lot for a laptop battery?
- 18Is it safe to buy a used laptop that is still signed into the previous owner’s account?
What You Need
You need very little, and almost all of it you already own.
- The charger that came with it. A laptop that only charges on a borrowed brick tells you something about the port, the cable or the cell.
- A USB drive. You may need to move files off the machine, carry a diagnostic tool in, or run a full drive write-and-read check if the seller is willing.
- A phone or camera. Photograph the serial number, the battery report and the storage health screen the moment you see them. Screenshots disappear, phone photos survive a dispute.
- An internet connection. Battery reports, drive health tools and MacBook diagnostics often need to download once. Ask to join a guest network rather than using the seller’s own Wi-Fi.
- A local account to sign into. Browsers block a lot of diagnostic pages when you are not signed in, and a test account keeps you out of the seller’s files.
- A notepad or your phone’s notes app. You will want to write numbers down while you still have the machine in front of you.
Set aside twenty minutes for a normal inspection. If you have only ten, run steps 2, 3, 5 and 7, because those catch the most expensive problems.
Step-by-Step: How to Test a Used Laptop Before Buying It
1. Inspect the exterior before turning it on
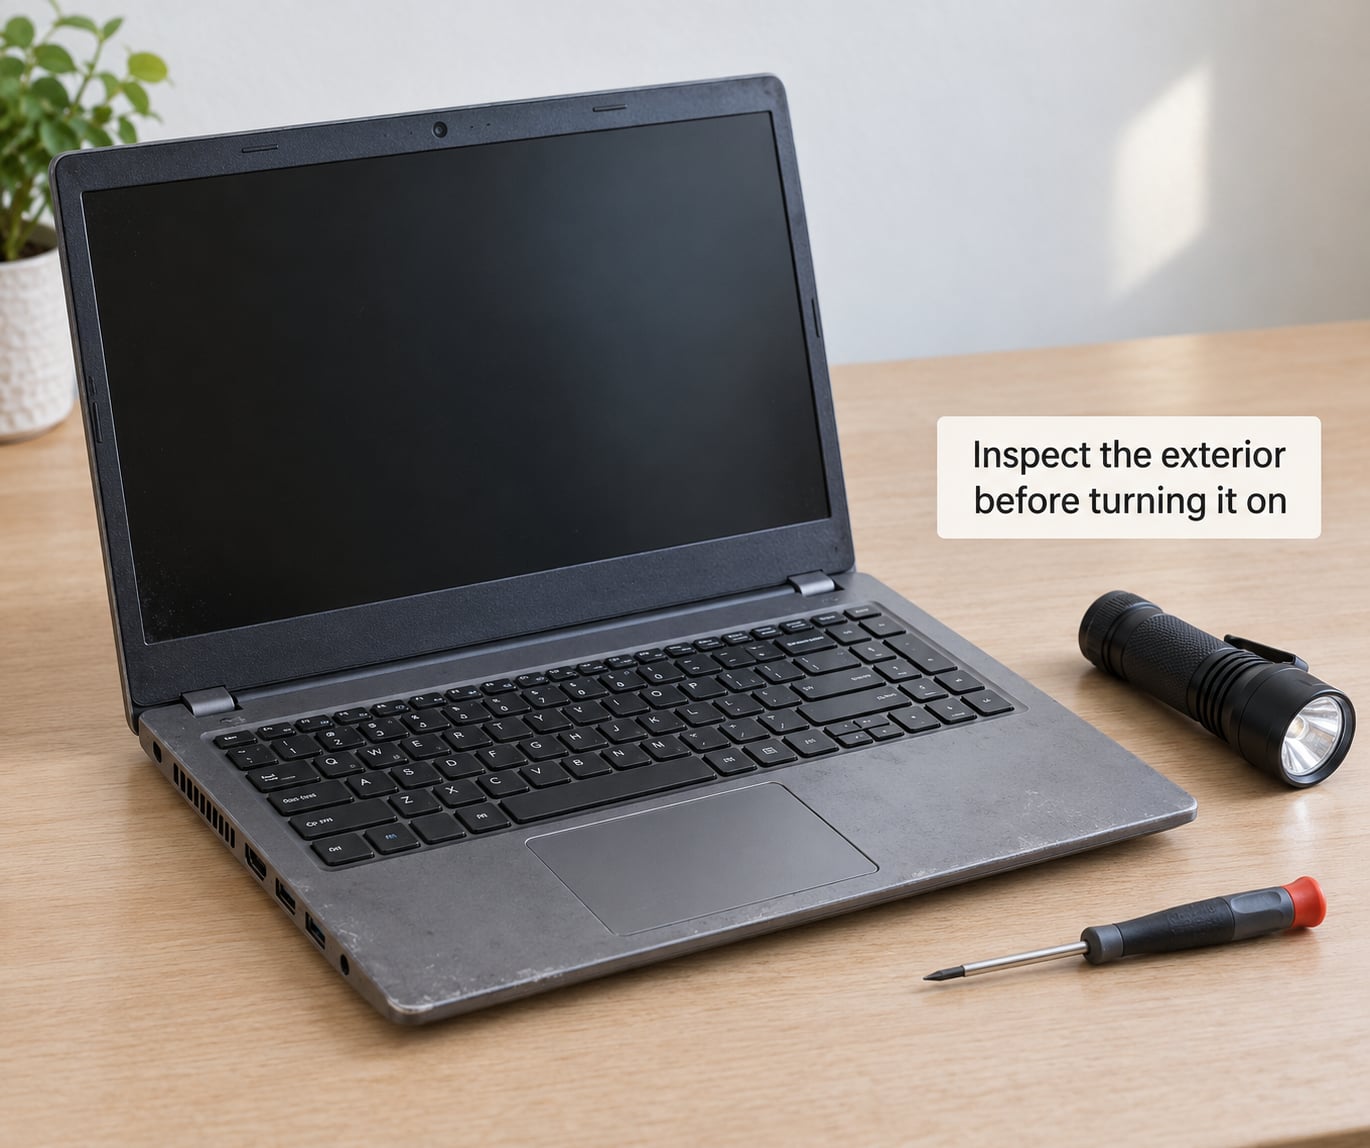
Start with the machine closed and look at it in good light. Cosmetic damage is not the point, but the pattern of it is. A dent in one corner or a scuff on the lid means a drop, and drops crack hinge brackets and internal ribbon cables long before they crack the case.
Open and close the lid ten times while you watch the hinge. The two halves should move in the same plane and the screen should not wobble. On many models you can see the hinge brackets through a bottom cover gap; look for a bracket sitting proud of the chassis or a lid that no longer sits level when closed.
Look for stripped or mismatched screws on the bottom cover, and check whether a warranty sticker or a factory seal is missing, broken or re-stuck. Both mean the machine has been opened, and on a business unit they may also mean a corporate management profile is still installed.
Run your fingernail around the keyboard deck and the trackpad. Gaps that catch a nail mean a swollen battery is pressing up from inside, and a swollen battery can damage the trackpad ribbon and the chassis. You do not negotiate on a swelling battery, you leave. Ask the seller three things before you meet: why it is being sold, how long they owned it, and whether it has ever been dropped, repaired or opened. The answers tell you a lot faster than the machine does.
2. Confirm the exact model and specifications
Ask for a cold boot, not a resume. Shut it down fully, then power it on and watch what appears: brand, model line, and whether it asks for a password, a fingerprint or a PIN at the firmware level. A firmware password means the previous owner set one and nobody can get into the boot menu, which is a problem you want to discover now.
Once you are at the desktop, read the real specifications rather than trusting the listing. Laptop model names repeat across generations, so a listing saying the same model can hide a processor and screen several years apart.
- On Windows, open Settings, then System, then About, and read the processor, installed RAM, device name and Windows edition. Task Manager, Performance tab, gives the same numbers plus a temperature reading once a load is running.
- On macOS, the Apple menu, then About This Mac, shows the model, chip, memory and serial number. System Information adds cycle count and the battery condition.
- On Linux, the About or Settings panel, or
lscpuandfree -hin a terminal, covers the same ground.
Compare the serial number on the bottom case with the one in the system information screen. A mismatch means the machine has had its parts swapped or the case is not the one that came with it. Also confirm the storage size and type, because a seller who says 512 GB and shows you a 256 GB drive is a seller whose other numbers deserve a second look.
What this step does not prove: matching specifications say nothing about condition. A machine can report exactly the processor and memory promised and still have a dying display or a throttled chip.
3. Test the display, webcam, speakers, and microphone
Make the screen full brightness in a dim room first. A screen that is dim at maximum is often a failing backlight, and uneven brightness or dark patches along one edge point to a panel problem. A faint vertical line or a column of dead pixels is visible on a plain desktop but easy to miss on a busy one, so set a solid background colour and look closely.
On Windows, open Settings, then System, then Display, and move the brightness slider from zero to full. On macOS, open System Settings, then Displays. While a bright image is on screen, look for flicker, a dead column, a dead row, or a cluster of stuck pixels that stays one colour. Then open a video in full screen and watch the image for a second or two at different brightness levels, because many flicker faults only show at low brightness.
On a touch laptop, drag a finger across the screen and check that every touch registers, including in the corners and along the edges. A digitiser that has lost the edge of the panel is common on machines that have been dropped.
For the webcam, open the built-in camera app and confirm the image is sharp and not heavily grainy, with a dark or green tint. Play a video with clear speech and listen for rattle, buzzing, or one channel dropping out. For the microphone, record ten seconds and play it back; a thin, distant or crackling recording is a failed mic, and on a laptop the mic is usually part of the display assembly, so the repair is not cheap.
Judge severity this way: one stuck pixel in the middle of the screen is a price conversation, a dead column or a black half of the panel is a walk-away. One dead column can cost more than a replacement screen on a business line, and sellers rarely price that in.
4. Test the keyboard, trackpad, and every port
Open a browser tab with an online keyboard tester and press every key, including the function row, the number pad if there is one, and the modifier combinations you actually use. A key that needs three presses, sticks, or produces a different character is a hardware fault. Check the backlight too if the keyboard has one, since backlight failures on used laptops are common and a keyboard with a dead backlight cluster can be pricy to replace.
For the trackpad, test the click, the two-finger scroll, and the gesture for right-click or multi-finger tap. Then press down firmly around the edges and the centre. A trackpad that flexes, clicks in the wrong place, or skips while scrolling points to a swollen battery underneath, so if you also find a soft deck, treat it as a battery problem rather than a trackpad problem.
Now the ports. Plug a USB drive into every USB port and confirm it mounts each time. If the seller has a monitor or a TV, ask for a quick HDMI test and watch for a stable image with no black screen on wake. Test the headphone jack with a pair of wired earbuds and confirm sound comes from both sides. On a USB-C laptop, confirm the charger charges through the port and, if it supports video, that a USB-C to HDMI adapter produces a picture.
Test the card reader with a spare SD card if there is one, and confirm the Wi-Fi and Bluetooth radios work: connect to a network, then pair your phone over Bluetooth and send a file both ways. A Wi-Fi card that cannot see 5 GHz bands is a common downgrade on business machines that had a different card fitted.
One dead USB port on a laptop with four is a known fault you can price. Three dead ports on the same side is a board-level problem, and that is a different conversation.
5. Check storage, battery health, and charging
This is the step that decides whether the deal is good, and the one most first-time buyers skip. Get the laptop onto mains power first, since battery tools report unreliable figures on a machine that is charging.
On Windows, open Command Prompt or PowerShell and run powercfg /batteryreport, then enter. The report opens in your browser. Read Design capacity and Full charge capacity, then divide one by the other: that percentage is the battery’s health. Read Cycle count on the same page.
On macOS, click the battery icon in the menu bar, then About This Mac, then System Information, then Power. Cycle count and condition are listed there. Apple replaced the Condition field with a Service Recommended warning on newer models, so an older machine may show a plain percentage and a newer one a warning instead.
On Linux, upower -i /org/freedesktop/UPower/devices/battery_display shows the state, and smartctl can read the same cell data from a terminal.
Use these numbers as your guide. A used laptop should have at least 80 percent of its design capacity, and ideally 85 or more. Under 80 percent means you should price a replacement into the deal. A cycle count under 300 is healthy, 300 to 500 is normal for a three or four year old machine, above 500 is wear you negotiate for, and above 1000 is a cell that has had a genuinely hard life. What ruins battery health most is heat and time spent sitting at a high charge, so a gaming laptop that was mostly plugged in will often show a better cycle count than a quietly used office machine.
For storage, on Windows run a free tool such as CrystalDiskInfo, which reads the drive’s SMART data and shows a health percentage, the temperature, and the power-on hours. Power-on hours are a useful honesty check: 12,000 hours is roughly a laptop that has been awake 24 hours a day for about five years, so if the seller describes it as barely used, that number is the argument. A health percentage below 70 percent is a red flag, and any drive reporting bad sectors should end the inspection. You can also check SMART status without installing anything by running wmic diskdrive get status.
Watch the battery while it charges. A cell that charges very slowly, stops at 80 percent and never moves, or gets hot to the touch near the keyboard deck is a fault. Confirm the charge percentage climbs when the charger is connected, and note whether the charger itself is the original one or a generic replacement.
6. Stress-test performance and stability
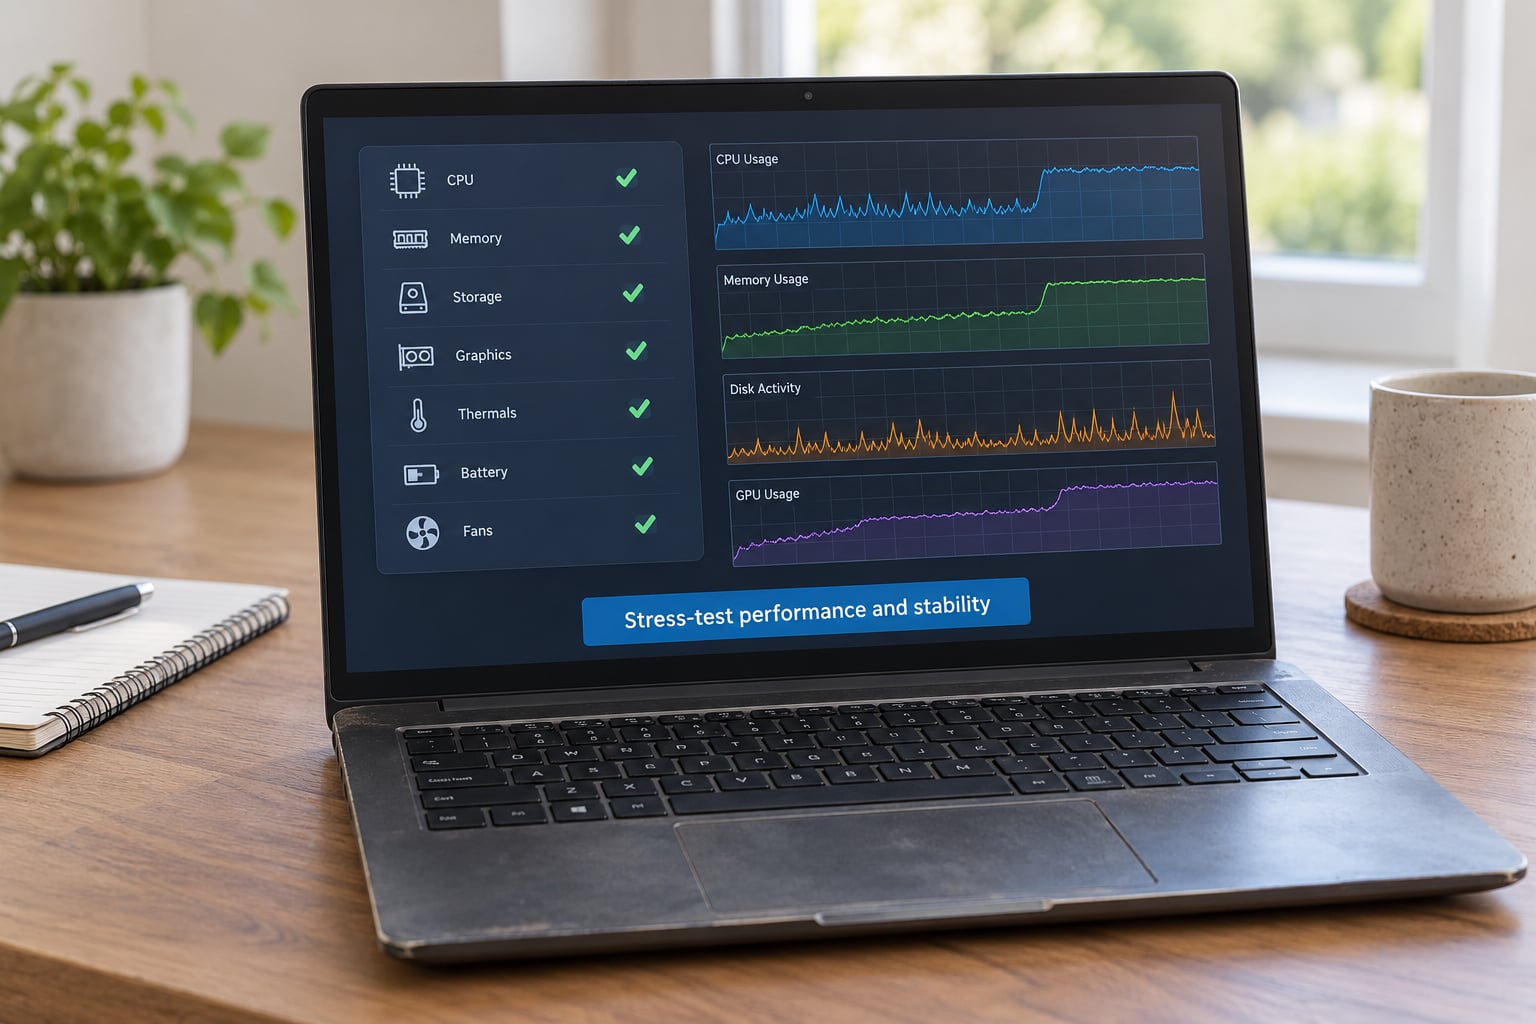
Open five or six applications you would actually use, stream a video while doing it, and copy a folder of a gigabyte or so to and from the USB drive. Then run a free hardware stress test or a built-in diagnostic for five to ten minutes while watching CPU and GPU temperatures in a monitor such as HWiNFO or the equivalent.
Run the memory check too. On Windows, search for mdsched and choose to restart and check now, or run it later and read the result in Event Viewer, under Windows Logs, System, MemoryDiagnostics-Results. A pass is reported as “No problems detected”. Any other result means faulty memory, and memory faults cause crashes that are miserable to track down later.
While the stress test runs, listen. A fan that rattles, grinds, or pulses loudly and irregularly points to a bearing that is going. Steady moderate noise is normal; a changing pitch is not. Watch for thermal throttling, where the processor clock drops far under load, which is often a blocked fan or dried thermal paste. Sustained CPU temperatures around 90 C or above on a thin laptop are a sign the cooling path needs work, and drive temperatures sitting in the mid 40s C under load point the same way.
Stop the test if the machine crashes, freezes or restarts without being asked. One freeze in ten minutes on a secondhand laptop with no memory upgrade is a real fault. A single stutter on a machine you have just loaded from a cold drive is not.
What a clean stress test does not prove: a machine that survives ten minutes can still fail a month later, and thermals are the least honest thing about a used laptop, so ask how it was used rather than only what it does now.
7. Check privacy, accounts, and recovery state
This is the step most guides skip, and it protects both sides. You should not open the seller’s documents, messages, browser history or cloud folders, and you should be equally clear that you are not doing it. Everything below works from the desktop.
Check that the operating system activation status is genuine, not cracked and not a placeholder. On Windows, Settings, then System, then Activation shows a status line, and it should name the current device as activated. On macOS, no such screen exists; instead confirm the seller has signed out of iCloud and that Find My is off, which they do from System Settings, then their name, then Find My, before they hand it over.
On a MacBook, the harder lock is Activation Lock, which survives a reset and demands the previous owner’s Apple ID. If the machine goes straight to a login screen demanding an unfamiliar Apple ID, the seller has to remove it from their account, and you should watch them do it before you pay. Business laptops have an equivalent problem: mobile device management can demand an employer’s credentials, and in the worst cases a remote wipe can be triggered later. If the machine looks like a corporate unit with a fresh corporate desktop, a device name that matches a company pattern, or a login it will not get past, skip it.
Then ask for the reset itself. The safest request is that the seller wipes it in front of you or hands it over with the factory setup screen ready. If they resist, that refusal is your answer. Verify the serial number against a receipt or order confirmation if they have one, and check that the machine is not reported stolen. Never accept a laptop that boots into someone else’s active account, because you cannot tell what is installed on it.
8. Test the final package and negotiate before payment
Before you pay, run a short do-it-again pass: cold boot once more, screen, keyboard, ports, and a final look at the battery figures. Confirm the charger and any included accessories, and get the written terms of any return or warranty in the listing or a message rather than a verbal promise. Pay with a method that gives you some protection, and keep your photos of the serial number, battery report and drive health.
Use the numbers. A clean script sounds like this: the battery is at 74 percent of design capacity with 610 cycles, which on this model means a replacement cell is part of what you are buying, and the display has a dead column, so let us take those two into account. Buyers on forums regularly negotiate this way, and sellers accept it far more often than they refuse, because a concrete number is not an insult.
And walk when you have to. A seller who refuses a proper test, who pushes for a deposit, or who will not let you see the machine signed out of their accounts has answered your question for you.
Common Mistakes
Testing only the home screen. The desktop proves almost nothing. Open applications, play video, plug in your own USB drive, and check the display against a solid colour.
Skipping the battery report because it feels technical. One command on Windows gives you the two numbers that decide the price. Take a photo of them the same minute you see them.
Ignoring a serial number mismatch. If the label on the case and the number in system information differ, the machine has been apart. Ask why before you look at anything else.
Accepting a seller-controlled account. Boot it into the seller’s session and you inherit their history, their files and their login. Insist on a clean or reset machine, or at minimum a local test account.
Failing to test every port. A seller will usually plug one USB device into one port. Bring a drive and try them all, plus the headphone jack, the card reader and the charging port.
Judging performance from one application. A light app running smoothly says nothing about a machine under load. Open several, copy real files, and run a stress test before you decide.
Paying before the paperwork. Keep the photos, get any warranty in writing, pay by a method with buyer protection where one exists, and never send a deposit to see the machine. Meet in a public place, in daylight, and take the machine with you the same day.
Frequently Asked Questions
Can I test a used laptop without buying it first?
Yes, and you should insist on it. Every seller who is serious about the sale will let you boot the machine and run the checks, even on their sofa. If a seller refuses a cold boot, a battery report or a quick stress test, that refusal is the answer to your question. The only situation where you cannot test is a courier or mail sale, which is exactly why those carry more risk and deserve a return policy.
What should I check before paying for a used laptop?
The short list is: exterior and hinges, exact model and specifications, the screen, keyboard, trackpad and every port, the battery report numbers, storage health and memory, a five-minute stress test with temperature watching, and a confirmed clean or reset state with no account locks. If you only have time for three things, do the battery report, the dead pixel check and the account check. Those catch the expensive problems fastest.
How do I know if a used laptop battery is bad?
Run the battery report and compare full charge capacity with design capacity. Below 80 percent is bad, and below 70 percent means you should treat a replacement as part of the purchase price. On Windows the command is powercfg /batteryreport; on macOS read the cycle count and condition under System Information, then Power. Physical warning signs matter too: a soft keyboard deck or a trackpad that flexes can mean the cell is swelling.
What battery health percentage is bad for a laptop?
For a used laptop, 80 percent of design capacity is the practical floor, and 85 percent or higher means you likely have real hours left in it. Under 80 percent, price a replacement cell into the deal. Under 60 percent, the battery is on its way out and most buyers should assume a replacement within a year. Note that the percentage in the tray is not a health figure, and a worn battery can still read 100 percent on a full charge.
How many charge cycles is a lot for a laptop battery?
A cycle is one full discharge and recharge, and partial charges add up fractionally. Under 300 cycles is healthy, 300 to 500 is normal for a machine three or four years old, above 500 is wear you negotiate for, and above 1000 usually means a replacement is due. Cycle count alone does not tell the whole story, because heat and time spent plugged in at a high charge wear a cell faster than the count suggests.
Is it safe to buy a used laptop that is still signed into the previous owner’s account?
Avoid it. A machine in someone else’s account means you cannot get to the settings that show activation status, and it may carry files you have no business opening. On a MacBook, Activation Lock survives a factory reset and will demand their Apple ID, so watch them remove it first. On a business laptop, an employer profile can demand corporate credentials or trigger a remote wipe after you pay. Either way, a clean or reset machine is the only version I would buy.
If you do nothing else, run the battery report, look at the screen against a solid colour, and confirm the machine is signed out and unlocked before any money moves. Those three checks catch most of what would have gone wrong, and they take about six minutes.