You can clean dust out of a laptop fan without opening it: shut the laptop down completely, unplug it, and blow short bursts of compressed air through the intake vents toward the exhaust while a soft brush lifts debris away from the openings. That exterior pass takes about 15 minutes and fixes most gradual slowdowns. Open the case only when exterior cleaning leaves the fan still loud or the machine still throttling.
The catch is that “without opening it” is the honest answer to most people’s question, but it also sets a ceiling. Air pushed through the vents pulls loose dust off the intake grille and out of the airflow path. It does not pull the felt-like mat that packs the heatsink fins two years into a laptop’s life.
I break the job into three stages, and the order matters: confirm the symptom, clean from the outside, then decide whether a deeper clean is worth opening the case for. Rushing straight to the screwdriver is how people end up with a bent ribbon cable and the same noise problem they started with.
Everything below works on Windows and Linux machines alike, and on any brand. Where a manufacturer’s service manual disagrees with the general method, the manual wins. Lenovo publishes a cleaning interval of every 3 to 6 months depending on environment, which is a useful anchor for how often any of this is due.
Table of Contents
- 1What You Need
- 2How to Clean Dust Out of a Laptop Fan: Step-by-Step
- 3Confirm the symptom and check the vents
- 4Power down, unplug, and remove peripherals
- 5Use compressed air from the outside to clean dust out of a laptop fan
- 6Brush away loose dust
- 7Open the case only if deeper cleaning is needed
- 8Clean the fan and heatsink carefully
- 9Reassemble and test cooling
- 10Common Mistakes
- 11Frequently Asked Questions
- 12Is compressed air safe for cleaning a laptop fan?
- 13Can I clean a laptop fan without opening the case?
- 14How often should I clean dust out of a laptop?
- 15What if my laptop fan is still noisy after cleaning?
- 16Do I need to replace the thermal paste when cleaning the fan?
- 17Conclusion
What You Need
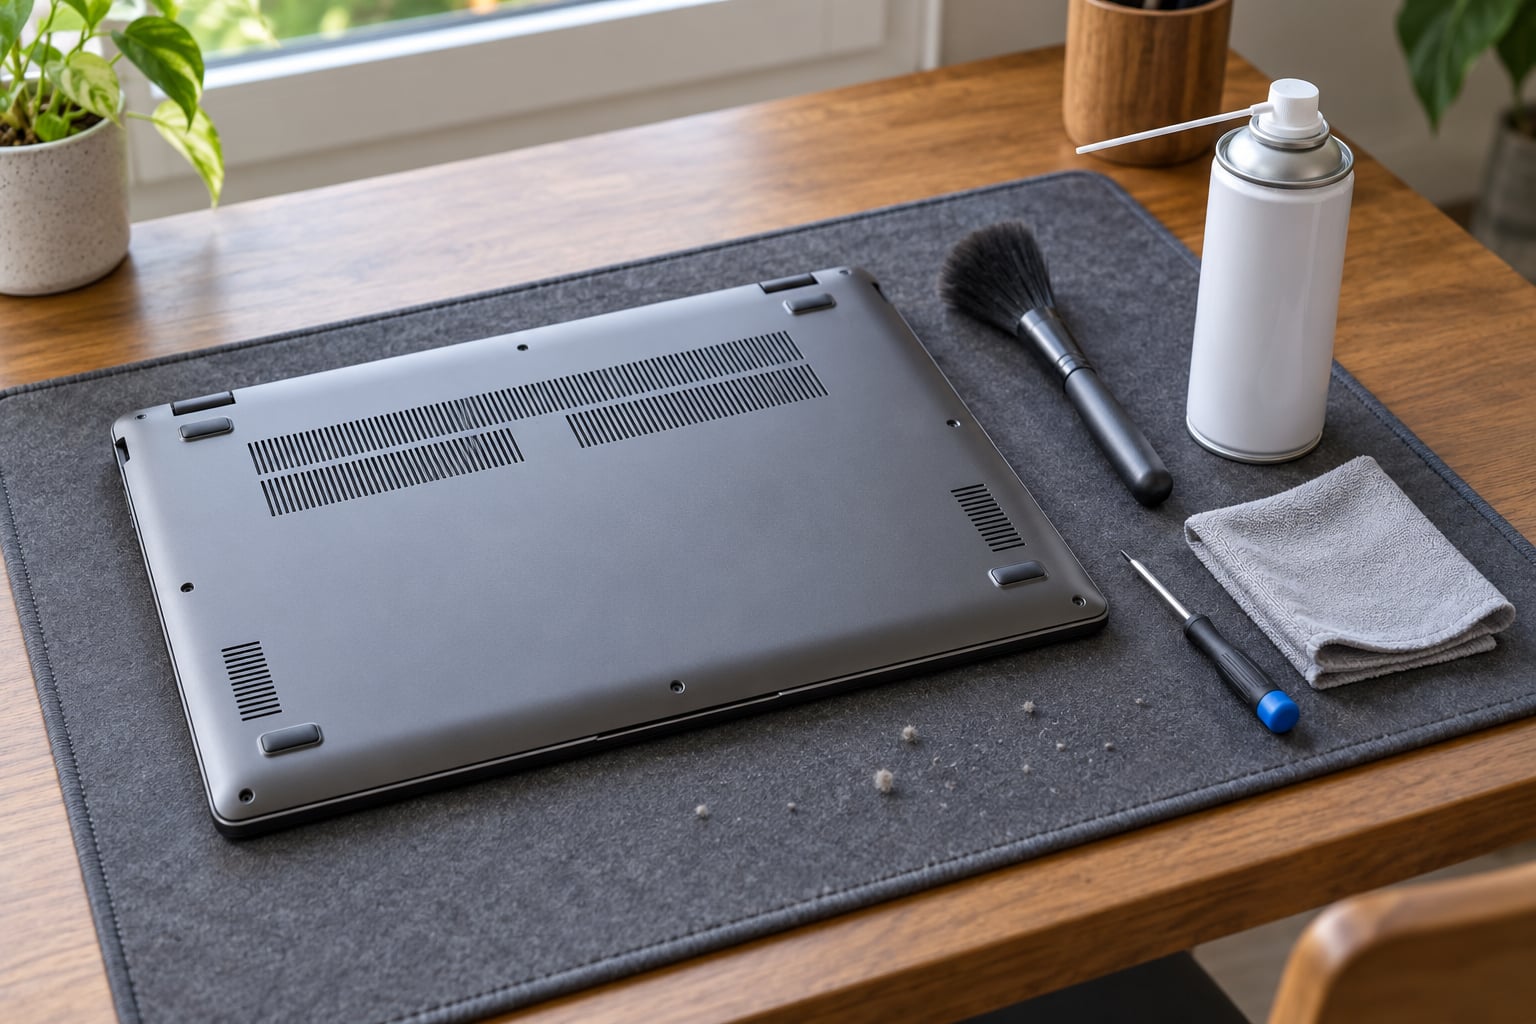
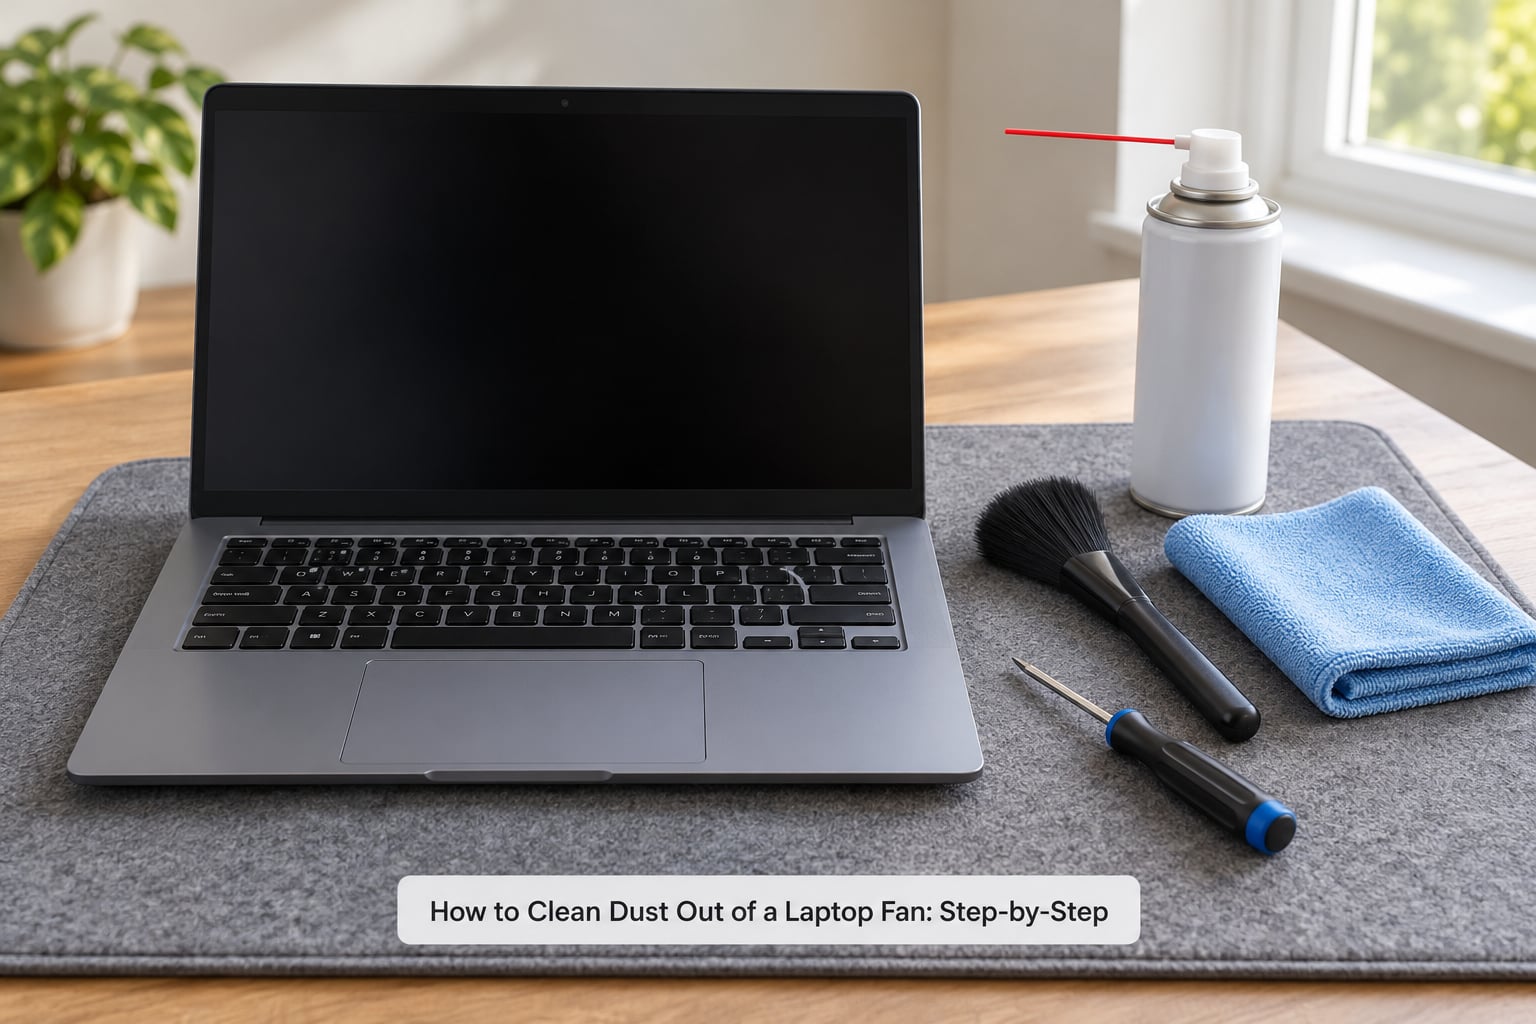
For the exterior pass, the kit is small and most people already own three of the four items:
- The laptop, shut down and unplugged. Sleep is not enough. A sleeping machine can wake on a moving airflow.
- Electronics-safe compressed air. Short bursts, can held upright.
- A soft, clean brush. A clean paintbrush or an ESD-safe detailing brush. Bristles need to be soft enough not to scratch plastic.
- A microfiber cloth for wiping grit off the vent grille without pushing it inward.
- A flashlight so you can actually see into the intake path.
Only if you move past the exterior pass do you need the rest:
- A plastic pry tool or spudger for the bottom panel. Metal screwdrivers scar the chassis.
- A Phillips #0 and a Torx T5 for most modern laptops. Some models hide screws under the rubber feet, so keep both heads handy.
- A plastic spudger plus tweezers for ribbon cables.
- A magnetic screw tray, or a piece of tape, so you never lose a screw down a sofa cushion.
- An anti-static wrist strap if you work on carpets or in dry winter air.
A wooden toothpick helps with dust packed into fin gaps, and a hand-powered bulb blower is a decent stand-in for an air can when you only want to shift loose dust. Skip both cotton swabs and any liquid.
How to Clean Dust Out of a Laptop Fan: Step-by-Step
Confirm the symptom and check the vents
Dust is not the only reason a laptop gets loud and hot. Before you clean anything, note what you actually hear and feel, because a rattling bearing sounds nothing like airflow moving over a clogged fin stack.
- A fan that got gradually louder over a year, with a hot chassis and slow performance under load, is almost always dust.
- Throttling shows up as dropped frame rates in games or a browser that feels heavy while idle, even when the fan is screaming.
- Random shutdowns or freezes at boot are the more worrying version and often trace back to the same blocked airflow.
- A rattling or whistling that does not change with load points more toward a bearing, which cleaning will not fix.
Now find the vents. Most laptops draw air in along the bottom edge or the underside and push it out through a slotted exhaust near the rear hinge, though plenty of models also exhaust through the back ports. A flashlight and a dark room help. Blocked vents are usually visible: a grey felt-like mat instead of clean black plastic.
Power down, unplug, and remove peripherals
Shut the operating system down properly rather than closing the lid. Unplug the charger, pull the charger tip out of the port itself, and disconnect USB, HDMI, and docking cables. Disconnecting the charger rather than just the wall is the part people skip.
Hold the power button for ten to fifteen seconds to drain residual charge. Leave the lid open for a few minutes so any warmth dissipates, then work on a hard, non-carpeted surface with good light.
If you go on to open the case, this is also the point where you disconnect the internal battery connector before touching anything else. It is the single step that most reduces the risk of a short.
Use compressed air from the outside to clean dust out of a laptop fan
This is the method most people come here for, and it is genuinely enough for a routine clean. Aim the can at the intake vents from a few inches away, hold it upright, and fire one-second bursts with pauses between them.
Work toward the exhaust, not deeper into the case. Pushing air inward from the bottom simply relocates dust into a more enclosed corner, which is the most common self-inflicted mistake on this job.
If you can see the fan through a vent without reaching in, hold the blades still with a fingertip before you blow. A fan spun up by compressed air with no load on its bearings can do real damage, and the noise it makes while free-spinning is a good reminder that it is not designed to overspeed.
Do not push the nozzle deep into the chassis. You gain nothing and you risk jamming the can against a board.
Brush away loose dust
Air loosens dust; the brush removes it. Sweep the soft brush across the intake grille and along the vent openings, moving grit away from the machine rather than into it. A few gentle passes beat one aggressive scrub, which drives dust through the grille and packs it somewhere you cannot see.
Brush lint bunnies off the exterior edges and the hinge end of the exhaust too. Wipe the grille with the microfiber cloth when you are done, then give it another two or three air bursts to carry out what the brush released.
At this point, close the lid, boot the machine, and watch the fan under load. If idle temperatures sit noticeably lower and the noise drops, you are done. If nothing changed, the dust is inside, and the next section is where the decision happens.
Open the case only if deeper cleaning is needed
Opening a laptop is justified when exterior cleaning changed nothing, or when the vents are visibly packed and you want the job done properly. It is also when you should stop and ask whether you want a technician instead.
Before you remove a single screw, search your exact model plus “disassembly” and read the manufacturer service manual if one exists. Lenovo’s maintenance documentation and Dell’s service manuals both flag cases where only an authorised technician should open the machine. Some Dell and Alienware models use captive heatsink screws that engage a plate over the thermal module, and forcing them is how a paste job turns into a board replacement.
Soften clips with a plastic spudger rather than metal. Two traps catch nearly everyone: a screw hidden under a rubber foot, and a ribbon cable that must be released from its connector before the panel can lift.
Warranty is worth checking before you start too. Opening the case may affect coverage depending on your region and model, and a repair shop can quote the same work with that question already settled.
Clean the fan and heatsink carefully
Hold the fan hub or blades still with a fingertip for the entire cleaning, not just while air hits it. That is the one habit that separates a five-minute job from a new fan.
Brush dust off the blades gently, moving it toward the outside edge, then blow it clear with short bursts from the outside of the chassis. Treat the heatsink fin stack with the same care: brush outward along the fins with a soft brush, and use a wooden toothpick to tease out dust packed into the gaps.
If the fins carry a sticky film rather than loose dust, a barely damp lint-free cloth with a small amount of high-strength isopropyl alcohol will lift it. Let everything dry fully before power returns. Alcohol wipes should stay away from any surface the manufacturer marks with a grease warning, such as the Element 31 material used in some keyboards, because the alcohol can leave it conductive and risk a short.
Never use liquid near a spinning fan or a powered board, and keep screws, brushes, and dust out of every connector. Keep the can upright and keep distance. Dust packed into thin fins lifts with airflow, not with scraping force.
Reassemble and test cooling
Before the panel goes back on, confirm every cable is reconnected, every screw is seated, and nothing is pinched under the cover. Check that the fan spins freely when you nudge it with a finger and that it does not scrape or wobble.
Power up and watch temperatures rather than guessing. Tools such as HWMonitor, Core Temp, or MSI Afterburner show idle and load temperatures on Windows, and a rising idle temperature over a week is the earliest warning that dust has built up again. Many owners only notice the problem when their gaming frame rates start dropping.
Stop and reassess if the fan stays loud after a proper clean. A rattling or whistling noise that survives cleaning is a bearing, and the fix is a replacement fan rather than another round of air.
Common Mistakes
Almost every repair thread about this topic comes back to the same handful of mistakes.
Letting the fan free-spin. Compressed air can push a fan past the speed its bearings were designed for. Hold the blades still, every time.
Spraying continuously instead of bursting. A steady jet propels liquid propellant past the nozzle. One-second bursts with pauses let the contents vaporise fully; keep the can upright too, because a tilted can sprays liquid and you will be cleaning a sticky board.
Using WD-40 on a spinning fan. It is a lubricant and a solvent. It smears, attracts dust, and can creep onto surrounding parts. If a fan needs lubrication the answer is a replacement fan.
Scraping fins with cotton swabs. A swab snags the first dull fin and folds it. Fins that are bent no longer move air. Use a soft brush and a wooden toothpick, then blow it clear.
Reaching for a household vacuum. Shop vacs and handheld vacs generate static that can kill a board, and the nozzle can grab a fan blade. Hold a vacuum at the intake vent only if you accept partial results at some risk; air from the exhaust outward is the safer direction to experiment with.
Blowing dust further in. Air aimed inward from the bottom compacts dust into the chassis. Always work toward the exhaust.
Keeping on using a laptop that is overheating. Repeated shutdowns, a too-hot chassis or the smell of hot electronics are not maintenance tasks. Stop using it and get it looked at.
Frequently Asked Questions
Is compressed air safe for cleaning a laptop fan?
Yes, short bursts of electronics-safe compressed air are the standard method. Hold the can upright so liquid propellant does not spray, work one second at a time with pauses, and hold the fan blades still with a fingertip if you can reach them. Keep the nozzle outside the chassis, and always blow toward the exhaust vent so dust leaves the machine.
Can I clean a laptop fan without opening the case?
Usually yes. Shut the laptop down, unplug the charger and accessories, then blow short bursts through the intake vents toward the exhaust while a soft brush clears the grille. That removes dust from the airflow path in about 15 minutes. It will not reach a mat of dust packed into the heatsink fins, so if temps stay high you will need the case open.
How often should I clean dust out of a laptop?
Every 6 to 12 months for a normal desk, and every 3 to 6 months for a gaming laptop, a machine in a dusty room, or one that lives near pets. Lenovo’s maintenance documentation cites a 3 to 6 month interval depending on environment. Clean earlier if you start hearing the fan during idle, or if the intake grille looks grey rather than black.
What if my laptop fan is still noisy after cleaning?
A rattling, grinding or whistling noise that survives a proper clean is almost always a failing fan bearing rather than dust. Holding the blades still lets you feel a rough or stiff bearing, which a dust mat never causes. Stop using the machine if it is also hot or shutting down, and budget for a replacement fan or a technician.
Do I need to replace the thermal paste when cleaning the fan?
Usually not. Dust blocks airflow, while dried thermal paste blocks heat transfer, and they are separate problems. If temperatures drop back to normal after a dust clean, the paste is fine. Repaste only if the machine is still throttling after cleaning, or if the paste was disturbed or over four years old. Some models use factory-applied grease, so check the manual first.
Conclusion
Start outside the case. Shut the laptop down, unplug the charger and peripherals, hold the power button to discharge it, then blow short bursts of compressed air through the intake vents toward the exhaust and brush the grille clean. Fifteen minutes of that fixes most slowdowns and most of the noise.
Open the case only when exterior cleaning changes nothing, and hold the fan blades still the moment you do. If the noise is a rattle or a whistle rather than roar, budget for a replacement fan instead, and if your model carries an authorised-technician warning, stop at the screwdriver and call someone.