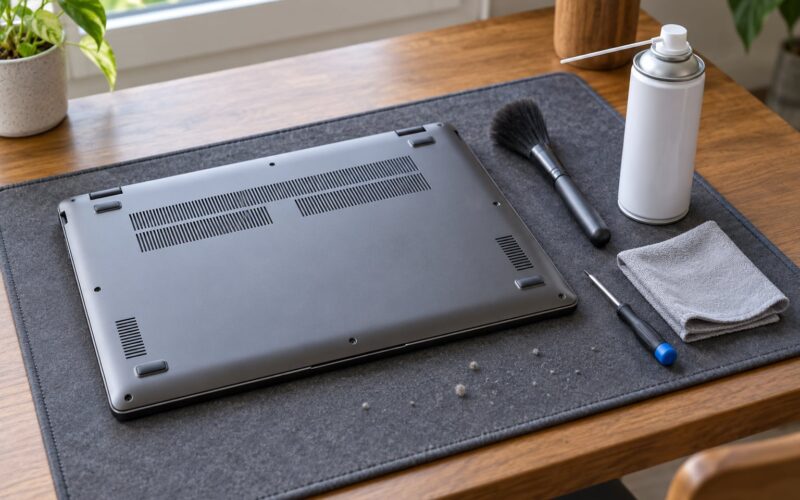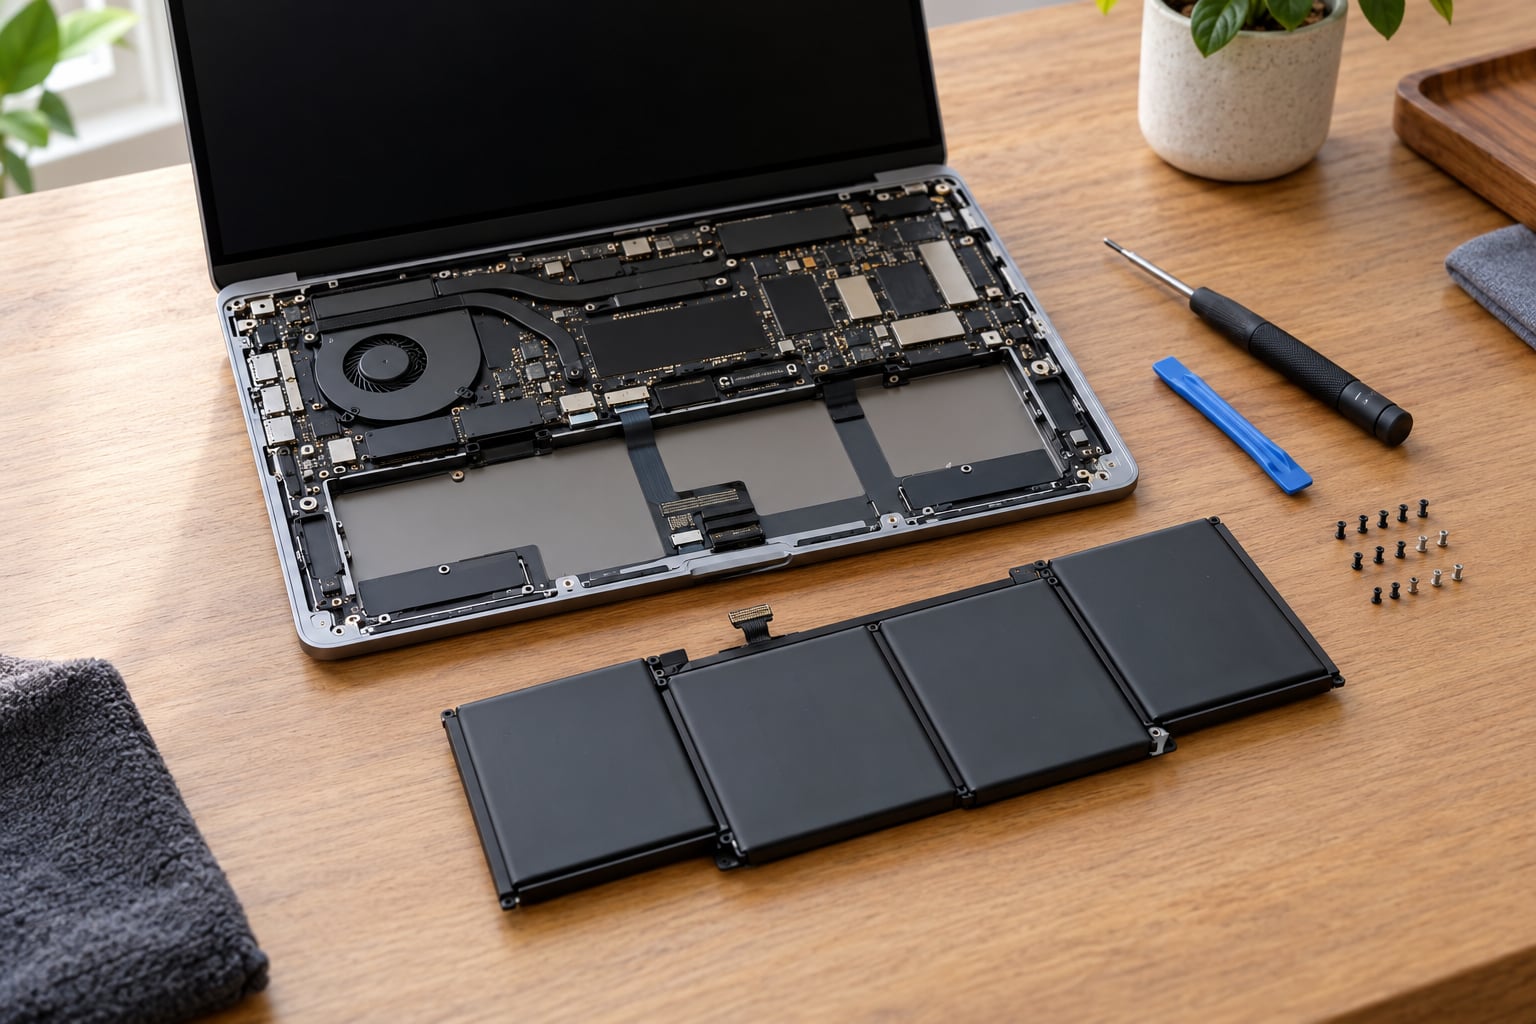
Replacing a laptop battery is one of the cleanest repairs you can do at home: unplug the old pack from the motherboard, seat a new one, put the cover back on. Most screw-mounted models take 20 to 40 minutes. The catch is preparation — if you learn exactly how to replace a laptop battery safely before you touch a screw, you avoid the two mistakes that cause real damage, a loose connector or a bent cell. This guide, updated for 2026, walks through the process for any model with a removable or screw-mounted internal battery.
A few laptops are simply off the table for a home repair. MacBooks hold the battery down with adhesive strips and, on recent models, stretch-release tabs that have to be pulled with solvent, and pulling them wrong tears the cell. If yours is glued down, or the pack is swollen, take it to an authorized service provider rather than improvising.
Table of Contents
- 1What You Need
- 2Step-by-Step Laptop Battery Replacement
- 31. Confirm the Battery Is Replaceable and Compatible
- 42. Shut Down, Unplug, and Prepare the Laptop
- 53. Open the Case Carefully
- 64. Disconnect the Old Battery Safely
- 75. Install and Secure the Replacement Battery
- 86. Reconnect Power and Test the Battery
- 9Common Mistakes
- 10Frequently Asked Questions
- 11Can I replace a laptop battery myself?
- 12How do I know which replacement battery my laptop needs?
- 13What should I do if the laptop battery is swollen?
- 14Should I shut down or put my laptop to sleep before replacing the battery?
- 15How do I know if the new battery is working correctly?
- 16Do laptop batteries need to be calibrated after replacement?
What You Need
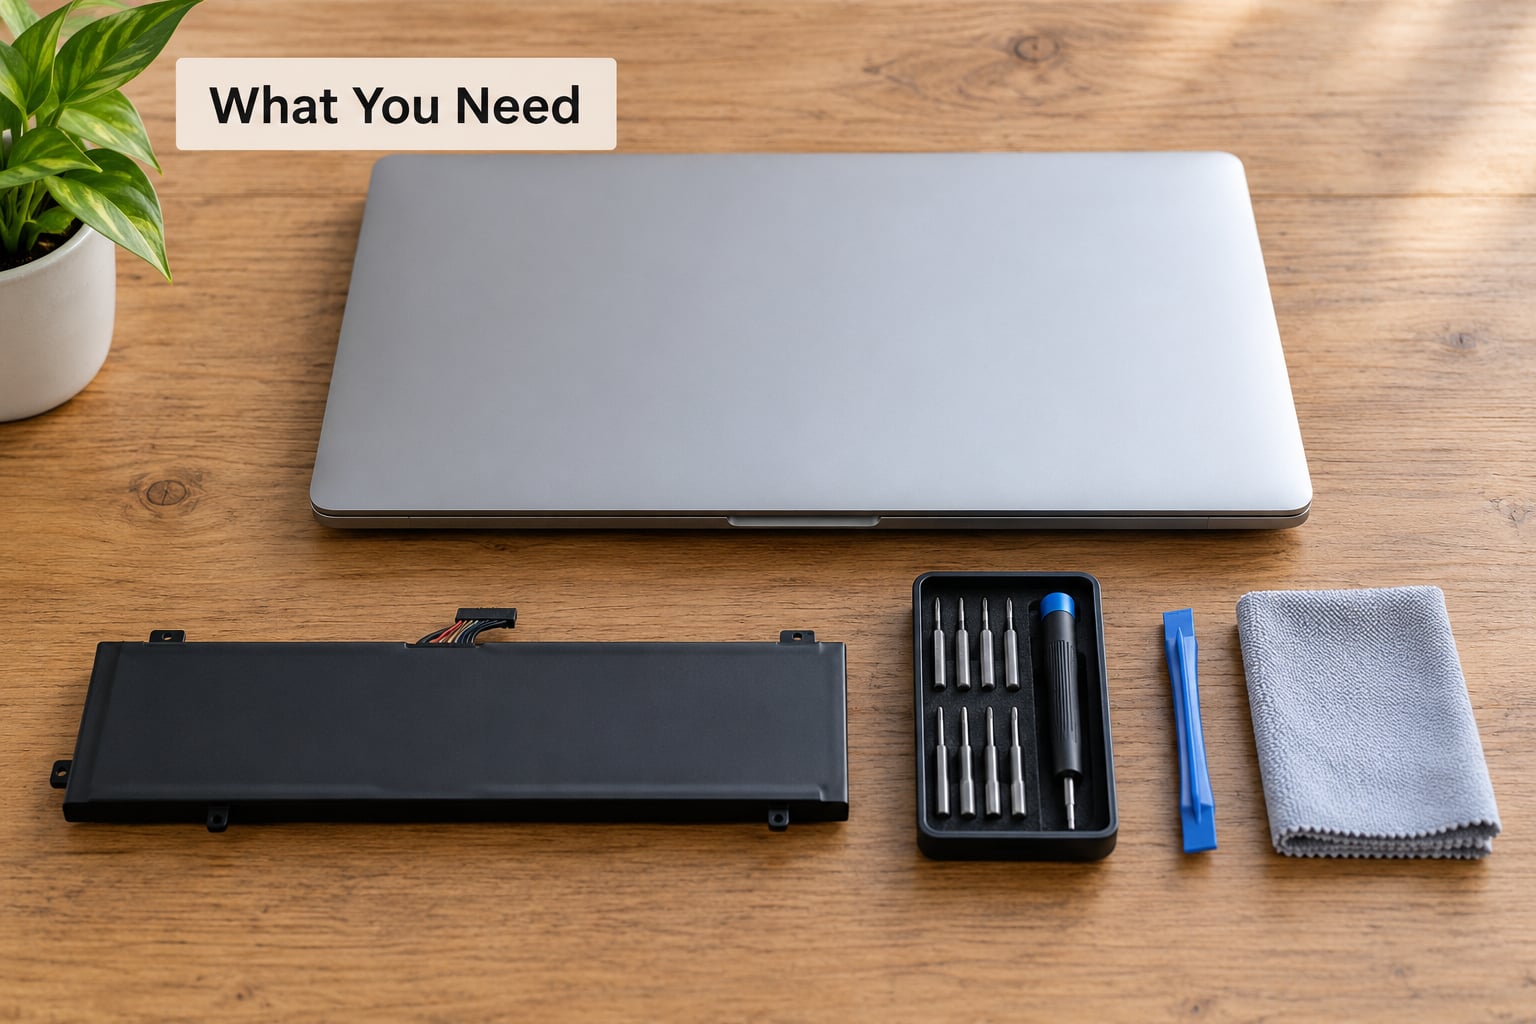
Gather everything before you start. Half-finished jobs happen when a screw goes missing mid-way through, and laptop screws are tiny enough to disappear into a carpet fiber.
- The correct replacement battery. Match it by part number, voltage and watt-hour rating, not by shape.
- The service manual for your exact model, from the manufacturer or a repair guide site such as iFixit. The manual tells you which screws come out and in what order.
- A precision screwdriver set. Phillips #0 covers most business laptops; Torx T5 is common on Dell and Lenovo; some models use pentalobe or tri-point drivers.
- A plastic pry tool or spudger for lifting the bottom cover. Never substitute a metal screwdriver for this step.
- A small container or a strip of tape to hold screws grouped by size.
- A dry, nonconductive surface. A wooden table works. Carpet and finished floors generate static and swallow screws.
Optional but useful: a multimeter to confirm the new pack has voltage before you install it, and an anti-static wrist strap clipped to a bare metal ground if you work in a dry room in winter.
Step-by-Step Laptop Battery Replacement
1. Confirm the Battery Is Replaceable and Compatible
Yes, you can usually do this yourself if the battery is screw-mounted, but confirm compatibility before buying anything. Find the full model number printed on the label underneath the laptop or in your system’s settings, then look up that model’s service manual and battery part number.
Compare three things between the original and the replacement: the part number, the voltage, and the watt-hour rating. A pack with a slightly different voltage is not a match even if the connector fits, and marketplace listings that skip the part number are the ones to avoid. If you cannot find the manual, an authorized service center can confirm the part and quote the job in a few minutes.
2. Shut Down, Unplug, and Prepare the Laptop
Shut down fully. Sleep is not enough, because a sleeping machine keeps power on the board and the battery connector stays live.
Save your work, unplug the charger, and remove every peripheral — USB drives, SD cards, docking stations, headphones. Then hold the power button for 15 to 20 seconds to drain residual charge. Flip the laptop face down on your nonconductive surface and leave it there for a minute.
3. Open the Case Carefully
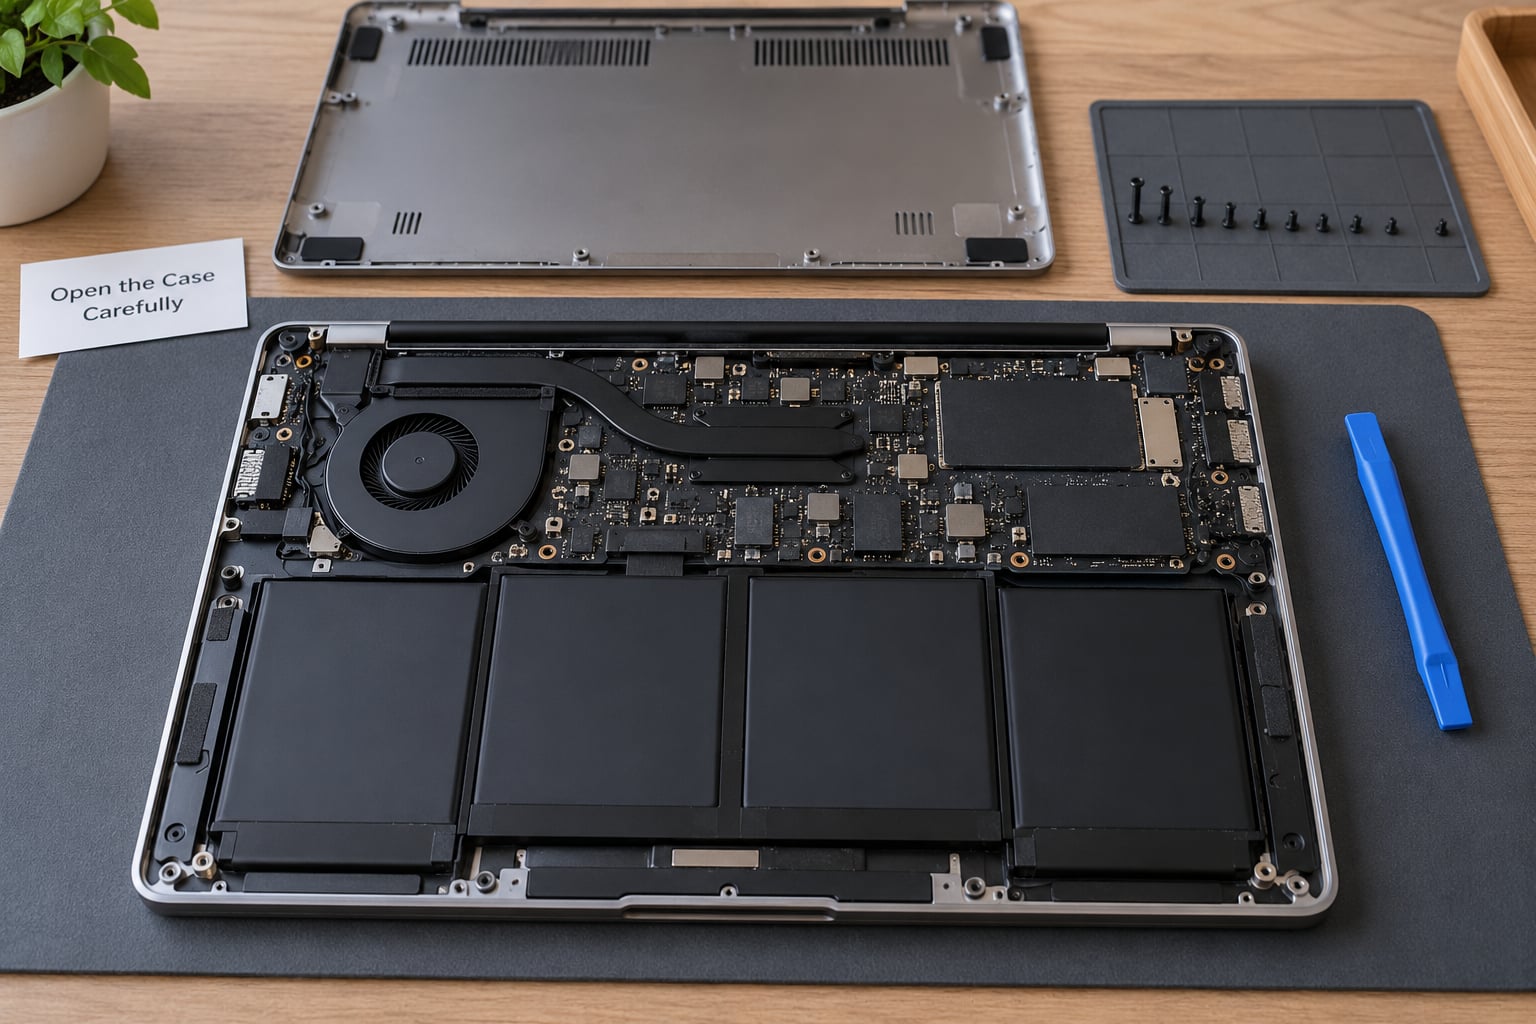
Open the case by following the manual exactly. Remove only the screws it lists, and sort them into groups as they come out, because screw lengths often differ between positions and a long screw in a short hole bottoms out on the board.
Several models hide screws under rubber feet or a sticker. Pry the bottom cover up from a corner with the plastic tool, working around the edge in small steps to avoid cracking it. Never lever against a ribbon cable or a connector, and never use a metal tool here.
4. Disconnect the Old Battery Safely
Always disconnect the charger side first, then the battery cable from the motherboard, so the board is not back-feeding through the charge circuit.
Grip the connector by its plastic housing and lift it straight up, straight off the socket, without rocking it or tugging the wires. If it resists, stop and look for a retention latch or pull tab rather than forcing it. Keep metal tools away from the exposed terminals, and never pry against the cell itself.
If the pack is swollen, punctured, hot, or smells sweet and chemical, stop the whole procedure. Do not charge it, do not screw it down, and do not press the lid on it. Put the laptop somewhere non-flammable and get it serviced.
5. Install and Secure the Replacement Battery
Lower the new pack into the same channel as the old one, lining up the alignment tabs and letting it sit flat under its own weight. Do not force it past a tab that resists; something is out of position.
Press the battery connector firmly into its socket until it seats, then route the cable along its original path so it cannot pinch against the cover. Refit the bottom cover, starting at the corner opposite the opening point, and tighten screws in a criss-cross pattern until snug. Over-tightening strips the plastic threads, and a screw that is too long can reach the board.
6. Reconnect Power and Test the Battery
With the cover back on, plug in the charger first, then press the power button. A cold laptop may take a few seconds to respond the first time.
Check that the battery icon appears, that the charge level climbs while the charger is connected, and that no battery or power-management error is reported on screen. Then open a battery report on Windows to compare design capacity against full charge capacity. If the machine powers on only with the charger attached, or the percentage jumps around wildly, shut it down and go back to the connector before assuming the new pack is faulty.
Common Mistakes
Guessing the battery model from a photo. Similar-looking packs differ in voltage, connector pin count and watt-hours. Match the part number instead.
Using sleep instead of a full shutdown. The board stays powered and the connector stays live, which is how people short a battery cable by accident. Hold the power button afterward to clear residual charge.
Prying with metal. A flat-head screwdriver slipped under the cover will gouge the cell or the board. Use plastic, and go slowly around the seam.
Disconnecting in the wrong order. Charger first, battery second. Reversing it can put voltage onto a board that thinks it is shut down.
Mixing up screws. Sort them as they come out and refit each one to its original hole. Long screws in short posts cause cracked boards and dead startups.
Ignoring a swollen pack. A trackpad that no longer sits flush, a case that will not close, or a battery that rocks under pressure all point to swelling. Stop using the machine until the pack is replaced safely.
Over-tightening. Laptop screws sit in plastic bosses. Snug is enough, and stripping a head turns a ten-minute job into a two-hour one.
Frequently Asked Questions
Can I replace a laptop battery myself?
Yes, on most laptops with a screw-mounted internal battery, if you follow the service manual and can handle a precision screwdriver. You need the exact part number, a matching voltage and watt-hour rating, and about 20 to 40 minutes. Adhesive-held batteries, sealed chassis and swollen packs belong in a service center, since a mistake there damages the cell.
How do I know which replacement battery my laptop needs?
Find the model number on the bottom label or in your system settings, then read the battery part number from the service manual for that exact model. Compare part number, voltage and watt-hour rating between the original and the replacement. Shape and connector fit are useful checks, but they do not confirm electrical compatibility.
What should I do if the laptop battery is swollen?
Stop charging it and stop using the machine on battery. Do not press the lid closed, do not puncture or bend the cell, and do not put it in household trash or ship it without proper packaging. Keep the laptop on a non-flammable surface away from heat and have the pack replaced by a technician or an e-waste recycler that handles lithium batteries.
Should I shut down or put my laptop to sleep before replacing the battery?
Shut down fully. Sleep keeps the motherboard powered and the battery connector live, so unplugging it in that state can short the board. Save your work, choose Shut down rather than Sleep or Hibernate, unplug the charger, remove peripherals, then hold the power button for 15 to 20 seconds to drain residual charge before opening the case.
How do I know if the new battery is working correctly?
Confirm the battery icon appears, the charge level climbs with the charger connected, and no power-management warning is shown. On Windows, run powercfg /batteryreport in Command Prompt and compare design capacity with full charge capacity; a healthy pack sits close to its design figure. Watch for a percentage that jumps backward or a machine that only runs with the charger.
Do laptop batteries need to be calibrated after replacement?
A full calibration cycle is worth doing once. Charge to 100 percent, keep it plugged in for about 30 minutes, use it until it shuts down on its own, then recharge without interruption. It takes a few hours and does not change the chemistry, but it helps the operating system read the new pack’s charge curve accurately for the first few weeks.
Start by writing down your model number and pulling up the service manual for it — that single step rules out most of the trouble that follows. Then work through the six steps in order, sorting screws as you go and never reaching for a metal tool near the cell. If the pack is swollen or glued down, stop there and hand it to a technician.