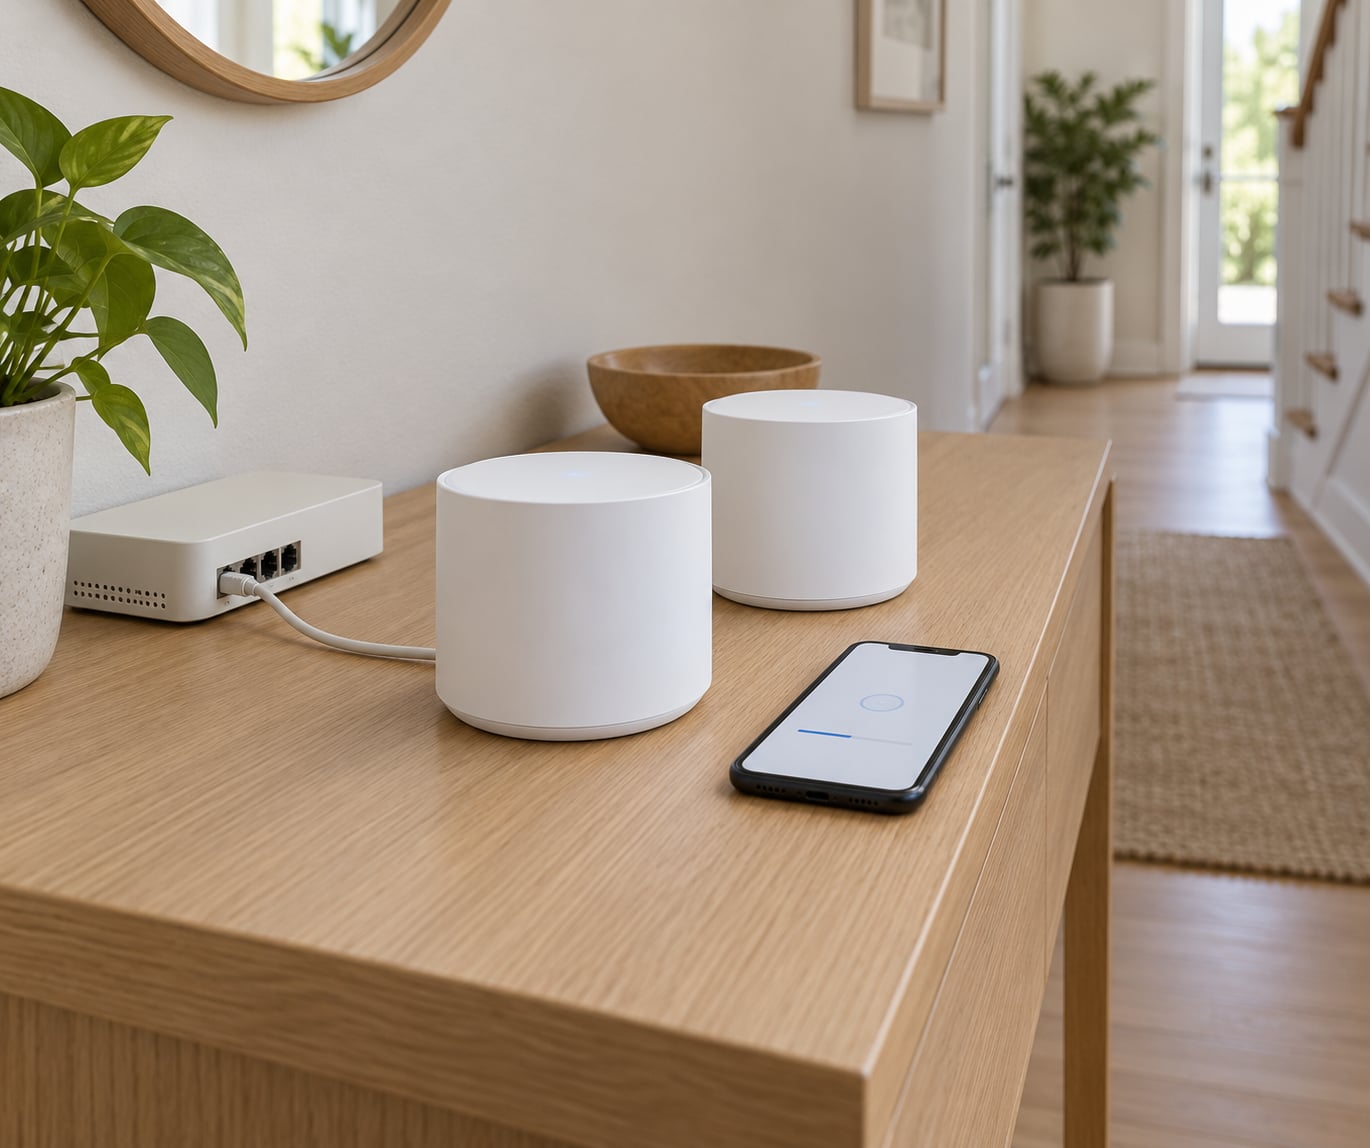
A mesh WiFi system gives you one network name and password across several small routers, and your phone or laptop quietly moves to whichever unit is closest. Used well, it kills dead zones in basements, upstairs bedrooms and garages. Used badly, it can be slower than the single router it replaced, and almost every bad result comes down to placement, backhaul and one leftover old network still broadcasting.
This guide walks through the whole process: what you need before starting, the setup steps in the order the app expects them, where each node belongs, how to choose between wireless and wired backhaul, which wireless settings actually matter, and what to check when a room stays slow. Most people finish the install in 30 to 45 minutes and spend another 30 adjusting node positions afterward, which is where the real gains are.
Table of Contents
- 1What You Need
- 2Step-by-Step: How to Use a Mesh WiFi System Effectively
- 3How Do I Set Up a Mesh WiFi System for Best Coverage?
- 4Where Should I Place Mesh WiFi Nodes?
- 5Should I Use Wireless or Wired Backhaul?
- 6How Do I Choose the Best WiFi Settings?
- 7How Do I Test and Improve Mesh WiFi Performance?
- 8Common Mistakes
- 9Frequently Asked Questions
- 10Do mesh WiFi nodes need to be placed near each other?
- 11Should I use a separate 2.4 GHz and 5 GHz WiFi name?
- 12Is Ethernet backhaul better than wireless backhaul for mesh WiFi?
- 13Can I use a mesh system with my old router?
- 14Why is my mesh WiFi slow in one room?
- 15How often should I update my mesh WiFi firmware?
- 16Conclusion
What You Need
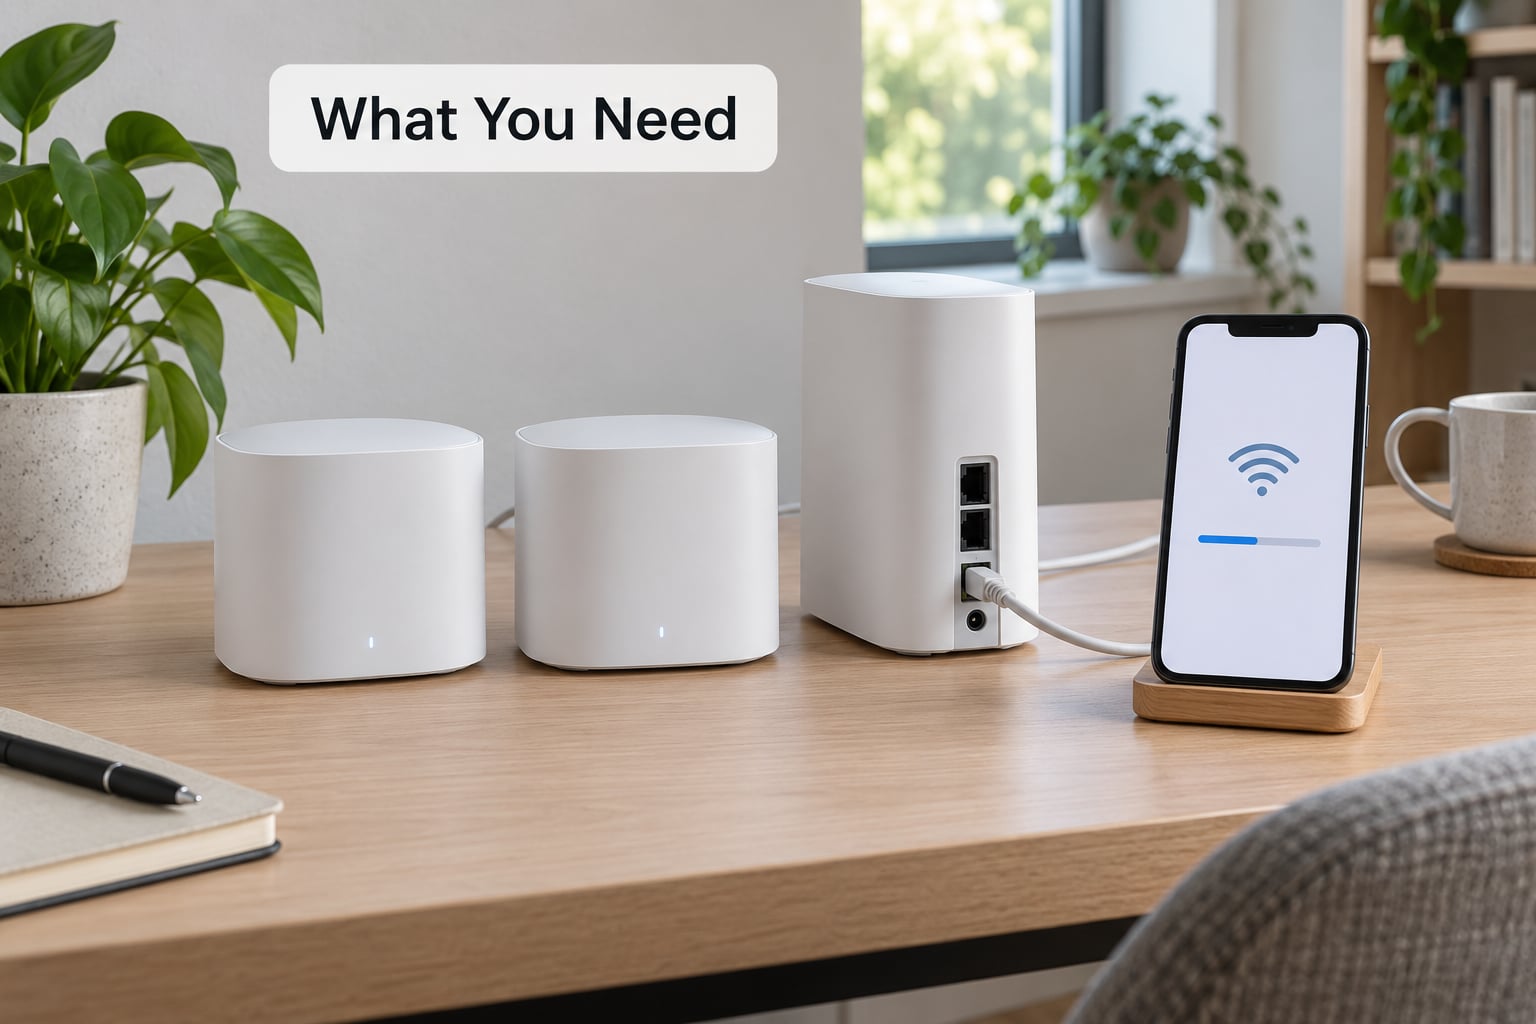
You need the nodes themselves, one phone, and access to whatever brings your internet into the house. That last part is the piece people overlook: a cable or coax line from your provider terminates at a modem, an optical network terminal for fiber, or a combined gateway box, and the main node has to sit right next to it.
- The nodes. Most kits are sold as a two-pack or three-pack. Two is enough for a small single-floor place with one dead room; three is the usual starting point for a two-story house.
- A smartphone. The setup process runs through the manufacturer’s app on iOS or Android, so the phone does the work of the computer. A laptop is useful later for speed tests.
- The manufacturer’s current app. Search the app store by the exact brand and model of your system, and check the review date. Old app versions are a common cause of a setup that hangs on the loading screen.
- Your internet source details. Either the SSID and password printed on your ISP gateway, or the coaxial port details if the app asks you to scan a label.
- An Ethernet cable per node you plan to hardwire. That is one cable from the gateway to the main node, plus one from an Ethernet switch to each satellite.
Before you open a box, take two minutes and walk the house with the phone. Stand in the rooms that struggle today and note which ones fail: a far bedroom, a basement rec room, a garage, the back of a long hallway. That list is your placement plan, and it is far more useful than the floor plan.
One more thing worth checking now: if your provider’s gateway is broadcasting a WiFi network of its own, that gateway may be broadcasting a second one after setup, and devices will hold onto the weak signal. Note the gateway name now so you can turn it off later.
Step-by-Step: How to Use a Mesh WiFi System Effectively
How Do I Set Up a Mesh WiFi System for Best Coverage?
Work in this order and the install takes about half an hour. The order matters: each step assumes the one before it is finished.
- Download the app and create the account. Install the brand’s current app, sign in, and pick a network name and password you can type from memory. Avoid the default name; if you ever need to tell two systems apart, the default does not help. Aim for a password of 16 characters or more, since this is the front door to everything in your house.
- Disconnect your old router or gateway WiFi. Do this before you power up the main node, not after. You cannot have two networks named similarly on the same floor without confusing your devices.
- Power the main node and connect it to the internet source. Plug the gateway or modem into the main node’s internet port, not a LAN port. Most apps look for this automatically and will sit on a searching screen for 60 to 90 seconds while they hand off through DHCP.
- Choose a single network name for all nodes. Merge the 2.4 GHz and 5 GHz bands under one name. Splitting them creates a separate network for each band, and some older devices silently hop onto the slower one.
- Pair the satellite nodes one at a time. Plug in the first node, wait for the app to confirm it, then plug in the second. Pairing three at once produces three simultaneous handshakes and usually one failure you have to redo.
- Run the firmware update. Nodes often ship on an older build. Update before you place them, since a restart cycle mid-pairing is a common cause of a node dropping offline later.
- Place each node where you need coverage, not where the cable reaches. The main node goes next to the gateway. Satellites go in the middle of the floor, halfway toward the weak room.
- Turn the old router’s WiFi off, or unplug it entirely. If you still need its Ethernet ports, run the internet line through the old box into the main node’s WAN port as a passthrough. Leaving that old radio on creates a fourth network your phone will fight to hold.
- Test before you declare victory. Run a speed test near the main node and again in the worst room. Record both numbers so you can tell later whether a change helped.
When the app finishes, it usually offers a quick speed check. Read the upload number as carefully as the download number, because video calls and cloud backups fail on upload long before anyone notices a slow download.
Where Should I Place Mesh WiFi Nodes?
Place the main node as close to the center of the house as your cable allows, and put satellites in open, elevated, central spots. Not in a closet, not on top of the router, not in the farthest room you were hoping to cover. A node sitting in the dead zone it was bought to fix is the single most common deployment error.
Aim for two things at once: enough overlap that a device walking from one room to the next stays on a strong signal, and enough distance that a node does not become a bottleneck for the next one. Practically, that means about 30 to 50 feet between nodes in open space, with a wall or two between them if the layout allows.
Here is the coverage rule of thumb. Treat it as a starting point, not a promise, since wall material matters more than square footage.
| Home size | Layout | Nodes to start with | Where they go |
|---|---|---|---|
| Under 1,000 sq ft | Single floor, one dead room | 1 to 2 | Main near the gateway, one in the weak room |
| 1,000 to 1,800 sq ft | Single floor | 2 | Main central, second in the far half |
| 1,500 to 2,500 sq ft | Two floors | 3 | Main near the gateway, one per floor near the stairwell |
| 2,000 to 3,500 sq ft | Split level or finished basement | 3 to 4 | Add one node in the basement, not one on the top floor |
| Over 3,000 sq ft | Three floors, garage, or long wings | 4 or more | One node per occupied zone; wire them if you can |
Some places reliably cause trouble: inside a closed cabinet, on top of the modem or a printer, behind a TV, in an attic full of foil-backed insulation, and next to a microwave or a large metal appliance. Mirrors and large windows reflect radio energy too, and a node facing a wall loses most of what it broadcasts.
Nodes do go through walls. Drywall barely matters, but brick, concrete, foil-backed insulation and a floor plan with more than two layers between floors will each cut your usable range substantially. When a node has to cross that, move it closer rather than turning its power up, since most apps cap transmit power anyway.
Before you finish, walk the house holding the app open on whichever node-strength view it provides. Every room should show a strong number before you leave the node where it is. Two nodes reading full bars on the app while your phone still stutters means the problem is above the mesh layer.
Should I Use Wireless or Wired Backhaul?
Use Ethernet wherever you can. Wireless backhaul is the reason many people find mesh slower than the router they replaced, because every byte travels the air twice, once from the main node to the satellite and again from the satellite to your device.
| Backhaul type | Realistic throughput | Effort | Best for |
|---|---|---|---|
| Wireless (tri-band dedicated radio) | Often 40 to 60 percent of link speed | None, just plug in | Renters, finished rooms with no cable runs |
| Ethernet | Consistent, and holds up under load | Running cable, or an in-wall path | Homes with any in-wall or basement wiring |
| Powerline adapters | Varies wildly with your home’s wiring | Plug in a pair, test, keep or return | Old houses with wiring but no wall access |
Yes, mesh systems have Ethernet ports, and using them is the single best upgrade most people can make. Two points that get misunderstood. First, an Ethernet run is limited to 100 meters, about 305 feet, for a single segment; beyond that you need an intermediate switch or a repeater. Second, the nodes do not need to be plugged into each other. You can plug the main node into one port of an Ethernet switch and each satellite into another port of the same switch, and it works exactly as if you had run a dedicated line to each one. As people on r/HomeNetworking put it, wired backhaul is just another Ethernet connection from the switch’s perspective, nothing special or limiting about it.
A daisy chain works too: main node to a switch, switch to a satellite, and the satellite’s own LAN port feeding the next switch. The only rule is that the main node has to be the one connected to the gateway, and power to it should not depend on another node.
That cable-run problem is what makes powerline adapters worth a test. They send data through your existing electrical wiring, so no wall work is needed. They are also unpredictable, because the speed depends on how the wiring in your house was done, and on whether the adapter lands on the same circuit as your heavy appliances. Plug a pair in, run a speed test on both ends, and keep them only if the number holds up.
If you can hardwire even one satellite, do that one first. A single wired node often does more for a bad room than moving three wireless nodes around.
How Do I Choose the Best WiFi Settings?
Leave almost everything automatic. Modern mesh systems pick channels and widths better than most people do by hand, and a manual setting chosen from a generic guide is usually the reason a network feels worse after a “tweak.”
The settings worth understanding, in plain terms:
- 2.4 GHz band. Longer reach, better wall penetration, more congestion from neighbors and Bluetooth gear. Right for smart home devices, doorbells, streaming boxes, and the far end of the house.
- 5 GHz band. Much faster and far less crowded, but shorter range. Right for laptops, phones, TVs and video calls in the middle of the home.
- 6 GHz band. Fastest and cleanest, available on newer Wi-Fi 6E and Wi-Fi 7 systems. Short range, and older devices cannot use it at all.
- Band steering. The system pushes capable devices onto the faster band automatically. Keep it on.
- Channel width. 80 MHz balances speed and interference well. 160 MHz is faster at close range and more likely to meet noise. 40 MHz or 20 MHz helps in dense apartments where neighbors’ networks crowd every channel.
- Channel selection. Leave on automatic. If your app insists on manual, pick the least crowded channel in the 2.4 GHz range, which is almost always 1, 6 or 11, and avoid anything adjacent to those.
On the question of splitting your 2.4 GHz and 5 GHz into two separate network names: do it only if you have a specific problem, such as an old printer or a device that refuses to connect, or if you want to pin a smart TV to 2.4 GHz. For everything else, one merged name means your phone roams between nodes without you thinking about it.
Two settings people find by accident and regret. Turning off the LED lights saves a flicker but hides the status you need during setup. And rebooting a node on a schedule fixes nothing that a firmware update does not; leave the app’s own maintenance prompts to do it.
How Do I Test and Improve Mesh WiFi Performance?
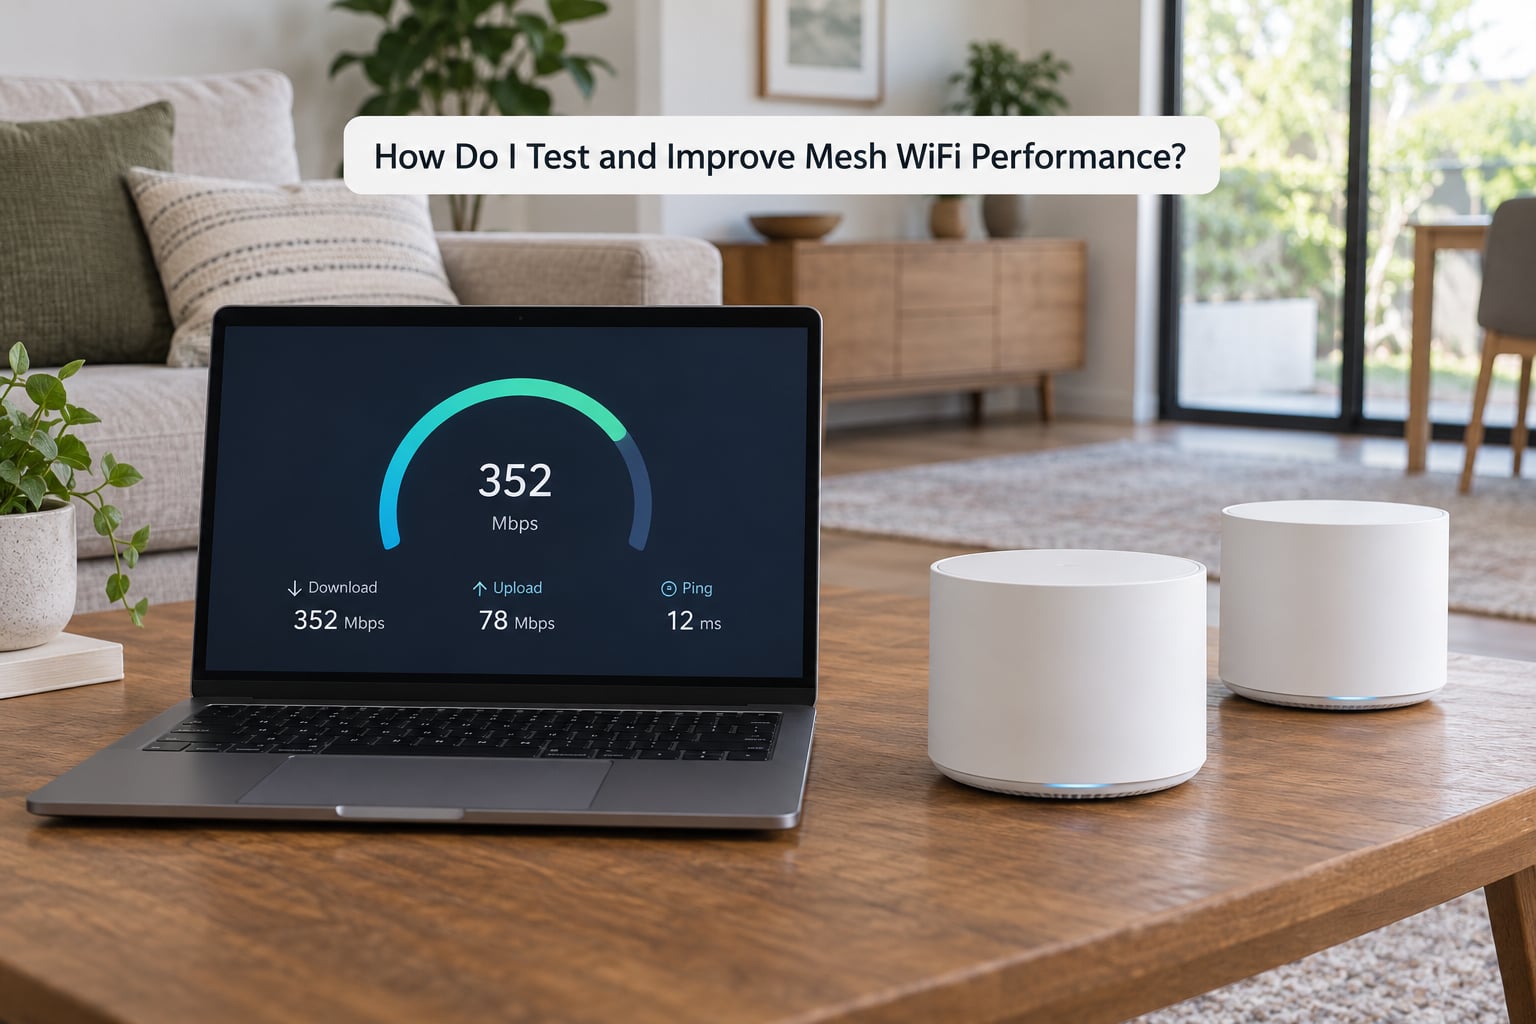
Test in three places: next to the main node, in the middle of the house, and in the room that troubles you. Run each test three times and take the median, because a single run catches a momentary dip and tells you nothing.
Then read the results in this order, and stop at the first one that explains the problem.
- Check the line speed at the gateway. Connect a laptop by Ethernet directly to the modem or gateway and run a speed test. If this number is far below what your plan advertises, no amount of mesh adjustment will fix it, and the call you need is to your provider, not the app.
- Check the backhaul. If the gateway number is good but a far room is slow, compare that room with a room on the same satellite. Slow at both means the satellite’s link is the problem, and an Ethernet cable fixes it more reliably than repositioning.
- Check placement. Open the app’s node view and read the link strength between nodes. Below roughly -70 dBm, the link is weak and the satellite will throttle everyone behind it.
- Check band and channel. If a single device is slow while everything else is fine, force it to 5 GHz or move it nearer a node. If the whole room is slow, it is placement or backhaul, not band choice.
- Check the client. Old phones, smart TVs and IoT devices often cap out well below your network’s capability. Nothing you change in the mesh settings fixes a 2015 laptop.
For a device that stays attached to a distant node with a weak link, toggle WiFi off and back on, then renew its IP address in the network settings. That forces a fresh association to the nearest node, and it fixes a surprising share of “the video call keeps dropping” complaints.
Finally, be honest about the ceiling. If your plan delivers 300 Mbps at the gateway and a wired test in the problem room still only shows 90, the wire run or the node link is the limit, not the radio. Check the Ethernet category too: older Cat5 runs and unterminated cable are common in houses that have never been rewired.
Common Mistakes
Nearly every disappointing mesh result traces back to one of these. Each has a straightforward fix.
- Putting the satellites too close together. Nodes in one room split the same coverage, then each has less left for the next room. Space them across the space you actually use.
- Placing a node in the dead zone it was bought to fix. A node in the back bedroom can only rebroadcast what reaches it, and often what reaches it is nothing. Place it in the middle of the floor instead.
- Leaving the old router powered on. A second network on the same floor means your phone roams between them and sometimes picks the weaker one. Turn it off or unplug it.
- Plugging the internet line into a LAN port. The main node will power up and look fine while never getting online. Internet source goes in the WAN or internet port, every time.
- Using the default network name and password. The password is usually printed on the bottom of the node, which makes it a public secret. Change it, and make it long.
- Skipping the firmware update. Nodes commonly ship on an older build, and the update fixes roaming and stability bugs that show up later as nodes dropping offline.
- Expecting wireless backhaul to match Ethernet. Airtime is shared, and a satellite sending data over WiFi reserves much of it for the hop. A drop from 500 Mbps to 200 Mbps is normal, not a fault.
- Buying more nodes before moving the ones you have. A third node in a good position beats a fourth in a cupboard. Fix placement first, then count.
- Stacking all nodes in series through one another. Each hop costs throughput, and the last node in a chain is the weakest link. Wire satellites back to a switch, not through each other, whenever you can.
It is also worth naming the honest downsides. Mesh systems bury the advanced settings you get on a standalone router: custom DNS, VLANs for smart home gear, static leases, detailed QoS, and usually the ability to change the LAN subnet. If you run a home lab, a VLAN-aware switch or a business VPN with specific routing needs, a conventional router plus access points gives you more control.
For a small apartment under about 1,000 square feet with one weak corner, a single well-placed router or a cheap WiFi extender is often the honest answer. Mesh earns its cost in larger homes, across floors, and in buildings with brick, concrete or foil-backed insulation.
Frequently Asked Questions
Do mesh WiFi nodes need to be placed near each other?
No, and putting them too close is a common mistake. Place each node in the open, at about head height, near the center of the area it is meant to serve. Aim for 30 to 50 feet of separation in open space, with a wall or two between nodes when the layout allows. Each node needs to hear the others clearly and cover its own room without being stranded behind doors or appliances.
Should I use a separate 2.4 GHz and 5 GHz WiFi name?
Usually not. One merged name lets your devices roam between bands and between nodes without you choosing anything, and it avoids devices landing on the slower 2.4 GHz band by accident. Split the names only if a specific device refuses to connect, such as an older printer or a smart device, or if you want to pin a specific TV or console to one band.
Is Ethernet backhaul better than wireless backhaul for mesh WiFi?
Yes, and the gap is meaningful. Every byte traveling over wireless backhaul crosses the air twice, once between nodes and once to your device, and that shared airtime is why a satellite often delivers 40 to 60 percent of your link speed. A cable removes one hop entirely, holds steady under heavy use, and removes the most common cause of slow rooms.
Can I use a mesh system with my old router?
Yes, and the cleanest method is to run the cable from the old router into the main node’s internet port, then turn the old router’s WiFi off so it passes traffic only. Alternatively, switch the main node to access point mode if your system offers it. Either way, do not leave the old router broadcasting a network, or your devices will hold onto its weaker signal.
Why is my mesh WiFi slow in one room?
Work through the layers in order. Test by Ethernet at the gateway first, because a low number there is your provider’s problem. If the gateway is fine, the usual culprits are the satellite’s wireless link, a node placed too far from the others, or a wall material that is eating the signal. Moving the node to a more central spot or running a cable to it fixes most cases.
How often should I update my mesh WiFi firmware?
Update during setup, before you place the nodes, and then whenever the app prompts you. Manufacturers ship updates that fix roaming and stability bugs, and several recurring complaints about nodes dropping offline every ten to fifteen minutes trace back to older firmware. If a node keeps dropping, check for an update before you start swapping hardware, and give it a full restart afterwards.
Conclusion
Start with the main node next to your gateway, then place the satellites in open, central rooms between the router and each weak spot, not inside the weak rooms themselves. Finish the app setup on one merged network name with a password you will remember, update the firmware, and switch off the old router’s WiFi.
Then test in the order that matters: wired speed at the gateway, then the same test in the worst room. If the gateway number is low, that is a conversation with your provider. If it is fine, move a node or run a cable before you buy anything else. Most of the time, that is the whole fix.