To recycle old electronics responsibly, back up your files, erase every account and factory reset the device, pull out SIM cards, memory cards and storage drives, then hand it to a recycler you can verify as R2v3 or e-Stewards certified. That is the whole job, and for a single phone it takes about 30 minutes.
The reason people get it wrong is that recycling has two separate problems attached to it. One is the data still sitting on the drive. The other is the pile of lead, mercury and cadmium that ends up in landfill when a device is tossed with the kitchen trash. Sort those out separately and the rest is logistics.
What follows is the process I would hand a friend clearing out a closet, in the order that avoids the expensive mistakes. It also covers the questions that come up every time, like whether a factory reset is really enough and where a broken battery is supposed to go.
Table of Contents
- 1What You Need Before You Recycle Old Electronics
- 2Step-by-Step: How to Recycle Old Electronics Responsibly
- 31. Back Up and Transfer Your Data
- 42. Remove Accounts and Disable Tracking Features
- 53. Erase Storage and Remove SIM or Memory Cards
- 64. Find a Reputable Recycling or Take-Back Option
- 75. Drop Off the Device and Keep Proof
- 8Common Mistakes and How to Fix Them
- 9Frequently Asked Questions
- 10What is the safest way to recycle an old phone?
- 11Can I put an old computer in the regular trash?
- 12How do I make sure my personal data is gone before recycling?
- 13Where can I recycle batteries and electronic devices in the US?
- 14Are manufacturer trade-in programs responsible recycling options?
- 15What should I do with a broken or swollen lithium battery?
- 16Start With a Local Drop-Off or Manufacturer Program
What You Need Before You Recycle Old Electronics
Gathering the pieces first is what turns this from a pile of stuff into a job you can finish in one sitting. Six things to have ready:
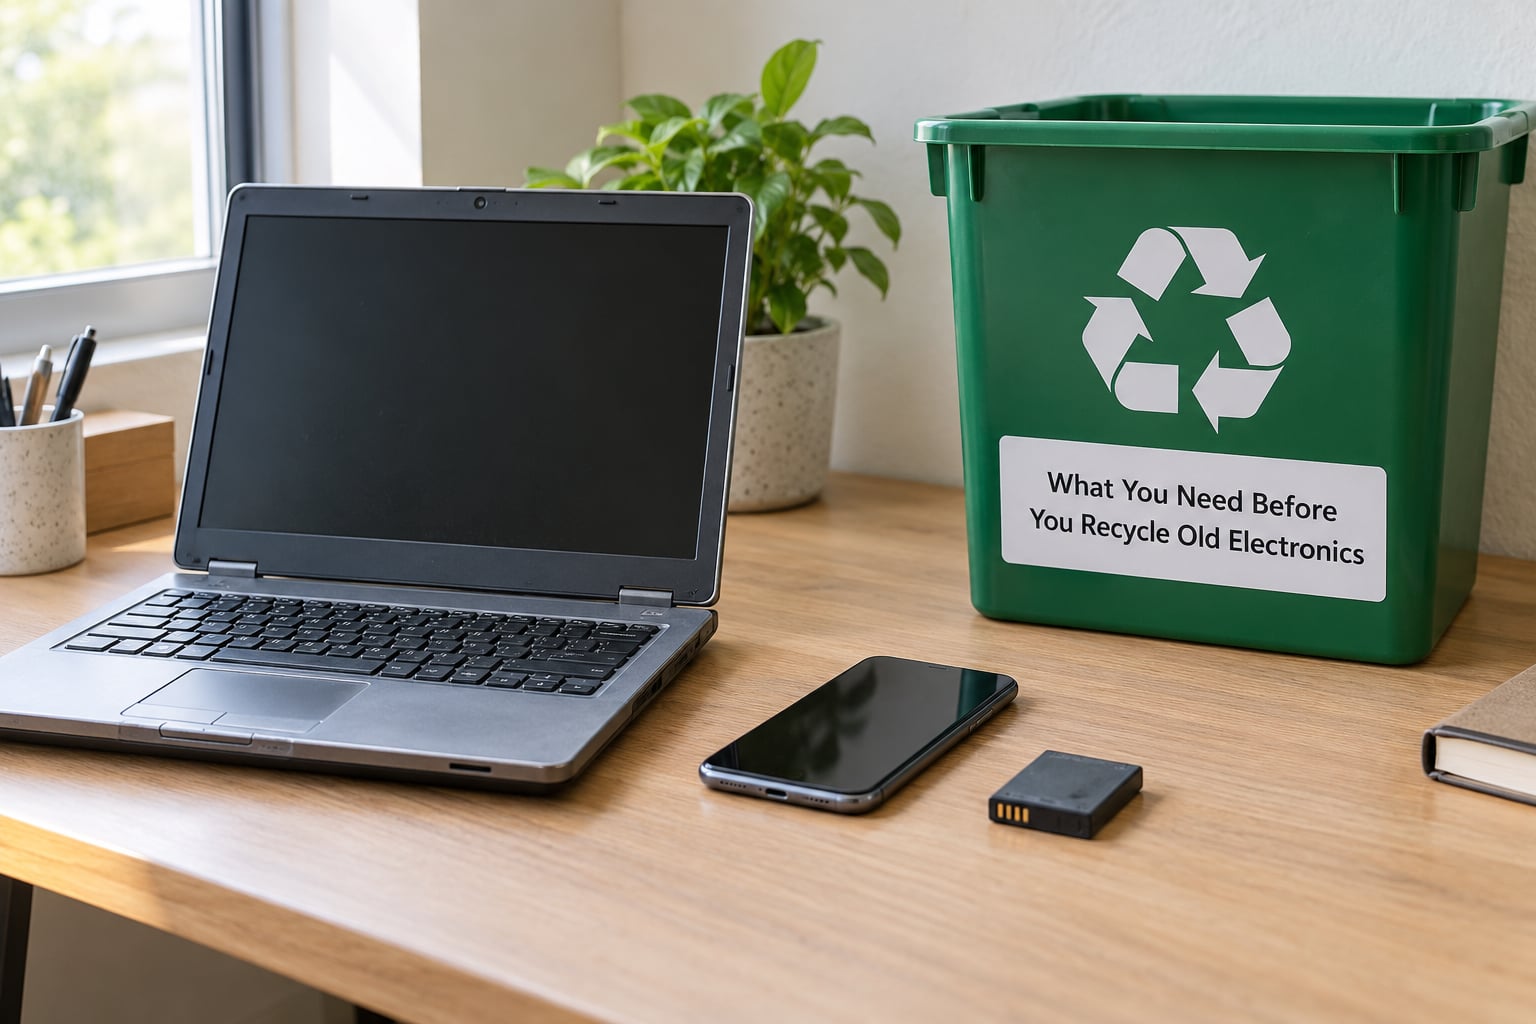
- A list of what you are getting rid of. Write each device on paper with its model and, for anything with a drive, the serial number. You will want that serial number later as proof.
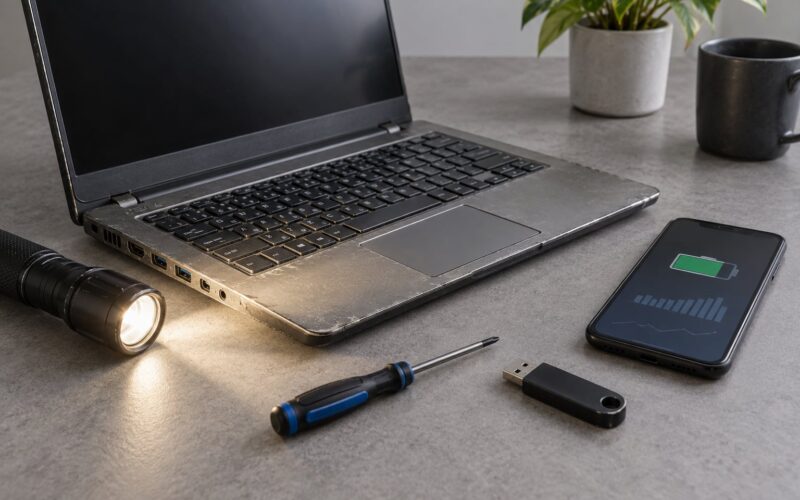
- Storage media in your hand, not just in the device. Old USB sticks, external drives, memory cards and old phones with removable batteries are items, not accessories. They get handled separately.
- Your account list. Every email account, cloud account, work account, bank app and password manager on the device. Open them before you wipe, not after.
- Enough storage to make a backup. A USB drive or an external SSD, plus enough free space on a new phone or computer for a full transfer.
- A destination you have already checked. A manufacturer take-back program, a municipal collection site, a retailer drop-off desk or a certified private recycler. Confirm what they accept before you load the car.
- A way to keep the receipt. A paper receipt with a serial number, a confirmation email, or a certificate of destruction. A note in your phone saying you dropped it off is not proof of anything.
Batteries deserve their own line here. A lithium battery that has been punctured, crushed or swollen is a fire risk in a collection truck, so many sites will not accept the device it came from until it is removed. Have tape and a rigid box ready.
Step-by-Step: How to Recycle Old Electronics Responsibly
Five steps, in this order: back up, disconnect, erase, verify a destination, hand it over with proof. Skipping step two or step three is what turns a recycled laptop into somebody else’s identity theft problem.
1. Back Up and Transfer Your Data
Copy everything off the device before you touch any settings. The list that actually matters is longer than most people expect:
- Photos and videos, including ones in messaging apps and cloud folders
- Contacts and calendar entries
- Documents, downloads, desktop and Documents folders, anything in iCloud Drive or Google Drive
- Saved game progress and console trophies
- SMS and MMS messages, if you want the record of them
- Wi-Fi passwords, saved logins, and email or banking apps you still use elsewhere
Two things people miss. First, authenticator apps for two-factor authentication: if your second factor lives only on the device you are wiping, a reset locks you out of every account on it. Move those to your new phone or to a password manager before you start. Second, scan documents and any cards you might need later, because a reset is one-way.
Turn on two-factor authentication on the important accounts while you still have the device logged in. It is the single best protection here, because it protects the account even if the device is later handled badly.
Then check the transfer actually worked. Open three or four photos you remember clearly, dial your own number from the new device, and make sure the file count roughly matches. A backup you never verified is just a hope.
2. Remove Accounts and Disable Tracking Features
Sign out before you sign off. A factory reset on an account-linked device can leave the device still attached to your Apple, Google or Microsoft account, which can block activation for the next owner and hand you problems later.
On iPhone and iPad, sign out of iCloud in Settings, then use Find My to remove the device from your Apple account while it is still in your hand. Android users do the same through the device in Google, then Settings, Accounts, Google, then Manage your Google account, then Device. On Windows, remove the device from your Microsoft account page. On Mac, sign out of iCloud in System Settings and remove the machine from Find My.
For a work device, do not just sign out. Your IT department may have device management enrolled, and a personal reset on a company laptop can be a policy problem. Hand those to IT or to the company’s recycler and let them produce the paperwork.
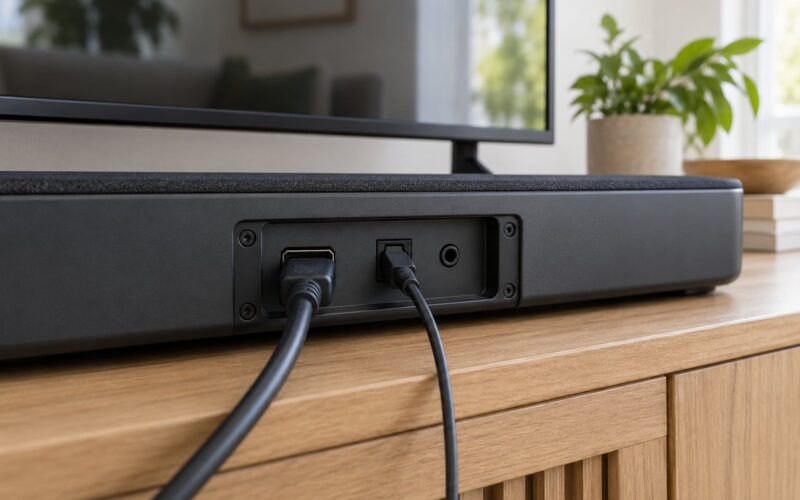
Remove the device from any app that tracks it: smart home apps, streaming apps with a device limit, router admin pages, car Bluetooth pairings, and parental-control apps.
3. Erase Storage and Remove SIM or Memory Cards
Each platform has its own path, and the reset lives in a different place depending on version, so check the wording on screen rather than trusting a memory of the menu.
iPhone and iPad: Settings, General, Transfer or Reset iPhone, Erase All Content and Settings. Confirm the erase and enter the passcode when prompted.
Android: Settings, System, Reset options, Erase all data and reset. On Samsung phones it sits under General management, Reset data. Confirm the wipe and wait for the reboot to finish.
Windows laptop or desktop: Back up, sign out of accounts, then Settings, System, Recovery, Get PC, Reset this PC, Remove everything, then Clean up drive. On Windows 10 the same option is under Update and Security, Recovery. On older machines, Back up now, Go to Start, Update and Security, Recovery, Reset this PC.
Mac: On Apple silicon, hold the power button until you get Startup Options, then Options, Continue. On Intel Macs, shut down, hold Command and Option with the power button, then Command and R. Choose Erase Mac and Active, confirm twice, and let the machine reformat itself.
Chromebook: At the sign-in screen, hold Shift, Alt, and the Power button, then select Power wash. The Chromebook erases itself and signs itself out of the school or work account for you.
Smart TV, streaming box, game console: consoles have a factory reset option in system settings, and streaming devices have one under Privacy or Reset in settings. For a TV you cannot get into, the manufacturer’s support site will have the remote-control button sequence.
Now the part that resets skip. Physically remove the SIM card and any microSD card, and take out the battery if the device has a removable one. On a laptop with a serviceable drive, remove the SSD or hard drive and either sanitise it separately or mark it for destruction. The reset on a phone is a proper wipe; the reset on a Windows laptop is often a fresh install over the same drive, and the old recovery partition and unallocated space can still hold files.
That is the honest limit of what I would tell a friend. For a personal device with ordinary personal data, a full factory reset plus two-factor authentication on your accounts is what most people need. Advice in repair and security communities tends to land in the same place: professional data destruction is mostly for businesses, or for anyone whose device held financial records, medical information, or someone else’s data. If any of that applies to you, remove the drive and destroy it physically, or hand it to a service that will and give you a certificate of destruction.
Here is the decision rule I use. If the device held only your own photos, messages and files, reset it and move on. If it held work files, customer records, tax documents, medical information, or anything belonging to someone else, take the drive out. If it held banking credentials or password manager data, treat the reset as the bare minimum and rotate those passwords as well. And if the device is a company asset, skip all of this and use whatever your IT department uses, because they usually need the serial number for their own records anyway.
Destroying a drive is easy. A drill through the platters, a hammer on an SSD chip package, or a certified shredder all work. What does not work is deleting the files or reformatting. Assume anything a recycler does not receive from you was recovered by a party you know nothing about, and that the buyer of a used laptop may be the one who tries.
4. Find a Reputable Recycling or Take-Back Option
How to recycle old electronics comes down to which of six routes fits what you are holding. They differ on cost, on what they do with your data, and on what they will physically accept.
Manufacturer take-back or mail-back. You buy a prepaid shipping kit or a box, pack the device, and mail it back. The manufacturer handles the recycling and usually reports a diversion rate. Convenient, and often free for their own gear.
Retailer drop-off. Big-box take-back desks have long accepted common consumer electronics at the service counter, and some offer a credit toward a new purchase. The accepted list and any fee change often, so read the current page for your location before you drive over with a CRT in the trunk.
Municipal or county collection. Household hazardous waste sites, county recycling departments, library and school collection days, and one-day e-waste events. Often free, often limited to residents, and the only option for large items when you have no vehicle.
Certified private recycler. The route for anything a retailer will not take: CRTs, commercial equipment, servers, large quantities. Look for R2 or R2v3, or e-Stewards.
Donation or refurbishment. Best for working devices. Schools, charities, and refurbishers resell what they receive, which keeps a working laptop in use instead of in a shredder.
Trade-in. A short-term option for a device recent enough to have resale value. Trade-in is a store transaction, so the recycling happens somewhere else later. Ask what happens to anything that does not sell.
What the two certifications mean, in plain terms. R2v3 is a practice under ANSI that builds on the original R2 standard, covering worker safety, environmental practices, and downstream transparency, with added health and safety requirements. e-Stewards is a separate accreditation with its own tiered requirements. Both are worth checking. Neither replaces a reset.
You can verify rather than take a claim on faith. The R2 directory and the e-Stewards accredited organisations directory are both public and searchable by name or location. For anything local and small, look for an R2v3 or e-Stewards logo on the site and match the exact business name and address on the site against the directory listing. A logo that does not match the legal entity is a red flag. Earth911 maps free drop-off sites by ZIP code, and county household hazardous waste pages list municipal events.
Other red flags worth walking away from: a recycler who will not say what data handling they perform, anyone asking you to leave a working laptop in an unlocked donation bin at a park, a truck that dumps into a field behind a warehouse, no answer to the question of whether your device gets shipped overseas, and a “free” service that turns out to charge per pound with a minimum.
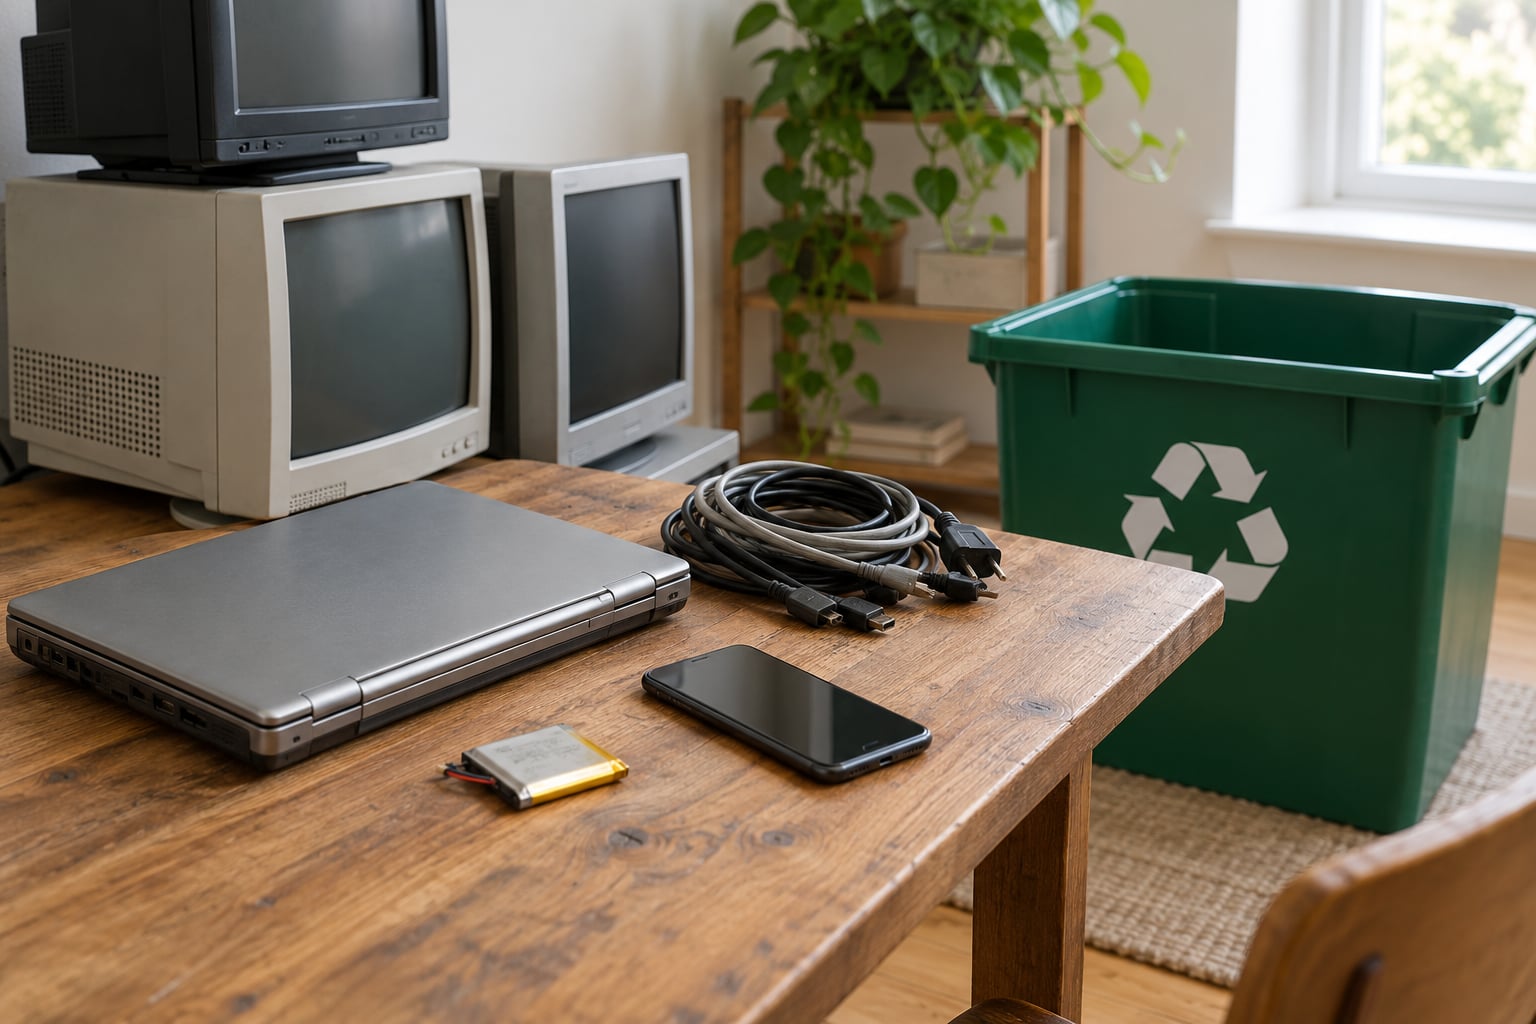
Before you go, call or read the accepted-items page. Sites differ on flat-panel monitors, appliances, toner cartridges, cables, and whether a device needs to power on. “Free” often means free for a bag of cables and a fee for a CRT television, because of the leaded glass and the labour to handle it safely.
One more practical point, since it trips up almost everyone: the closer you live to a drop-off site, the more likely you are to actually go. People clearing out a pile of old gear describe the drive to a distant recycler as the step that never happens. If a site exists within a short drive or has a mail-back option, use it.
5. Drop Off the Device and Keep Proof
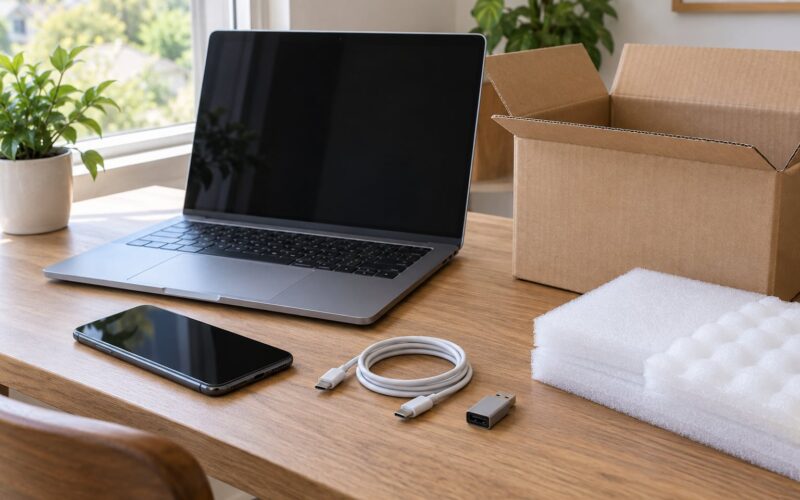
Transport the device the way you would want it handled. Box it, put the model and serial number on the outside, and do not stack anything heavy on a screen. If a lithium battery is swollen, punctured, or hissing, tape the terminals, put it in a rigid non-conductive container, and tell staff the battery is damaged when you arrive, or take it to a household hazardous waste site instead.
Expect to be asked to sign something. Get a receipt that lists the items and the serial numbers, or a certificate of destruction if you handed over drives. Photograph the receipt before you leave, because paper receipts get lost and a photographed one shows up in a dispute.
Then, if you are curious, here is what actually happens to your device. It gets weighed and logged, then routed: a hard drive goes to a data destruction line, usually sanitised or physically destroyed. The rest is dismantled by hand or shredded. Circuit boards are separated from plastics, then smelted to recover copper, gold, silver, palladium and rare earth elements. Glass, plastics and metals get sorted into separate streams. One widely cited industry estimate puts the recoverable material in one million recycled cell phones at up to 35,000 pounds of copper, 772 pounds of silver and 75 pounds of gold. That is the argument for recycling over mining, and it is also the reason a working device is worth keeping in use rather than processing.
Common Mistakes and How to Fix Them
Tossing electronics in household trash. Fix: check whether your city has a separate e-waste collection rule, which many now do, and use it. If a device goes to landfill, the lead in CRT glass, mercury in older displays and cadmium in batteries do not stay put.
Recycling without wiping. Fix: steps one through three, in that order, every time. No exceptions for “nobody would look”.
Leaving the storage drive in the laptop. Fix: remove it and sanitise or destroy it. A factory reset on a Windows machine frequently keeps the old recovery partition intact, and that partition has held recoverable files before.
Ignoring the battery. Fix: check for swelling, corrosion or a hot pack before you pack anything. Tape the terminals, isolate it, and hand it over separately where required. Call2Recycle and most hardware stores run drop-off programs for phone and laptop batteries.
Using a recycler you cannot verify. Fix: check the R2 or e-Stewards directory, and ask directly whether they wipe or destroy drives. A recycler that cannot answer that question in one sentence is not handling your data with any care.
Leaving accessories behind. Fix: chargers, cables, cases, styluses and headphones go in the same bag. Many sites sort small electronics by type, and a tangle of unidentified cables slows the whole line down for everyone behind you.
Assuming every site takes everything. Fix: CRTs, appliances, refrigerators, toner cartridges and large monitors each have their own route in most places. A municipal event that lists “consumer electronics” may exclude displays over a certain size, and a household hazardous waste site will usually not take a working laptop at all.
Two more that come up: donating a device that still works without checking the charity’s policy, which can leave your tax-deductible claim unsupported, and wiping a device before you have backed it up, which is the one mistake you genuinely cannot undo.
Frequently Asked Questions
What is the safest way to recycle an old phone?
Factory reset the phone, remove the SIM and any memory card, sign out of iCloud or Google, and take it to a certified recycler, retailer drop-off, or manufacturer take-back program. Turn on two-factor authentication for your accounts first, since that protection holds even if the device is later mishandled. Keep the drop-off receipt with the device serial number.
Can I put an old computer in the regular trash?
In many places you legally cannot, and many cities have separate e-waste collection rules with fines for putting electronics in curbside bins. Beyond the rules, a computer contains lead, mercury, cadmium and brominated flame retardants that leach into soil and groundwater in landfill. Check your city or county sanitation page, then use a collection site or certified recycler instead.
How do I make sure my personal data is gone before recycling?
A full factory reset, using the built-in reset option for your device, removes the normal user data on a phone or tablet. On a computer, the reset often reformats the same drive, so remove the drive and sanitise or physically destroy it. Deleting files or reformatting is not enough. Two-factor authentication on your accounts adds a layer that survives any mishandling of the device.
Where can I recycle batteries and electronic devices in the US?
Batteries go to Call2Recycle drop-off points, many hardware stores, and household hazardous waste facilities. Devices go to manufacturer take-back programs, retailer drop-off desks, municipal collection sites and certified recyclers, which you can find by searching the R2 and e-Stewards directories or by ZIP code on Earth911. Damaged or swollen batteries need a separate drop-off and should be told to staff on arrival.
Are manufacturer trade-in programs responsible recycling options?
Usually, yes, and they are among the better routes available. Mail-back programs are audited and typically report how much material they diverted from landfill, which most local drop-off sites do not. Read the program terms to see whether they refurbish, resell or recycle, and whether the device is processed in the US or sent elsewhere. A working device is better donated than traded, if you can find a charity that takes it.
What should I do with a broken or swollen lithium battery?
Do not use it, charge it, or put it in household trash or curbside recycling. Keep it away from anything flammable, do not puncture or crush it, and tape the terminals if you can do so safely. Take it to a household hazardous waste site, a Call2Recycle drop-off, or a retailer that accepts damaged batteries, and tell staff the battery is damaged. A swollen pouch cell can vent and ignite in a collection truck.
Start With a Local Drop-Off or Manufacturer Program
If you do one thing this week, pick the destination before you do anything else. Check whether the manufacturer runs a mail-back program for the device you just replaced, and in parallel look up your nearest certified recycler or municipal collection site. Knowing where it is going determines what you remove first, which batteries come out, and whether you need a drive destroyer at all.
Then work backwards: back up, verify, remove accounts, reset, pull the SIM and memory cards, and take it in. Keep the receipt with the serial number.
There is no single best route for everyone. A working laptop may be worth more donated than recycled, a dead phone is a ten-minute job at a drop-off desk, and a pile of CRTs needs a vehicle and a site that accepts them. The one rule that holds everywhere is that your data leaves with the device unless you remove it first.