Dual booting a Mac and Linux means installing a Linux distribution alongside macOS on the same drive, then picking which one to boot each time you switch the machine on. How you do it depends almost entirely on one thing: whether your Mac runs on Intel processors or Apple silicon. Intel Macs boot a standard Linux installer from a USB stick. Apple silicon Macs need Asahi Linux, a port that is still incomplete, and on the newest M-series hardware it is not officially supported at all.
This guide walks through how to dual boot Mac and Linux on both kinds of hardware, plus what to do when things go wrong. It was last checked in October 2026 against current distribution instructions, because most of the guides still ranking for this question were written before Apple silicon existed.
Table of Contents
- 1What You Need
- 2Which path applies to your Mac
- 3What else to have ready
- 4How much space you actually have
- 5Step-by-Step
- 61. Check Whether Your Mac Can Run Linux
- 72. Back Up macOS and Prepare a USB Installer
- 83. Decide How to Make Space for Linux
- 94. Install Linux From the USB Drive
- 105. Install the Boot Manager and Test Both Systems
- 11How to Dual Boot Mac and Linux After Installation
- 12Common Mistakes
- 13Frequently Asked Questions
- 14Can I install Linux on an M4 MacBook?
- 15Is it possible to use Linux on a T2 Mac?
- 16Which Linux is best for an old MacBook?
- 17How do I dual-boot back into macOS after installing Linux?
- 18How much disk space do I need to dual boot Linux on a Mac?
- 19Does dual booting Linux on a Mac void the warranty?
- 20What to Do First
What You Need
Before anything else, confirm your Mac type and check that a Linux distribution officially supports it. Supporting a machine as an enthusiast is not the same as a distribution saying it works there.
Which path applies to your Mac
| Your Mac | How Linux gets installed | Space needed | Difficulty | Reversible? |
|---|---|---|---|---|
| Intel Mac, no T2 chip (roughly 2006 to 2017 models) | Standard Linux installer from a USB stick | 30 GB minimum, 100 GB comfortable | Moderate | Yes, if you left macOS untouched |
| Intel Mac with a T2 security chip (2018 Macs onward) | Installer with reduced security, plus T2Linux for drivers | 30 GB minimum | Hard | Yes, but macOS may need a reinstall |
| Apple silicon Mac (M1, M2) | Asahi Linux via the alx.sh installer | 80 to 100 GB free | Moderate | Yes, through Disk Utility |
| Any Mac | Virtual machine or an external SSD, no partitioning | 32 GB on an external drive | Low | Fully |
What else to have ready
- A compatible Mac, confirmed with the check in the first step below.
- A Linux distribution and version, downloaded from the project’s own site rather than a third-party mirror.
- An empty USB drive of at least 8 GB. It gets erased completely.
- A full backup. Time Machine on an external drive is the least painful option.
- A USB hub for some older Macs with limited USB port availability.
- About an hour for Intel Macs, two to three hours if something goes wrong.
How much space you actually have
Base-model 128 GB and 256 GB Macs are the tightest case. A usable Linux install wants 30 GB as a bare floor and 100 GB to stop resizing your disk every few months. On a 128 GB machine that is not realistic alongside macOS, which is one reason the community generally pushes people toward an external SSD or a virtual machine instead.
There is also the size of the backup itself. Before you partition anything, your backup needs somewhere to live that is not the disk you are about to change.
Step-by-Step
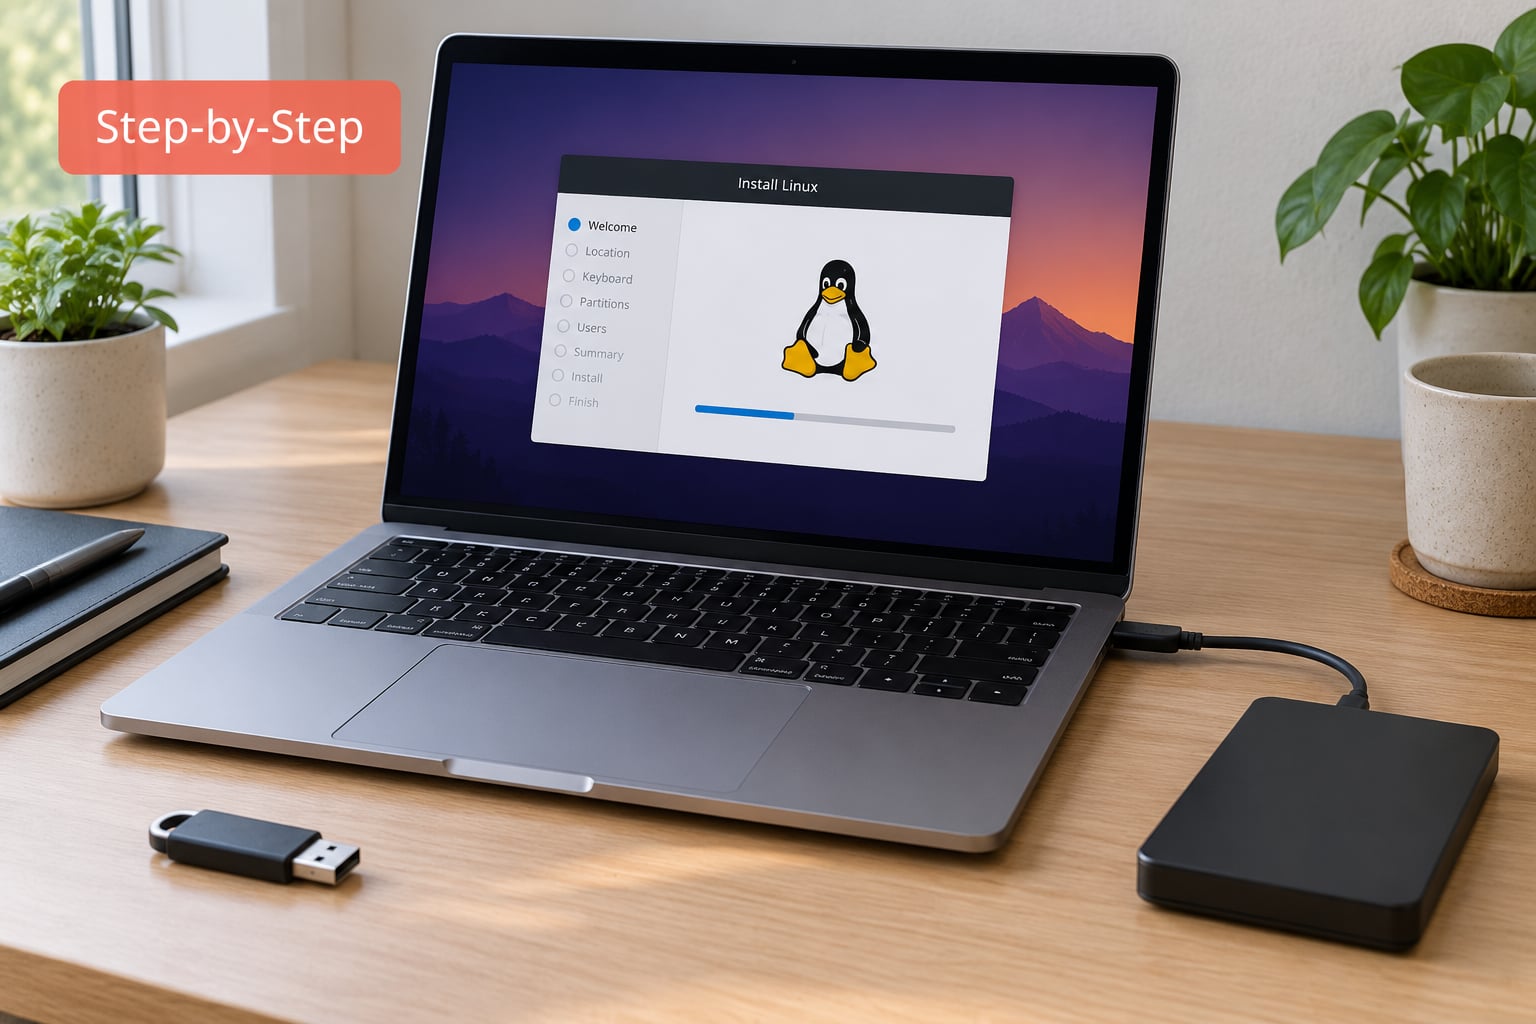
1. Check Whether Your Mac Can Run Linux
Intel and Apple silicon Macs need completely different approaches, and using the wrong one wastes an afternoon. Start by identifying which you have.
Click the Apple menu, then About This Mac. Macs with an Intel processor list a model identifier and an “Intel” chip line. Macs with Apple silicon show “Apple M1”, “Apple M2”, “M3” or similar, with no model identifier field.
Next, check for the T2 security chip, which matters on Intel Macs. Shut the Mac down, hold the Option key, then power the Mac on. A Startup Security Utility screen appears. From there you can see the boot policy and, in System Information, whether a T2 is present. Alternatively, hold Option and choose Apple menu, then System Information, and read the Controller section: T2 Macs list an “Apple T2 Security Chip” there.
Check your macOS version too, from About This Mac. Asahi Linux requires a recent macOS release, and newer installers expect a current one.
Finally, confirm support before you download anything. Read the distribution’s compatibility notes. For Apple silicon, that means the Asahi Linux site. For T2 Macs, look at the T2Linux project documentation. If your exact model is not listed as supported, stop there and use a virtual machine instead.
One warning worth taking seriously: users on r/AsahiLinux have reported that installing Asahi on unsupported newer Macs corrupted the bootloader badly enough that the machine would no longer start. That is a rare outcome, but it is exactly the failure a support check is meant to prevent.
2. Back Up macOS and Prepare a USB Installer
Back up first, every time, even if you are only confident. Plug in an external drive, open Time Machine from the Apple menu, and let it finish. Verify the backup completed before you continue. Changing a partition table is the one part of this process that is genuinely hard to undo.
If FileVault is on, turn it off temporarily in System Settings, Privacy and Security, FileVault. A locked volume can complicate partitioning and you will want the data readable from Linux later anyway.
Download the Linux ISO from the distribution’s official download page. If the project publishes checksums, download the checksum file too and compare it before writing the image.
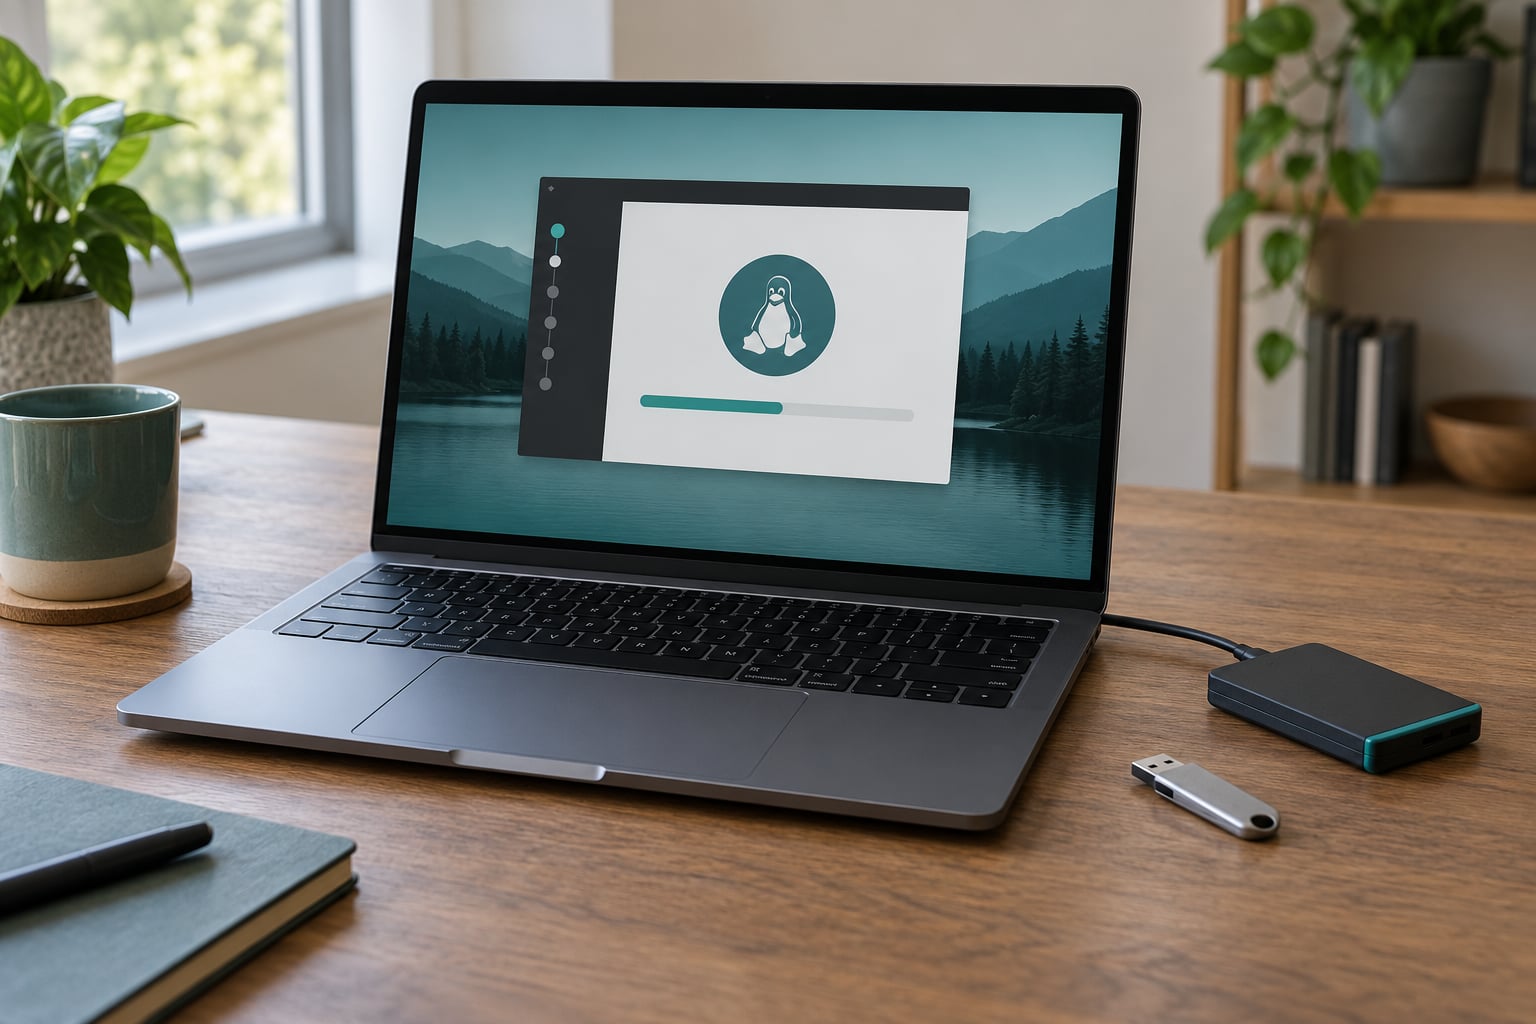
Write the image to your USB drive. On a Mac, install BalenaEtcher, choose the ISO file, choose the USB drive, and click Flash. Double-check that you selected the USB drive and not another disk.
Then check the stick before you rely on it. On Apple’s own community forums, one of the most common threads involves a USB stick that became unreadable after flashing with Etcher, even after reformatting. Before you reboot, open Disk Utility in Applications, Utilities, and confirm the drive appears with a Linux partition and a readable name. If it does not, re-flash it, try a different brand of drive, or flash the image from another computer.
3. Decide How to Make Space for Linux
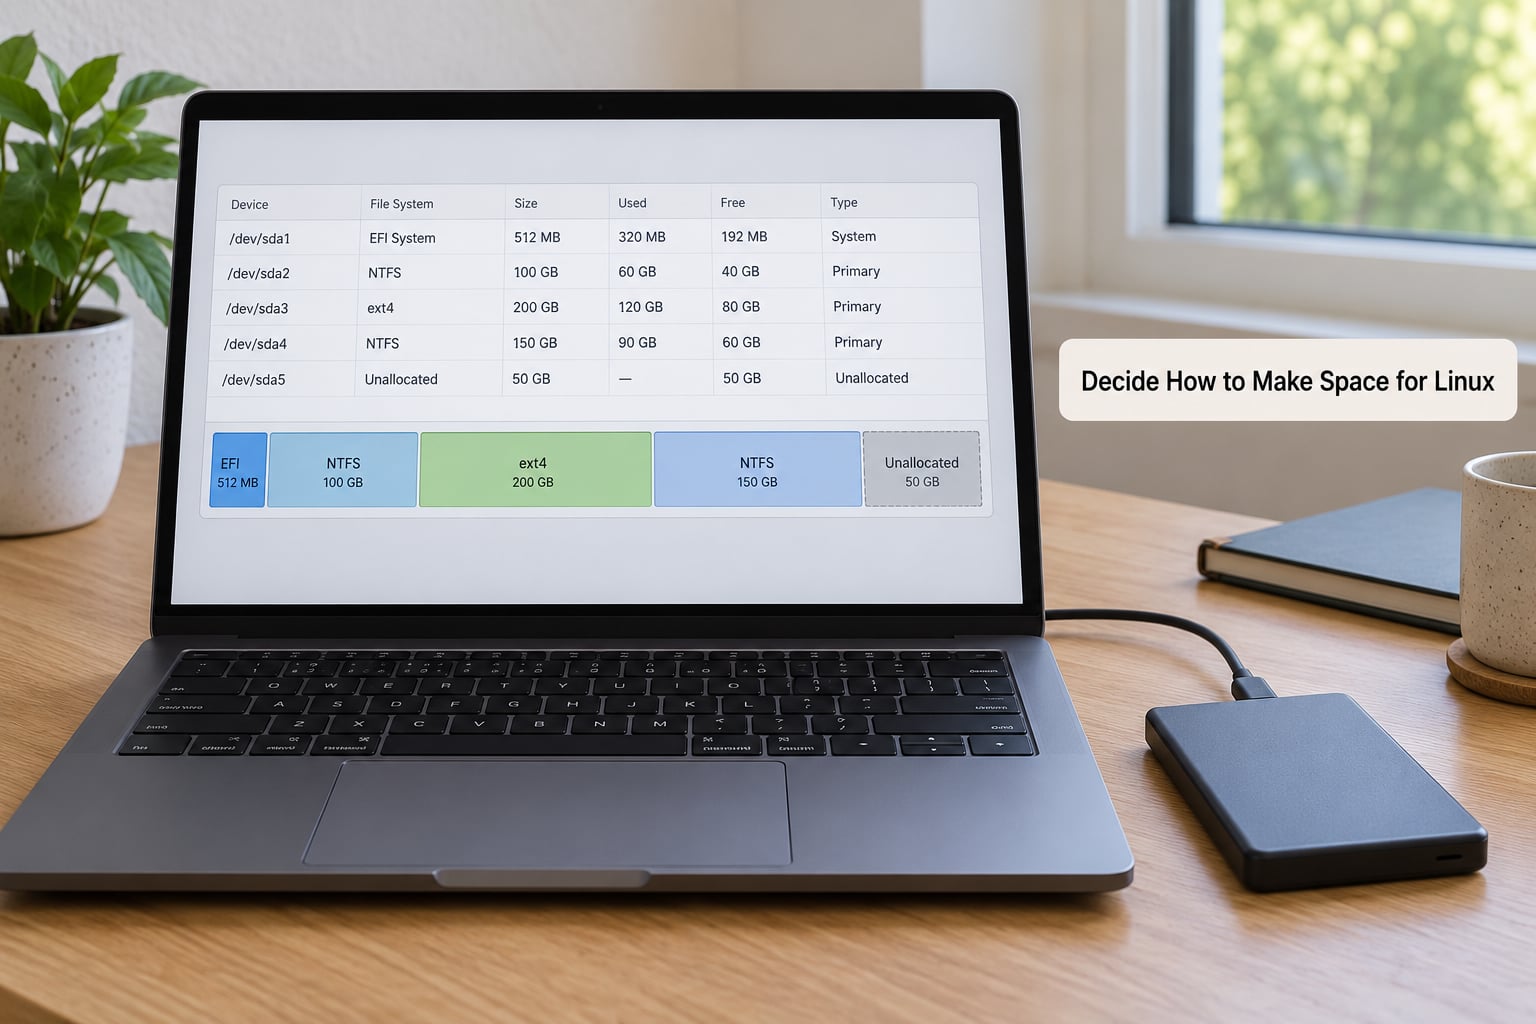
You have three options and they are not equally risky. Using free space inside the existing macOS partition is the normal path. Booting Linux from an external SSD touches nothing on the internal drive and is the one I would suggest if macOS is your main system. Creating a separate partition is a middle ground that mostly exists on Intel Macs.
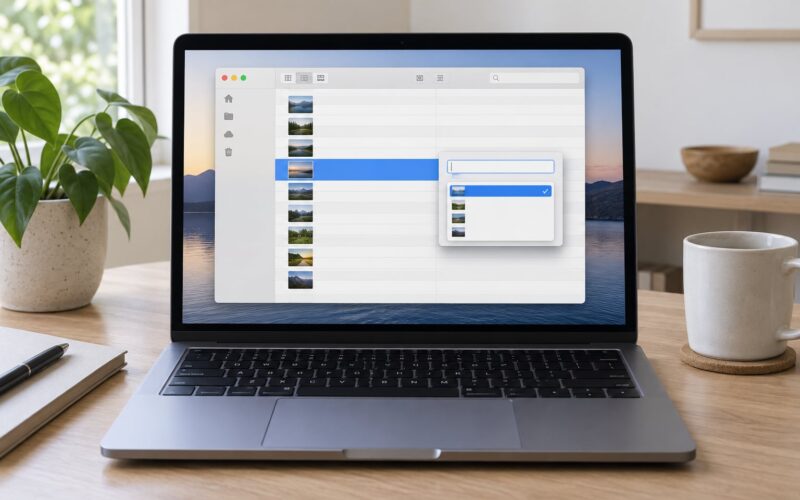
Here is the gotcha that stops most people. Modern macOS uses APFS, and in Disk Utility you must click View, then Show All Devices, to see individual volumes instead of just the container. Clicking Show All Devices and then selecting the top-level entry is what reveals the Partition button. Without that toggle the button stays greyed out and it looks like the feature is missing.
Once you can see the partition button, select the macOS volume and click Partition. Add a new entry with the Partition Scheme set to MS-DOS (FAT). That creates an empty partition of the size you want, typically 40 GB or more, which the Linux installer will use later.
APFS does not resize freely the way older macOS volumes did. Most of the reclaimable space has to be either free space inside the container or a container split, and neither is something to attempt casually. If the Partition button refuses to give you what you need, stop and use the external drive route instead of forcing it.
4. Install Linux From the USB Drive
Restart the Mac and hold the Option key the entire time until the startup manager appears. Choose the USB drive and press Enter. On Apple silicon, hold the power button instead until startup options appear, then pick the USB drive.
On an Intel Mac with a T2 chip, you may not reach the installer at all if Secure Boot is blocking it. Restart and hold Command, Option and R together to open Startup Security Utility, set Security Boot to No Security, and confirm. If that still fails, the reduced security option with Allow booting on external storage is the next thing to try. Some T2 users report the USB drive simply not appearing in bootable devices; disabling security fully is usually what unblocks it.
In the installer, choose manual partitioning, labelled “Something else”, “Install alongside”, or “Custom”. Manual partitioning is the only option that lets you confirm your disk is untouched.
Select the MS-DOS (FAT) partition you created, delete it to turn it into free space, then create the Linux partitions inside it. A typical layout is an ext4 root partition taking most of the space, a swap area or swap partition taking an amount equal to your RAM, and optionally a home partition for your files.
Leave the small EFI partition alone, the one roughly 200 MB in size. That is where your boot entries live. Point the installer at it if it asks which partition to use for boot, or let the installer handle it and fix boot entries afterwards.
Tick the third-party software or network driver option if the installer offers it. Without it, Wi-Fi usually will not work in the live session, which means no updates during install.
5. Install the Boot Manager and Test Both Systems
Once Linux boots to a desktop, the distribution’s own bootloader is often enough. Restart and hold Option to confirm both macOS and Linux appear in the startup manager before changing anything else.
If you would rather have a graphical boot picker than hold Option every time, install rEFInd from a Linux live session. It writes itself to the EFI partition and gives you a menu with icons. rEFInd requires System Integrity Protection to be relaxed first, which you do from macOS Recovery: hold Command and R, open Terminal, and run csrutil disable. On modern macOS, full security requires the Startup Security Utility instead, where reduced security covers this case.
Whichever route you take, test both systems at least twice before you move files around or resize anything. A working boot menu on the first try is worth a lot more than a working one after three restore cycles.
How to Dual Boot Mac and Linux After Installation
Daily use is simple once both entries exist. On an Intel Mac, hold Option at power-on and pick macOS or Linux. On Apple silicon, hold the power button until the startup options screen appears, then select.
Do not change the startup disk setting in System Settings, General, Startup Disk casually. Setting Linux as default can hide macOS from a plain reboot, which panics a lot of new users. Pick the system from the boot picker every time instead.
Sharing files works but takes a small setup. Modern macOS uses APFS, which Linux can read but not write by default. If you created an HFS Plus or exFAT partition for sharing during the install, it mounts directly. If you rely on the macOS volume, install hfsprogs and, on older setups, the CoreStorage revert first.
If a Linux entry disappears, boot macOS and confirm the EFI partition still lists both. You can reinstall the bootloader from a Linux live USB using the installer’s boot repair option, which is usually faster than reinstalling.
Common Mistakes
USB drive will not boot. Confirm you wrote the image to the drive and not to a file on it, and try a different port. On newer Macs, the port matters: a drive that is recognised in Disk Utility but never shows up at boot is often a hub or cable issue.
The USB stick is unreadable after Etcher. Reformat it in Disk Utility as exFAT and re-flash. If it still will not mount, the drive itself is probably the problem, and these failures show up more often with cheap drives than reliable ones.
Linux does not appear in the boot menu. Hold Option to get the full startup manager rather than relying on the default boot. If it is missing there too, boot macOS and check that the EFI partition was not overwritten, then repair the bootloader from a Linux live USB.
Disk Utility will not let me partition. You are almost certainly looking at the APFS container instead of the individual volume. Click View, then Show All Devices, select the top-level container row and its macOS volume, and try again. If APFS still refuses to shrink, use an external drive.
Installer crashes or the screen freezes. Common on T2 Macs with a mismatched kernel. Try a different distribution version, or boot with the nomodeset option added to the boot parameters.
Wi-Fi, keyboard backlight or trackpad stop working immediately after install. Expect this on T2 Macs with stock distributions; Linux Mint and Zorin are both reported as failing on first boot there. T2Linux exists specifically to add the missing drivers, and the pommed daemon handles backlight and volume hotkeys.
The CPU fan spins constantly. This is an ACPI interrupt quirk on some Mac models, fixed by disabling the ACPI GPE16 interrupt through a kernel parameter.
macOS disappears entirely. Rare, and usually means the EFI partition was damaged. Hold Command and R on an Intel Mac to boot into macOS Recovery, then reinstall macOS from there. A working Time Machine backup makes this a restore rather than a reinstall.
How to undo the whole thing. On an Intel Mac, boot macOS, open Disk Utility, erase the Linux partitions to free space, and delete the extra MS-DOS (FAT) partition. On Apple silicon, remove the Asahi volumes and reset the boot entry from Recovery. Keep macOS on the internal drive and the change reverses cleanly. If your concern is that partitioning will leave you with a Mac that cannot boot, this is the section to read before you start.
Frequently Asked Questions
Can I install Linux on an M4 MacBook?
Not officially. Asahi Linux supports M1 and M2 Macs, while M3 and M4 hardware is not yet covered by the project. Users on r/AsahiLinux have reported installing it on unsupported newer Macs and ending up with a corrupted bootloader. If you have an M3 or M4, run Linux in a virtual machine instead, or buy a used M1 and use Asahi on that.
Is it possible to use Linux on a T2 Mac?
Yes, but not with a stock distribution. A T2 Mac needs reduced security in the Startup Security Utility, and hardware support for Wi-Fi, Bluetooth, audio and the keyboard backlight requires the T2Linux project. Without it, first-time Linux users report losing keyboard, trackpad, Bluetooth and Wi-Fi the moment they install.
Which Linux is best for an old MacBook?
Linux Mint and Ubuntu are the safest picks because their hardware support lists cover older chipsets and their installers fall back to software rendering when graphics drivers fail. Fedora suits people who want current software. For a very old Intel iMac or Mac mini, check the distribution’s list of supported graphics chips before downloading anything.
How do I dual-boot back into macOS after installing Linux?
Hold the Option key on an Intel Mac at power-on and select the Macintosh HD entry. On Apple silicon, hold the power button until the startup options screen appears, then tap macOS. Avoid setting Linux as the default startup disk in System Settings, because that can hide macOS from a normal reboot and make it look broken.
How much disk space do I need to dual boot Linux on a Mac?
Treat 30 GB as the floor for a usable system and 100 GB as comfortable. On a 128 GB or 256 GB base model, going internal is a bad trade. Booting Linux from a 32 GB external USB 3.0 drive costs you nothing on the internal disk and is much easier to reverse.
Does dual booting Linux on a Mac void the warranty?
Installing Linux itself does not void the warranty, but unofficial hardware modifications can. A dual boot installed entirely on the internal drive leaves your Apple parts untouched. Flashing custom firmware on T2 Macs is where warranty risk appears. Keep a Time Machine backup before any partition change so you can restore macOS without Apple support.
What to Do First
Check your Mac type. Intel, T2 or Apple silicon decides the whole route, and getting it wrong is the step people regret.
Then confirm the distribution supports your exact model before you download anything. If it does not, stop and use a virtual machine.
Finally, finish the Time Machine backup and verify the USB stick mounts in Disk Utility after flashing. Those two checks take twenty minutes and prevent almost every failure described above.