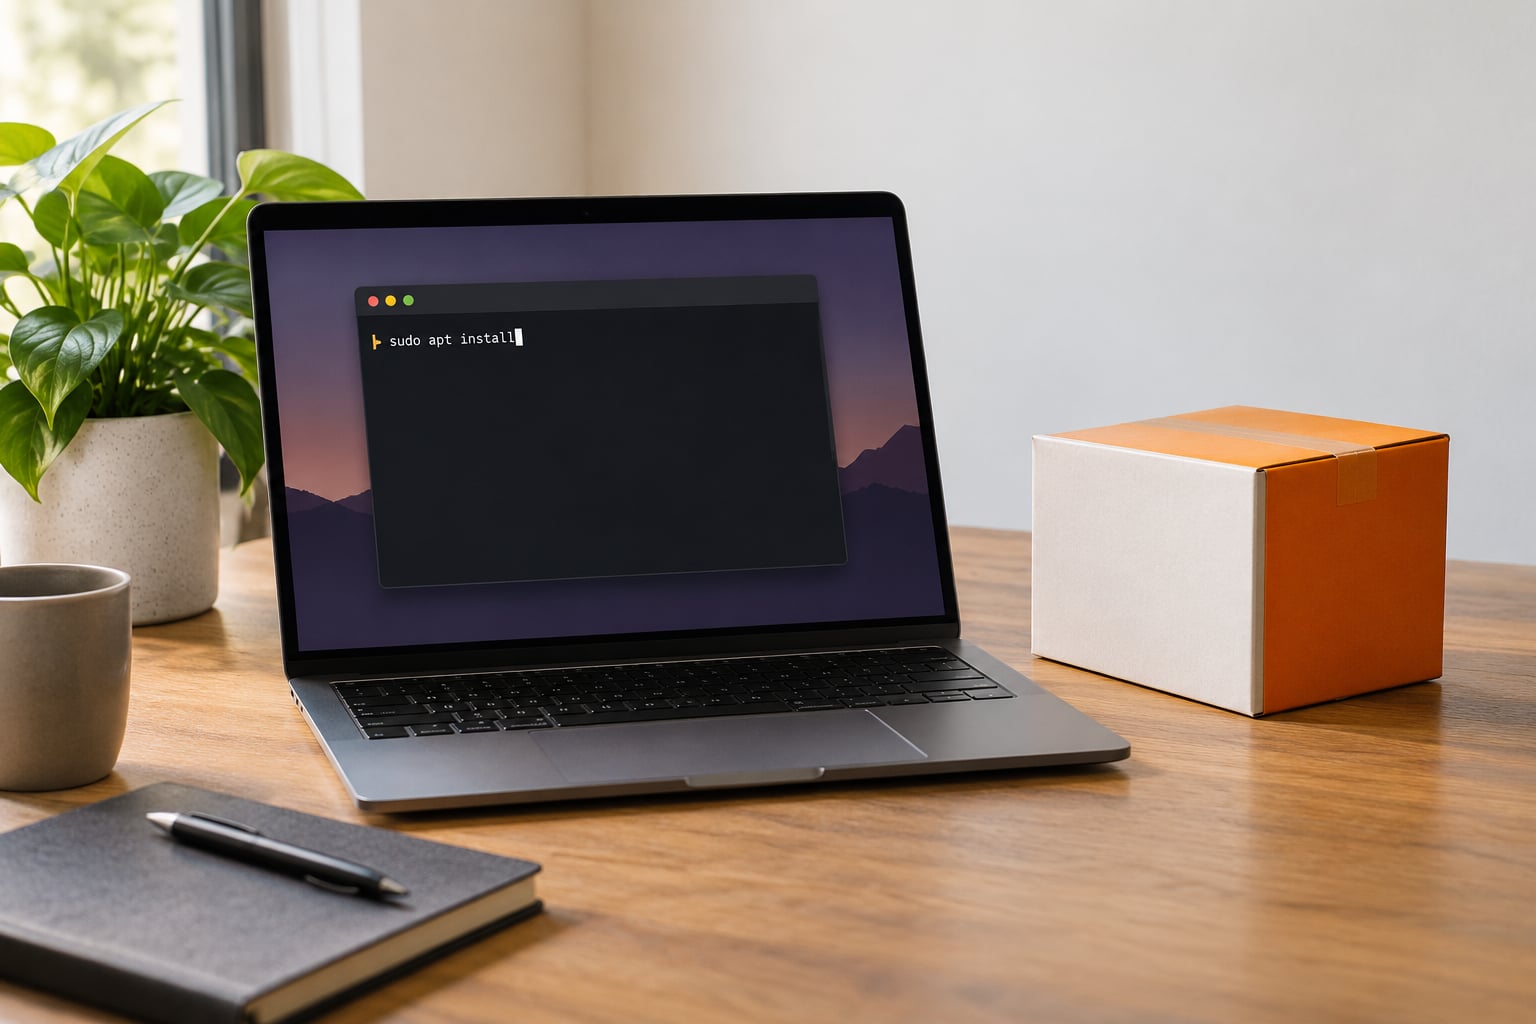
Learning how to install software on Ubuntu from the command line takes two commands in most cases: run sudo apt update to refresh the package index, then sudo apt install package-name. Everything else on this page is a variation on that loop, for downloaded .deb files, Snap packages, and the errors beginners actually hit.
Ubuntu ships with apt, the same package manager Debian uses. On a fresh install in 2026 the terminal is one keyboard shortcut away, and every install you do from the GUI store goes through the same machinery underneath.
Table of Contents
- 1What You Need
- 2Step-by-Step
- 31. Update Ubuntu’s package information
- 42. Find the package name
- 53. Install a package from the Ubuntu repositories
- 64. Install a downloaded .deb package
- 75. Install a Snap package
- 86. Remove or troubleshoot an installation
- 9Common Mistakes
- 10Frequently Asked Questions
- 11How do I install a package in Ubuntu from the command line?
- 12What is the difference between apt install and snap install?
- 13How do I install a .deb file in Ubuntu from the terminal?
- 14Why does apt say package not found?
- 15Conclusion
What You Need
Press Ctrl + Alt + T and a terminal opens. On a headless server, SSH in and you are already there. Every command below runs on Ubuntu 22.04 LTS, 24.04 LTS, and current releases without changes.
You also need to know which kind of file you are dealing with, because the command changes:
- A package name such as
vlcorhtop, listed in Ubuntu’s own repositories. This is the common case and the cleanest one. - A
.debfile you downloaded from a vendor’s website, like Chrome or Zoom. - A Snap, published on the Snap Store and installed with
snaprather thanapt.
And one habit worth learning early: sudo runs a single command as the root user. It is needed for anything that writes to system directories. Ubuntu asks for your password, not the root password.
Ubuntu also warns apt does not have a stable CLI interface on some commands. It is a notice about scripting, not an error. In scripts, use apt-get, which keeps a stable set of flags and output.
Step-by-Step
1. Update Ubuntu’s package information
Before anything else, refresh the index of what your repositories offer. Without this, apt is working from a stale list and will report packages as missing when they are not.
sudo apt updateA successful run prints lines reading Hit: or Get: for each source and ends with a summary of fetched and read package lists. A fresh machine sometimes prints Err: or W: lines for a source you have not reached yet; the install can still work, but note them.
Read this carefully: apt update refreshes the list of available packages. It installs nothing and changes no software. That is apt upgrade, and you can leave it for later.
2. Find the package name
Search by keyword, then read the details before you install anything.
apt search video editorSearch matches names and short descriptions loosely, so read the results. Once you have a candidate, check what it is and where it comes from:
apt show vlcThe output gives the package’s real name, the section, the installed and candidate size, the maintainer, and the homepage. If something is already on the machine, apt list --installed or dpkg -l | grep vlc shows you its version, and apt-cache policy vlc shows which version apt would install next.
3. Install a package from the Ubuntu repositories
This is the whole command:
sudo apt install vlcapt works out the dependencies, downloads every .deb it needs, unpacks them, and puts the executable on your PATH. You will see a summary and a prompt asking to continue; answer y. Add --yes to skip the prompt in a provisioning script.
Verify it worked. If the binary exists, command -v prints the path to it and prints nothing at all if it does not:
command -v vlcFor a service rather than an app, you also want it running at boot, which --now takes care of in one shot:
sudo systemctl enable --now docker4. Install a downloaded .deb package
When a vendor hands you a .deb file, double-clicking it opens Ubuntu Software, which is fine on a desktop. The terminal version resolves dependencies properly, which the double-click path does not always do.
cd ~/DownloadsThen point apt at the local file. The ./ matters, because without it apt treats the name as a package to look up online:
sudo apt install ./google-chrome-stable_current_amd64.debThis beats dpkg -i, which unpacks the file and then leaves you with unmet dependencies to fix by hand. apt pulls the vendor’s own repository first when the package declares one, signs nothing extra into your system, and records the package so your normal update process covers it afterward.
Check it landed with dpkg -l | grep chrome, or look for the app in your applications list.
5. Install a Snap package
Snap is a separate format run by snapd, which Ubuntu enables by default on desktop and server alike. It is used when a vendor ships only a Snap, or when you want an app isolated from the rest of the system.
sudo snap install code --classicDrop --classic if the app does not need it. The classic flag relaxes the sandbox, and only a few applications work without it.
The difference from apt, in one line: snap apps are self-contained, updated automatically, and start a little slower. They cannot see most of your files without permission. Verify with snap list, which prints the name, version, and status of every Snap on the machine.
Flatpak is the third channel worth knowing, and it is not preinstalled. It works the same way, with its own app catalogue:
sudo apt install flatpak
flatpak remote-add --if-not-exists flathub https://dl.flathub.org/repo/flathub.flatpakrepo
flatpak install flathub com.spotify.Client
If you would rather have a friendlier interface, Nala is a drop-in front end for apt with better progress bars and coloured output. Install it once, then use nala install in place of apt install.
6. Remove or troubleshoot an installation
Removal has three levels, and the difference matters. remove deletes the program and keeps your configuration. purge deletes the configuration too. autoremove deletes packages that were pulled in as dependencies and are no longer needed by anything.
sudo apt remove vlc
sudo apt purge vlc
sudo apt autoremove
If a dependency got interrupted, apt usually says so and offers to fix it. You can also ask for the repair directly:
sudo apt --fix-broken install
sudo dpkg --configure -a
Check whether a command is available at all with command -v program. Then find out where an installed program actually keeps its files: most binaries land in /usr/bin, configuration in /etc, and anything you installed for yourself in ~/.local/bin or /opt. That question comes up constantly, and the answer is almost always one of those four.
On a server, pin a version when stability matters more than new features, and undo it later:
sudo apt-mark hold nginx
sudo apt-mark unhold nginx
Common Mistakes
E: Unable to locate package xyz — Two usual causes. Either you have not run sudo apt update, so apt does not know the package exists, or the package comes from a repository you have not added. Run apt search xyz first; if nothing turns up, the software is not in Ubuntu’s default repositories.
E: Could not get lock /var/lib/dpkg/lock-frontend — Something else is already installing, usually Ubuntu Software running in the background or a second terminal mid-install. Close it and wait. If nothing is visibly running, check with sudo fuser /var/lib/dpkg/lock-frontend before doing anything drastic.
Permission denied — You forgot sudo. The fix is to add it, not to run the whole shell as root.
The following packages have unmet dependencies — Usually a hand-installed .deb missing a library. Use sudo apt --fix-broken install, or install from the vendor’s repository so dependencies resolve properly in the first place.
NO_PUBKEY — A repository was added without its signing key, so apt will not trust it. This is a security check working as designed. Get the key from the vendor’s own documentation and place it in /usr/share/keyrings rather than disabling the check.
apt: command not found — Rare on a normal desktop, more common on a stripped-down container image. Check the exact spelling first, then confirm the binary exists at /usr/bin/apt.
Command not found right after a successful install — The program installed, but the shell cache has not noticed. Run hash -r or open a new terminal window.
Two habits that save trouble later: avoid curl ... | sudo bash one-liners from forums unless you have read the script, and never run pip install as root into the system Python. Use a virtual environment instead.
Frequently Asked Questions
How do I install a package in Ubuntu from the command line?
Open a terminal with Ctrl+Alt+T, refresh the package index with sudo apt update, then run sudo apt install followed by the package name, for example sudo apt install vlc. Confirm it worked with command -v vlc, which prints the path to the installed binary and prints nothing if the command is missing. Add u002du002dyes to skip the confirmation prompt when scripting.
What is the difference between apt install and snap install?
apt installs packages from Ubuntu’s signed Debian repositories directly into system directories, so they share libraries, themes, and services with the rest of the system. snap installs a self-contained app from the Snap Store, sandboxed, refreshed automatically, and usually slower to launch. Use apt for libraries, drivers, and server tools, and snap when a vendor ships only that format.
How do I install a .deb file in Ubuntu from the terminal?
Move to the folder holding the file with cd ~/Downloads, then run sudo apt install ./filename.deb. The ./ tells apt you mean the local file rather than a package to look up online, and apt resolves missing dependencies, which dpkg -i does not. Verify with dpkg -l | grep package-name, or check the version apt now sees with apt-cache policy.
Why does apt say package not found?
apt only knows about packages listed in your configured repositories, so a name copied from a website’s download page will fail. Run sudo apt update first to refresh the index, then search with apt search keyword to find the exact repository name. If the software comes from a vendor or a PPA, you have to add that source before its packages exist at all.
Conclusion
Start with apt. Run sudo apt update, find the exact package name with apt search, install it with sudo apt install, and confirm it landed with command -v. That loop covers almost everything Ubuntu can install, and it is the same loop the GUI store uses behind the scenes.
Reach for apt install ./file.deb when a vendor hands you a downloaded package, and for snap install or Flatpak when that is the only format on offer. From there it is apt remove, apt purge, and apt autoremove in that order of increasing thoroughness.