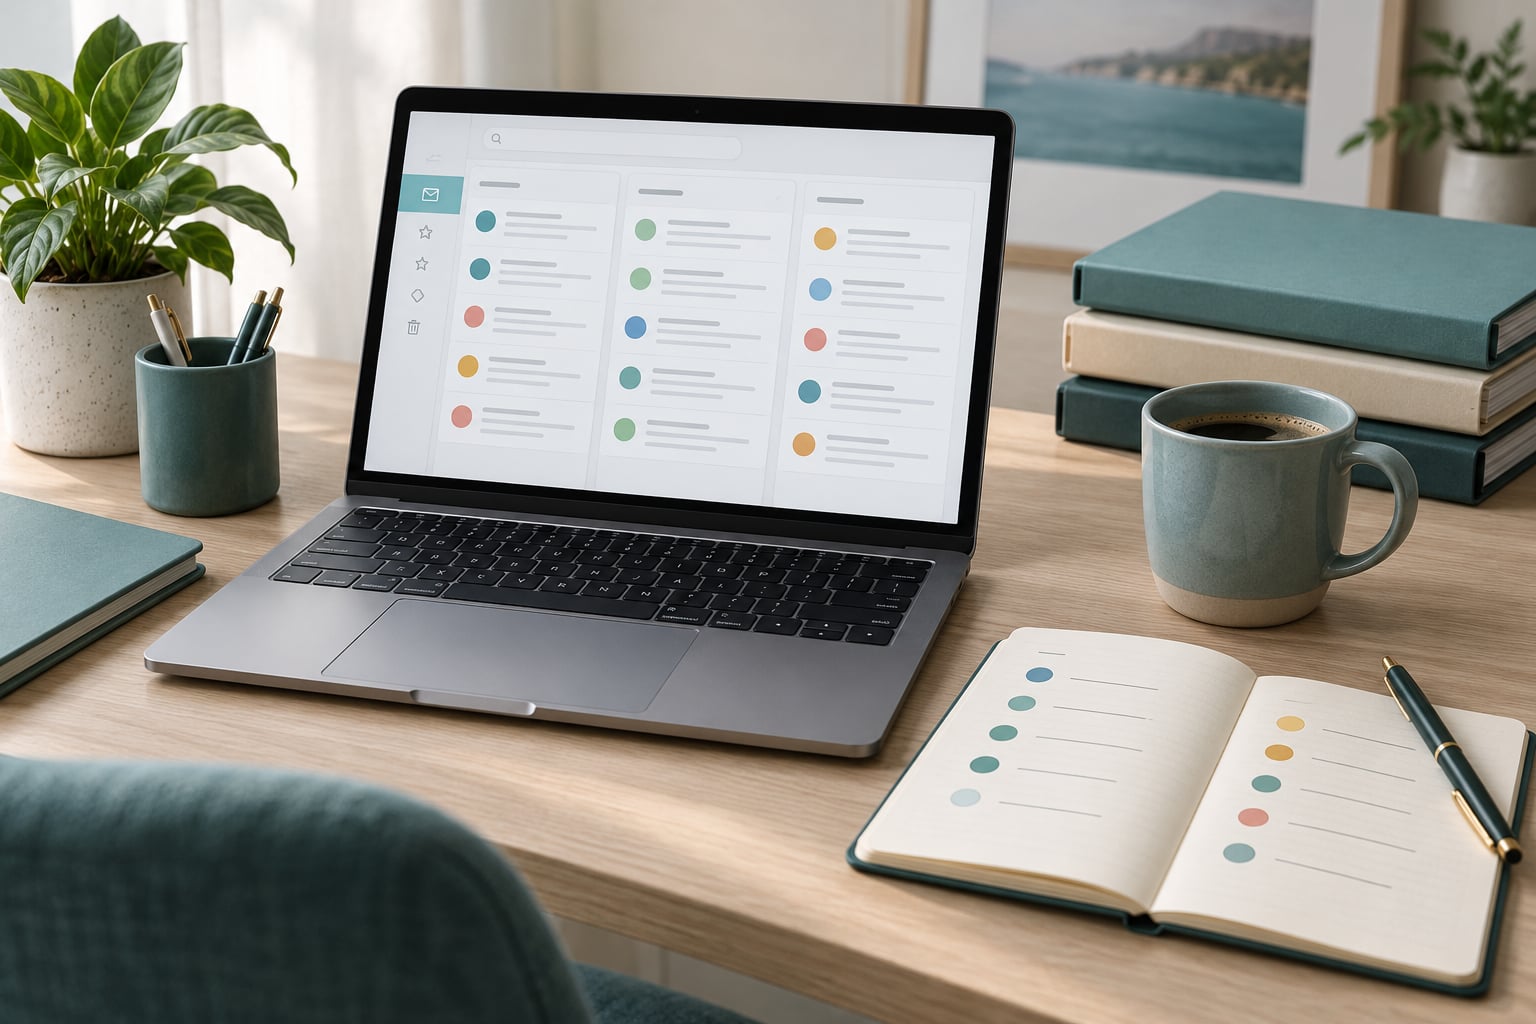
Email filters are automated rules that check every incoming message and, when it matches something you defined — a sender, a word in the subject, a keyword, a file size — apply an action like applying a label, skipping the inbox, marking it read, forwarding it, or filing it into a folder. Every client names them differently, but the model is always the same: condition, then action, then save.
This guide is for anyone who already feels the pinch of a full inbox and wants a system that holds up over months rather than days. We’ll walk through Gmail, Outlook and Apple Mail with exact menu paths, then cover the parts that actually decide whether filters help you: rule order, false positives, and the maintenance that keeps a tidy system tidy.
Budget about an hour for the first pass. If you only do one thing this week, pick your highest-volume, lowest-priority sender — usually a newsletter or a receipts address — and build a single rule for it before touching anything else.
Table of Contents
- 1What You Need
- 2How to Use Email Filters and Rules Effectively
- 3Step-by-Step
- 4Step 1: Organize Your Inbox Before Creating Rules
- 5Step 2: Create a Filter for Newsletters and Promotions
- 6Step 3: Protect Priority Senders and Conversations
- 7Step 4: Automate Receipts, Notifications, and Routine Messages
- 8Step 5: Add Spam, Phishing, and Sender Controls
- 9Step 6: Test, Review, and Refine Your Rules
- 10Common Mistakes
- 11Frequently Asked Questions
- 12What is the difference between an email filter and an email rule?
- 13Can email filters move messages automatically into folders?
- 14How do I stop an email filter from catching messages I need?
- 15Should I use sender addresses or subject lines in email rules?
- 16How often should I review and clean up my email filters?
- 17Conclusion
What You Need
A filter only works if it has somewhere to put mail and a condition narrow enough to recognise the right messages. Before you open any settings screen, sort out these five prerequisites.
- A rough sense of your categories. Scroll back through a couple of weeks of mail and count the recurring types: newsletters, receipts and shipping notices, work threads, automated system alerts, school or club traffic, and personal senders you never want to miss.
- Access to settings on every device you use. Gmail rules live at Settings (gear icon) → Filters and Blocked Addresses. Outlook rules live at Settings → Mail → Rules and Alerts in the desktop client, or Settings → Mail → Rules on the web. Apple Mail rules live in Mail → Preferences → Rules on macOS and Settings → Mail → Rules on iPhone.
- A list of priority senders. Write down the addresses and domains you would be genuinely upset to miss — a manager, two clients, your bank, your school’s registrar, the service that issues account security codes.
- Non-destructive destinations. Create the labels, folders or categories first. A label you can remove in one click is a much safer target than a delete rule.
- A testing habit. Know how to send yourself a message from a second address, and never delete an existing rule until the replacement has proven itself on real mail.
One deliberate omission: don’t build filters for everything today. The people who stick with a filter system are the ones who run 10 to 15 rules covering a handful of real categories, not the ones who build 80 and abandon them in a month.
How to Use Email Filters and Rules Effectively
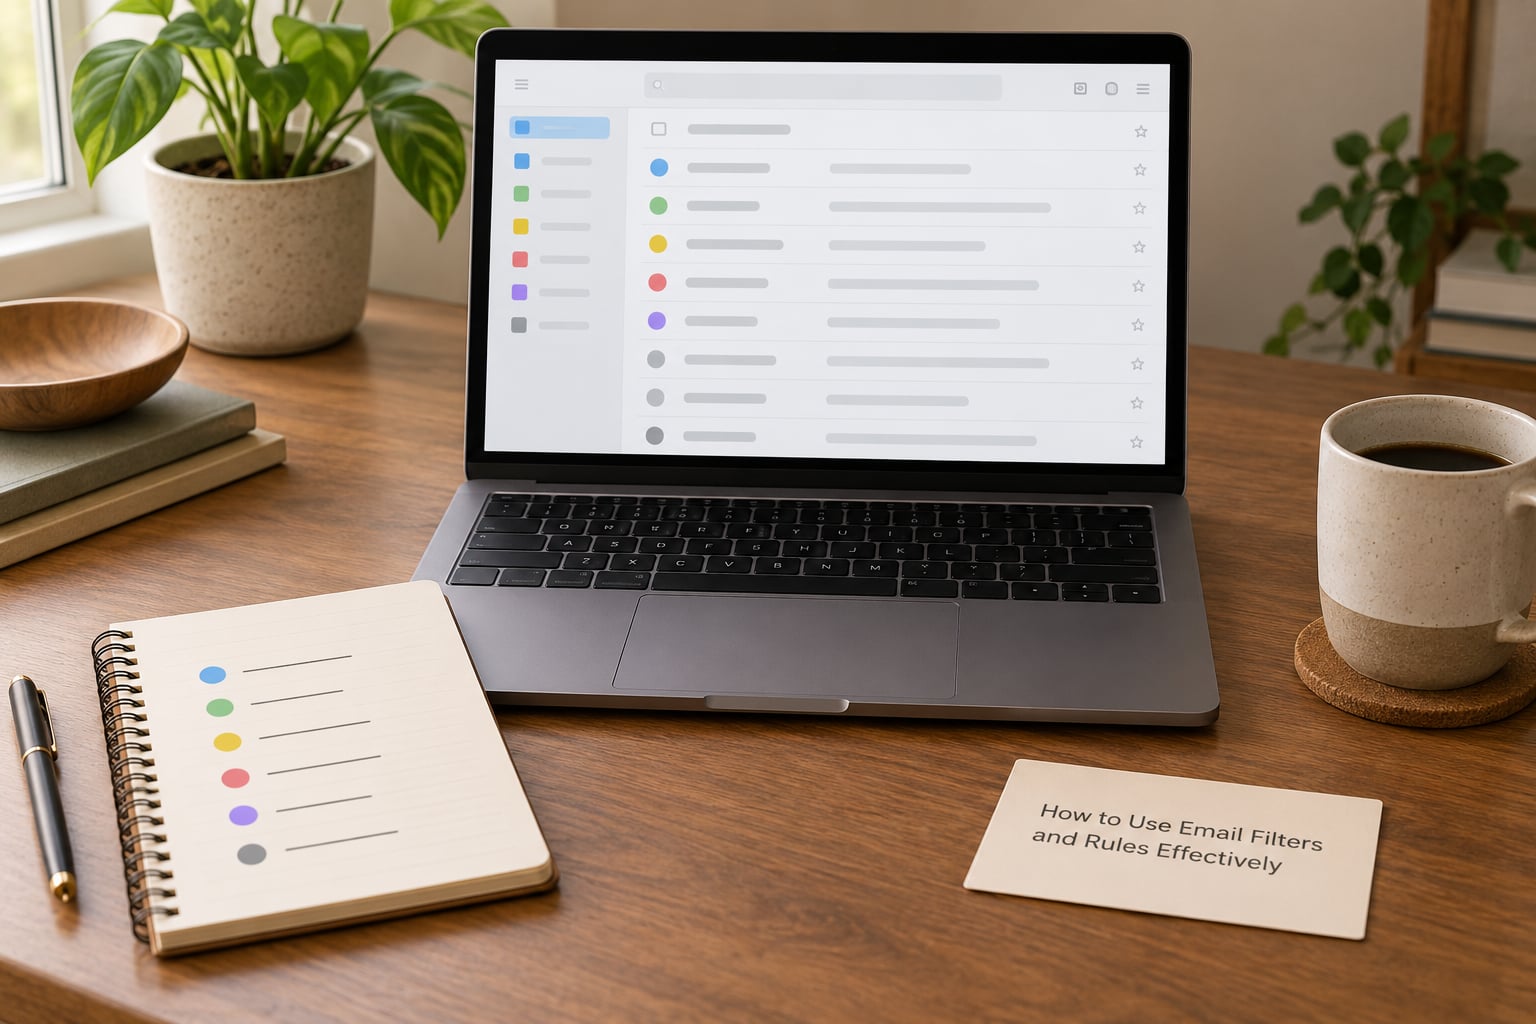
Effectiveness comes down to four habits: start broad and reversible, protect priority senders explicitly, keep the rule count small, and review on a schedule.
Start broad and reversible. Your first filter should apply a label or move a message to a folder, not delete it. Gmail gives you an “Also apply filter to matching conversations” checkbox when you build a rule from a search — tick it deliberately, and understand what it does: it sweeps matching mail that’s already sitting in your inbox, which is also the answer to the most common complaint about filters not working.
Give priority senders their own rule. In Gmail this is Never send it to spam plus Always mark as important plus a star or a label. In Outlook it’s the “Move to folder” action combined with the exception list under Settings → Mail → Junk Email. In Apple Mail, add the address to the junk mail rule’s safe sender list and make your VIP rule run first.
Match on sender, not subject. Subject lines get rewritten. Senders change platforms, migrate domains, or rotate through a sending service and break a rule that used to work. A newsletter that quietly restarts as “Weekly Dispatch from Acme” instead of “Acme Weekly” will slip past any subject-based filter without complaint.
Pair filtering with notifications. A filter that files a newsletter away while your phone still buzzes for it solves nothing. Change the notification setting for that sender or turn off mobile push for the categories you batch-review later.
Review on a fixed schedule. Every three months, open your filter list and ask two questions: does this rule still fire, and do I still want what it does? Finished projects and expired subscriptions are the usual casualties.
Step-by-Step
Step 1: Organize Your Inbox Before Creating Rules
Open a filter screen before opening a folder list, and you’ll build conditions for categories that don’t exist yet. Fifteen minutes of sorting pays for itself.
Start by scanning two weeks of mail without acting on it. Write down the recurring groups you actually see, and resist the urge to split them further — “newsletters” beats “newsletter type A” and “type B.” Then create the destination: a label in Gmail, a folder in Outlook, a mailbox plus a Smart Mailbox in Apple Mail.
Finally, list your priority senders somewhere you will actually keep it. A note on your phone works better than a clever spreadsheet you stop updating in March. This list is the one that protects you when an over-broad rule goes wrong.
Step 2: Create a Filter for Newsletters and Promotions
Newsletters are the right first filter: high volume, low urgency, and easy to recognise by sender, so false positives are rare.
In Gmail on the web, click the search bar and type from:[email protected], or just open a newsletter and hit “Show search options” to build the query from the real headers. Add a second sender with {from:[email protected] from:[email protected]}. Press the filter icon on the search bar, or use the menu that appears inside the result. Choose “Create filter”, name it, pick “Skip the Inbox” and “Apply label: Newsletters”, and tick “Also apply filter to matching conversations” if you want the backlog handled.
The second Gmail path is the gear icon → Settings → Filters and Blocked Addresses → Create a new filter. Gmail pre-fills the Has the words field with the exact query you searched for, which is why the search-bar method is easier for anything non-trivial.
For Outlook on the web, go to Settings → Mail → Rules and Alerts. Outlook names it “Rules”; pick New rule, then Apply my rule to messages received. Outlook’s rule builder is more constrained than Gmail’s — conditions come from dropdowns, and multi-keyword subject matching uses keywords with and, or or exact phrase options rather than braces.
On iPhone or iPad, Settings → Mail → Rules gives you one built-in rule per account plus your own, and actions are limited to Mark as Read, Flag, Move, and Forward. The practical limitation to know: Apple Mail matches on sender and subject, and on iOS a move action copies rather than moves in some accounts, so check the result once before you trust it.
Verify it the same way every time: send yourself a test message from the newsletter’s address, then confirm it landed in the destination and that you can still find it. A rule you have not watched fire is a rule you do not have yet.
Step 3: Protect Priority Senders and Conversations
This is the rule that stops a bad afternoon, so build it before you build any automated sort. Clients, colleagues, your manager, financial institutions, and account-security senders all belong on the same list.
In Gmail, create a filter on that address with three actions: Never send it to spam, Always mark as important, and Apply label: Priority. Leave “Skip the Inbox” off. Gmail also keeps a separate always-allow list at Settings → Filters and Blocked Addresses → Trusted senders, which is the right home for senders whose mail you’ve been losing to spam.
In Outlook, add each address under Settings → Mail → Junk Email → Safe senders and domains, then create a rule that moves their mail to a priority folder without skipping anything else.
In Apple Mail, the built-in “Junk Mail” rule has a safe-sender list in the same dialog, and you can create your own rule above it so it runs first.
Keep this list short enough to maintain. If you put thirty addresses on it, the protection stops meaning anything — 10 to 15 real senders, reviewed quarterly, is plenty.
Step 4: Automate Receipts, Notifications, and Routine Messages
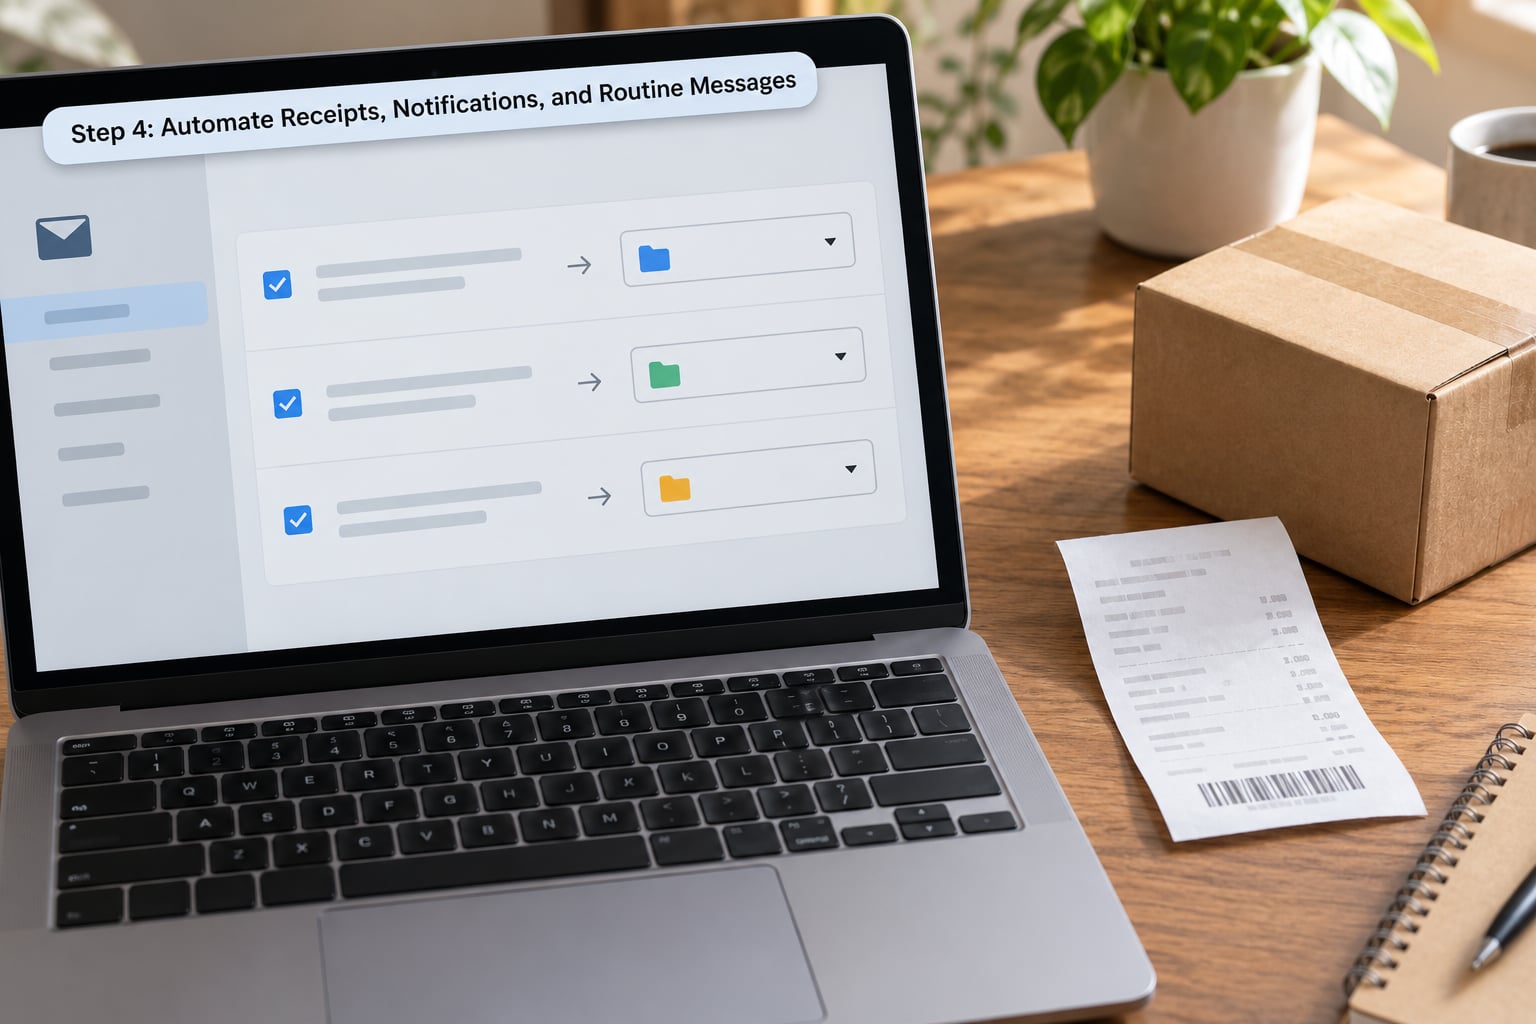
Receipts and automated notices are where combining conditions earns its keep: sender plus a subject keyword files them precisely, where sender alone would also catch that same company’s marketing email.
Order confirmations and shipping notices are the classic two-condition filter — sender from:[email protected] combined with subject:(receipt OR order OR shipped OR "on its way"), then “Apply label: Receipts”. Gmail search supports parentheses and OR; Outlook’s keyword field uses its own dropdown logic, and Apple Mail matches substrings rather than operators.
Calendar invitations can be caught by subject keywords like subject:(invitation OR "invite" OR "rescheduled") so they show up even when the organiser’s address changes between organisations.
System and monitoring alerts — CI/CD builds, uptime checks, error reports — deserve their own rule with “Skip the Inbox” but never “Mark as read.” Unread is how you notice a build broke at 2am. For developers, filtering these properly is usually worth more than any newsletter cleanup.
Attachments and size conditions are worth knowing about too. Gmail’s filter dialog doesn’t offer them, but a Gmail search using has:attachment or larger:5M creates a filter with those conditions once you save it from the search bar. Outlook offers “has an attachment” and a size range directly in its rule builder.
Whatever the category, mark it read or leave it unread on purpose, not by accident. Unread is your work queue, and it stops being useful if half of it is automated.
Step 5: Add Spam, Phishing, and Sender Controls
Filters are an organisation tool, not a security tool. Gmail’s spam classifier, Outlook’s junk mail handling, and Apple’s junk filter all run separately from your rules, and none of them is a substitute for reading a message before you click.
Use the platform controls for what they’re good at: report spam, block a sender outright at Settings → Filters and Blocked Addresses in Gmail or Settings → Mail → Junk Email in Outlook, and report phishing in Gmail through the three-dot menu. Then use your rules for organisation, where you can see and undo what happened.
Never auto-delete mail from an unfamiliar sender as your spam strategy. Archive it into a quarantine folder and review weekly — attackers change From addresses cheaply, and a delete rule will happily eat a real message from your bank’s real domain the week it rotates.
On a work or shared account, read your existing rules before adding more. Filters can be created that forward mail to an outside address or hide messages from view, which is a genuine security consideration on any account you don’t own. If your admin offers an alert when filters change on the account, turn it on.
Step 6: Test, Review, and Refine Your Rules
A filter you built in March is a guess until you check it. Testing takes about five minutes per rule and it’s the difference between a system that works and one you abandoned.
Send a test message from the sender you targeted, confirm it lands where you expected, and check that the action you wanted actually applied — a label with no colour, a folder that didn’t move, a message still sitting in the inbox because the rule ran after the one that stopped processing.
Then review in order. Gmail runs filters top to bottom and stops at the first match unless you choose otherwise, which is why an earlier broad rule can quietly shadow everything below it. Outlook does the same unless you leave “Stop processing further rules” unchecked. Apple Mail runs the top rule first, again first-match-wins.
Look for loops too: a rule that filters on a label you also filter on, or a forward rule that triggers its own filter. If a rule hasn’t matched anything in 90 days, it is either stale or unnecessary.
Common Mistakes
Conditions that are too broad. Filtering on a word like “urgent,” “ASAP” or “update” catches your manager and half your clients. Fix: match the full sender address or domain, and use subject keywords only as a second condition.
Matching on subject lines alone. Sender lines survive rebrandings; subject prefixes don’t. Fix: use the sender as the primary condition and treat subject keywords as a filter, never as the whole rule.
Ignoring rule order. A catch-all rule at the top of the list swallows everything below it. Fix: put specific rules first, and check the stop-processing behaviour in Outlook’s rule settings.
Moving important mail out of sight. “Skip the Inbox” on a VIP sender is a priority violation, not an organisation win. Fix: keep those messages in the inbox, flagged and labelled, so search and snooze still work.
Conflicting rules. Two rules that both apply a different label to the same mail leave you with labels that contradict each other. Fix: one rule per category, one category per message.
Auto-delete as a habit. It’s the one action you can’t undo. Fix: archive or label, then review that folder on a schedule, and delete by hand only when you know what’s in it.
Set-and-forget. A rule built for a project that ended last quarter keeps firing and filing new mail wrongly. Fix: name filters with a start and end date, and delete expired ones during your quarterly review.
The maintenance pass itself takes about twenty minutes. Open your filter list, count them, and aim to keep the total under 15. Confirm the three or four highest-volume senders still file correctly. Delete anything stale, and check that your notification settings match what your filters now do.
Frequently Asked Questions
What is the difference between an email filter and an email rule?
In practice the terms are interchangeable, and Gmail, Outlook and Apple Mail each prefer one word over the other. Filters tend to refer to incoming mail and rules to mail you move around yourself, but the underlying structure is identical: a condition matched against a message, then an action applied when it matches. A filter can also be a spam or blocked-address rule, which sorts junk rather than correspondence.
Can email filters move messages automatically into folders?
Yes, and that is the most common action of all. Gmail filters can apply a label, skip the inbox, mark as read, forward, or delete, and a label works like a folder you can switch on at the click of a button. Outlook rules move mail into a folder outright, and Apple Mail rules move messages between mailboxes, with Smart Mailboxes gathering them back into one view for review.
How do I stop an email filter from catching messages I need?
Narrow the condition rather than deleting the rule. Add a second condition, for example a subject keyword, so the filter only fires on the exact traffic you meant. If a single message slipped through, you can exempt one address without touching everything else: remove it from the rule’s list, or add it as an exception in Outlook’s rule settings. Check rule order too, since an earlier broad rule often shadows the specific one.
Should I use sender addresses or subject lines in email rules?
Sender addresses, almost always. They change far less often than subject lines, which get rewritten, rebrand along with a newsletter, or vary between a campaign and a transactional message from the same company. Use subject keywords as a second condition to narrow a sender, not as the only condition. If a sender rotates to a new domain, a subject pattern may catch the migration, but expect to update it.
How often should I review and clean up my email filters?
Every three months is a good rhythm, and once a year at minimum. Spend twenty minutes checking that your highest-volume filters still fire, deleting rules for finished projects and unsubscribed newsletters, and confirming your notification settings match what the rules now do. Do a quick monthly glance at a label or folder count instead — if one category grows far faster than the rest, its rule probably stopped matching and mail is piling up in the inbox.
Conclusion
Start with one filter, not a system. Pick the sender that fills your inbox most often and delivers nothing urgent, build a rule that applies a label and skips the inbox, then send yourself a test message and watch it land. Once that works, protect your priority senders before adding anything else — that second rule is what makes the rest of the setup safe.
Learning how to use email filters and rules effectively comes down to restraint. Ten or fifteen rules, matched on senders, tested before you trust them and reviewed every few months, will outperform a hundred subject-line filters you never revisit.