Digital photos are the only family record most of us will ever own, and they sit on hardware that fails without warning. A phone goes in the sink, a laptop drive stops clicking, or a cloud account quietly propagates one mistaken tap across every device signed into it.
Knowing how to back up photos so you never lose them comes down to a single rule that nearly every guide mentions and very few people finish setting up. It is called the 3-2-1 rule, and this guide walks through the whole system: where your originals actually live, the local copy, the off-site copy, and how to check that all of it works.
The first full setup takes about two hours. The maintenance afterwards is ten minutes a month.
Table of Contents
- 1What You Need
- 2Syncing and backing up are not the same thing
- 3How much room to buy
- 4Step-by-Step: Build a Reliable Photo Backup System
- 5Step 1: Find where your original photos actually live
- 6Step 2: Make a local copy on storage you control
- 7Step 3: Set up one cloud or off-site photo backup
- 8Step 4: Apply the 3-2-1 rule to your own library
- 9Step 5: Verify the backup instead of assuming it worked
- 10Step 6: Automate the backup and test it on a schedule
- 11Common mistakes that wipe out photo libraries
- 12Frequently Asked Questions
- 13Is iCloud Photos a backup of my pictures?
- 14Is Google Photos a true backup or just sync?
- 15How much cloud storage do I need for my photos?
- 16If I delete a photo from my phone, will it delete every backup?
- 17How do I move an existing photo library to a new computer?
- 18What should I do with old photos after losing my phone?
- 19Your First Photo Backup Checklist
What You Need
Before buying anything, know what the rule actually asks for. Three copies of your photos, stored on two different kinds of storage, with one copy somewhere other than the place you usually keep your devices.
Concretely, that means an active library you work from every day, a second location on storage you own, and one copy off-site. Your phone plus an external drive plus a cloud account is the classic version, but any three that do not share a failure point will do.
Syncing and backing up are not the same thing
Sync makes two locations identical. Backup makes a historical copy that ignores what happens next. The difference decides whether one bad tap destroys everything or nothing, so it is worth being blunt about it.
| What happens | Syncing | True backup |
|---|---|---|
| You delete a photo | The deletion follows you to every synced device | Older copies stay untouched until they age out |
| Ransomware hits your computer | Encrypted files sync as encrypted files | The last good copy is unaffected |
| Drive fails physically | Nothing to protect; the mirror was on the same machine | A dated copy on other hardware survives |
| Account password is compromised | Attacker deletes across your whole account | Local copy and old versions remain |
| Changes years later | Nothing kept from the past | Previous versions available to restore |
How much room to buy
Shoot for space that covers what you have today plus two or three years of growth. A modern phone photo lands somewhere around 2 to 5 MB, a RAW file from a camera can run 25 to 60 MB, and 4K video eats roughly 25 to 40 GB for an hour.
Work it out roughly: multiply your average photo size by how many shots you take in a year, then add video separately. A family shooting 8,000 photos a year at 4 MB each is about 32 GB a year before any video, so a 2 TB drive leaves comfortable headroom for a decade.
Step-by-Step: Build a Reliable Photo Backup System
The goal of this workflow is simple: when any single thing goes wrong, another copy survives untouched. Six steps get you there, and they build on each other in order, so do not skip ahead to the cloud step thinking you are finished. Copying everything to one service is the single most common way readers end up with no backup at all.
Step 1: Find where your original photos actually live
You cannot back up what you have not located, and this is where most people guess. On an iPhone, everything you shot sits in the Photos app unless someone changed it. On Android, it is the DCIM folder inside internal storage, usually reached through the Files app.
On a Mac, your library is the Photos Library.photos package in your Pictures folder, and the Photos app can show you the original file location directly: open Photos, select a photo, hold Option, choose Show in Finder, and the containing folder appears. On Windows, look for Camera Roll under your user Pictures folder and the Photos library under My Pictures, where File Explorer needs View and then Show and then Hidden items turned on to display it.
For cloud-held libraries, the answers are more specific. In Google Photos, full-resolution originals live in your Google account storage and can be exported in bulk through Google Takeout. With iCloud Photos switched on, the masters sit in iCloud and in the Photos Library on any Mac signed in with the same Apple Account. Amazon Photos keeps the originals in its own app rather than in your phone’s DCIM folder.
| Device or platform | Where the originals are |
|---|---|
| iPhone and iPad | Photos app, mirrored to iCloud when iCloud Photos is on |
| Android phone | DCIM folder in internal storage, mirrored by Google Photos if enabled |
| Mac | Pictures/Photos Library.photos package |
| Windows PC | Pictures/Camera Roll and My Pictures/Photos Library |
| Camera and card reader | SD or CF card, until you copy it yourself |
Before you start copying, write down that location. Six months from now you will not remember it, and “the photos are on my computer somewhere” is not a backup plan.
Step 2: Make a local copy on storage you control
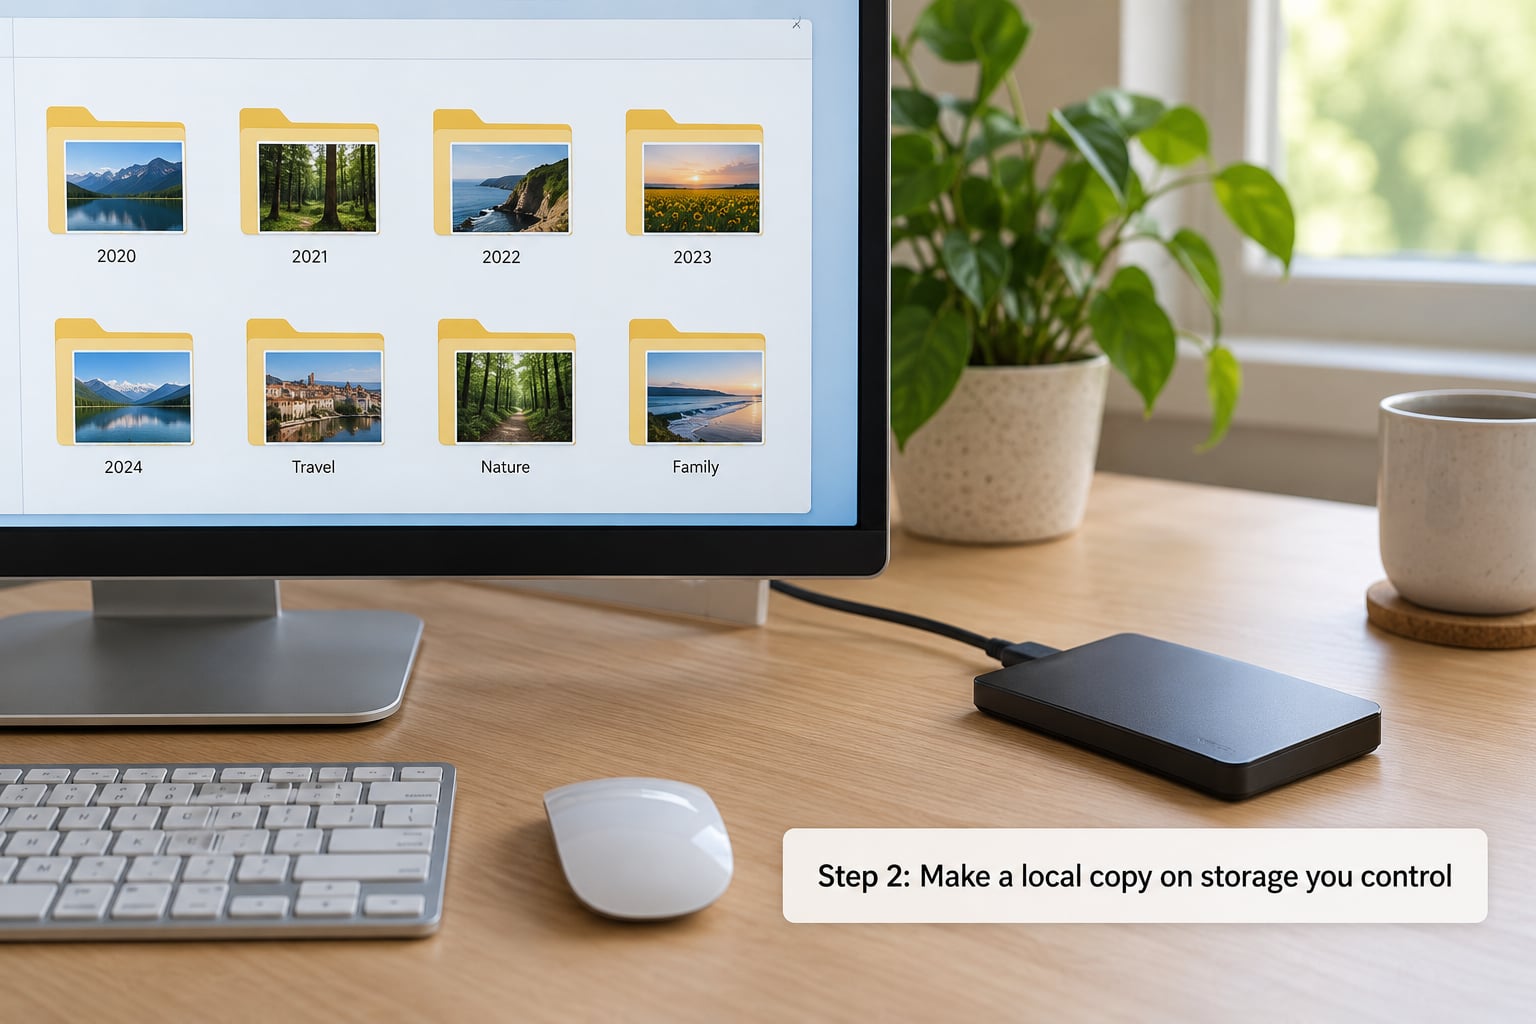
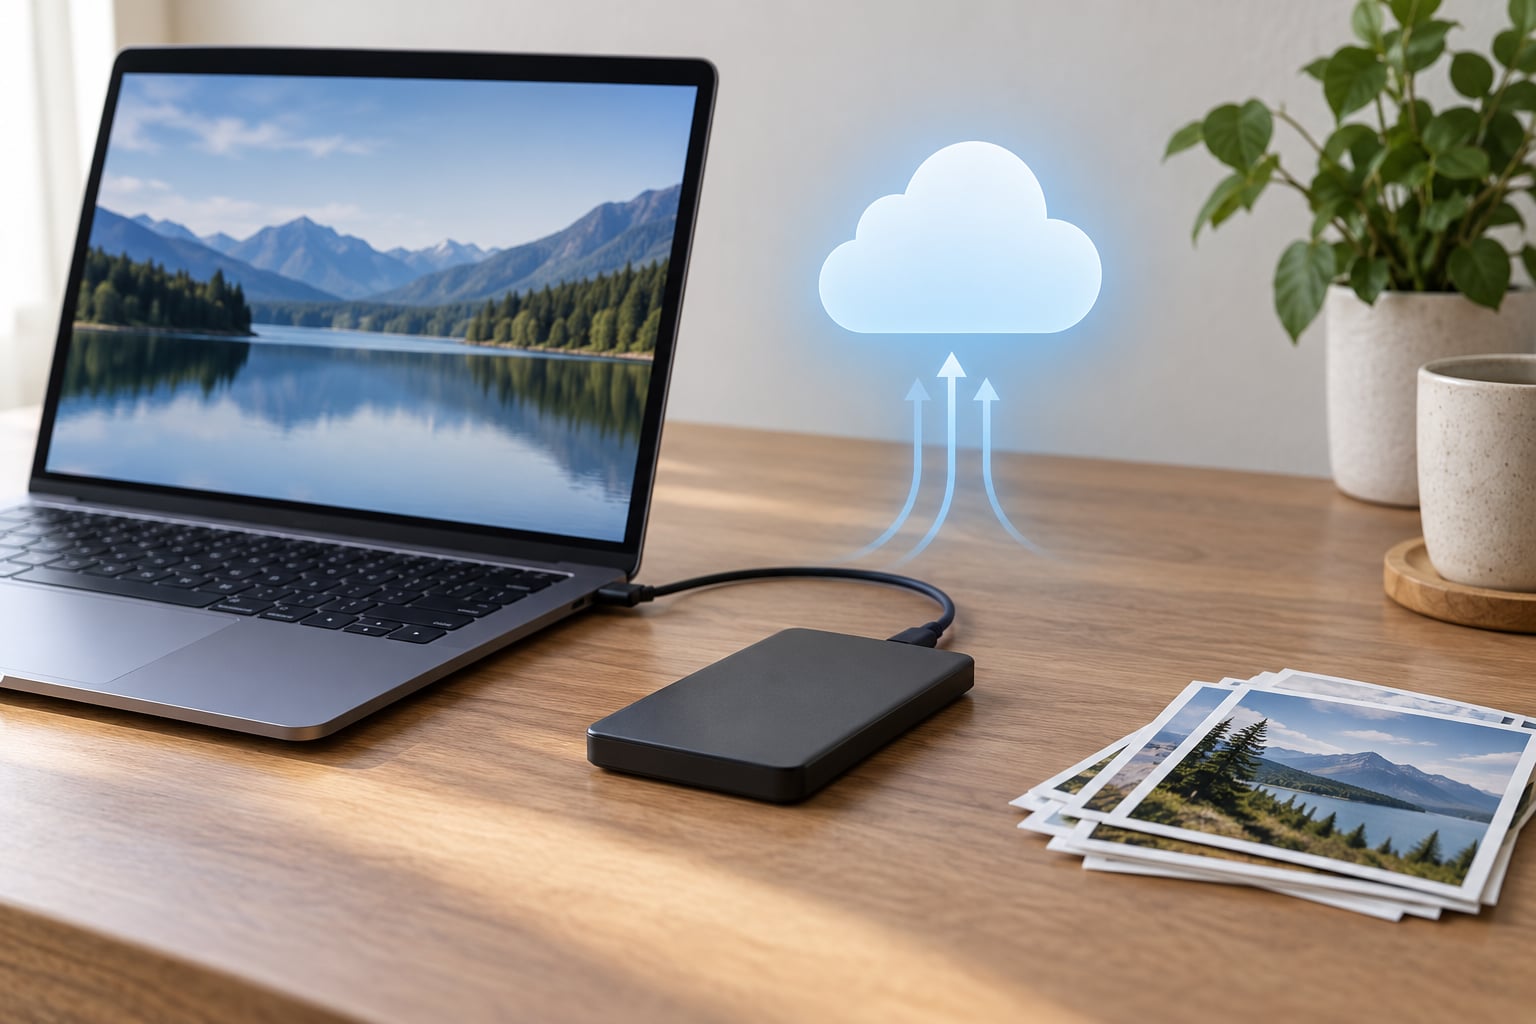
Connect an external solid-state drive or hard drive, format it, and copy the library folder onto it. Format first, then copy, so the drive has a clean filesystem and no leftover permissions. Name the folder with the date you made it, such as Photos-2026-10, rather than a vague name like New folder.
On a Mac, the copy is a drag in Finder, or you can let Time Machine handle it by opening System Settings, choosing General, then Time Machine, and adding the drive as a backup disk. Time Machine keeps hourly, daily and weekly history, which makes it a backup rather than a mirror. On Windows, open Control Panel and turn on File History for your Pictures folder, or use a File Explorer copy for a one-time snapshot.
On Linux, Dolphin, Nautilus and PCMan2 all do a straight folder copy with drag and drop, and rsync handles repeat runs cleanly with a command like rsync -av –delete /home/you/Pictures/ /mnt/backup/Photos/. Mark the folder read-only after copying if you like, so nothing accidental writes into the snapshot.
Your first verification signal is the file count. Select every folder in the source, check the item count at the bottom of the window, and compare it with the destination. A silent partial copy usually skips a subfolder and leaves you believing everything moved.
Solid-state drives are faster, silent and shock-resistant, which is why they suit a working library. Spinning hard drives cost less per terabyte and suit archive copies that mostly sit still. Either beats a drive that lives in a drawer and has never been plugged in.
Step 3: Set up one cloud or off-site photo backup
Cloud is the off-site copy, and the choice mostly comes down to what you already own. On iPhone and Mac, open Settings or System Settings, choose your name, pick iCloud, then Photos, and turn on Sync this iPhone or Sync this Mac. Turning on Optimize iPhone Storage keeps small versions on the handset and full-resolution files in iCloud, which is the one setting most people should switch on.
For Google Photos, open the app, tap your profile picture, and switch Backup on. The same account on a browser at photos.google.com lets you check progress. Turning on Backup from the desktop uploads folders from your computer as well, which is how most libraries get their first off-site copy.
On Windows, OneDrive is already signed in in File Explorer, and the Photos app can point its backup folder at OneDrive through its settings. That covers pictures taken on the PC but not your phone’s camera roll, so use a separate mobile upload for those.
Amazon Photos is the quiet option inside a Prime membership. Its app uploads from your phone automatically and leaves the full-resolution originals intact rather than compressing them, which matters if you shoot video.
Two cautions. First, storage limits are shared across photos, videos and documents on most plans, and when a plan fills up, uploads stop quietly without a warning banner. Leave a little slack. Second, do not run two photo services against the same library at once and expect them to merge. Sync both directions with one account and you get two half-complete libraries instead of one whole one.
If you already spread a library across several services, consolidate before you back anything up. Pick one service as the library, download a full archive through the provider’s export tool, verify it, then upload that archive to the second service. Skipping the verification step is how people end up with a tidy empty folder and a false sense of calm.
Step 4: Apply the 3-2-1 rule to your own library
Here is the rule as a concrete example. Your original library lives on your Mac at Pictures/Photos Library.photos. Copy one: that same library onto an external SSD named Photos-2026-10. Copy two: the Apple library in iCloud, with sync on. Three copies, two storage types, one of them somewhere you cannot reach with a single dropped phone.
Now picture the failures. Your laptop SSD dies: the external drive and iCloud both still hold every original. A ransomware email locks your Mac and syncs encrypted files into iCloud: the dated local copy is clean. You swipe a photo away by accident in the Photos app: iCloud removes it too, but the external copy from this month still has it.
The rule only works when the copies are genuinely independent. Two drives in the same desk drawer share one flood, one theft and one power surge. Two cloud accounts under one compromised password share one failure point too, which is why the off-site copy should be the one you cannot fully administer from your phone.
| Option | Good for | Watch out for |
|---|---|---|
| External SSD | Fast copies of a working library, silent, shock-resistant | Needs reformatting every few years |
| External hard drive | Cheapest capacity for archive copies | Moving parts, silent degradation over time |
| NAS on your network | Automatic backups from several devices, versioning | Setup complexity, and RAID is not a backup |
| Cloud service | Off-site by definition, restore from any device | Storage limits, subscription, account risk |
Step 5: Verify the backup instead of assuming it worked
A progress bar proves that bytes moved, not that a backup is restorable. Verification takes ten minutes and catches the failures that matter.
Compare file counts between your library and the backup folder. Then open five photos at random, including the oldest and the newest, and check that they display correctly on the other device. Download one full-resolution original from the cloud service and compare it against the local file, because several services hand you a compressed copy at download time.
Finally, restore a small folder somewhere temporary. Five images on a spare folder proves you can actually pull files back, which is a different question from whether you can see them in a gallery app. Do this once at setup, and again on your schedule.
Step 6: Automate the backup and test it on a schedule
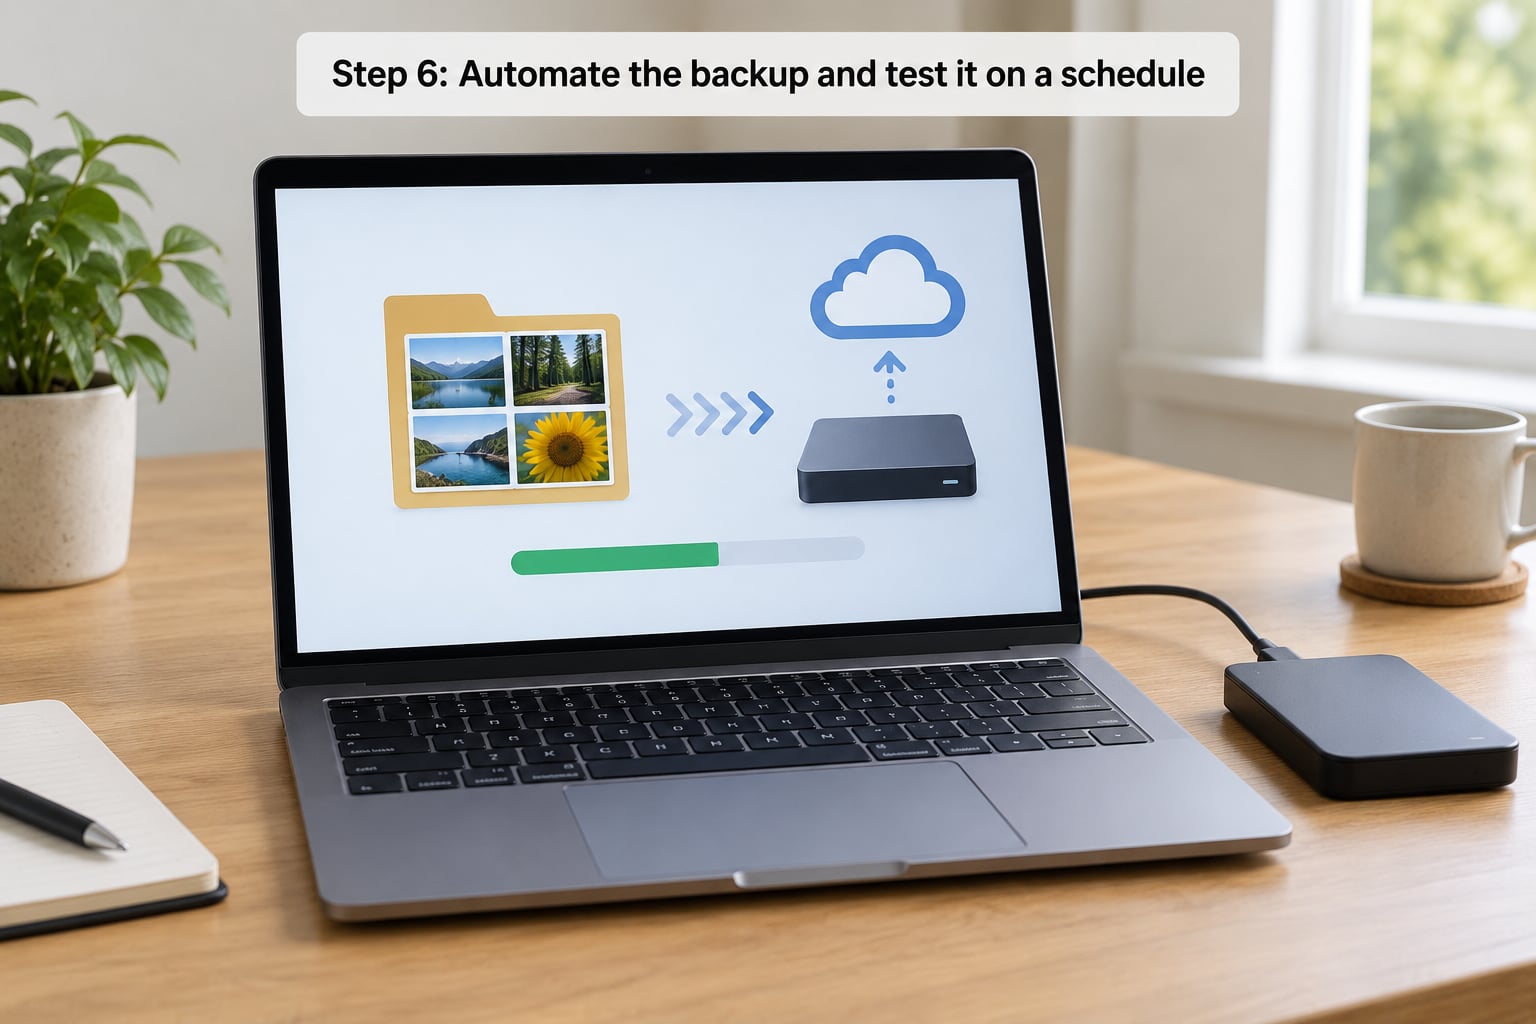
Manual backups stop the first busy week. Automate the second copy the same week you set it up.
On iPhone, iCloud Photos handles it with nothing to maintain. On Android, Google Photos with Backup switched on uploads new shots over Wi-Fi automatically. Amazon Photos does the same inside its app. For the local copy, leave Time Machine or File History running with the drive connected, or run FreeFileSync or a scheduled rsync job if you want control over exactly which folders are mirrored.
Camera users have an extra rule: the card is not a backup. Copy new shoots to the computer the same evening, format the card only after confirming the files arrived, and use two card slots in the camera body when your camera offers them.
Put two appointments in your calendar. A monthly five-minute check that new photos appeared in both copies, and a restore test every three to six months where you open a handful of files from the oldest backup. A yearly review where you confirm you still know the passwords and still have access to the off-site account.
Write the whole setup down on paper or in a password manager note: where the originals are, what the local backup is called and when it was last verified, which cloud account holds the off-site copy, and who can reach it if you cannot. Family members ask for these copies repeatedly, and inheritance plans exist mostly for the same reason.
Common mistakes that wipe out photo libraries
Relying on a single cloud account. One subscription, one password, one point of failure. Add a local dated copy and the risk collapses.
Treating sync as backup. This is the expensive one, because the deletion follows you everywhere within days and the service only keeps deleted items for a short window, often 30 days in iCloud and 60 days in Google Photos.
Leaving photos only on the phone. Phones get stolen, dropped and dropped in water, and they are the least likely of all your devices to be backed up by accident.
Using a drive that has never been tested. An untested backup is a hope. Restore a folder from it once before you trust it, and read the drive’s health status with a utility such as CrystalDiskInfo or the equivalent your platform ships with.
Ignoring albums, folders and metadata. A flat dump of files loses the organization you spent years building. Copy whole folder structures rather than selecting files one by one, and keep sidecar files for RAW formats beside their images.
Backing up the wrong library. People copy an empty or partial folder while the real one sits untouched elsewhere. The folder path and a file count written down in step one prevent this.
Reorganizing before you copy. Deleting what looks like a duplicate, renaming folders and cleaning up are all fine operations right up until they happen to the only copy. Make the second copy first, then tidy.
Frequently Asked Questions
Is iCloud Photos a backup of my pictures?
iCloud Photos is a sync first and a backup second. With Sync this iPhone enabled, every photo uploads to iCloud and downloads to your other Apple devices, which gives you one genuine off-site copy. But deletions travel with the sync, so a photo removed on one device disappears from them all. Keep a dated local copy on an external drive to close that gap.
Is Google Photos a true backup or just sync?
It behaves like a backup for your phone camera roll: switch Backup on and new photos upload automatically while full-resolution originals stay intact unless you enable Storage saver. What it is not is an independent archive. Every device signed into the same account sees edits and deletions, and your files sit in a shared storage quota that stops uploading quietly when it fills up.
How much cloud storage do I need for my photos?
Count photos and videos separately. At roughly 3 to 5 MB per modern phone photo, 50,000 shots land around 150 to 200 GB, and 4K video can add 25 to 40 GB for every hour recorded. Buy for what you shoot next two or three years rather than what you own today, and leave headroom, because most services stop accepting uploads once the quota is full.
If I delete a photo from my phone, will it delete every backup?
Only the copies that sync to your phone. A dated folder on an external drive is a snapshot, so the photo stays there until you overwrite it yourself. Cloud libraries remove deleted items to a Recently Deleted folder, around 30 days in iCloud and 60 days in Google Photos, before discarding them. That window is why a local copy matters.
How do I move an existing photo library to a new computer?
Copy the library folder before you launch the Photos app on the new machine, since opening it starts a migration that makes changes hard to reverse. On a Mac, move the Photos Library.photos package from the old Pictures folder to the new one and let Photos locate it. On Windows, copy Camera Roll and My Pictures, enabling hidden items in File Explorer first.
What should I do with old photos after losing my phone?
Sign into iCloud.com or photos.google.com from any browser and check Recently Deleted first, since anything removed shortly before the loss is often still there. If your library was off-site, the photos are recoverable within minutes. Without an off-site copy, check your computer, any old device and any memory cards before wiping the phone, because each wipe makes recovery less likely.
Your First Photo Backup Checklist
Work through these five in order this week. Find the folder or service holding your originals and write the path down. Copy the whole library to an external drive and name it with today’s date. Turn on one off-site copy in the service you already use. Open a few files from each copy to confirm they are really there. Then set a monthly reminder to check and a six-monthly reminder to restore.
The single most important move is the second one on that list. Create the local copy before you reorganize, rename or delete anything, because tidying up feels productive and destroying the only version of your photos feels terrible.
Update this list as your library grows. New camera, new phone, new laptop: every device change is a reason to check that the three copies still exist and still point at the current library.