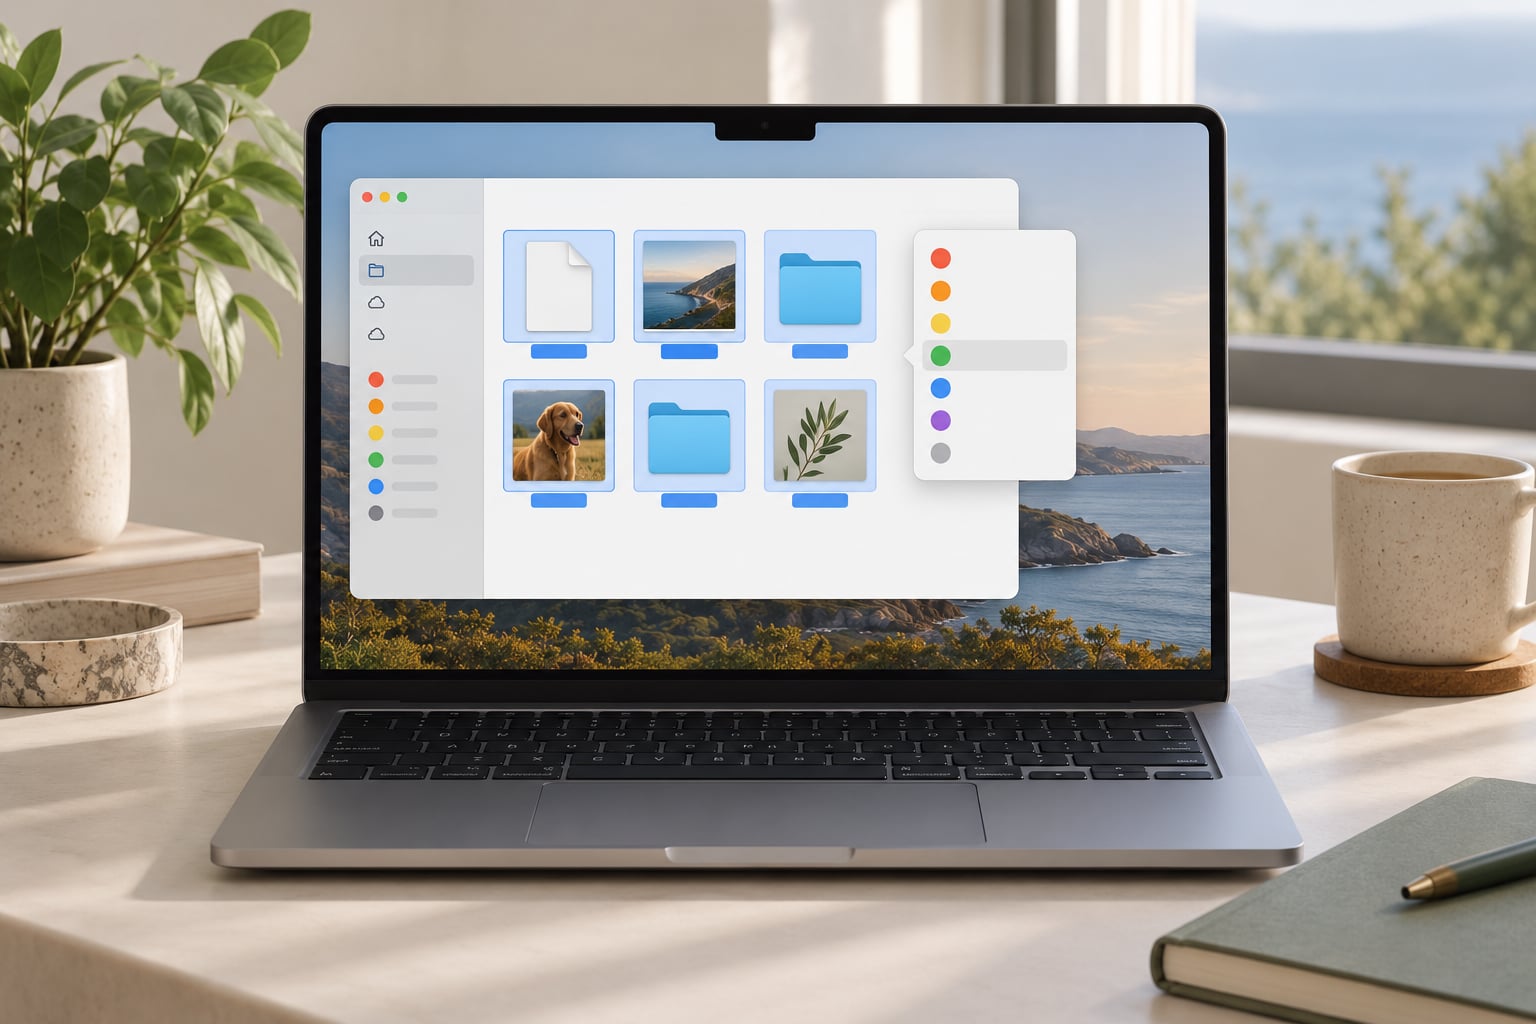
Finder tags are colour-coded labels you attach to any file or folder so you can find it later, no matter where it sits on disk. Learning how to use tags to organize files on a Mac takes about ten minutes: pick a file, press ⌘-T, choose a colour, and the item appears under that tag in the Finder sidebar forever. The file itself never moves.
That last part is the whole point. A folder forces one home per file, so a receipt that belongs to travel, to a tax return and to a shared drive usually ends up in one place and gets lost in the others. A tag lets the same file answer to several descriptions at once.
Below is the full Finder workflow, written for current macOS and the two releases before it, including the custom-tag dialog that most tutorials skip and a note on where tags quietly stop working.
Table of Contents
- 1What You Need
- 2Step-by-Step: How to Use Tags to Organize Files on a Mac
- 31. Show the Tags Area in Finder
- 42. Create a Tag for a File Category
- 53. Apply Tags to Files and Folders
- 64. Find Files by Tag
- 75. Rename or Change a Tag’s Color
- 86. Remove a Tag Without Deleting the File
- 97. Use Smart Folders to Automate Tag Searches
- 10Common Mistakes
- 11Frequently Asked Questions
- 12Do Finder tags move my files?
- 13Do tags work on external drives and network shares?
- 14How do I find all files with a specific tag on macOS?
- 15How are Finder tags different from folders?
- 16Why aren’t my Mac tags showing up in the sidebar?
- 17What is the keyboard shortcut for adding tags in Mac Finder?
- 18Conclusion
What You Need
You need a Mac running a recent macOS, or anything older that still ships Finder tags (they have been there since OS X 10.6). No extra app, no account, no subscription.
Tags work best on files living somewhere Finder can reach directly: Desktop, Documents, Downloads, your home folder, an attached external drive. Read the last section before you tag a OneDrive folder or a NAS share, because those two behave differently from a plain local folder.
If your sidebar has no Tags section at all, the first step below fixes that. That missing section is the single most common reason people say their tags vanished.
Step-by-Step: How to Use Tags to Organize Files on a Mac
Seven steps, start to finish. The first three get you tagging, the last four cover finding, cleaning up and automating.
1. Show the Tags Area in Finder
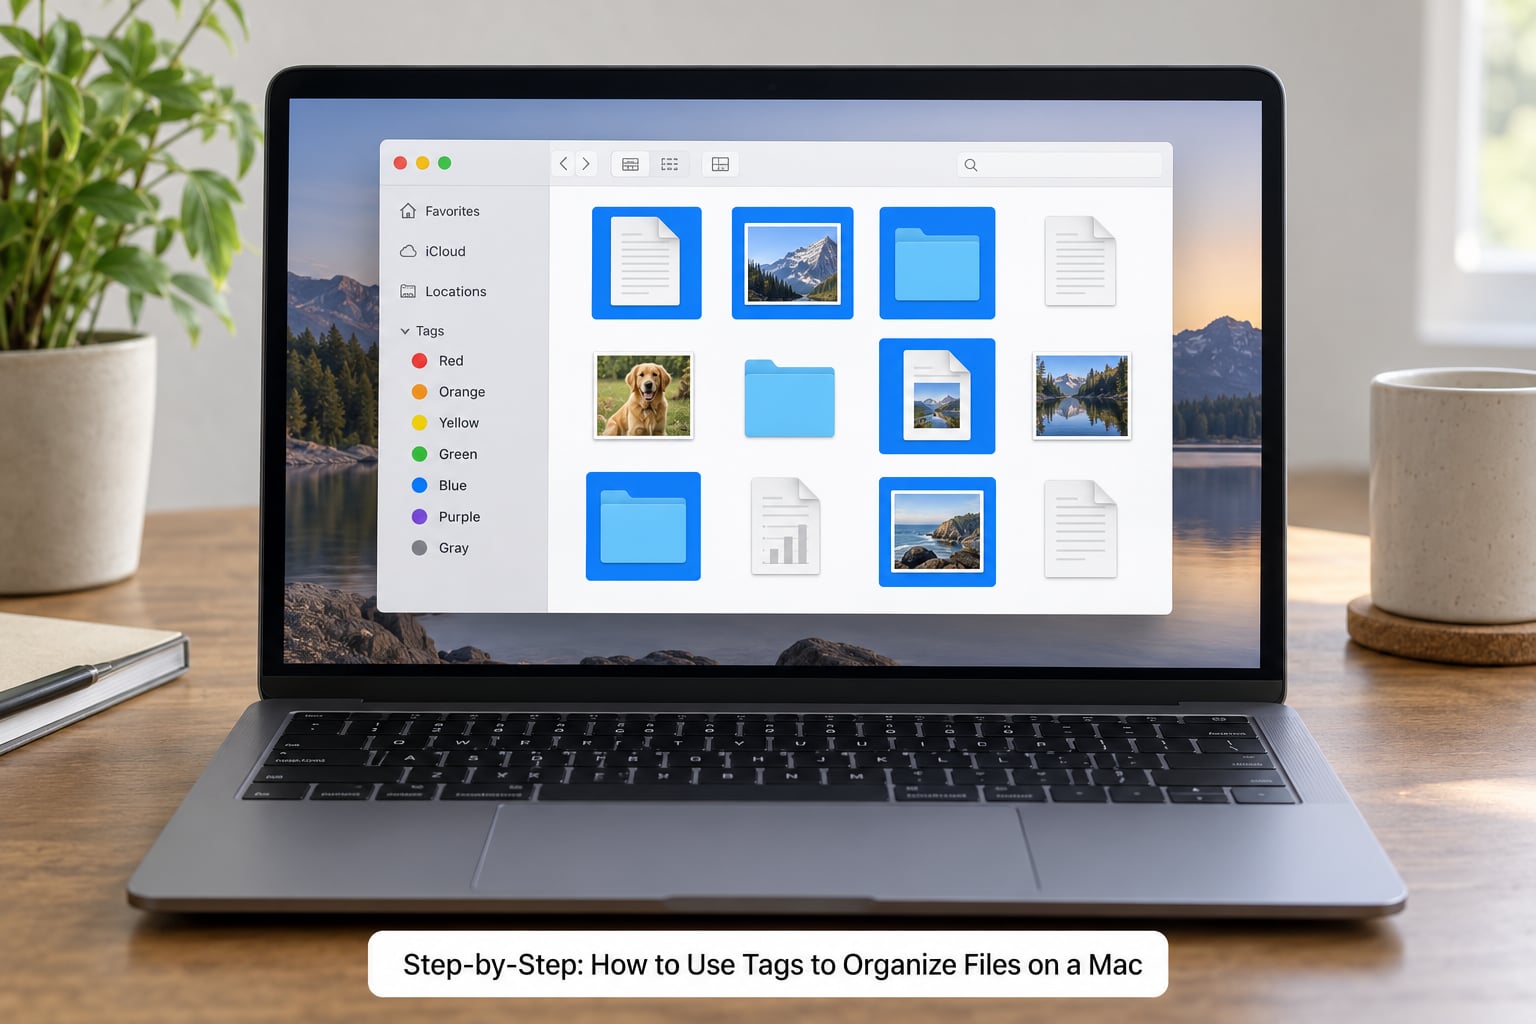
The Tags section is hidden by default in some windows, so turn it on once: open Finder, choose View in the menu bar, pick Show View Options, tick Tags, then click Done.
Your sidebar now lists Red, Orange, Yellow, Green, Blue, Purple and Grey under a Tags heading, plus any named tags you have created. Click a tag there and Finder gathers every file carrying it, across your whole Mac, not just the folder you were looking at.
2. Create a Tag for a File Category
Use the built-in colours for a first pass, then make named tags for anything you will look up by meaning. A tag called Research or Invoices beats a red dot, because you can search it by typing its name.
To make one: with any file selected, use File > Tags > New Tag. A sheet appears with a name field, seven colour dots and a keyboard-shortcut box. Type the name, pick a colour, optionally assign a shortcut, then click Done. The new tag shows up in the sidebar immediately.
A vocabulary of four or five tags is plenty to start. Add another only when the existing set fails to describe something, which is the advice that keeps coming out of the Mac Power Users tagging threads.
If you would rather borrow a starting set than invent one, this covers most libraries:
| Tag name | Use it for | Example |
|---|---|---|
| inbox | Unsorted, needs a decision | A screenshot you took this morning |
| active | Work in progress right now | The contract you are redlining |
| reference | Look-up material, never edited | A spec sheet or a rate card |
| invoice | Anything billable or deductible | A hotel receipt from a client trip |
| archive | Finished but worth keeping | A shipped project’s final deck |
Lowercase single words sort cleanly and never clash with a folder’s name. Skip date prefixes in tag names unless you actively want them, and never reuse one tag for two meanings, which is how tag sprawl starts.
3. Apply Tags to Files and Folders
Select one file, several files, or a folder, press ⌘-T, and choose a tag from the picker. Holding Shift or Command while clicking selects a contiguous run or a scattered set, and applying a tag to a whole selection does it in one pass.
Tagging a folder labels the folder itself. It does not tag the files inside it, which surprises nearly everyone the first time. To label the contents, open the folder, press ⌘-A to select everything, then tag.
| Shortcut or route | What it does |
|---|---|
| ⌘-T | Opens the tag picker for the current selection |
| ⌘-I, then click Tags | Add or remove a tag from the Get Info pane |
| Right-click > Tags | Same tag menu without the keyboard |
| Option-click a tag name | Removes that one tag from the selection |
| Click + in a Finder search field | Adds a Tags criterion to narrow a search |
One file can carry several tags at once. A contract might be tagged Active, Client and In Review without duplicating anything.
4. Find Files by Tag
Three routes, depending on what you need. Click the tag in the sidebar for an instant list of everything carrying it. Use Arrange > Arrange By > Tag inside a single folder to see who is tagged with what.
For the sharpest view, type in a Finder search field, click the + button, choose Tags, then pick a tag name. That search keeps updating while you work, so it beats scrolling a sidebar list.
Many power users simply set every window to Group By > Tag, then sort by filename, so the whole folder reads as coloured blocks. Tags and good filenames work together rather than one replacing the other.
5. Rename or Change a Tag’s Color
To rename, click the tag in the sidebar, then File > Tags > Rename, or right-click it and pick Rename. Type the new name and every file using that tag updates instantly.
Colour works the same way: File > Tags > Options lets you swap the colour. Renaming or recolouring never moves the files themselves.
6. Remove a Tag Without Deleting the File
Select the tagged files, hold Option and click the tag name in the sidebar to remove that single tag, or use File > Tags and choose None. The files stay exactly where they were.
To delete the tag label itself, right-click it in the sidebar and choose Delete Tag. macOS asks whether to remove the tag from the files too. Confirming removes only the label, never the documents.
7. Use Smart Folders to Automate Tag Searches
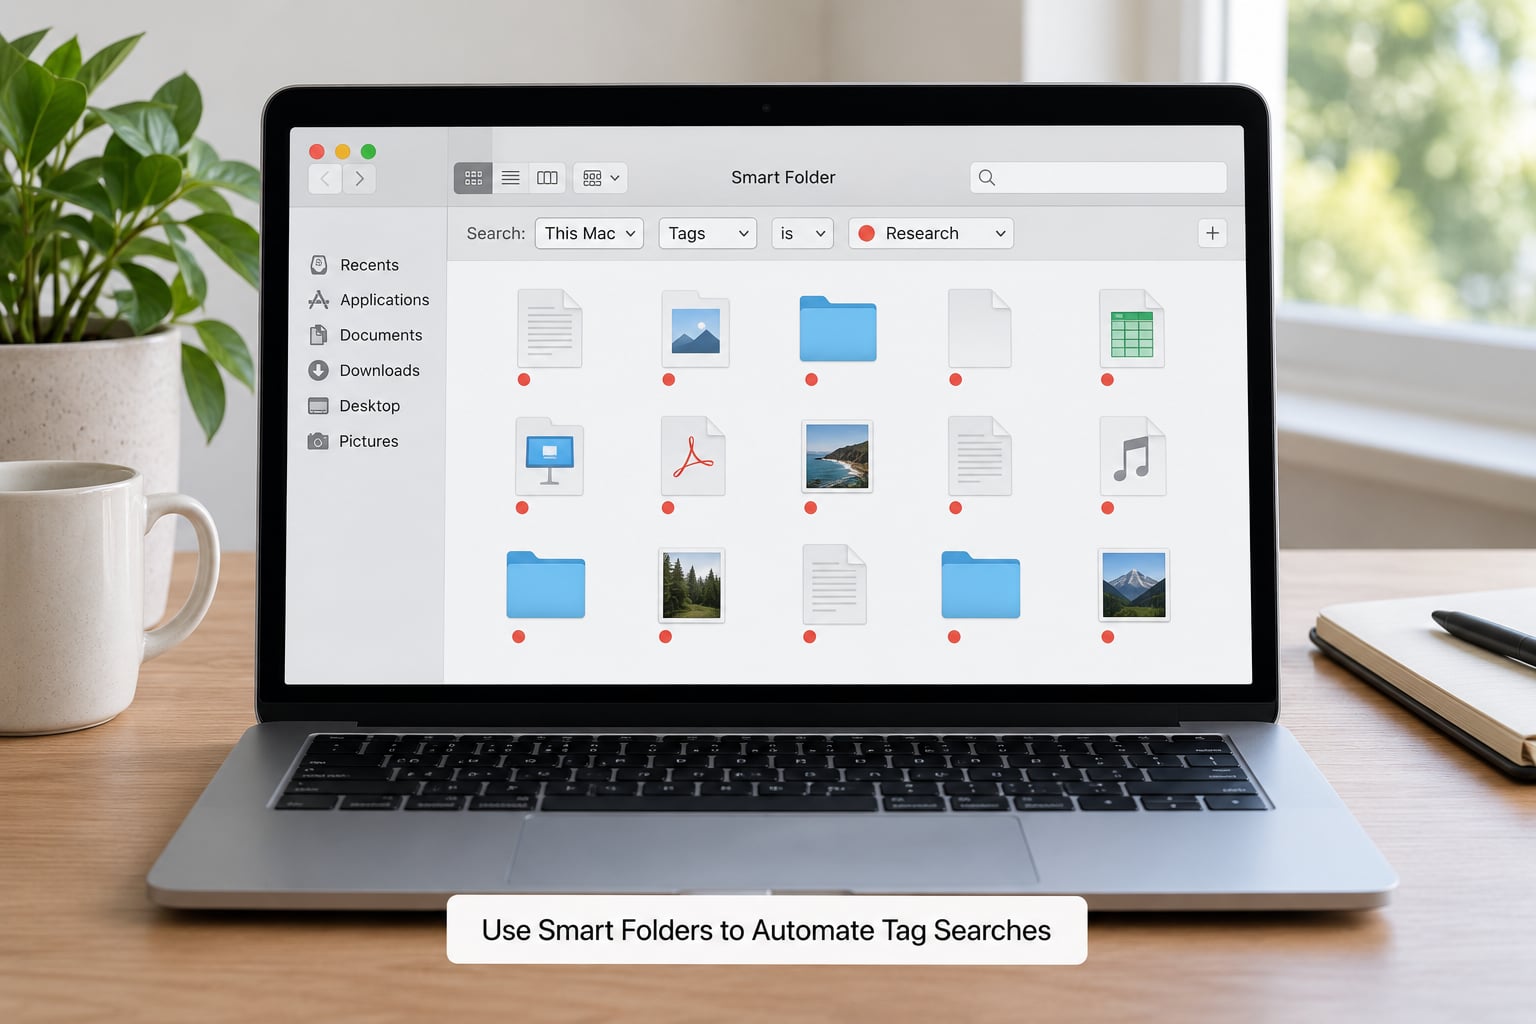
A Smart Folder is a saved search that keeps itself current. Create one with File > New Smart Folder, tick Tags, choose your tag, pick whether the folder matches all selected tags or any, then Save.
It behaves like a window, not a container. Files you drop into it get copied to the real destination rather than moved in, which catches people out the first time.
Once you have a few tags, build one Smart Folder per thing you look up weekly. That is the difference between a tagging system that fades after a week and one you keep using.
Try this on an existing mess. Open Downloads, switch to list view, then Arrange > Arrange By > Date Added so the oldest files surface first. Work down in batches of ten or fifteen: select a group, press ⌘-T, pick the tag, move on. Ten minutes of that usually clears a couple of years of accumulated clutter, and the files stay exactly where they were.
Common Mistakes
Tags are not in the sidebar. They are not deleted, just hidden. View > Show View Options > Tags brings the section back, and every tag you ever created returns with it.
I tagged a folder and nothing inside changed. Finder tags the folder as a single item. Open it, select all, and tag again. There is no built-in way to push a tag down into a folder’s contents.
My tag names look the same but sort separately. A trailing space or a capital letter at the end makes two tags that look identical behave as two. Rename one and check carefully.
Half my colour tags mean nothing a year later. Six shades of green are not a system. Stick to named tags for meaning and reserve colour for a small fixed set, such as Red for urgent and Blue for archive.
I expected tags to behave like folders. They do not move, copy, sync or hold permissions. Files on a NAS over SMB often lose their tags entirely, and OneDrive is widely reported on the Mac Power Users forum as stripping Finder metadata as it syncs. Keep tags on local storage and encode anything critical in the filename as well.
Where tags hold up depends almost entirely on where the file lives:
| Location | Tags kept? |
|---|---|
| Home folder, Desktop, Documents, Downloads | Yes, reliably |
| iCloud Drive | Yes |
| External drive, APFS or Mac OS Extended | Yes |
| OneDrive folder | Often stripped during sync |
| SMB or NFS network share | Usually not |
| Inside a ZIP archive | No, archives carry no metadata |
Finder tags are not the same thing as Photos, Notes or Mail tags. Those apps keep their own tagging systems, with their own sidebar and their own search, and a Finder tag will never show up there.
Searching by tag returns nothing after a major macOS upgrade. Smart Folders and tag searches both lean on Spotlight indexing, and reindexing after a big upgrade can leave results thin for a while. Waiting it out helps; so does naming files sensibly instead of relying on tag search alone.
Frequently Asked Questions
Do Finder tags move my files?
No. A tag is metadata stored with the file, so applying, renaming or removing one never changes where the file lives on disk. That is the main difference from folders, which are locations. It also means you can keep a flat Downloads folder and still find things by category, since the tag follows the file wherever you move it inside Finder.
Do tags work on external drives and network shares?
External drives formatted as APFS or Mac OS Extended keep tags normally. SMB and NFS network shares often do not, because tags live in extended attributes that those protocols drop. On those shares the label appears briefly and then disappears. Keep your working tags on local storage and mirror anything important into the filename as well.
How do I find all files with a specific tag on macOS?
Click the tag name in the Finder sidebar under the Tags section and you get every file carrying it, from every folder on the Mac. Inside one folder, use Arrange Arrange By Tag. For a reusable version, build a Smart Folder filtered on that tag and save it to the sidebar. All three update automatically as you tag new files.
How are Finder tags different from folders?
A folder holds files at one location and you move things between containers. A tag labels a file wherever it already sits, and one file can carry several at once. Folders suit fixed structure and permissions; tags suit cross-cutting categories like a project, a client or a status. Plenty of people use both, with folders for active work and tags for everything that spans folders.
Why aren’t my Mac tags showing up in the sidebar?
The Tags section is hidden, which is the usual cause. Open Finder, choose View Show View Options, tick Tags and click Done. If the section is visible but a tag looks empty, the files carrying it may have moved to a synced folder that stripped the metadata. Search for one of those files by name to confirm where it lives now.
What is the keyboard shortcut for adding tags in Mac Finder?
Press ⌘-T with files or folders selected and the tag picker opens; choose a colour or named tag and it applies to the whole selection. Option-clicking an existing tag removes it instead. To assign your own shortcut to a tag, open it in System Settings under Keyboard Keyboard Shortcuts App Shortcuts and add the combination there.
Conclusion
Start with one thing: choose four or five named tags, colour them consistently, and apply them to the folder you already have a mess in. Then build a single Smart Folder for the category you will look up most often and leave it in the sidebar.
That is the whole method for using tags to organize files on a Mac. Keep the names few, keep the files where they are, and the system will still make sense in a year.