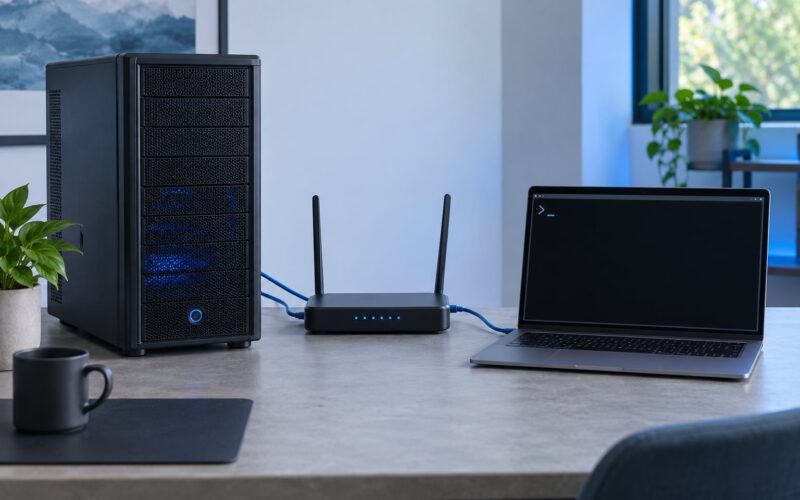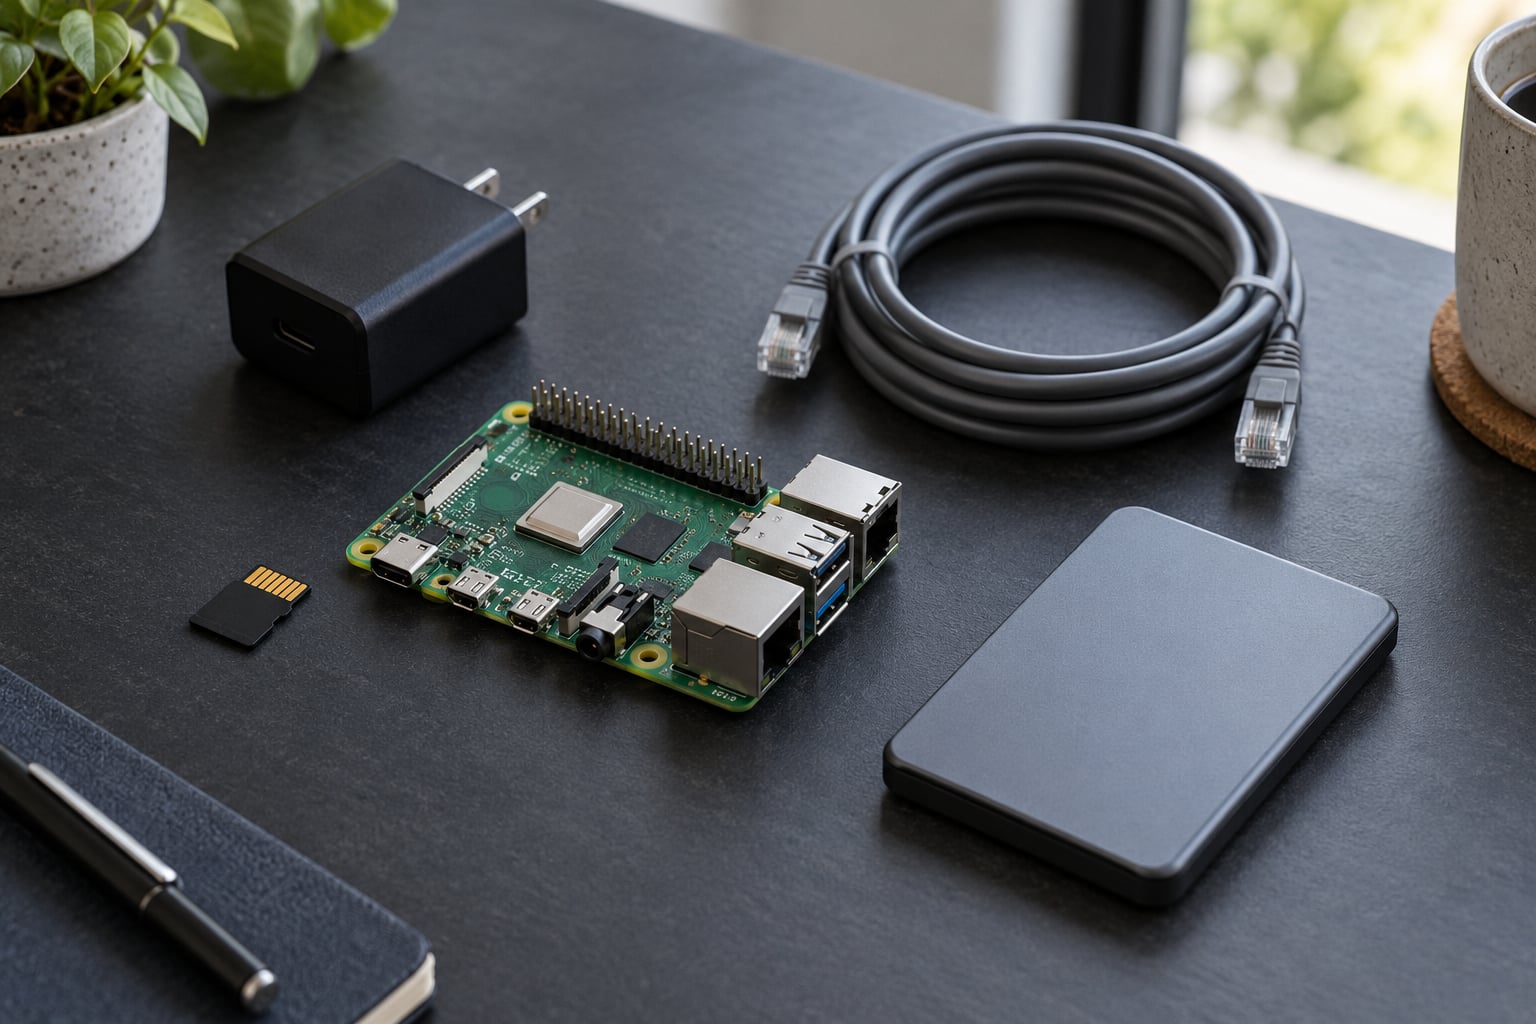
Yes, you can build a Raspberry Pi home server that runs around the clock and handles real work: shared files, media streaming, network-wide ad blocking, backups, and home automation. You install an operating system, set up network access, and run self-hosted apps through Docker. The whole first setup takes about an hour, and the tricky parts are avoiding cheap power supplies and giving the server a stable network address.
I have set up a handful of these over the years, and the difference between a server that quietly runs for years and one that randomly stops booting is almost always the power supply. Everything below covers Raspberry Pi OS as it ships today, with Raspberry Pi Imager handling the install, not the deprecated balenaEtcher or the old NOOBS card method.
Updated for October 2026. Menu names below apply to Raspberry Pi OS Bookworm and later, imaged on a desktop machine with Raspberry Pi Imager.
Table of Contents
- 1What You Need
- 2Step-by-Step: How to Set Up a Raspberry Pi as a Home Server
- 3Install Raspberry Pi OS and Connect the Hardware
- 4Update the System and Set a Static Network Address
- 5Add Reliable Storage for Shared Files and Backups
- 6Install and Configure the Server Services You Need
- 7Enable Remote Access and Test the Server
- 8Common Mistakes
- 9Frequently Asked Questions
- 10Do I need a Raspberry Pi 5 to use it as a home server?
- 11Can I use Raspberry Pi OS Lite for a home server?
- 12How much storage does a Raspberry Pi home server need?
- 13Can I access my Raspberry Pi home server from outside my home?
- 14Will a Raspberry Pi home server run continuously?
- 15Can I use a Raspberry Pi for backups and media streaming?
- 16Conclusion
What You Need
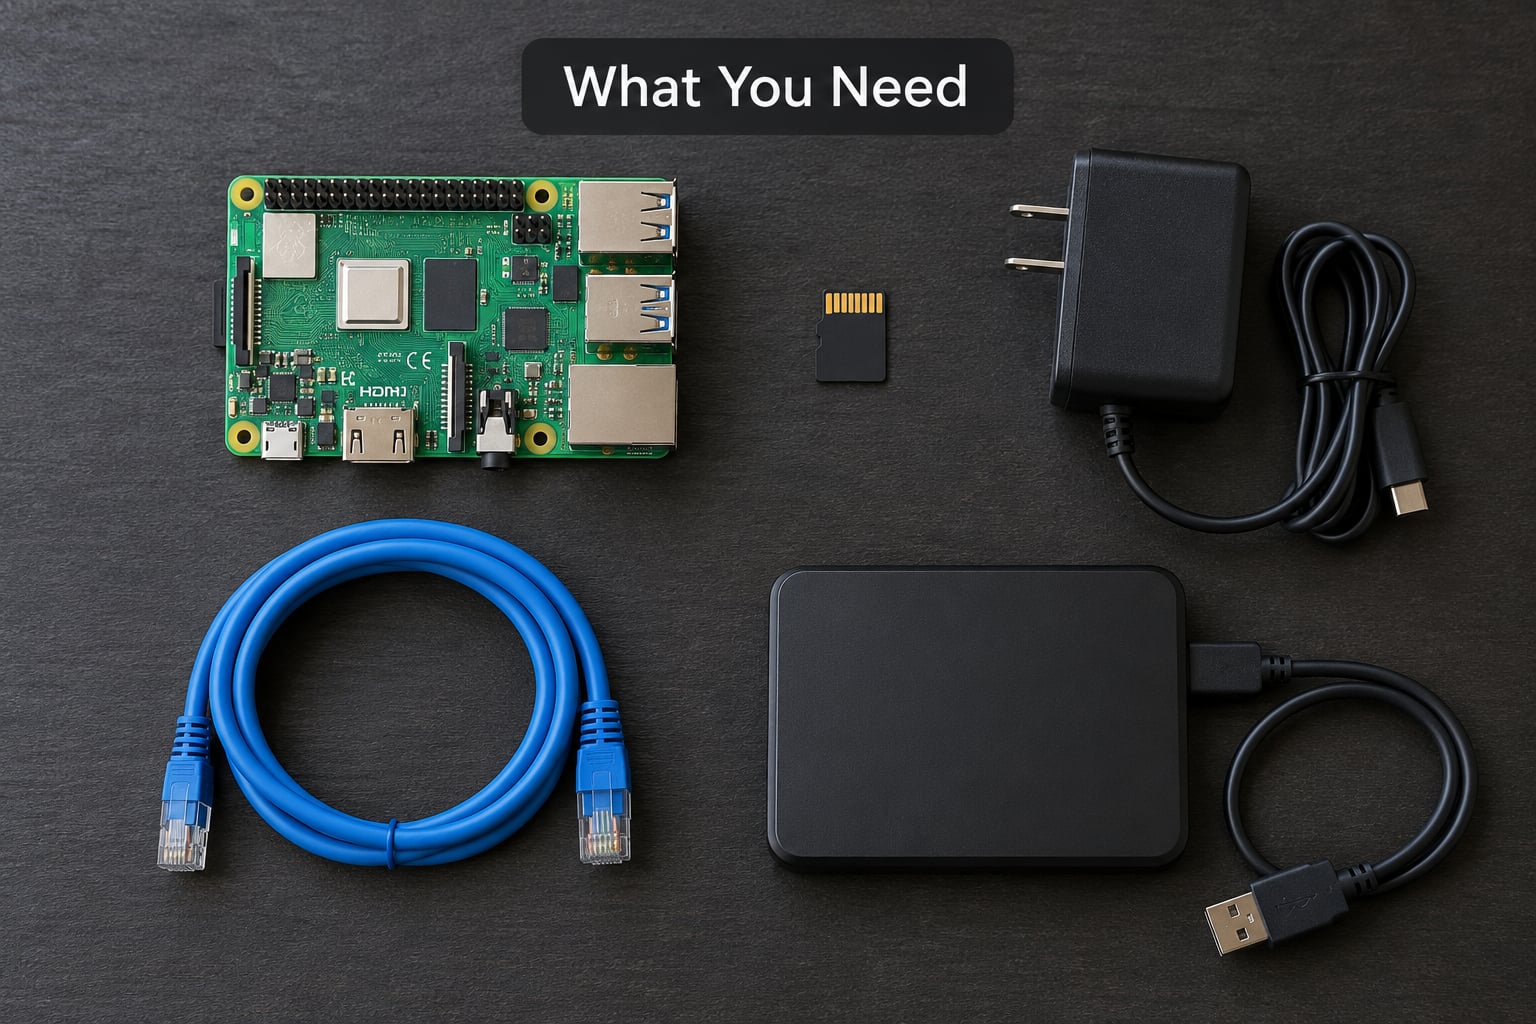
A Raspberry Pi home server needs less hardware than most people assume. Here is the complete list, and the two items people usually get wrong are marked.
- The Pi itself. A Raspberry Pi 5 with 8GB or 16GB of RAM is the current choice for a general-purpose server. A Raspberry Pi 4 with 4GB or 8GB still does the job well and costs less to run. A Pi Zero 2 W handles a single light service such as Pi-hole, nothing heavier.
- The official power supply. The Pi 5 wants a 27W USB-C PDU (5V/5A). The Pi 4 wants 15W (5V/3A). A random phone charger that drops voltage under load is the number one cause of corrupted microSD cards, according to forum threads on raspberrypi.stackexchange.com and r/selfhosted. Do not skip this.
- A microSD card, 32GB or larger. Class 10, A1 rated at minimum. This holds the OS, and later, Docker images and logs.
- External USB SSD for storage. An SSD boots faster and takes far more write traffic than a card. A USB 3.0 enclosure with a SATA SSD is the usual approach; a Pi 5 with an NVMe HAT is faster still.
- Ethernet. Wired networking is strongly recommended. A Pi 5 has 1GbE built in; a Pi 4 needs the Ethernet port on the board, not through a USB hub.
- A second computer. You write the image and later manage the server over SSH.
- Raspberry Pi Imager. The official imaging tool, which also handles headless Wi-Fi and SSH settings before the first boot.
Optional but useful: a case with airflow, a short Ethernet cable, and a powered USB hub if you plan to attach more than two drives.
Step-by-Step: How to Set Up a Raspberry Pi as a Home Server
Install Raspberry Pi OS and Connect the Hardware
Download Raspberry Pi Imager on your main computer, insert the microSD card, and pick your Pi model in the device dropdown. Choose Raspberry Pi OS (64-bit) as the operating system.
Before writing the image, click the gear icon labelled Edit OS or OS customisation. Set a hostname, create your own username and password, tick Enable SSH, and enter your Wi-Fi name and password if you plan to start headless. This is the step that turns the Pi into a headless server, because it writes the network and login settings into the image before the first boot.
Raspberry Pi Imager -> Choose device -> Choose OS -> Edit OS customisation -> hostname, user, SSH, Wi-Fi -> Write and verifyInsert the card, connect Ethernet, attach the SSD, and power on. Leave it for two minutes. Find the address from your router’s device list, then confirm you can reach it from your laptop:
ssh [email protected]A prompt with no password error means it worked. From here on, this is a normal Linux machine, not an appliance.
Update the System and Set a Static Network Address
A server that changes its IP address every few days breaks your bookmarks, your automations, and any service you point at it. Fix that before installing anything.
First update the system fully. Raspberry Pi OS ships with unattended security upgrades enabled, so this is quick:
sudo apt update
sudo apt full-upgrade -y
sudo reboot
Give the machine a name you will recognise on your network:
sudo hostnamectl set-hostname piserver
hostname -I
That last command prints the current address. Now decide how to keep it stable.
A DHCP reservation is the route I recommend. You tell your router to always hand out the same address to this Pi’s MAC address, and the Pi still goes through normal DHCP. Nothing on the Pi can drift out of sync after an OS update, which is a common complaint in r/HomeServer threads. If your router has no reservation feature, set a static address in Raspberry Pi OS Bookworm’s Network settings, or use NetworkManager’s nmcli on newer images.
ip -br linkWrite the MAC address down somewhere. It is the stable identifier you will need if you ever rebuild the card.
Add Reliable Storage for Shared Files and Backups
Running a database or a media library on a microSD card wears it out fast. Mount an SSD and move your data there. This covers how to set up a raspberry pi as a home server properly rather than as a demo.
You can also run the entire operating system from that SSD instead of just the data. Current Raspberry Pi firmware boots from USB natively, so the old boot-partition workarounds are gone. Image Raspberry Pi OS to the SSD in Raspberry Pi Imager, set the boot order in raspi-config under Advanced Options to USB first, and the card is only used to load the bootloader. On a Pi 5, an NVMe HAT is noticeably faster for databases and container images than a USB enclosure.
Plug the SSD in over USB and find its name:
lsblkIf the drive is new and empty, create a single partition and format it as ext4. Check the device name twice before running these; you do not want to format the wrong disk.
sudo parted /dev/sda mklabel gpt
sudo parted /dev/sda mkpart primary ext4 0% 100%
sudo mkfs.ext4 -L storage /dev/sda1
sudo blkid /dev/sda1
Copy the UUID from that output and add it to /etc/fstab so the drive mounts by identity rather than by device name, which can change between reboots:
UUID=9a1f-4c2e /srv/storage ext4 defaults,nofail 0 2The nofail flag matters. Without it, a drive that fails to spin up will leave the Pi hanging at boot waiting for a filesystem that will never arrive.
sudo mkdir -p /srv/storage
sudo mount -a
df -h /srv/storage
Reboot once and run df -h again. If the mount point is still there, your storage is set up the way it should be.
Install and Configure the Server Services You Need
Modern home servers run services as containers. Installing a dozen packages with apt works, but Docker gives you clean upgrades, one command to start everything, and a GUI in Portainer that most beginners find far easier than editing config files.
Install Docker Engine from the official convenience script, then add yourself to the docker group:
curl -fsSL https://get.docker.com | sudo sh
sudo usermod -aG docker $USER
newgrp docker
Verify with docker run hello-world. Then bring up Portainer for container management, with a named volume so your container list survives a restart:
docker volume create portainer_data
docker run -d -p 9443:9443 --name portainer --restart=always -v /var/run/docker.sock:/var/run/docker.sock -v portainer_data:/data portainer/portainer-ce:latest
Open Portainer at https://<server-ip>:9443 in a browser and create the admin account. The –restart=always flag is what makes a container come back after a power cut, so set it on everything you deploy.
A docker-compose.yml file keeps your services in one file you can back up. A small starting point:
services:
  jellyfin:
    image: jellyfin/jellyfin:latest
    container_name: jellyfin
    restart: unless-stopped
    ports:
      - "8096:8096"
    volumes:
      - /srv/storage/media:/media
      - ./jellyfin-config:/config
Start it with docker compose up -d and confirm with docker compose ps. Each service then lives at a predictable local address.
Now install what your household actually needs. The ones I get asked about most:
- Samba for shared files over your network. Install with
sudo apt install samba samba-common-bin, add a share to /etc/samba/smb.conf, then set a password withsudo smbpasswd -a youruser. Windows and macOS see it as a normal network drive. - Pi-hole for network-wide ad blocking. The installer script sets up a DNS resolver that every device on the network uses once you point DHCP at the Pi. One box, whole-house blocking, no per-device apps.
- Jellyfin for media. Point it at your media folder on /srv/storage. Direct play handles most content smoothly; 4K transcoding is CPU-bound and a Pi 5 handles roughly one stream before it starts to stutter. Keep that limit in mind before you rebuild your library around it.
- Nextcloud for a private cloud. Heavier than Samba because it adds calendar, contacts, and a browser interface. Fine on a Pi 5 with an SSD, painful on a card.
- Home Assistant for home automation. The common real-world layout in r/selfhosted is a Pi 5 running Home Assistant and a game server, with a second Pi handling Pi-hole.
After each install, test it from another device before moving on. Open the address, or list your Samba share from a laptop. If you cannot reach it on the LAN, the problem is almost always a firewall rule, which is the next section.
Enable Remote Access and Test the Server
Reaching your server from a phone or laptop at home is easy: type the local IP address. Reaching it from outside is where people take unnecessary risks. Port forwarding opens your router to the internet, and your home IP can change. A mesh VPN or a tunnel is better.
Tailscale is the community default and the easiest. Install it on the Pi and on your phone or laptop:
curl -fsSL https://tailscale.com/install.sh | sudo sh
sudo tailscale up
Sign in with the same account on every device. Each gets a stable address on a private network, and no router ports are opened. Check it with tailscale ip -4.
Cloudflare Tunnel is the alternative if you want public HTTPS URLs for a service. Run cloudflared tunnel login, create a tunnel, map it to a local port in the config file, and install it as a service with cloudflared service install. There is a comparison worth making here.
| Method | Router access needed | Works outside without it | Best for |
|---|---|---|---|
| Static IP or DHCP reservation | Yes | No | Devices inside the house only |
| Port forwarding with dynamic DNS | Yes | No, address keeps changing | Public services you are confident exposing |
| Tailscale | No | Yes | Private access from your own devices |
| Cloudflare Tunnel | No | Yes | Public HTTPS URLs for one or two web apps |
Many people in shared housing or on ISP-locked routers cannot reach their router settings at all. That is exactly why a tunnel-based method is the better default.
Now harden the machine while you still have physical access. Create a non-default user with sudo rights, copy an SSH key over, then turn off password login:
ssh-keygen -t ed25519
ssh-copy-id [email protected]
Edit /etc/ssh/sshd_config, set PermitRootLogin no and PasswordAuthentication no, then run sudo systemctl restart ssh. Keep one logged-in session open until you have confirmed the key works in a second terminal.
Add a firewall and allow only what the services need:
sudo apt install ufw
sudo ufw default deny incoming
sudo ufw allow 22/tcp
sudo ufw allow 9443/tcp
sudo ufw enable
Finally, set up backups before anything important lives on the drive. A single nightly rsync to another machine covers most homes:
sudo apt install rsync
crontab -e
0 3 * * * rsync -a --delete /srv/storage/ [email protected]:/backups/piserver/Confirm the backup actually restores a file. A backup you have never tested is a hope, not a plan.
Common Mistakes
The Pi boots but is not on the network. Wi-Fi details are missing because OS customisation was skipped. Rather than re-imaging, attach a monitor and keyboard and run sudo raspi-config, then Interface Options to set the country and SSID. Wired avoids the whole problem.
SSH refuses the password you set. This shows up often enough to be worth knowing. Either the image was written without the customisation step, or the keyboard layout turned a character in your password into something else. Re-image with OS customisation completed, and set the keyboard locale in the same dialog.
The SSD is missing after a reboot. Almost always an fstab entry pointing at /dev/sda1 instead of the UUID, or a missing nofail option. Run lsblk and sudo blkid after a reboot to see the actual device name.
Permission denied on a shared folder. The Linux user and the Samba user are different things. Set ownership with sudo chown -R youruser:youruser /srv/storage, then create the Samba password separately with smbpasswd.
Connection refused on a service port. The container is not running or the port is not published. docker ps -a shows exited containers, and docker logs containername usually tells you why.
The card keeps corrupting. Community consensus is that the card is the symptom and the power supply is the cause. Replace the supply first. Then boot the OS from the SSD instead of the card, and use the card only to load the bootloader.
Static IP configuration broke after an update. A known pattern when hand-editing network files across releases. A DHCP reservation on the router survives OS upgrades, which is the other reason to prefer it.
It will not boot at all after changes. Pull the card, write a fresh image, and re-implement the changes one at a time. Reflashing the card is the accepted reset in most Raspberry Pi forum threads, and it takes five minutes.
Frequently Asked Questions
Do I need a Raspberry Pi 5 to use it as a home server?
No, a Raspberry Pi 4 is still a capable home server for file sharing, Pi-hole, Home Assistant, and a Jellyfin library of direct-play content. The Pi 5 helps where CPU and I/O bound: database-heavy containers, multiple streams, and NVMe storage. If you are buying new and have no budget constraint, the Pi 5 with 8GB is the safer choice for anything you plan to grow into.
Can I use Raspberry Pi OS Lite for a home server?
Yes, and it is a good choice. Lite has no desktop environment, so it uses far less memory, which leaves more for your services, and there is less to update. The tradeoff is that everything is done from the command line over SSH. If you want a browser-based admin panel, install containers and Portainer rather than looking for a desktop.
How much storage does a Raspberry Pi home server need?
A 32GB card is enough for the operating system alone, which is why most people add storage. A 500GB or 1TB USB SSD suits a media library, photo backup, or Nextcloud for a household. If you want the OS on fast storage, format a second partition as ext4 and mount it at /srv/storage with a UUID entry in /etc/fstab.
Can I access my Raspberry Pi home server from outside my home?
Yes. Install Tailscale on the Pi and on your phone or laptop, sign in with the same account, and you get a stable private address that works anywhere without touching your router. Cloudflare Tunnel is the alternative when you want public HTTPS URLs for a specific web app. Both avoid port forwarding, which is the safer default.
Will a Raspberry Pi home server run continuously?
Yes, that is what the hardware is good at, and it is silent with no moving parts. Two things protect a 24/7 machine: an official power supply of the correct wattage, and booting from an SSD instead of writing constantly to a microSD card. Add a cron job for automatic reboots or just make sure your containers use a restart policy.
Can I use a Raspberry Pi for backups and media streaming?
Both work well. For backups, run rsync or a snapshot tool on a schedule and copy to an external drive or a second machine, then test a restore. For streaming, Jellyfin handles direct play smoothly; expect software transcoding to be the weak point, since one 4K transcode will push a Pi 5 hard. Store media on the SSD, not the card.
Conclusion
Start with three things, in this order: image Raspberry Pi OS with OS customisation enabled so SSH and Wi-Fi are handled, connect over Ethernet, and confirm SSH access. Then set a DHCP reservation so the address never changes, and add a nightly backup before you store anything you care about.
Only after that should you install services, one at a time, testing each from another device. Expand by adding drives to /srv/storage rather than by filling the card, and keep new containers in the same compose file with a restart policy. A Raspberry Pi home server stays useful for years if the power supply is right, the address is stable, and the backups actually run.