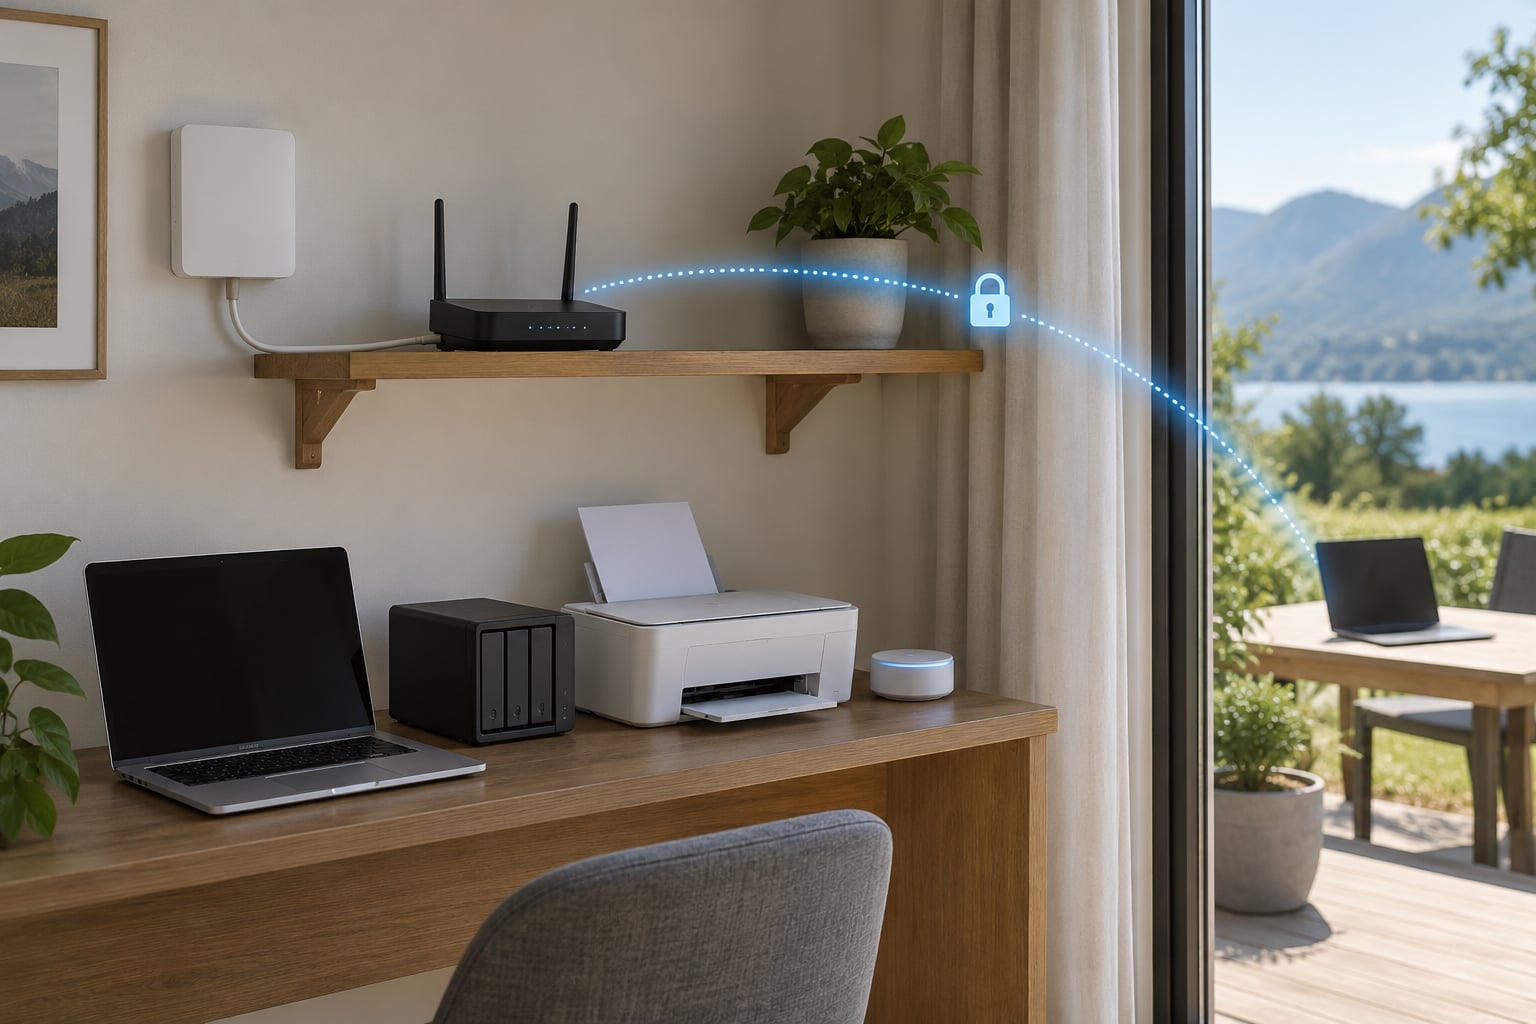
You access your home network remotely by running a VPN that joins your travel device to your home LAN as if it were plugged in at home. An overlay network such as Tailscale needs no port forwarding and no public IP, which is why I recommend it first. Traditional router VPN works too, if you have an address you can point a client at.
That is the whole idea in two sentences. Everything below is the detail: which method fits, how to set it up, and what breaks when you get halfway.
Table of Contents
- 1What You Need Before You Start
- 2How to Access Your Home Network Remotely: Step-by-Step
- 31. Choose how to access your home network remotely
- 42. Prepare the home network
- 53. Set up a VPN that can reach your home LAN
- 64. Configure the remote device
- 75. Access the device you need
- 86. Test and secure the connection
- 9Common mistakes and how to fix them
- 10Frequently Asked Questions
- 11Do I need a VPN to access my home network remotely?
- 12Can I access my home network without a VPN?
- 13Is port forwarding on my home router safe?
- 14Why can I connect to my home VPN but not my NAS or computer?
- 15Can I access my home network when my computer is off?
- 16What is the easiest way to access a home network from an iPhone or Android device?
- 17Conclusion
What You Need Before You Start
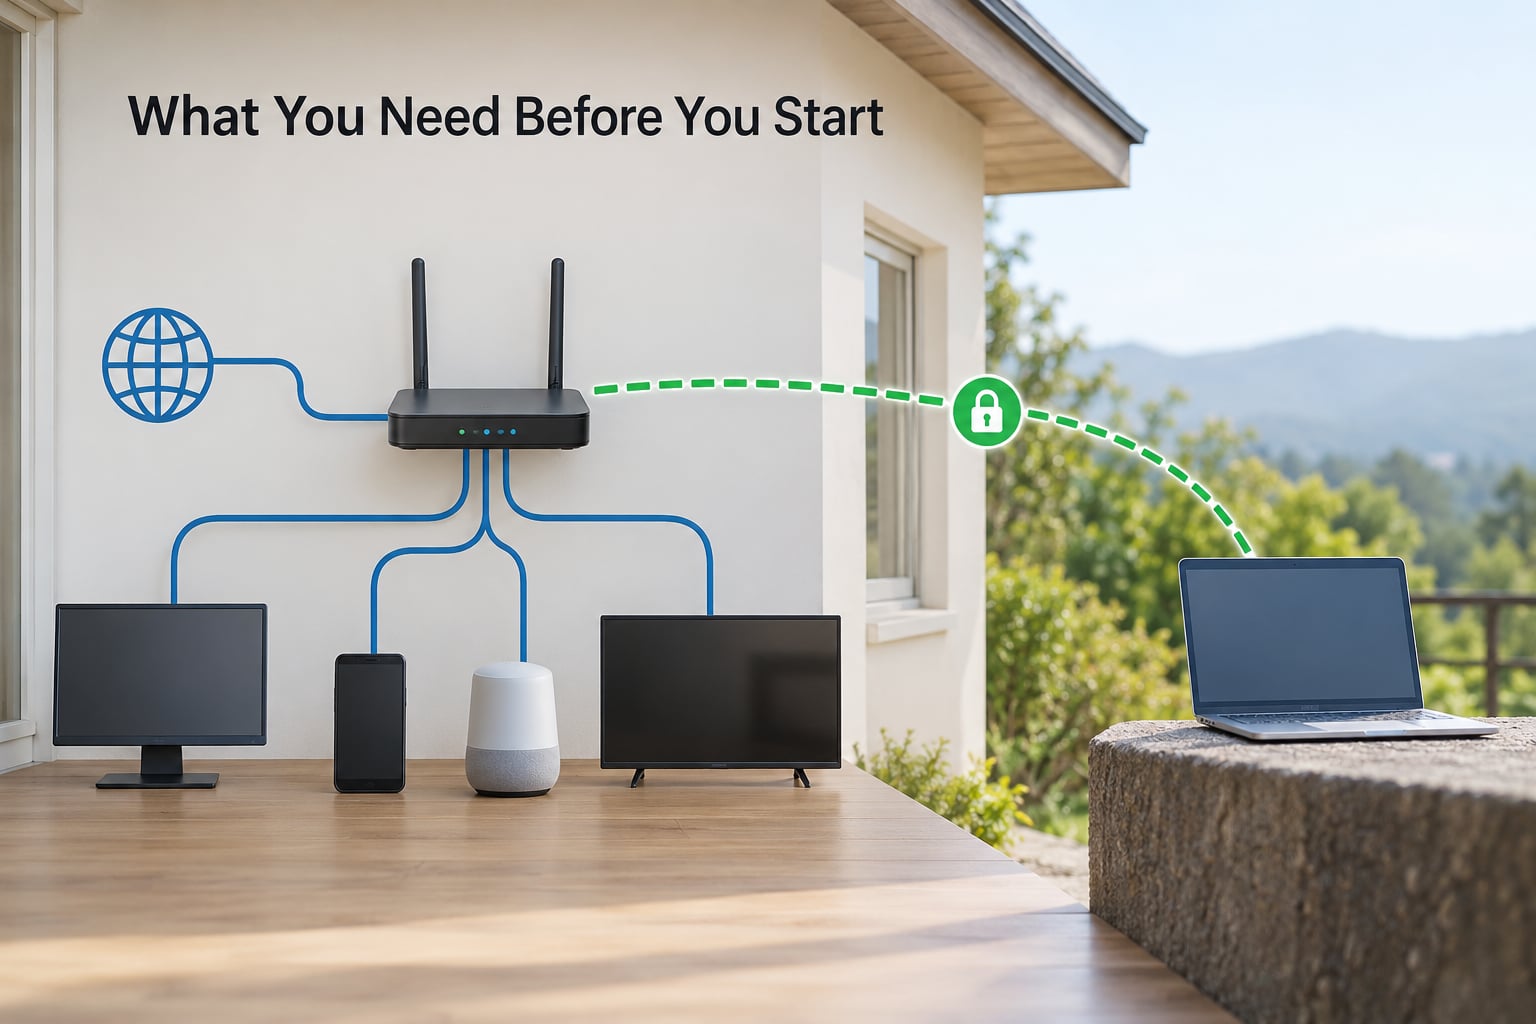
First, be honest about the goal. Reaching your home devices means your NAS, a desktop PC, a printer, a media server or a smart-home hub. It does not mean opening your router to the internet, and it does not mean the same thing as signing up with a commercial VPN service, which only routes your browsing through someone else’s server.
- A router you administer. You need the login for its admin page. If the password on the sticker never got changed, that is item one on the list.
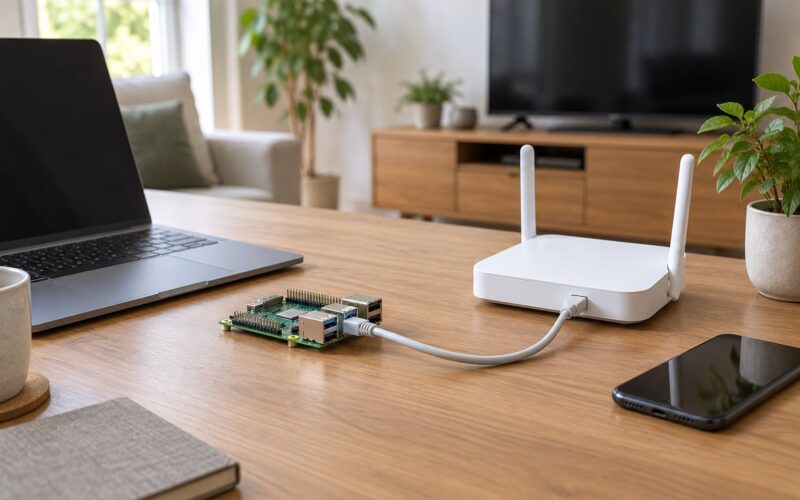
- An always-on device inside the home. A router with VPN support can host the connection itself. Otherwise use a NAS, a Raspberry Pi, a mini PC or any desktop that stays powered on.
- A remote device to connect from. A laptop, phone or tablet. Windows, macOS, Linux, iOS and Android all have clients for the methods below.
- A working internet connection at home. Broadband or fibre, not a phone hotspot pinned to a windowsill.
- The private IP addresses or device names you want to reach. Write them down now. Hunting for them later from a hotel room is miserable.
If you are starting from a fresh install, a Raspberry Pi or a small fanless mini PC running Linux is the usual pick for an always-on VPN host. Your home broadband IP address can change at any time, so write down the process of finding the address before you leave.
How to Access Your Home Network Remotely: Step-by-Step
1. Choose how to access your home network remotely
There are five routes. Which one you want to access your home network remotely with depends on whether you need the whole LAN or a single service, and whether your ISP gives you a reachable public IP address.
Router-based VPN (WireGuard or OpenVPN). Your router runs the VPN server and you connect from a laptop or phone. This gives you the full LAN, but it needs a port forwarded on your router and it breaks behind CGNAT.
Mesh VPN / overlay network (Tailscale, ZeroTier). Every device installs a small client and they form an encrypted private network between themselves, usually over the existing connection. No port forwarding, no public IP, no DDNS. On r/selfhosted it gets described the same way: WireGuard underneath, nothing to forward.
Zero-trust access (Twingate, NetBird, Cloudflare WARP). Similar shape to mesh VPN, but access is granted per user and per resource with identity rules, so a contractor can reach one box and nothing else.
Cloudflare Tunnel (cloudflared). A single web app, usually Home Assistant or a Nextcloud instance, published through a free domain with a real HTTPS certificate and nothing inbound open.
Commercial VPN service. Protects your browsing on hotel Wi-Fi and, with some providers, offers a home exit node. It does not put you on your home LAN.
Remote desktop software, port forwarding and publishing your router’s admin page are separate choices with very different security consequences. Nobody who works in security thinks port forwarding alone counts as access control.
| Method | Port forwarding needed | Public IP needed | Always-on host | Difficulty | Cost |
|---|---|---|---|---|---|
| Router VPN (WireGuard/OpenVPN) | Yes, one UDP port | Yes, plus DDNS | No, router is the host | Medium | Free |
| Mesh VPN (Tailscale, ZeroTier) | No | No | Yes, one host for the whole LAN | Low | Free tier for personal use |
| Zero-trust (Twingate, NetBird) | No | No | Yes | Low to medium | Free tier |
| Cloudflare Tunnel | No | No | Yes, runs beside the app | Medium | Free tunnel, domain costs a few dollars a year |
| Reverse proxy (NGINX, Caddy) | Yes, 80 and 443 | Yes, plus DDNS | Yes | Medium to high | Free software |
| SSH tunnel | No if you already have a host | Usually already forwarded | Yes | Medium | Free |
2. Prepare the home network
Do this before configuring anything. Four jobs, all inside your router’s admin page, which usually lives at 192.168.0.1 or 192.168.1.1.
Check the firmware version first under System, Administration or Maintenance and update it if the router offers anything newer. Then change the administrator username and password from the factory defaults, and set a new Wi-Fi passphrase if it still uses the one printed on the label.
Next, find the WAN IP address shown on the router’s status page. Write it down, then open an IP lookup site on a device inside the home and compare. If the two match, you have a public IP address you can point DDNS at. If the router shows a 100.64.0.0 through 100.127.255.255 address, or a 10.x, 172.16-31.x or 192.168.x address that differs from your LAN, you are behind CGNAT. Make a note of it, because it decides your method.
Finally, list the devices you want to reach with their names and private addresses. Your router’s connected-devices list is usually the quickest place to find them. Give anything you rely on a DHCP reservation so the address never moves.
Leave the firewall on. Enabling local network access means permitting traffic from your VPN subnet, not turning filtering off.
3. Set up a VPN that can reach your home LAN
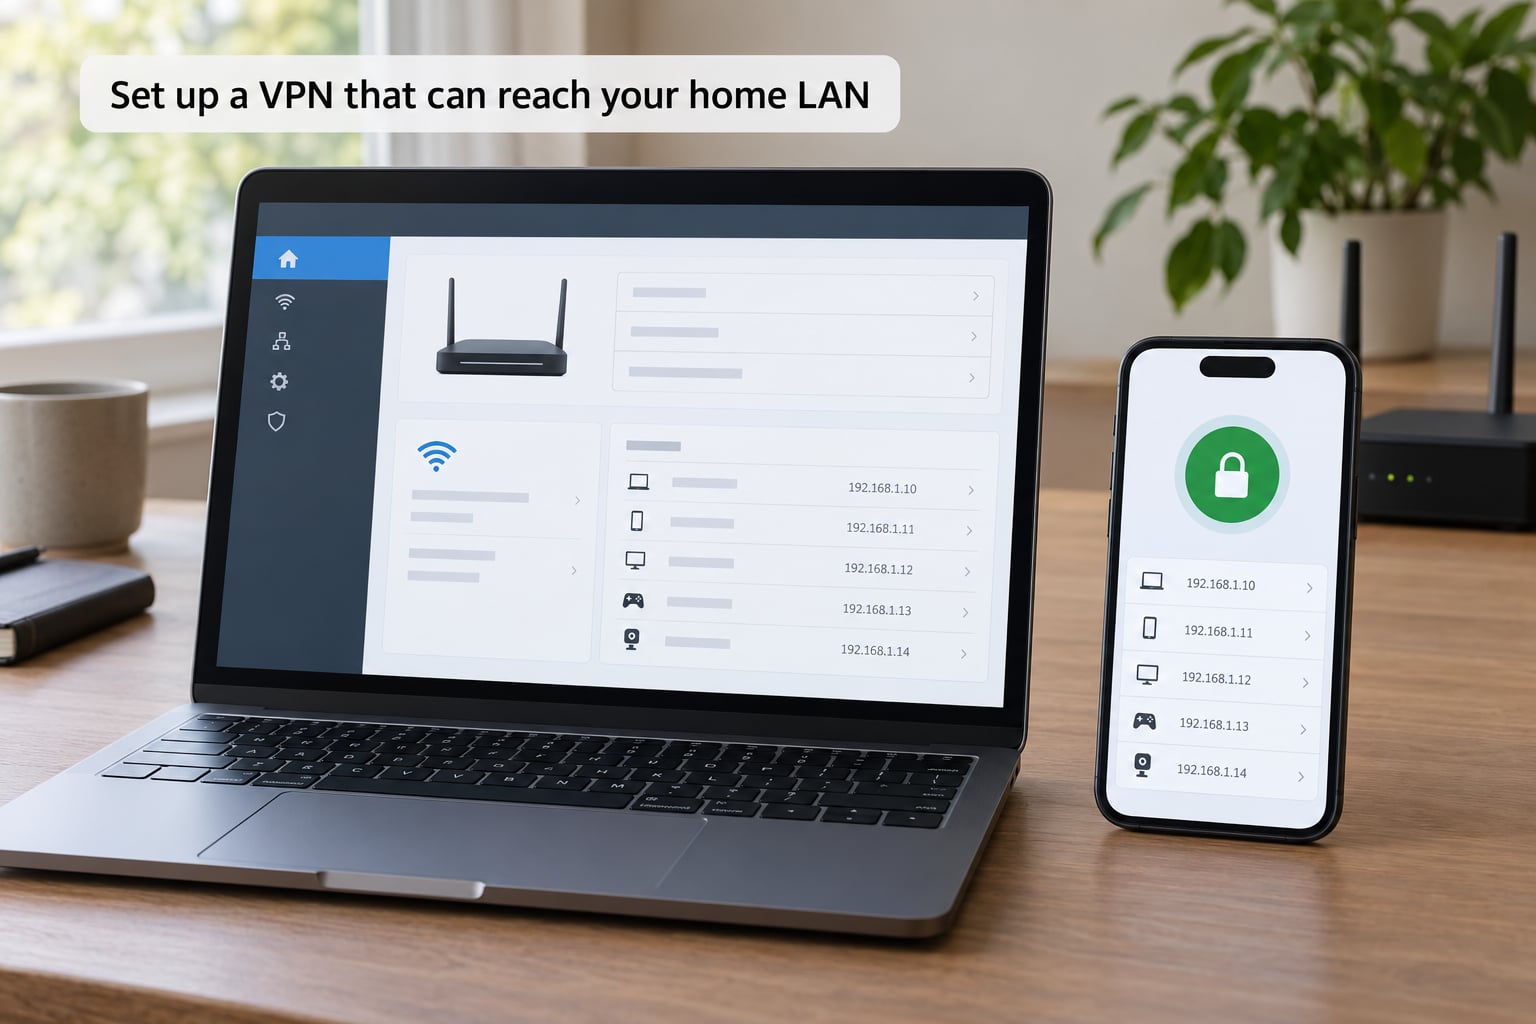
Two paths from here. If your router supports WireGuard, use it. If not, install a mesh client on an always-on machine.
Router route. In the router admin area find VPN, Remote Access or WireGuard. Create a new tunnel or peer. WireGuard needs a private key for the router and a public key for each client, a listening port such as 51820, and an address range for the tunnelled clients that does not collide with your LAN, for example 10.8.0.2/32 on the phone side.
The three fields people miss:
- AllowedIPs on the client side must include your home LAN. For a router with 192.168.1.0/24, set
AllowedIPs = 192.168.1.0/24, 10.8.0.2/32so both the LAN and the tunnel itself route through the tunnel. - Endpoint is your public IP address or your DDNS hostname, with the port appended.
- PersistentKeepalive = 25 keeps NAT tables on cellular networks and hotel routers from dropping the tunnel.
OpenVPN on a router uses a similar shape: server address, protocol UDP, port 1194, your user certificate and key, plus the local network option that pushes 192.168.1.0/24 to connected clients. Follow the export button on the router, then import that profile into your device in the next step.
Mesh route. Install Tailscale on the router if it is supported, or on the always-on device, and sign in. To reach everything rather than just that one machine, turn on subnet routing: approve the machine as a subnet router in the admin console, then set it to advertise 192.168.1.0/24 and accept routes. That one box now forwards traffic for your whole network.
Verify the route once connected. On macOS and Linux, ping 192.168.1.1 or traceroute 192.168.1.10 tells you whether the private range actually resolves through the tunnel. If it fails, the route is missing, not the firewall.
4. Configure the remote device
Import the same profile you created. The paths differ by platform, which is the most common reason people get stuck.
Windows 11. Settings, Network and internet, VPN, Add VPN. Choose the VPN type matching your tunnel, then Import profile and pick the file. Alternatively run Add-VpnConnection from an Administrator PowerShell prompt. Windows 10 has no built-in WireGuard client, so install the official app instead.
macOS. Open the .conf file, which installs a WireGuard or OpenVPN profile in System Settings, VPN. Or use the Tailscale or ZeroTier app from the Mac App Store, sign in with the same account, and toggle it on.
iPhone and iPad. Open the WireGuard app, tap the plus sign, then Create a new tunnel and Import from file. For Tailscale, install the app, sign in, and it connects automatically; enable Always On under VPN configuration if you want it up before any app starts.
Android. WireGuard’s app imports a QR code or file. Tailscale works the same way as iOS, with one catch: Android can restrict background data for apps, so allow unrestricted battery use for the VPN client or the tunnel drops whenever the screen locks.
On every platform, sign in with the same account as the home device, then connect while on mobile data. That is the only honest test, because hotel Wi-Fi and cellular networks routinely block the protocols a traditional VPN relies on.
5. Access the device you need
Now it behaves like being home. Reach devices by their private address or their network name.
Say your NAS sits at 192.168.1.20. Open Finder on a Mac, use Go, Connect to Server and enter smb://192.168.1.20. On Windows 11, File Explorer, This PC, Map network drive, Choose custom, then \192.168.1.20share. On a phone, the Synology, TrueNAS or Unraid app takes the same address in its server field. The web interface is usually https://192.168.1.20:5001 or similar, with the certificate warning most self-hosted services show on first visit.
For a Windows PC, open Remote Desktop and type the address. For a Proxmox server, browse to https://192.168.1.30:8006 and sign in. For a printer, add it while connected through the tunnel so the driver stores the private address.
Home Assistant works over a VPN without any extra configuration, as long as you connect to the same address you use at home rather than a cloud URL. Some vendor apps expect an external hostname and will not accept a private IP, in which case the mesh network or a tunnel is the better path.
Two practical notes. The target device has to be powered on and awake; a sleeping desktop will not answer, so send it a Wake-on-LAN packet over the tunnel first if you enabled that in its BIOS and NIC settings. And a sleeping phone may drop the tunnel, so check the VPN badge before blaming the router.
6. Test and secure the connection
Test from somewhere that is genuinely outside: mobile data, a hotel connection, someone else’s Wi-Fi. Confirm three things: you can reach the target device, you cannot reach the router’s admin page from the tunnel, and an IP lookup shows your home address when you route browsing through the exit node.
Lock the account down. Two-factor authentication belongs on the VPN account, on the router admin login and on anything reachable through the tunnel. Keep router firmware current, and run fail2ban or equivalent on any Linux host holding SSH or a web admin panel.
Never forward SMB (445) or RDP (3389) straight to the internet. Self-hosted services pick up automated login attempts within hours of a port being exposed, so reach those through the tunnel, a reverse proxy with authentication, or a zero-trust connector.
To shut it down cleanly, disconnect the client, then delete the tunnel or subnet route in the router or admin console. Keep one fallback method configured and tested before a trip, so a bad update or an expired certificate does not lock you out of your own network.
Common mistakes and how to fix them
The VPN connects but no local devices appear. The client is missing the home route. Add 192.168.1.0/24 to AllowedIPs on a WireGuard client, or enable subnet routing and route acceptance on the mesh subnet router.
Wrong network range. You typed 192.168.0.0/24 when the router actually uses 192.168.1.0/24. The tunnel is healthy, so every request dies at the far end. Match the router’s LAN range exactly.
Router firewall blocks LAN traffic. Allow the VPN client range or the tunnelled interface through the firewall on the router, on the NAS, and on the target’s own host firewall. Some routers need a specific rule allowing forwarded traffic from the VPN interface to the LAN zone.
The target device is asleep or powered off. Confirm the power light before you troubleshoot the network. Enable Wake-on-LAN, or keep an always-on host such as a NAS or Raspberry Pi awake and reach the desktop through it.
Names do not resolve but addresses work. Split-horizon DNS is the usual answer. Use the private IP, or point your tunnel’s DNS settings at your router’s resolver.
Port forwarding silently fails. Check for CGNAT first: if the WAN IP on the router differs from an outside lookup and is in the 100.64.0.0/10 range, no port forward will ever arrive. Ask the ISP for a public IP, try bridge mode on the modem, or skip forwarding entirely with a mesh VPN.
Double NAT. An ISP modem plus your own router puts two layers in the way, and the forward has to exist on both. Put the modem in bridge or DMZ mode, or forward the port on the modem to the router’s WAN address as well.
Two networks clash. If your mesh network and your ISP both use 192.168.1.0/24, change one. This bites people whose work VPN uses the same range as home.
The router admin page is exposed. If you ever forwarded the admin interface, close that rule now and disable remote administration. Reach the router from the tunnel instead.
Frequently Asked Questions
Do I need a VPN to access my home network remotely?
Not strictly, but a VPN is the safest and easiest route. Your alternatives are forwarding ports on the router, publishing a reverse proxy for one web service, or using a cloud tunnel. Each exposes a service to scanning traffic, whereas a VPN keeps everything encrypted and reachable only by authenticated devices. Pick the method that matches what you need to reach.
Can I access my home network without a VPN?
You can, using port forwarding with DDNS, a reverse proxy such as NGINX or Caddy, or a Cloudflare Tunnel for web apps. These work well for a single service you want in a browser. They are not as good for reaching the whole LAN, and each one puts an exposed port or public hostname on the internet, so you take on patching and authentication yourself.
Is port forwarding on my home router safe?
It can be, if you forward a single port to a service that authenticates every connection, runs HTTPS with a real certificate, and is patched regularly. It is not safe for SMB on port 445 or RDP on port 3389, which scanners find within hours. For those, use a VPN or a reverse proxy with two-factor authentication in front of it.
Why can I connect to my home VPN but not my NAS or computer?
Four causes cover almost every case. The client is missing the home route, so the tunnel comes up with no path to your LAN. The subnet range does not match your router. A firewall is dropping traffic from the VPN interface. Or the target device is asleep or powered off. Test with the private address rather than the hostname to rule out DNS.
Can I access my home network when my computer is off?
Not directly. When a machine is powered off nothing answers on the network. Keep an always-on host running, such as a NAS, a Raspberry Pi or a mini PC, and reach the rest of your devices through it. For a desktop that is only sleeping, enable Wake-on-LAN and send a wake packet over the tunnel before you try to connect.
What is the easiest way to access a home network from an iPhone or Android device?
Install Tailscale on the phone, sign in with the same account as your always-on home device, and accept the device prompt. There is nothing to configure by hand and no port to forward. Turn on Always On VPN in the system settings so the tunnel is up before apps start, and allow unrestricted battery use on Android or the connection drops when the screen locks.
Conclusion
Start by writing down the devices you actually need to reach. If that list is more than one box, put Tailscale on an always-on machine, advertise your LAN as a subnet route, and skip port forwarding entirely. If it is one web app, a Cloudflare Tunnel in front of a reverse proxy is tidier.
Then change the router’s admin password, update the firmware, confirm whether you sit behind CGNAT, and test the connection on mobile data before you rely on it. Keep a second method working as a fallback, and nobody has to drive back home.