To use SSH to connect to a remote server, you type one command in a terminal on your own machine: ssh username@server-ip. SSH (Secure Shell) is an encrypted protocol that gives you a command line on a remote Linux or Unix machine, the same way you would work on your own computer. The whole first connection takes about two minutes once you have three details: the server’s IP address or hostname, the username, and either a password or a private key.
This guide works the same way on macOS, Linux and Windows 10/11, with the exact commands for each. It also covers the errors that stop most people on their first attempt.
Table of Contents
- 1What You Need
- 2Step-by-Step
- 3Open SSH From Your Computer
- 4Connect to the Remote Server
- 5Authenticate With a Password or SSH Key
- 6Run Commands and Transfer Files
- 7Disconnect and Keep the Connection Secure
- 8Quick Checks Before Troubleshooting
- 9Common Mistakes
- 10Frequently Asked Questions
- 11Is SSH port 22 or 23?
- 12How can I SSH to a remote server without using a password?
- 13How do I break an SSH connection?
- 14What feature of SSH makes it more secure than Telnet?
- 15Why do I get Permission denied (publickey) when I connect?
- 16How do I run one command on a remote server and come back?
What You Need
Collect these details before you open a terminal. Almost every failed first connection is missing information rather than a mistyped command, and the answer is nearly always in the control panel your hosting provider gave you.
- Server address. A public IP address such as 203.0.113.10, or a hostname like server.example.com. If you built the machine yourself, find the address on your local network with
ip addron Linux orifconfigon macOS. - Username. Common values are
root,ubuntu,debian, or a name the provider created. Using a non-root user withsudois better practice once you are in. - Port. SSH listens on TCP port 22 by default. Providers that block port 22 on shared networks often assign something like 2222, and you need that number in advance.
- Password or private key. Many cloud servers arrive with a key pair rather than a password, where the provider shows a
.pemfile once at creation. If you have that file, you are authenticating with a key, not a password. - A network path to the server. A cloud security group, a network firewall on the server itself, and the firewall on your own network all have to allow the port. This is the number one reason a connection times out.
Two habits save trouble later. Connect as a regular user rather than root, and keep a second terminal tab open while you change anything security-related, so a mistake does not end your only way back in.
Step-by-Step
The order matters: open a terminal, check the client exists, run the command, confirm the host key, authenticate, and check that you are really on the server. Each step below ends with the signal that tells you it worked.
Open SSH From Your Computer
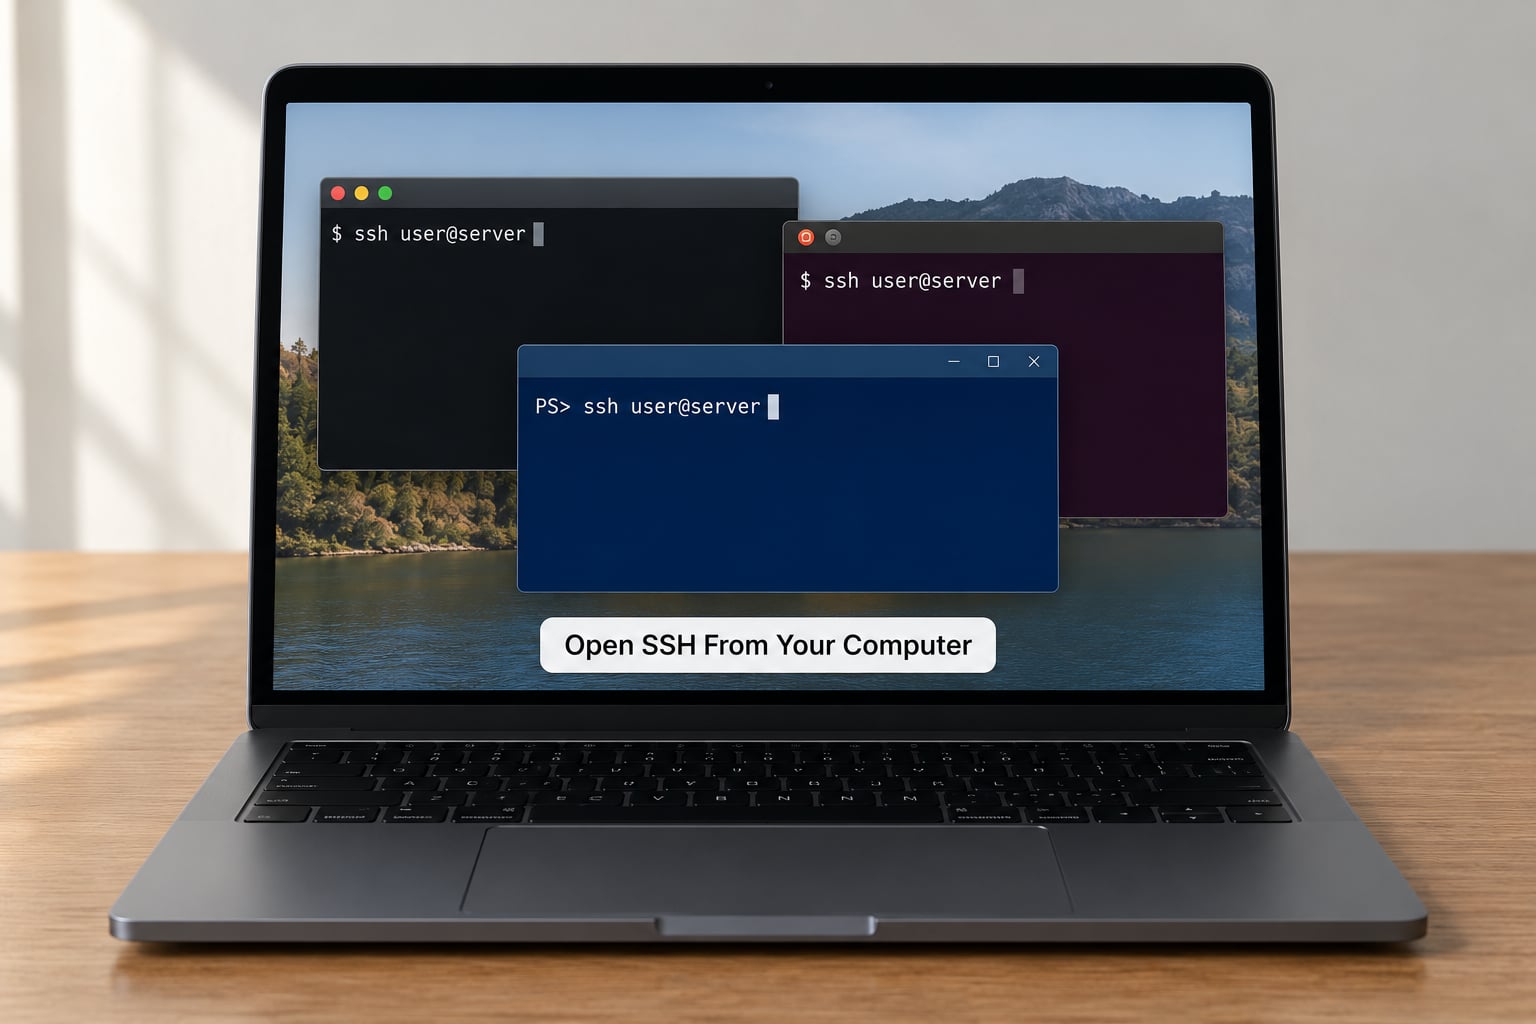
An SSH client is already built into macOS, Linux and Windows 10 and 11, so there is nothing to install first. Open the right terminal and run ssh -V to confirm the client is there.
On macOS, press Command+Space, type Terminal, and press Enter. On Linux, press Ctrl+Alt+T, or search for Terminal in your applications menu. On Windows, press the Windows key, type PowerShell, and press Enter.
You should see a version number such as OpenSSH_9.6p1. If Windows reports that ssh is not recognized, the OpenSSH Client is not installed, so run this in an administrator PowerShell window:
Add-WindowsCapability -Online -Name OpenSSH.Client~~~~0.0.1.0It worked when the version prints. On Windows, keep in mind where your keys will live: the .ssh folder is created at C:Usersyourusername.ssh, and inside PowerShell you can reach it with cd $env:USERPROFILE.ssh.
Connect to the Remote Server
Run ssh followed by your username, an @ sign, and the server address. This is the whole command:
ssh [email protected]Read it left to right: ssh is the client, username is the account you log in as, and 203.0.113.10 is the machine you want to reach. If the server uses a nonstandard port, add -p before the username:
ssh -p 2222 [email protected]On your first attempt you will see a fingerprint and a question. That is covered in the next section, so keep reading before you type anything.
You know it worked when your prompt changes to the server, something like ubuntu@server-01:~$. Three commands confirm it beyond doubt:
whoami
hostname
pwd
whoami prints the username you logged in as, hostname prints the machine name, and pwd shows the directory you landed in. If the prompt still shows your own computer’s name, you are not connected yet.
Authenticate With a Password or SSH Key
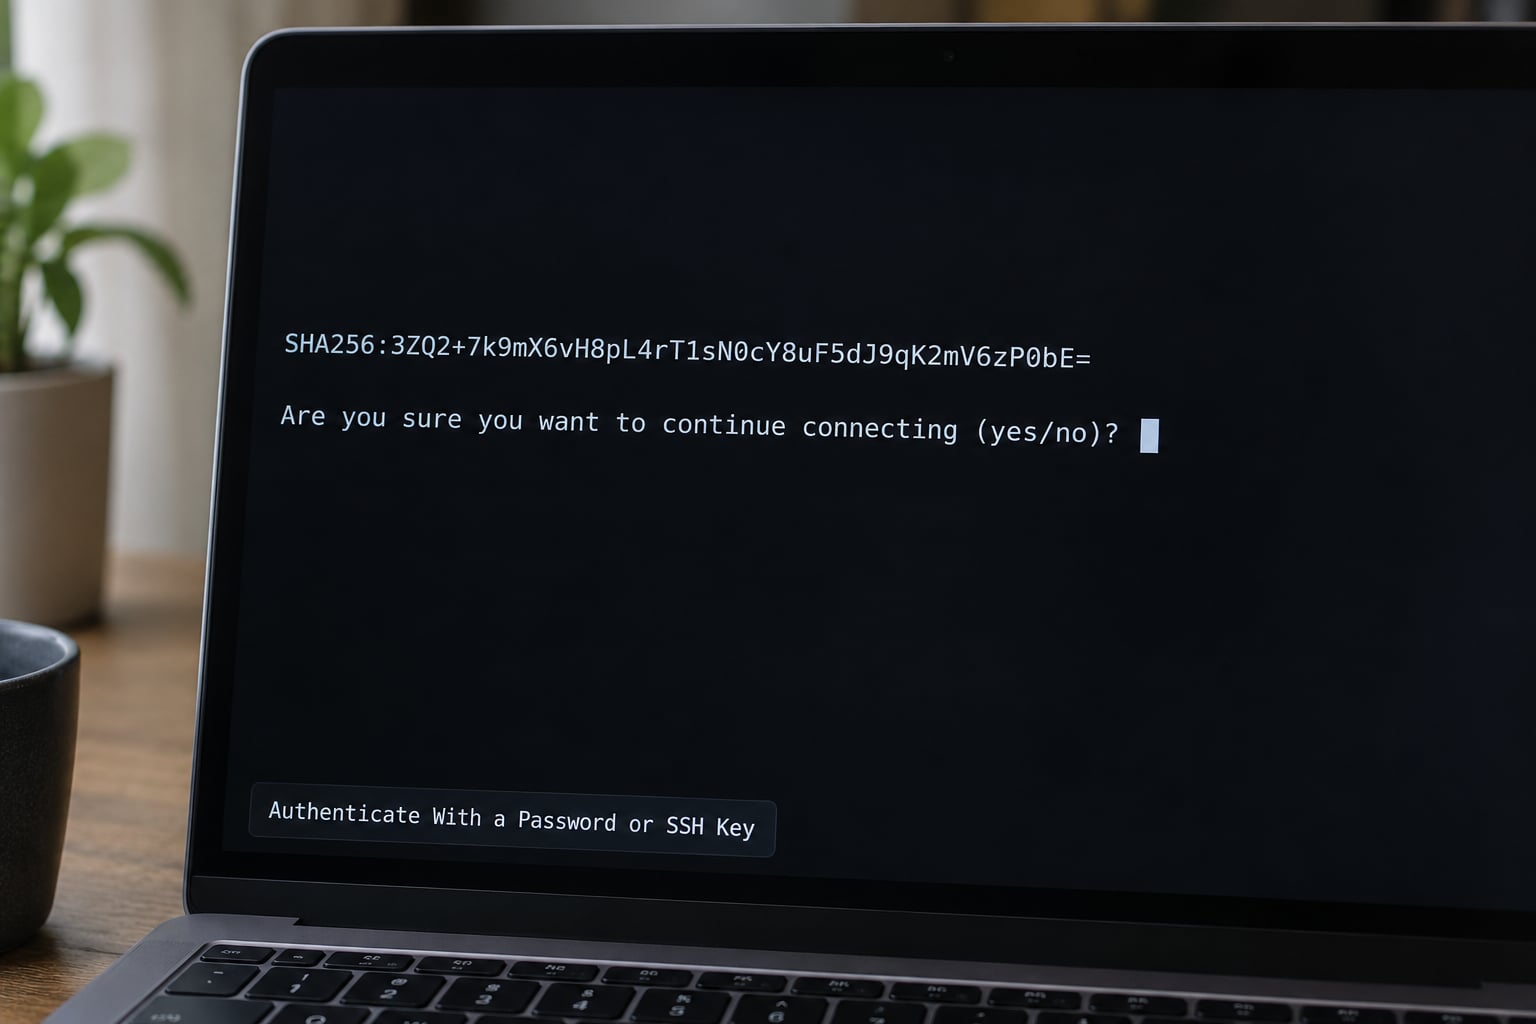
On the first connection the server offers a host key, and SSH asks you to confirm it. It looks like this:
The authenticity of host '203.0.113.10' can't be established.
ED25519 key fingerprint is SHA256:AbCdEf0123456789example.
Are you sure you want to continue connecting (yes/no/[fingerprint])?
Type yes and press Enter. This is normal and safe for a server you just set up: SSH is warning you that it has never seen this machine before, and your yes stores the server’s fingerprint in ~/.ssh/known_hosts so a future change gets caught. Do not type yes automatically on a server someone handed you without checking where the address came from.
If a server is rebuilt or moved and you later see HOST KEY VERIFICATION FAILED, the fingerprint changed. That is expected, and you clear the stale entry with:
ssh-keygen -R 203.0.113.10With a password, you type it at the password: prompt and press Enter. Nothing appears as you type, not even dots. That is SSH hiding the characters, and it means nothing went wrong.
With a key, the server checks whether it recognises your private key instead. First, see which keys your machine already has:
ls -la ~/.ssh
ssh-add -l
Typical files are id_ed25519 (the private key, which stays on your machine) and id_ed25519.pub (the public key, which you hand to the server). To create a new pair:
ssh-keygen -t ed25519 -C "[email protected]"A passphrase is worth setting on the private key. Then install the public key on the server, which on Linux and macOS is one command:
ssh-copy-id -i ~/.ssh/id_ed25519.pub [email protected]Windows has no ssh-copy-id, so paste the contents of the .pub file into the SSH keys box in your hosting control panel instead. Cloud providers call this file your key and expect the public half, never the private one.
To use a specific key, point at it with -i:
ssh -i ~/.ssh/id_ed25519 [email protected]Permissions decide whether a key is accepted. ~/.ssh must be 700 and the key files 600, otherwise the server silently ignores your key and you get Permission denied (publickey). Fix it on the server with:
chmod 700 ~/.ssh
chmod 600 ~/.ssh/authorized_keys
If a key login still fails, run ssh -v [email protected] and read the lines that say which key was offered and which file the server rejected. That single command answers most authentication problems.
Run Commands and Transfer Files
You are now working on the remote machine, and the filesystem you see is the server’s, not yours. Start by getting oriented:
pwd
ls -la
cd /var/www
cd ..
whoami
hostname
uname -a
uptime
df -h
free -h
To read a log or check a service, commands like tail -n 50 /var/log/syslog and systemctl status nginx cover most situations. Editing a file uses nano or vim; if a command is refused, you need sudo, which requires the account to be a sudoer.
You do not have to stay connected to run things. Put a command in single quotes after the address and SSH runs it, prints the output and returns you to your own machine:
ssh [email protected] 'systemctl status nginx'
ssh [email protected] 'uptime'
For files, scp copies in either direction. The path after the colon is on the server:
scp report.pdf [email protected]:/var/www/html/
scp [email protected]:/var/log/nginx/access.log ./
scp -r ./project [email protected]:/home/username/
Use sftp when you want to browse interactively: run sftp [email protected], then put, get, ls and bye. rsync -e ssh is the better choice for syncing a folder, since it sends only what changed and can be re-run safely:
rsync -avz -e ssh ./site/ [email protected]:/var/www/html/Disconnect and Keep the Connection Secure
Type exit and press Enter, or press Ctrl+D, and the session closes cleanly. If a command is running and the prompt is stuck, Ctrl+C stops the running command first, and then exit closes the session.
Sessions that drop on a laptop that sleeps or a network that flickers lose your work, which is the most common complaint in server forums. tmux keeps your work running on the server independently of your terminal:
tmux new -s work
# detach with Ctrl+b then d
tmux attach -t work
For a slow line that times out silently, tell SSH to check in regularly. Either pass the options once, or set them in ~/.ssh/config so every connection inherits them:
ssh -o ServerAliveInterval=30 -o ServerAliveCountMax=6 [email protected]The config file is also the tidy way to stop retyping details. Create ~/.ssh/config and add one block per server:
Host myserver
    HostName 203.0.113.10
    User username
    Port 2222
    IdentityFile ~/.ssh/id_ed25519
    ServerAliveInterval 30
From then on ssh myserver is all you type.
A few habits keep a server safe. Never send or paste your private key anywhere, and treat a passphrase as worth setting. Change the default password and add your own user with sudo access rather than working as root. Only turn off password login in sshd_config after you have proven a key login works in a second terminal, then reload with sudo systemctl reload sshd and leave that second terminal open. Disabling password login before keys work is the classic way to lock yourself out of your own server.
Quick Checks Before Troubleshooting
When a connection fails, run the cheap checks before you change any configuration. Ping proves the machine exists, nc -zv 203.0.113.10 22 proves the port is open and listening, and ssh -vvv [email protected] shows exactly where the handshake stopped.
The full error-by-error breakdown is in the next section, and the timeout, refusal and permission cases account for most of them.
Common Mistakes
The message you get tells you which of three things went wrong: the packet never arrived, it arrived and was rejected, or it arrived and the credentials were refused. Match the message to the cause before touching settings.
| Error message | What it means | How to fix it |
|---|---|---|
| ssh: connect to host 203.0.113.10 port 22: Connection timed out | Nothing is listening, or a firewall dropped the packets before they arrived | Open port 22 in the cloud security group and the server firewall, confirm the IP is the public one, and test with nc -zv 203.0.113.10 22 |
| Connection refused | The machine answered, but nothing is accepting connections on that port | Start the SSH service with sudo systemctl start sshd and enable it, or use the port the provider actually assigned |
| No route to host | Your machine cannot reach that network at all | Check the IP address, check that the server is in a public subnet, and try a different network |
| Permission denied (publickey) | The connection worked and the credentials were rejected | Check the username, confirm the public key sits in ~/.ssh/authorized_keys, run chmod 700 ~/.ssh and chmod 600 ~/.ssh/authorized_keys, and verify you are not passing the .pub file to -i |
| Permission denied, please try again | The password was wrong, or the server no longer accepts password login | Retry the password carefully, or switch to a key and check PasswordAuthentication in sshd_config |
| HOST KEY VERIFICATION FAILED | The server’s fingerprint changed since you last connected | Expected after a rebuild or a reassigned IP. Clear it with ssh-keygen -R 203.0.113.10 and reconnect |
| Connection closed by remote host / kex_exchange_identification | The server dropped the connection during the handshake | Check MaxStartups in sshd_config, confirm fail2ban has not banned your address, and retry |
Connection timed out is almost always a network rule, not an SSH problem. Cloud providers filter traffic at the security group level, before the packet ever reaches the server’s own firewall, so a correctly configured ufw rule on the machine will not help if the security group is closed. Open the port there as well, and remember that home ISPs and campus networks sometimes block port 22 outright, which is why plenty of providers hand out a different port.
Permission denied (publickey) has three usual causes, and they are worth checking in order. The public key is not in the server’s authorized_keys file. The permissions are too open, so sshd refuses to read it. Or you copied a public key that got mangled by a line break while pasting it. A quick ssh -v run tells you which one, because it names the key it offered and the file it read on the other end.
HOST KEY VERIFICATION FAILED shows up after you rebuild a server, restore an image, or your provider reassigns your IP. People assume they have been hacked. The honest answer is that SSH is doing its job: it noticed a different machine answering on that address, and it will not let you in until you say so.
Frequently Asked Questions
Is SSH port 22 or 23?
SSH uses TCP port 22 by default. Port 23 belongs to Telnet, an older unencrypted protocol that sends your password as plain text. If your provider moved SSH to a custom port such as 2222, add -p 2222 to the ssh command, and that port must be the one open in both the server firewall and the cloud security group.
How can I SSH to a remote server without using a password?
Generate a key pair with ssh-keygen -t ed25519, copy the public key to the server’s ~/.ssh/authorized_keys using ssh-copy-id, then connect with ssh -i ~/.ssh/id_ed25519 username@server. Once the public key is in place, the server never sees a password. Keep the private key on your own machine and never upload or message it anywhere else.
How do I break an SSH connection?
Type exit and press Enter, or press Ctrl+D, and the session closes cleanly. If a command is running and you cannot get back to the prompt, press Ctrl+C to stop that command first. Closing the terminal window does the same thing, but it will not warn you about unsaved work on the server.
What feature of SSH makes it more secure than Telnet?
SSH encrypts the entire session, including your password, your commands and any file transfer, using a key exchange and symmetric encryption negotiated at connection time. Telnet sends the same traffic as readable text. SSH also checks the server’s host key fingerprint before it asks you for credentials, so you know the machine is the one you expected.
Why do I get Permission denied (publickey) when I connect?
The server rejected every key you offered. Usually the public key is missing from ~/.ssh/authorized_keys, the username is wrong, the permissions are too open at 600 for authorized_keys and 700 for ~/.ssh, or you passed the .pub file to -i where the private key belongs. Run ssh -v username@server to see which key was tried.
How do I run one command on a remote server and come back?
Put the command in single quotes after the connection details, for example ssh username@server ‘systemctl status nginx’. The server runs it, prints the output and closes the connection, dropping you back at your own prompt. Add a -t flag when the command needs a real terminal, such as ssh -t username@server ‘sudo apt update’.
Start with the three details from your control panel, open a terminal, and run ssh username@server-ip. Answer yes at the fingerprint prompt only for a server you set up yourself, check the prompt changed to the server’s name, and you are connected. Everything past that is keys, file transfer and cleanup once you are comfortable.