To clean a laptop screen without damaging it, shut the laptop down, unplug the charger, and wipe the panel with a clean, dry microfiber cloth. If dust and fingerprints remain, dampen that cloth lightly with distilled water — spray the cloth, never the screen — wipe in straight overlapping strokes, then finish with a dry section.
That is the whole method. It takes about five minutes and costs nothing, and most of the smudges on a laptop screen disappear with it. The trouble starts when people reach for the spray bottle under the sink instead.
Display panels carry coatings a fraction of the thickness of a hair: an oleophobic layer that sheds fingerprints, and often an anti-glare or anti-reflective film bonded to the glass. Those layers dissolve, haze, or scratch under ammonia, alcohol, bleach, acetone, and paper towels. Once they go, they do not come back, and the screen you are looking at now is the screen you will own for the life of the machine.
I have cleaned dozens of panels over the years, and the pattern is consistent. Screens that get wiped with a dry microfiber cloth once a week look almost new. Screens that get “properly” cleaned with household glass cleaner end up with permanent rainbow swirls and a soft, washed-out look that people usually blame on the backlight.
Table of Contents
- 1What You Need Before Cleaning a Laptop Screen
- 2Step-by-Step: How to Clean a Laptop Screen Without Damaging It
- 3Step 1: Power Down and Inspect the Screen
- 4Step 2: Choose a Cleaner and Test It First
- 5Step 3: Wipe the Screen Gently
- 6Step 4: Clean the Bezel, Hinges, and Keyboard
- 7Step 5: Dry and Check the Result
- 8Common Mistakes
- 9Frequently Asked Questions
- 10Can I use distilled water to clean a laptop screen?
- 11Is isopropyl alcohol safe for cleaning laptop screens?
- 12How should I clean a laptop touchscreen?
- 13Why does my laptop screen still have streaks after cleaning?
- 14Can I use household glass cleaner on a laptop display?
- 15When should I contact the laptop manufacturer instead of cleaning the screen myself?
- 16Conclusion
What You Need Before Cleaning a Laptop Screen
You need very little. Most of what people buy for screen cleaning is unnecessary or actively harmful.
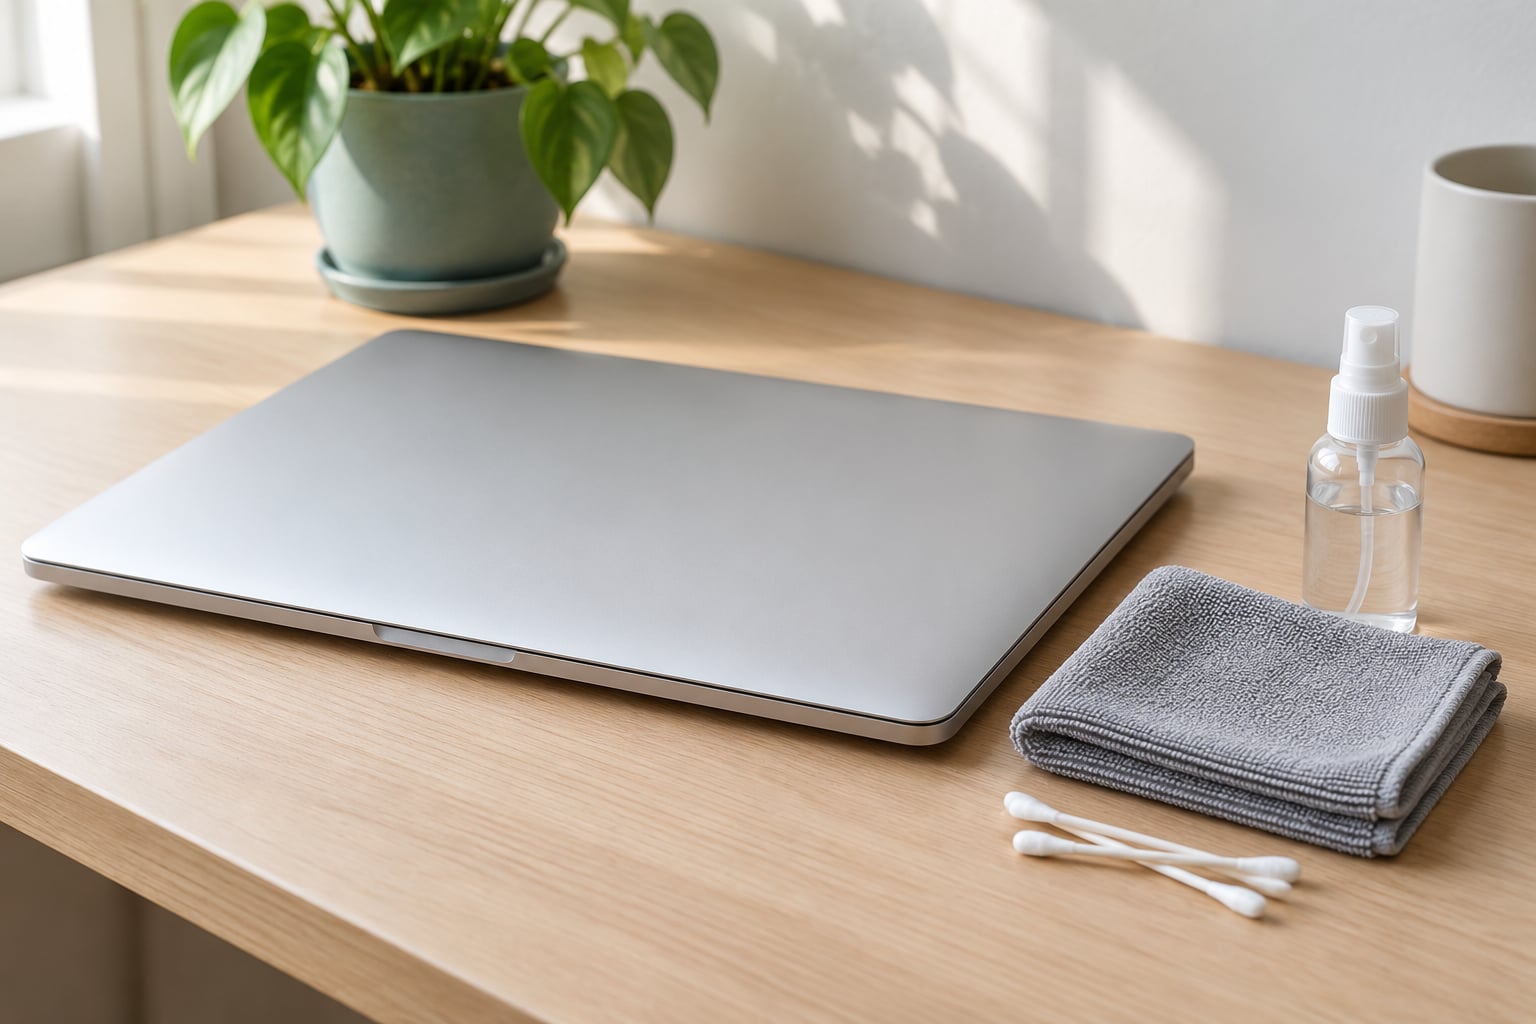
- A lint-free microfiber cloth. This is the only tool that matters. Wash it without fabric softener, because softener leaves a film that causes streaks.
- Distilled or deionised water. Tap water carries minerals that dry into visible spotting. Distilled water costs very little and leaves no residue.
- A small spray bottle. Used only to mist the cloth. A pipette or even a damp fingertip on the cloth works too.
- Cotton swabs. For the gap between the bezel and the panel, and around hinges.
- A soft detail brush or clean, soft toothbrush. For dust in keyboard gaps and vents.
Everything below this line should stay away from the display: window cleaners such as Windex, ammonia-based products, bleach, acetone and nail polish remover, household disinfectant wipes such as Clorox or Lysol, paper towels, and any cloth with a rough or terry texture.
The reason is physical, not superstition. Ammonia softens the anti-glare coating and the plastic bezel, bleach and disinfecting wipes do the same job faster, and paper towels deposit lint that you then rub across the panel in circles to get rid of. Every one of those mistakes leaves a mark that no further cleaning will fix.
Step-by-Step: How to Clean a Laptop Screen Without Damaging It
Step 1: Power Down and Inspect the Screen
Save your work, then shut the operating system down fully rather than just closing the lid. Unplug the charger and any dock or external display. A powered-off panel is easier to see marks on because there is no backlight glare, and it removes the small chance of a screen burn-in or flicker from a wet, powered display.
Let the panel cool to room temperature. Warm glass shows smudges less clearly and streaking more clearly, so cleaning a hot screen usually means a second pass.
Now look at the surface before you touch it. Tilt it toward a window and look for cracks, chips, lifting bezel edges, or a panel that flexes when you open the lid. Those are repair problems, not cleaning problems, and solvent near a lifted seal can reach the electronics behind the panel.
It also helps to identify what you are dealing with. A glossy screen behaves like camera glass and shows every fingerprint. A matte anti-glare screen scatters reflections and feels slightly textured, and that texture means you should use less liquid and less pressure. A touchscreen has a digitiser layer you can damage with sustained hard pressure. If you can see your face clearly in the panel at an angle, it is glossy. If the panel looks flat and grey from the side, it is matte.
Step 2: Choose a Cleaner and Test It First
Start with distilled or deionised water. For fingerprints and light grime it is enough, and it is the least likely liquid to cause a problem.
Isopropyl alcohol is the second option, and this is where most online advice gets vague. Several manufacturers, including Dell, HP, and Lenovo in their care documentation, accept 70% isopropyl alcohol diluted with distilled water — commonly a 50:50 mix — for stubborn grease. Apple recommends a dry, soft, lint-free cloth for Mac displays and warns against applying liquid directly to the screen. None of these makers present alcohol as the default, and repeated alcohol use is the fastest way to wear down an oleophobic coating. Use it for grease, not as a habit.
Whichever liquid you choose, test it first. Dampen the cloth, not the panel, then wipe a small corner near an edge — the bottom bezel area is usually the least visible spot. Wait a minute and look at it under the same light you will judge the whole screen by.
Stop immediately if you see haze, a rainbow film, a colour shift, new streaking, or a patch that looks dull next to the rest of the panel. Once the coating goes matte it does not come back, and you will be looking at that patch every time you open the laptop.
Step 3: Wipe the Screen Gently
Support the back of the lid with one hand so the panel does not flex. Flexing a laptop display under pressure is a common and expensive failure, and it has nothing to do with the cleaner.
Lightly dampen the microfiber cloth. It should feel cool and damp, never wet — if you can squeeze a drop out of it, it is too wet. Spray the cloth held away from the laptop, or use a pipette. Liquid sprayed at a panel pools along the bottom edge and wicks under the bezel seal toward the backlight and board, and that is the single most repeated warning in owner forums.
Wipe with straight, overlapping strokes, working from one side to the screen to the other. Start at the top and move down so you are not wiping dirt back over an area you just cleaned. Keep light, even pressure and lift the cloth between passes rather than scrubbing back and forth over one spot.
Circular motions are worth a caveat. On a glossy panel with a clean cloth, gentle circles from the centre outward work well. On a matte anti-glare coating they can work the coating into a hazy swirl pattern that shows up badly in daylight. Straight strokes are the safer default.
A properly clean screen looks even, with no visible smudge shadows and no bright or dull patches. If you can see your reflection sharply and the panel is streak-free, you are done.
Step 4: Clean the Bezel, Hinges, and Keyboard
Since the laptop is already open and your supplies are already out, do the surrounding areas in the same session — and keep liquid away from the places it can travel.
The bezel, the plastic around the panel, the hinge barrels, and the keyboard deck are all plastic rather than coated glass, so a cloth that is damp rather than wet is generally fine here. Check your specific model’s manual first, and skip any area where a label says not to clean it.
Never let liquid run toward vents, ports, speakers, the hinge gap, or the keyboard. Liquid wicks along a surface faster than people expect, and the path of least resistance is straight down into the keyboard membrane. For the gap between the bezel and the panel, use a barely damp cotton swab rather than a cloth.
For the keyboard, turn it upside down and tap out crumbs, run short bursts of compressed air through the keys, and wipe the keycaps with a cloth that is damp but not wet. Support the laptop so the air does not push dust further inside, and keep the can moving.
One rule for the whole session: keep a dry section of cloth in reserve. That is what removes the streaks in the final pass.
Step 5: Dry and Check the Result
Use the clean, dry part of the microfiber cloth to buff the panel, again with straight overlapping strokes. If you used liquid, give it a minute or two longer than feels necessary before you power up.
Look for moisture along the bottom edge and in the bezel gaps, and make sure nothing is sitting wet near the hinge or the vents. Then power the laptop on and check the panel with the backlight running. Streaks are far more visible against a bright screen than they were against a dark one, and haze from a damaged coating also only shows with the backlight on.
If streaks remain, the cause is almost always one of three things: the cloth was too wet, the cloth carried detergent or fabric softener residue, or the water was tap water rather than distilled. Fix the cloth, not the screen, and do one more pass.
If instead you see persistent marks, a dull patch, flickering, discolouration along one edge, or dead pixels, stop cleaning. Repeated passes with the wrong tool or liquid will only spread the damage. That is the point to stop and read the rest of this guide on what to do next.
Common Mistakes
Spraying the screen directly. Fix: always spray the cloth, never the panel. Pooled liquid runs to the bezel and under the seal.
Using window cleaner or ammonia products. Windex and similar products contain ammonia, which softens anti-glare coatings and plastic bezels. Fix: distilled water, or 70% isopropyl alcohol diluted 50:50 with distilled water for stubborn grease.
Using paper towels or household disinfectant wipes. Paper towels lint and scratch, and Clorox or Lysol wipes are built to disinfect hard surfaces, not coated glass. Fix: a clean microfiber cloth only.
Scrubbing in tight circles with pressure. Fix: light pressure, straight overlapping strokes, and lift the cloth between passes. If the screen flexes when you wipe, you are pressing too hard.
Cleaning while the laptop is powered on. Fix: shut down and unplug. A powered, wet panel is a bad combination, and backlit panels show every streak.
Opening the lid with debris trapped underneath. Grit that lands on the panel when the lid closes gets ground into the coating every time you open it. Fix: wipe the panel and the keyboard deck before you close the lid, and check there is nothing trapped in the hinge gap.
Cleaning a matte screen with too much liquid. Anti-glare coatings absorb and haze rather than shedding water. Fix: use a barely damp cloth and skip liquids entirely unless water alone has failed.
If you have already used a household glass cleaner and the screen now looks permanently hazy or has fine rainbow swirls, that is coating loss rather than dirt. No cleaner restores it. Keep using a dry microfiber cloth, keep the brightness moderate, and plan for a panel replacement rather than trying more products.
Frequently Asked Questions
Can I use distilled water to clean a laptop screen?
Yes. Distilled or deionised water is the safest liquid for a laptop display because it leaves no minerals behind. Lightly dampen a microfiber cloth with it rather than spraying the screen, wipe in straight overlapping strokes, and finish with a dry section of the cloth. Test a bottom corner first and stop if you see haze or a dull patch.
Is isopropyl alcohol safe for cleaning laptop screens?
It can be, in moderation. Dell, HP, and Lenovo care documentation accept a 50:50 mix of 70% isopropyl alcohol and distilled water for stubborn grease, applied to a cloth. Pure alcohol and repeated alcohol use wear down oleophobic and anti-glare coatings, so treat it as an occasional grease remover rather than a routine cleaner. Water first is the safer habit.
How should I clean a laptop touchscreen?
Clean a touchscreen with the same method as any display: power down, dry microfiber first, then a lightly dampened cloth with distilled water. Touch digitiser layers are easy to damage with sustained heavy pressure, so support the back of the lid, keep strokes light, and avoid stiff swabs near the panel edges. Restoring touch function is rarely worth the risk.
Why does my laptop screen still have streaks after cleaning?
Streaks left behind usually come from a cloth that was too wet, from detergent or fabric softener residue in the wash, or from tap water minerals drying on the panel. Wash the microfiber cloth without softener, use distilled water, keep the cloth damp rather than wet, and always finish with a clean dry section. Streaks that persist despite this point to coating wear.
Can I use household glass cleaner on a laptop display?
No. Windex and similar products contain ammonia, which softens anti-glare coatings and plastic bezels, and paper towels add lint that you then rub across the panel. Disinfecting wipes such as Clorox and Lysol are also designed for hard surfaces and will haze coated glass. Use distilled water or a diluted isopropyl alcohol mix instead.
When should I contact the laptop manufacturer instead of cleaning the screen myself?
Stop and contact the manufacturer or a repair service if you see a crack, a lifted bezel, a panel that flexes, discolouration along one edge, flickering, dead pixels, or permanent haze after a chemical clean. Your warranty may also cover damage from unauthorised cleaning liquids. Check the care documentation on your model’s support page before using anything beyond a dry microfiber cloth.
Conclusion
Shut the laptop down, unplug it, and start with a dry microfiber cloth. If that is not enough, dampen the cloth with distilled water, never the screen, test a corner first, and finish dry.
Skip ammonia, bleach, alcohol wipes, and paper towels, and clean your laptop screen weekly. Five minutes now is far cheaper than a new panel.