You can scan old photos at home with three things: a phone scanning app, a flatbed scanner, or a sheet-fed feeder scanner. Start by laying the prints flat under even light, capturing each one with edge detection and glare removal switched on, then save the master as a TIFF and back it up twice.
A shoebox of prints takes longer than most people expect. Phone scanning runs roughly 2 to 4 minutes per photo, a flatbed about 1 to 2 minutes, so 300 prints is a couple of evenings either way. That is fine, because 300 prints digitized is 300 prints that cannot fade, curl, or vanish in a house move.
I have one preference before the instructions: whatever method you pick, save the untouched original. Every correction can be redone later in any editor. A dull, slightly crooked master file is worth far more than a beautiful compressed one that replaced it.
| Method | Best for | Time per 100 photos | Practical ceiling |
|---|---|---|---|
| Phone scanning app | Small collections, albums, mixed sizes, no equipment | 3 to 7 hours | Good to 8×10 prints |
| Flatbed scanner | Consistent, repeatable scans you plan to print or archive | 2 to 4 hours | Sharp to 16×20 prints |
| Flatbed plus copy stand or camera | Hundreds of prints where speed matters most | 1 to 2 hours | Sharp to 16×20 prints |
| Sheet-fed feeder | Loose paper documents, receipts, handwritten notes | Under an hour | Not suitable for most prints |
The table matters because the method decides the ceiling. A sheet-fed feeder is a poor fit for photographs: the roller pressure bends prints, and the platen only catches the light that bleeds around them. Save feeders for the letters and certificates in the same box.
Table of Contents
- 1What You Need
- 2Capture equipment
- 3Software
- 4Handling supplies and storage
- 5Step-by-Step
- 61. Sort, Clean, and Test the Photos
- 72. How to Scan Old Photos at Home with a Flatbed Scanner
- 83. Scan Prints with a Smartphone or Digital Camera
- 94. Check and Correct the Scanned Image
- 105. Name, Organize, and Back Up the Files
- 11Common Mistakes
- 12Frequently Asked Questions
- 13What resolution should I use when scanning old photos at home?
- 14Is it better to scan old photos as JPEG, TIFF, or PNG?
- 15Can a smartphone scan old photographs well enough for printing?
- 16What is the best way to scan faded or yellowed photos?
- 17Should I scan photographic negatives at home or use a professional service?
- 18How much storage space does a large family photo collection need?
- 19Conclusion
What You Need
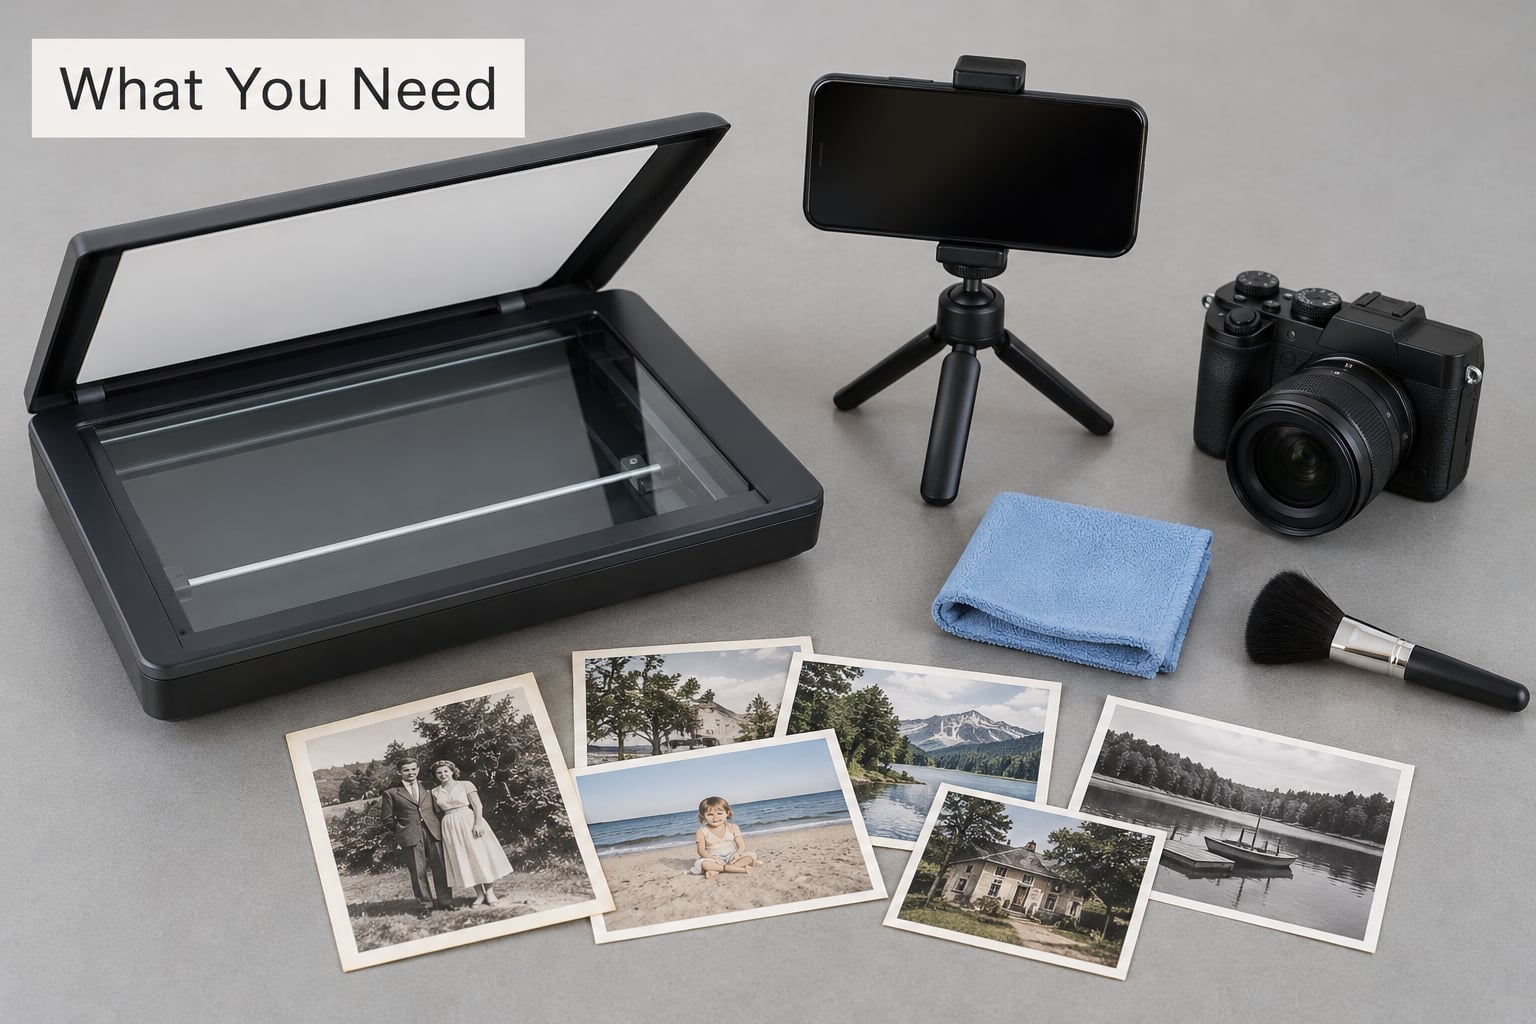
Choose your capture method first, then buy nothing else until you have tried it. Everything below is optional except a way to save the file and somewhere safe to put it.
Capture equipment
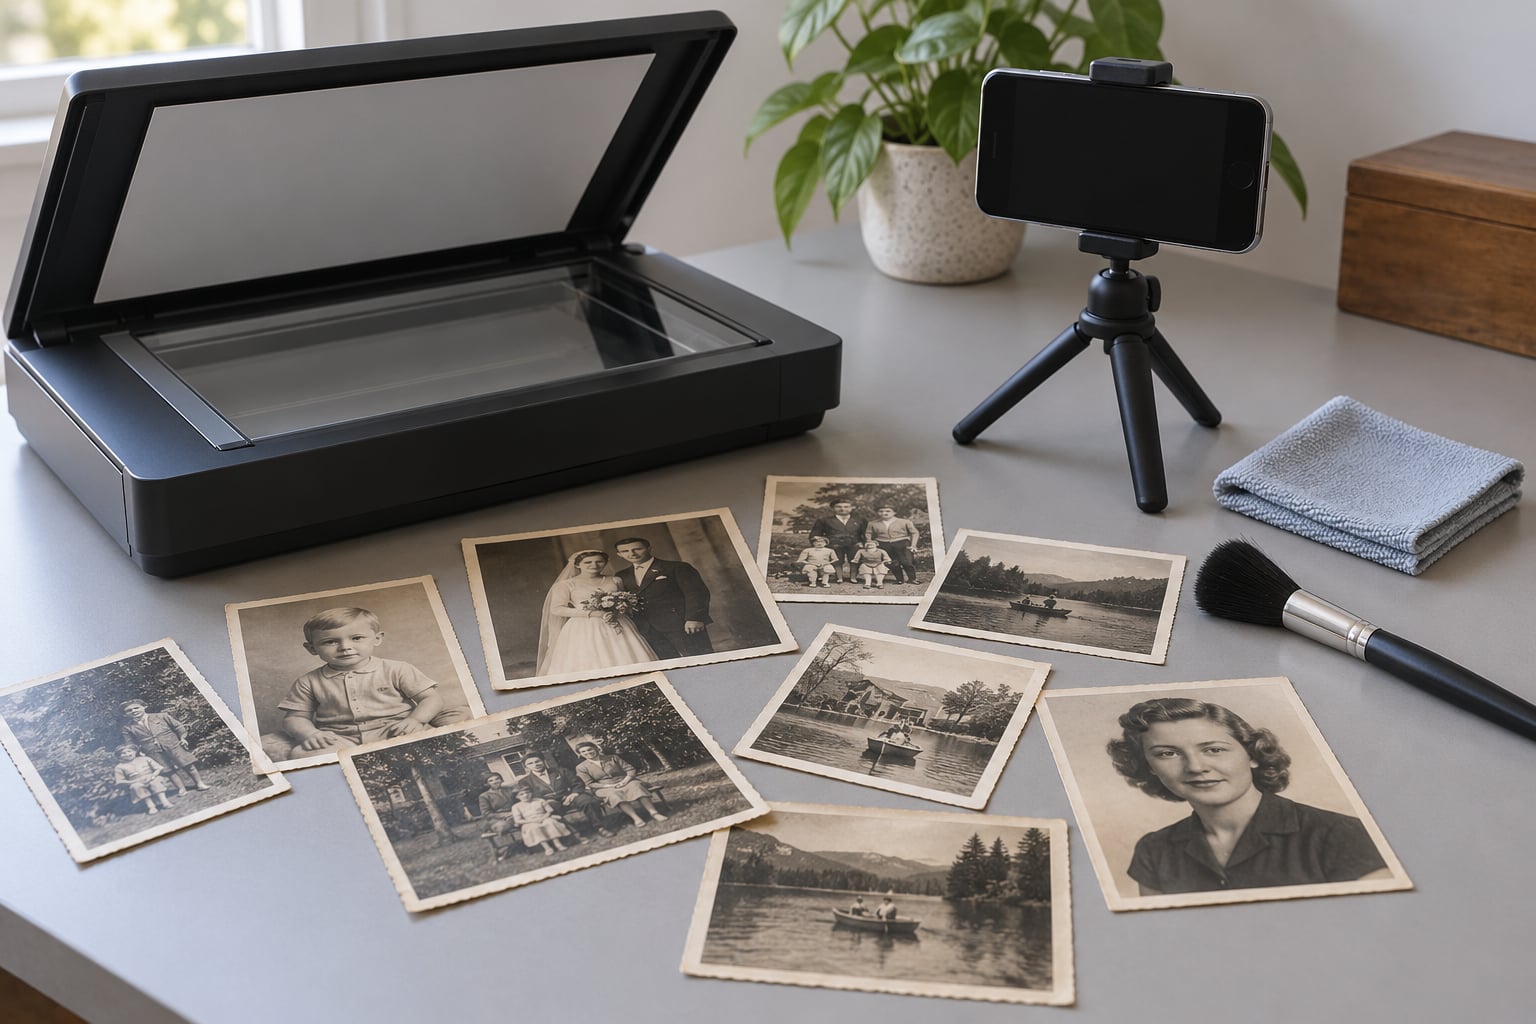
A flatbed scanner gives the most consistent results and needs no lighting setup. Many people already own one, because printers and scanners have shared a single box in most homes for two decades. If yours is gone, an all-in-one printer scanner handles prints well enough for family archiving.
A phone with a document scanning app is the fastest start, costs nothing, and handles the awkward sizes that foil a scanner lid. Google PhotoScan was the early favourite here, though it has not been updated for iPhones in years, so Microsoft Lens or the document scanner built into current iOS and Android is the safer pick today. Either crops the edges, squares up perspective and fires a burst to remove shadows.
A camera on a tripod beats both of those for volume, because you can drop five or ten prints on a sheet of paper and capture them in one shot. People who archive thousands of prints often build a simple copy stand from a camera, a light source and a sheet of white card. It takes an evening to assemble and pays off across every session.
Software
Scanning apps handle cropping and glare for you. Scanner software is the part that frustrates people most, because vendor utilities are dated and full of buttons you will never touch. Use whatever came with the scanner, or a simple scan utility that opens on a single screen. Vendor photo suites are fine if you already know them, but they are rarely the fastest route.
For correcting and printing later, a free editor such as GIMP, darktable or Krita handles colour and cleanup well. Editing lives in that software, not in the scanning app, which keeps your workflow simple.
Handling supplies and storage
Clean hands matter more than gloves, which snag on curled corners. Have a soft brush, a clean microfibre cloth and a lint-free lens cloth nearby. Use a document mat or a sheet of black card for the copy stand setup so prints do not disappear into the background.
For storage, budget roughly 25 MB per 300 DPI 4×6 TIFF and about 2 MB per 300 DPI JPEG. A 1 TB drive holds something in the region of 30,000 JPEG scans, which covers most family collections, and it costs the same whether it holds ten photos or ten thousand. Keep the drive somewhere other than beside the computer.
Step-by-Step
1. Sort, Clean, and Test the Photos
Sorting first tells you which method you need. Separate fragile prints from the rest before you handle anything else.
Put fragile photos in their own pile. Anything cracked, badly curled, torn, stuck to another print, or with a flaking emulsion layer needs to stay flat and go through the gentlest option available, usually a phone held well above it. Old black-and-white prints with silver mirroring are the most fragile group of all, and they should never go face down onto glass.
Clear loose dust with a soft brush, holding the print by the edges and brushing towards the edge of the frame rather than across the middle. Do not use compressed air, and do not wipe a print with anything damp. If a print feels sticky, leave it alone and scan it on the copy stand instead of a flatbed.
Check the back of every print for a pencil name or a date. That scrawl is often the only record of who is in the photograph, and reading it now saves a mystery later.
Now test one representative photograph end to end. Scan it with your intended method, zoom in to 100 percent, and look at the faces. If the edges are soft or the highlights are blown, change one setting and repeat. That single test is what tells you how to scan old photos at home for the rest of the collection, and it costs two minutes.
2. How to Scan Old Photos at Home with a Flatbed Scanner
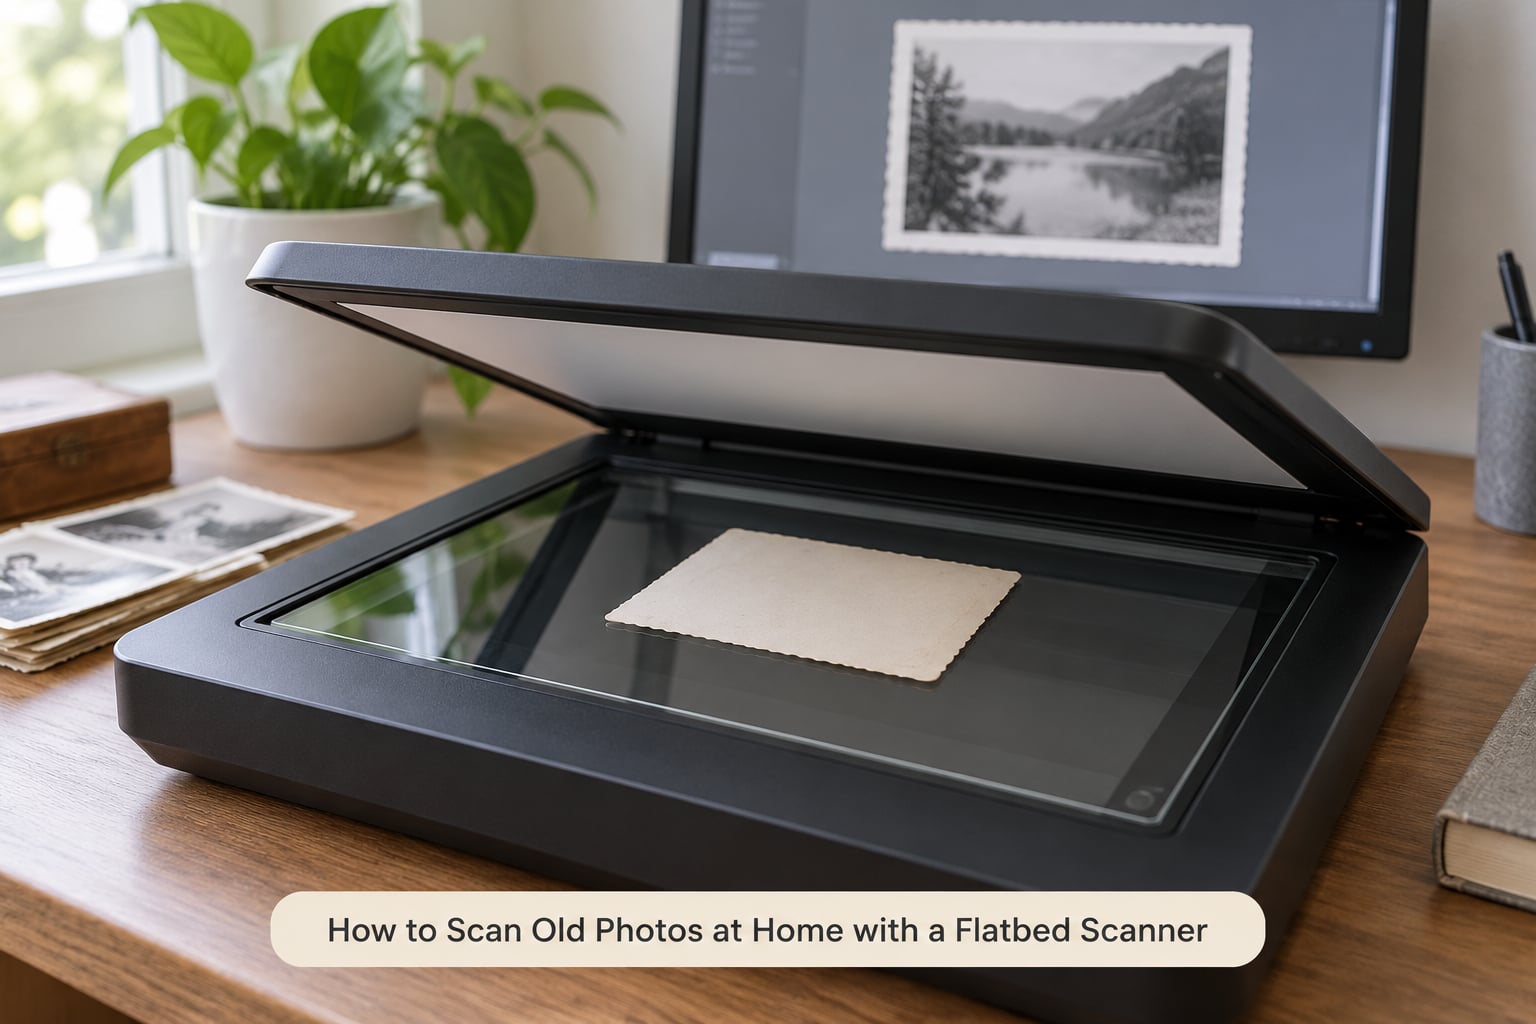
A flatbed scan takes six settings and about ninety seconds per print: photo mode, 300 DPI, 24-bit colour, TIFF, preview, save. Change any one of those and the file gets worse, so here is the version that works.
- Clean the glass first. A speck of dust on the platen appears in every scan as a dark blob. Use the lint-free cloth on the glass, not on the photo.
- Open the lid fully. On many scanners the flatbed lamp needs the lid’s reflective strip to switch on. Scanning with the lid propped half open gives you grey, flat images.
- Lay the photo face down, printed side against the glass. Align it to the corner guides. If it is fragile or curled, put a thin sheet of clean paper over it as a spacer, or skip to the copy stand method.
- Pick Photo mode, not Copy mode. Photo mode disables aggressive auto-enhancement and often the sharpening that Copy mode applies. Copy mode over-sharpens fine facial detail and is the single biggest quality mistake on all-in-ones.
- Set resolution to 300 DPI and colour mode to 24-bit colour. Never use greyscale, because you are discarding colour permanently. Grayscale is for documents only.
- Choose the format. Save the master as TIFF or PNG if your software allows it. If your scanner only writes JPEG, switch it to maximum quality and move that limitation to step 4, where you keep the untouched file regardless.
- Preview, then scan and save. Crop to the edge of the print, check the histogram, and look for washed-out areas on skies and pale clothing before you commit.
Resolution is where people either overspend or lose quality. A 4×6 print at 300 DPI gives roughly 1200 by 1800 pixels, which is more than enough for most uses and about 300 MB as an uncompressed file.
| Resolution | Pixels from a 4×6 print | Realistic print size at 300 DPI | Worth it for |
|---|---|---|---|
| 150 DPI | 900 by 1200 | 3 by 5 inches | Quick sorting scans, nothing more |
| 300 DPI | 1200 by 1800 | 4 by 6 inches | Everyday printing and sharing |
| 600 DPI | 2400 by 3600 | 8 by 12 inches | Framed prints and small enlargements |
| 1200 DPI | 4800 by 7200 | 16 by 24 inches | Negatives, slides, posters, archival masters |
For a wall-sized enlargement, scan at 600 DPI and keep the master at 1200 DPI if the scanner goes that far. Print shops reprinting a faded 1950s snapshot do not need more than 600 DPI from the original print, because the detail is already fixed in the emulsion.
3. Scan Prints with a Smartphone or Digital Camera
Phone scanning beats a scanner for one reason: light. A document scanning app fires several shots and blends them, which removes the shadow of your phone and most of the glare that ruins a glossy print.
Work in daylight from a window, or under two identical lamps angled from either side. Never use a single overhead light, since it creates a hotspot right where you want detail. Put the prints on a plain white or neutral surface, photograph straight down, and keep the phone parallel to the table. Tilt is what produces the trapezoid shape that no editor fully corrects.
In the app, turn on auto-crop and multi-shot glare removal, then work one photo at a time. Batching four prints into one frame works only when they are truly flat and evenly lit, which is rare with curled corners. Slide your finger across the edge indicator until it matches the print boundary, then confirm.
For a camera on a tripod, the setup is simple and fast: a sheet of white card, prints laid out in a grid, lights at roughly 45 degrees on both sides, camera parallel and directly above, manual focus locked and exposure dialled down a third of a stop to protect pale tones. Shoot in RAW if your camera allows it, then crop each print in your editor. Ten prints take under a minute this way once the setup exists.
One warning from people who do this regularly: never use the flash. A single reflected highlight can wash out an entire face.
4. Check and Correct the Scanned Image
Look at every scan at 100 percent before you close it. Zoom in on eyes, text and edges, where problems hide first.
Work through the same short checklist in the same order, so nothing gets missed. If focus is soft, fix that before anything else, because sharpening a blurry image only makes it worse. Then check glare, which shows as a bright crescent or a washed patch, and crop any black border from the scanner edge.
Colour correction comes last and should stay gentle. Faded prints have lost contrast and shifted yellow over decades, and heavy saturation turns skin orange. Pull the black point up slightly, add a small amount of contrast, and warm or cool the temperature by eye against the original print sitting next to your monitor. Stop while it still looks like the physical photograph.
| Format | Compression | Best role | Watch out for |
|---|---|---|---|
| TIFF | Lossless | The master file, kept forever | Large files, 25 MB per 4×6 scan at 300 DPI |
| PNG | Lossless | Scans with transparency or sharp text | Even larger files than TIFF |
| JPEG | Lossy | Sharing, websites and everyday printing | Generation loss, so never overwrite the master |
The rule people arrive at after their first few hundred scans: keep the TIFF as the master, export a JPEG at quality 90 for anything you share or print yourself, and never delete the master to save space. Storage is cheap, and a re-scan means handling the fragile original again.
5. Name, Organize, and Back Up the Files
Unnamed files are the reason people cannot find a specific photograph three years later. A simple convention fixes it.
Use a date-first filename where the print is dated, and fall back to something descriptive when it is not:
- 1952-07-cousin-mary-birthday.jpg for dated prints
- undated-kitchen-1970s.jpg when nobody wrote anything on the back
- box-02-album-3-scan-041.tiff as a fallback when nothing is known at all
Group by year where you can, and keep an unsorted folder rather than forcing a guess. Folder structure matters less than consistent naming, because search works on names.
Then keep three copies in different places: the working drive, an external drive stored somewhere different, and one cloud account or another family’s drive. People who scan hundreds of photos and keep them on a single laptop drive are running a backup of nothing. Follow the 3-2-1 rule and the collection survives a stolen laptop, a flood and a dead hard drive.
Verify one backup occasionally by opening a file from it. A backup you have never restored from is only a hope.
Common Mistakes
Almost every ruined scan comes from one of these, and all of them are cheap to avoid.
- Scanning at 150 DPI and calling it done. You get a file fine for a screen and useless for anything larger. Use 300 DPI as the floor.
- Touching the emulsion side. Fingerprints and scratches cannot be undone. Handle prints by the edges and clean your hands first.
- Forcing curled prints flat. A stiff print can snap or crack. Photograph curled prints from above instead of pressing them to the glass.
- Scanning the wrong way up. Back-to-front is unfixable and wastes the original’s one good exposure.
- Saving only compressed JPEGs. Every save loses a little more. Keep the lossless master untouched.
- Letting auto-enhance run. Copy mode’s sharpening and saturation can wreck faces. Turn it off and edit later.
- Running one light source directly overhead. That hotspot is why phone scans look yellow and flat. Use daylight or two angled lamps.
- Scanning and then never backing up. The scan is the only copy. Verify the second copy before you close the box.
- Prying prints off glued album pages. Force pulls the emulsion with the corner. Scan the page whole, or slide a thin spatula under the edge slowly while holding the print down.
Frequently Asked Questions
What resolution should I use when scanning old photos at home?
Use 300 DPI for normal family photos, which gives you roughly 1200 by 1800 pixels from a 4×6 print and is sharp for a same-size reprint. Scan at 600 DPI when you want framed enlargements, and 1200 DPI for negatives, slides or poster-size output. Going above 600 DPI on a faded print rarely adds detail, because the information is already fixed in the emulsion.
Is it better to scan old photos as JPEG, TIFF, or PNG?
Keep one lossless master, either TIFF or PNG, and never correct it. TIFF is the usual archival choice because scanning software writes it everywhere. Export a JPEG at quality 90 for sharing, printing and anything you email. Never overwrite the master with a corrected or compressed version, because JPEG compression loses a little more detail every time you save it.
Can a smartphone scan old photographs well enough for printing?
Yes, for prints up to about 8×10 inches. A good scanning app removes most glare and shadow, and the result matches a flatbed for screen viewing and standard printing. Shoot in even daylight or under two angled lamps, keep the phone parallel to the surface, and skip the flash. For large enlargements or archival masters, use a flatbed instead.
What is the best way to scan faded or yellowed photos?
Scan in full 24-bit colour mode, never greyscale, then correct the file in an editor. Open the shadows slightly, add modest contrast, and adjust the white balance toward neutral by comparing against the physical print. Keep the changes restrained, since heavy saturation turns skin orange. Most faded prints benefit from a gentle correction rather than the aggressive filters that scanning apps apply by default.
Should I scan photographic negatives at home or use a professional service?
Home scanning works well if you own a flatbed with a proper negative carrier, and you can hold film flat, light it evenly and focus accurately. Without a carrier, place a thin sheet of clear film over the strip and scan in 1200 DPI or higher. If you have more than a few hundred negatives, or you want archival quality, a mail-in lab is cheaper than the time it takes you.
How much storage space does a large family photo collection need?
Budget about 25 MB per 4×6 print as an uncompressed TIFF at 300 DPI, and about 2 MB for a quality-90 JPEG. A 1 TB drive therefore holds roughly 30,000 JPEG scans, or a few thousand TIFF masters. If your collection is in the thousands, keep the lossless masters on one drive and put the smaller JPEGs on a cloud backup.
Conclusion
Start with one photograph. Scan it with the method you like most, look at it at full size, and let that test tell you the resolution and format for everything after it. Then work in batches, keep an untouched lossless master, name every file, and confirm the backup by opening it before you put the originals back in the box.
A hundred photos finished this month is worth more than a thousand planned for next year. Updated for 2026, this is the version of how to scan old photos at home that actually gets finished.