Yes, you can scan documents with a phone camera, and most phones already have a document scanner built in that finds the page edges, straightens the photo and saves it as a PDF. The whole job takes about a minute per page once you know where the scanner hides. What separates a readable scan from a useless one is not the app, it is the light and the angle.
This guide covers both platforms, iPhone and Android, with the built-in paths first because they are free and already on the device. Third-party apps come later, for the handful of jobs the built-in tools handle badly.
Menu labels shift a little between iOS versions and between One UI releases, so treat the wording below as a map rather than a contract. The steps themselves have been stable for years.
Table of Contents
- 1What You Need
- 2Step-by-Step
- 3Step 1: Prepare the Document and Lighting
- 4Step 2: Position the Phone Directly Above the Page
- 5Step 3: Capture the Page and Check Focus
- 6Step 4: Crop and Correct the Scan
- 7Step 5: Save or Share the Finished Scan
- 8Common Mistakes
- 9Tips for Clearer Phone Document Scans
- 10Frequently Asked Questions
- 11Can I use my phone camera to scan documents?
- 12Do I need a scanner app if my phone can already scan?
- 13Where are iPhone Notes scans saved?
- 14Can I scan documents offline without uploading them?
- 15Why does my Samsung phone save my scans as JPG instead of PDF?
- 16How do I make a scanned document searchable?
- 17Conclusion
What You Need
Four things, three of which you already own.
A smartphone with a working rear camera. Any phone from the last decade qualifies. The megapixel count matters far less than steady focus and decent light, which is why an older mid-range phone regularly beats a new one in a dim room.
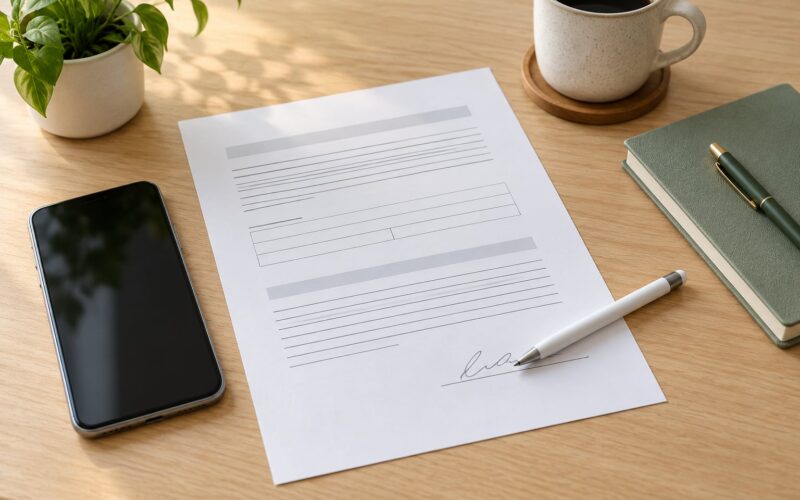
The document itself, cleaned up. Remove sticky notes, highlighters that bleed, and any loose staples. Scan each side of a double-sided sheet as its own page, and put handwritten pages face up in a single stack so the ink sits at the same height.
A flat surface and even light. A desk, a table, the floor. For light, a window with indirect daylight beats a ceiling lamp, because bare bulbs and bulbs behind the photographer create the exact shadow you are trying to avoid. Inside, stand so no part of your body or phone blocks the room light.
Somewhere to put the file. Files on iPhone, Google Drive or your Gallery app on Android. Have the destination decided before you start, because digging through a Share sheet twice ruins a tidy workflow.
On iPhone the scanner lives in the Notes app and the Files app, and both run entirely on the device with no account needed. On Android, Google Drive does the same job and needs a Google account, while the Samsung camera has its own path that stores scans in Gallery. An optional scanner app only earns its place when you want password protection, receipt automation or something the built-in tools do not do.
Step-by-Step
Step 1: Prepare the Document and Lighting
Flatten the pages first. Paper curl is the number one reason a phone scan comes out crooked, and no amount of editing in the app fully fixes it.
Put the page on a surface that contrasts with it. White paper on a dark desk, or white paper on a colored folder, gives the edge detector something clear to lock onto. On a white table with white paper, the scanner often grabs the edge of the table instead of the page.
Kill shadows before you pick up the phone. Your phone and your hand are the shadow, so stand close, keep your elbows in, and move the paper instead of the light when you can. If the room light is weak, switch on the phone flashlight and use it as the main light source with the phone held above and slightly behind it, rather than as a fill in a dark corner.
Step 2: Position the Phone Directly Above the Page
Holding the phone at an angle is what creates the keystoned trapezoid shape people hate. Get it flat above the page, screen parallel to the paper, with all four corners comfortably inside the frame.
Fill the frame more than you think you need to. Move closer until the page takes up most of the screen, but stop before the automatic capture fires if you want to check the edges yourself. Standing back to fit a whole desk in gives a page that occupies a postage stamp in the middle.
Portrait or landscape does not matter to the file, only to how the page rotates in the finished PDF. Landscape suits wide receipts and spreadsheets. Portrait suits letters and forms.
Step 3: Capture the Page and Check Focus
Tap the page on screen to focus, then hold still for a beat. Most scanners also look for an edge rectangle and capture on their own once they are confident. That auto-snap is convenient and it is also the reason many scans come out half-cropped: it fired before you finished lining up.
Where the app gives you the choice, take the manual shot and adjust the corners yourself. On iOS, drag each corner to the actual page corner before you tap Done. Where it does not, tap the preview to bring up the crop handles.
Check the result at full size before you accept it. Zoom into a line of body text. If individual letters have merged into grey mush, the focus was off or the light too low, and no filter will bring the detail back. Take it again. Retaking costs five seconds and nobody has ever regretted it.
Step 4: Crop and Correct the Scan
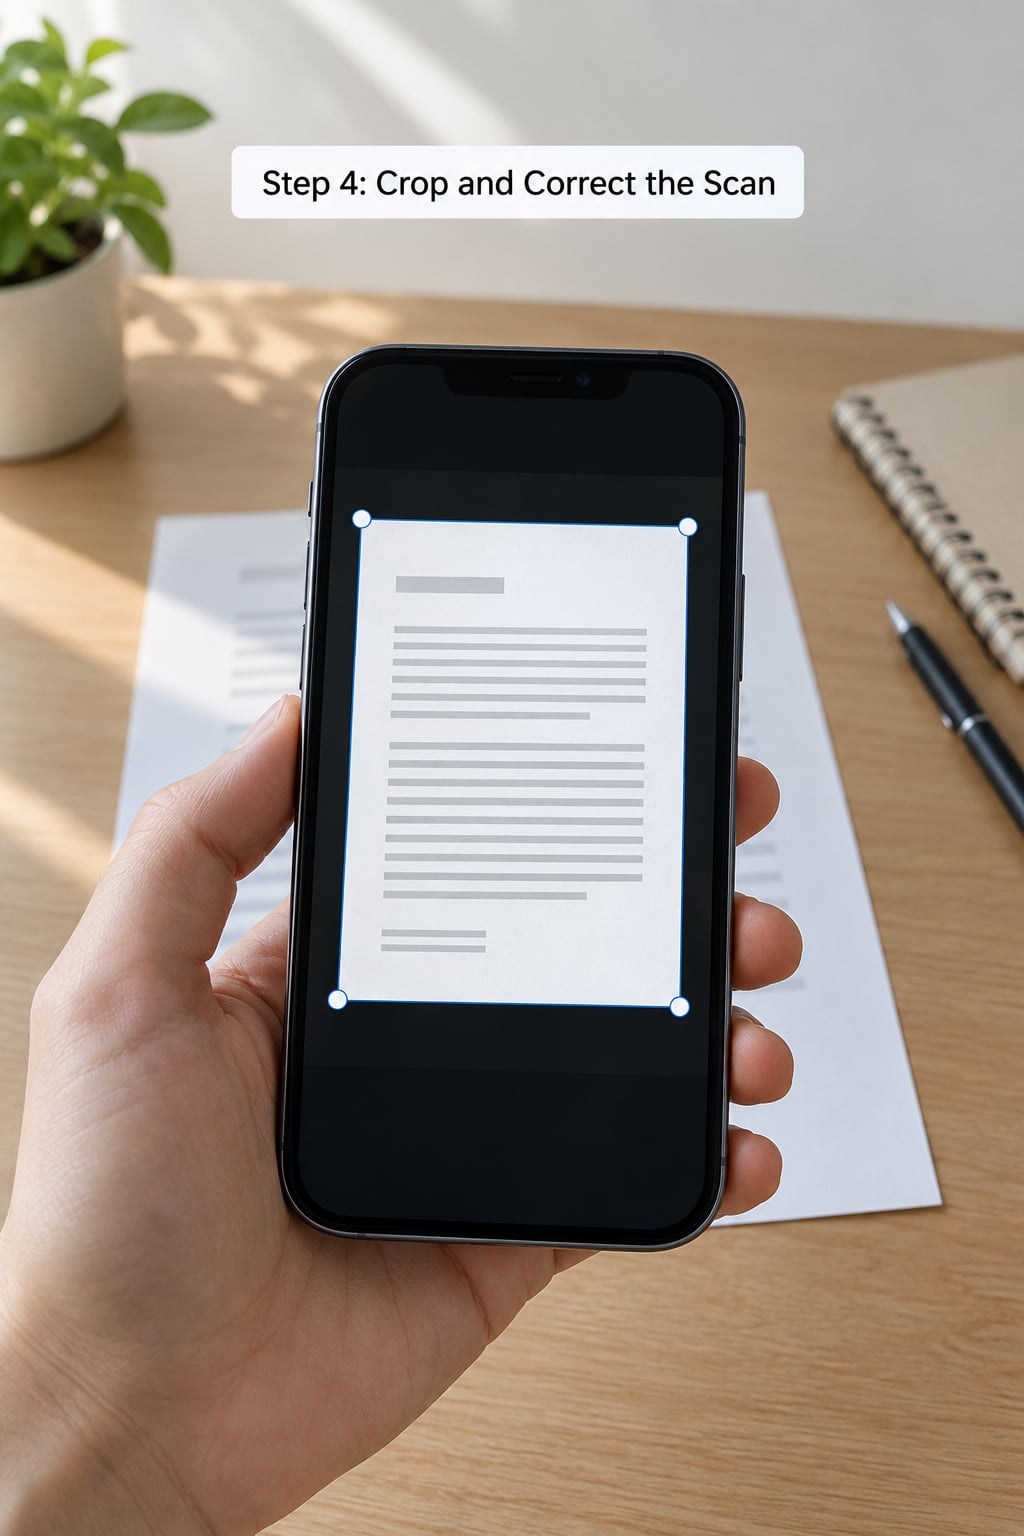
Trim away the background and drag the corners out until they sit on the page edges. Then straighten, sometimes called deskew, which rotates the page so the text lines are horizontal. These two adjustments alone fix most scans that look wrong.
Turn off the color filter to make the paper read as clean white, unless you have a colored form where the ink carries meaning. The filters usually offered are Color, Grayscale and Black and White. Black and White is the one that dramatically shrinks the file on a newspaper-quality photocopy, and it is the wrong choice for pale pencil or faint thermal receipt ink, which it eats entirely.
Add the remaining pages before you leave the scanner. On iOS, tap the add-page button to shoot the next sheet and the pages merge into one PDF in the order you shot them. On Google Drive, the same button sits on the capture screen and a strip of thumbnails shows what you already have, where you can reorder and delete. Getting the order wrong here means redoing the whole batch, so check the thumbnails each time.
Rotate a page by tapping the rotate icon and sharing a stubborn sideways scan by saving it to a different note rather than fighting it.
One thing worth knowing: scanning and OCR are two different jobs. The scan produces an image inside a PDF. Optical character recognition, or OCR, is the extra pass that turns the image into real text you can search, select and copy. A PDF without OCR looks perfect and reads as a flat photo, which is why an email attachment built from a scan often cannot be searched or pasted into an expense form. iPhone scans gain Live Text automatically as you view them, and Google Drive and Google Photos run OCR on upload.
Step 5: Save or Share the Finished Scan
On iPhone, iOS Notes scans do not live in a separate file cabinet. They sit as an attachment inside the note itself, under a small thumbnail. Tap that thumbnail for the full page, then use the share button to Save to Files as a PDF, Attach to an email, or send it to any app. If you want a standalone file rather than a note, saving to Files is the move.
The Files app is the other built-in route. Open Files, browse to the folder you want, tap the three-dot menu at the top and choose Scan Documents. The pages collect into a PDF and drop straight into that folder, which is handy for a folder you already use for receipts or signed forms.
On Android, Google Drive keeps the PDF in Drive after you tap Save. Download it to the phone if you need a copy offline, and remember that an offline edit will not sync back. Google Photos is the alternate route: use Lens or the Scan documents tool in the camera view, then Save to Drive or use Print and choose Save as PDF. It handles small batches of single pages better than Drive does.
Samsung users get scans from the camera app into Gallery, where the same multi-page group can be exported as a PDF through the three-dot menu. If you are on the phone where scans come out as single JPG files instead, that is a known change in One UI 7 and it is covered under common mistakes below.
For anything sensitive, check where the file goes before you send it. The iOS scanners process on the device and keep the file local until you deliberately upload it. Google Drive uploads to your Drive account the moment you save. Mail, AirDrop and Nearby Share all work directly from the share sheet, and on a Mac with Continuity Camera you can insert a scan straight into an open Finder, Preview, Pages or Mail window.
Common Mistakes
Blurry text. The phone focused on the background or the room was too dim. Tap the page to focus, hold steadier, and add light before you retake.
Dark scans with a bright window on one side. You shot into a light source. Turn the paper and the phone so the light falls across the page from behind or beside the camera, not through the lens.
A black wedge down one edge. That is the phone or your hand blocking the light. Stand closer to the table and keep your supporting hand out of the frame.
Skewed pages. The phone was tilted, or the paper was curled. Flatten the sheet, hold the phone parallel and correct the corners before you accept the page.
Glare streaks across glossy paper or laminated cards. You cannot edit reflected light out. Angle the paper slightly, move the light, or shoot at a moment when the reflection is off the camera.
The page edge is missing or auto-snap cut off a corner. Edge detection locked onto the wrong rectangle. Shoot manually, or fill more of the frame so the scanner has less room to guess.
The scan looks striped or washed out. You used Black and White on faint ink. Switch to Grayscale, which keeps pale pencil and thermal receipt lines readable.
A huge file that will not email. A color scan of a textured page can run many megabytes. Drop to Grayscale, or reduce the number of photos in a batch.
Samsung scans saving as JPG instead of PDF. Owners on r/oneui reported that One UI 7 saves each page as a separate image where One UI 6 produced a PDF, which breaks most upload portals. Open the scan in Gallery, tap the three-dot menu and choose Save as PDF to convert, or scan the batch through Google Drive, which always outputs PDF.
Where did my scan go? On iPhone, inside the note as an attachment. On Samsung, in Gallery under the images album, grouped as one item. On Google Drive, in My Drive, sometimes filed under the scan date rather than the name you expected.
Tips for Clearer Phone Document Scans
Lock exposure and focus when your phone allows it. A long press on the preview screen locks both, and on a page with a bright logo next to small print that stops the scanner from chasing the wrong brightness.
Use the flashlight as the light, not as a supplement. In a dim room, one consistent light above and behind the phone gives an even page. Two lights at once, one being the room and one the flashlight, gives you two shadows.
Scan the second side on a new page rather than flipping the sheet mid-stack. It adds a page to the PDF and avoids a half-visible bleed-through page at the edge.
Name files at the point of capture. Thirty seconds of naming while the pages are still in your hand beats a folder of IMG_4821.pdf files later. Dates plus a subject work well for receipts, which tend to accumulate faster than anything else.
Batch by type rather than by stack of paper. Receipts want a lighter filter and no color correction. Forms want exact proportion. Signed contracts want color, because a signature pen or notary stamp can carry information.
Check the original before you throw it away. Glare across a serial number or a faint signature margin is exactly what a scan hides and the paper keeps.
Keep one format across a project. If a portal wants PDF for page one, it wants PDF for page five. A folder that mixes PDFs and JPGs is how a submission gets rejected for a missing attachment.
Do not stretch to cover a small line of text in the middle of a big page. Move in close enough that the line you care about is readable, and let the scanner handle the rest of the page in the crop.
Frequently Asked Questions
Can I use my phone camera to scan documents?
Yes. Every iPhone and Android phone from the last several years includes a document scanner that uses the rear camera. It detects the page edges, corrects the perspective, crops the background and saves the result as a PDF. On iPhone it lives in the Notes app and the Files app. On Android it is in Google Drive and, on Samsung phones, in the camera app itself.
Do I need a scanner app if my phone can already scan?
Usually not. The built-in scanners handle receipts, forms, ID cards and multi-page contracts well and cost nothing, and they process on the device. An app earns its place when you need password-protected PDFs, automated receipt forwarding to an expense system, batch naming or unusually strict filters. Some also charge a subscription, so check before you install.
Where are iPhone Notes scans saved?
A scan made in Notes is stored as an attachment inside that note, not as a separate file. Tap the thumbnail in the note to open it, then use the share button to Save to Files as a PDF, attach it to an email or send it anywhere else in the share sheet. If you want a standalone file in a specific folder, saving to Files is the cleanest route.
Can I scan documents offline without uploading them?
Yes, with the built-in tools. The iPhone scanner in Notes and Files runs entirely on the device and keeps the file on the phone until you choose to send it. The Samsung camera scanner saves to Gallery locally as well. Google Drive’s scanner also works without a connection, but the finished PDF is stored in your Drive account, so it will upload once you are back online.
Why does my Samsung phone save my scans as JPG instead of PDF?
This is a behaviour change in One UI 7, where camera-app scans are saved as individual image files instead of a single PDF as they were in One UI 6. Owners have flagged it on r/oneui as breaking upload portals that only accept PDF. Open the scan in Gallery, tap the three-dot menu and choose Save as PDF, or run the batch through Google Drive instead.
How do I make a scanned document searchable?
The document needs optical character recognition, which turns the image of the text into real selectable characters inside the PDF. Google Drive and Google Photos run this automatically when they save or upload a scan. On iPhone, Live Text reads scans on screen and you can lift text straight into a note, but exporting to a PDF from Notes keeps it image-based unless you extract the text first.
Conclusion
Open Notes or Google Drive right now and scan a single page before you need one. That five-minute practice teaches you where the crop handles are and what your particular phone does with the light, which matters far more on the day you have to send a signed form.
Once you have the habit down, the two checks that keep every scan usable are simple. Read the smallest line of text at full zoom, and confirm the finished file is a PDF rather than a lone image.
Reach for a dedicated scanner or a paid app only when a specific feature is missing: password protection for sensitive paperwork, automatic forwarding of receipts to an expense system, or a long document where archival fidelity genuinely matters. For receipts, forms and everyday records, the camera you already carry does the job well.
Menu paths current as of 2026. If you want the broader picture of what your phone can do, browse our guides on privacy and security.