You can remove the background from an image for free in GIMP, the open-source photo editor that runs on Mac, Windows and Linux. Duplicate the background layer, select the subject, delete everything outside the selection, then export as PNG so the transparency survives. The whole thing takes five minutes on a clean edge and closer to fifteen on hair.
Background removal is just isolating the main subject of a photo and deleting everything behind it, leaving the subject on a transparent background or on a new solid colour. Free online tools do this in one click with an AI segmentation model, but they usually cap the free download resolution, add a watermark, or upload your photo to a server. GIMP does none of that, and there is no limit on how many images you process.
Table of Contents
- 1What You Need
- 2Step-by-Step: How to Remove the Background from an Image for Free
- 3Open the Image and Make a Layer Copy
- 4Select the Main Subject
- 5Refine the Edges
- 6Remove the Background from an Image and Inspect the Edges
- 7Choose a Transparent or Solid Background
- 8Save and Export the Finished Image
- 9Common Mistakes and Easy Fixes
- 10Tips for Cleaner Results
- 11Frequently Asked Questions
- 12Can I remove an image background for free without installing software?
- 13What is the best free program for removing image backgrounds?
- 14How do I make a background transparent after removing it?
- 15How do I remove a background from hair or other detailed edges?
- 16Should I save a background-removed image as PNG or JPEG?
- 17Can I remove the background from a photo on my phone for free?
- 18Conclusion
What You Need
GIMP is free and open source. There is no trial period, no account, and no upsell screen when you finish. Download it from the official site, install it, and it works offline from then on, which also means your photos never leave your machine.
Your source file can be JPEG, PNG, WebP or a screenshot. The output matters more: transparency only exists in formats that store an alpha channel, and PNG is the one every program on earth understands. Exporting to JPEG throws the transparency away and fills the gap with white, which surprises a lot of people.
Resolution is the other thing to think about. A cut-out at the same pixel dimensions as the original will print and scale fine, so there is no reason to enlarge before you start. Basic mouse skills and a steady hand are the rest of the requirement. You do not need to know layers, channels or masks to follow along.
Step-by-Step: How to Remove the Background from an Image for Free
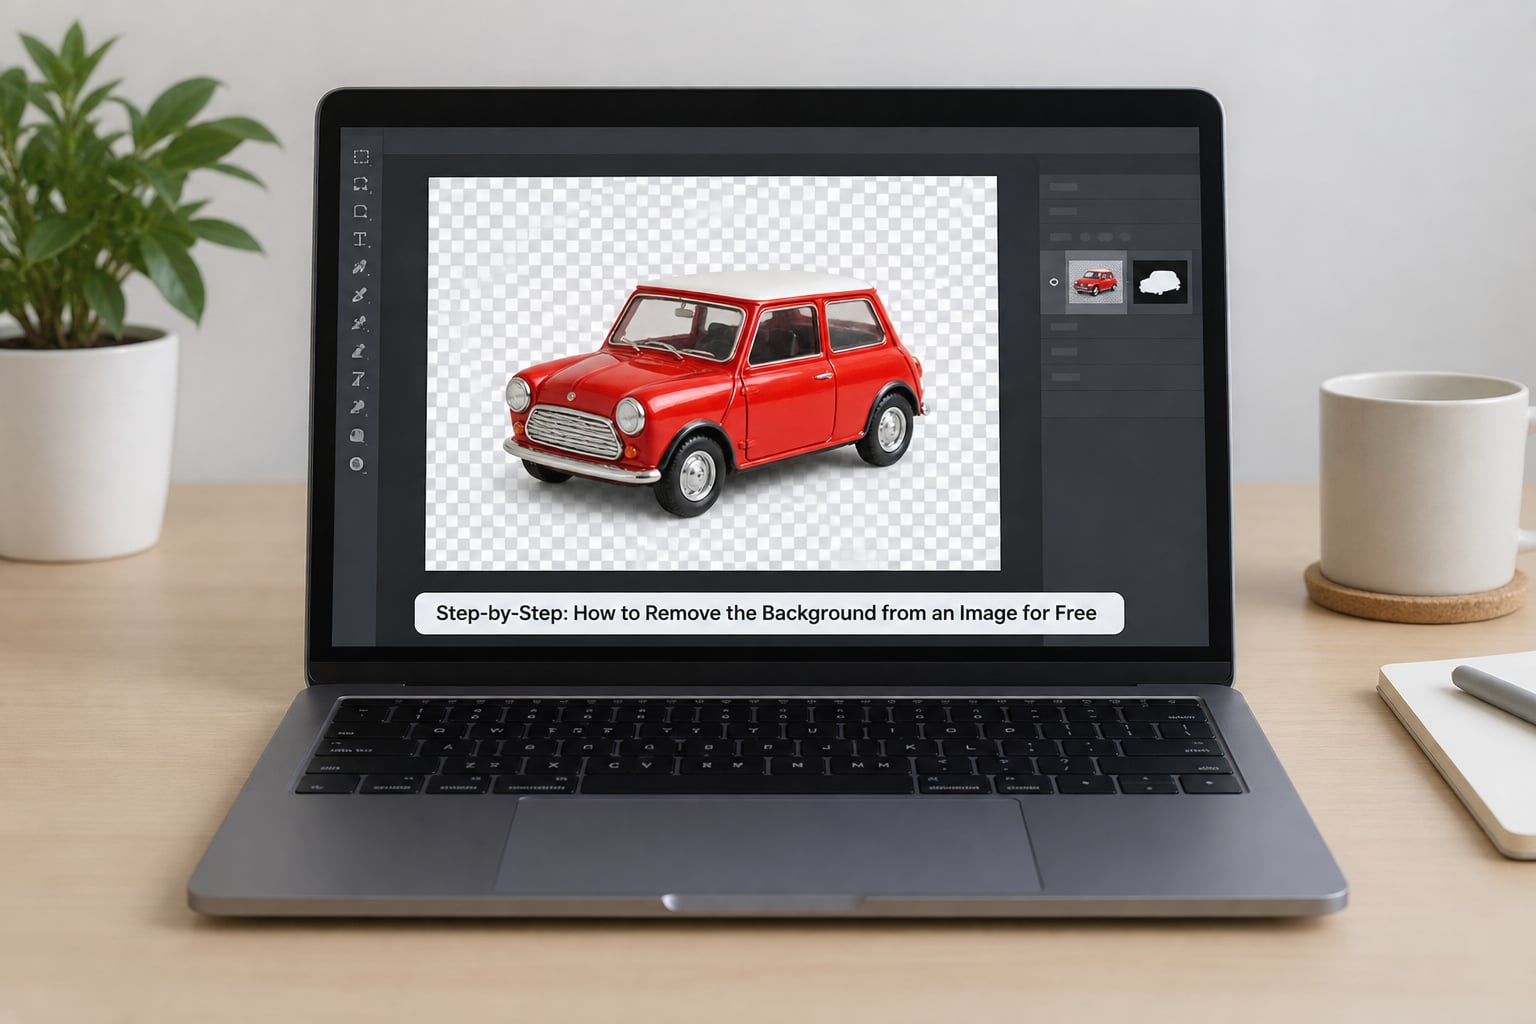
GIMP works in the same order every time: protect the original, make a rough selection, clean it up, remove the background, then decide what sits behind the subject. Follow that order and you can repeat the process on a whole folder of photos without relearning anything.
Open the Image and Make a Layer Copy
Open your file with File, Open, or just drag it onto the GIMP window. The title bar shows the pixel dimensions, and Image, Scale Image is where you would change them if you needed to.
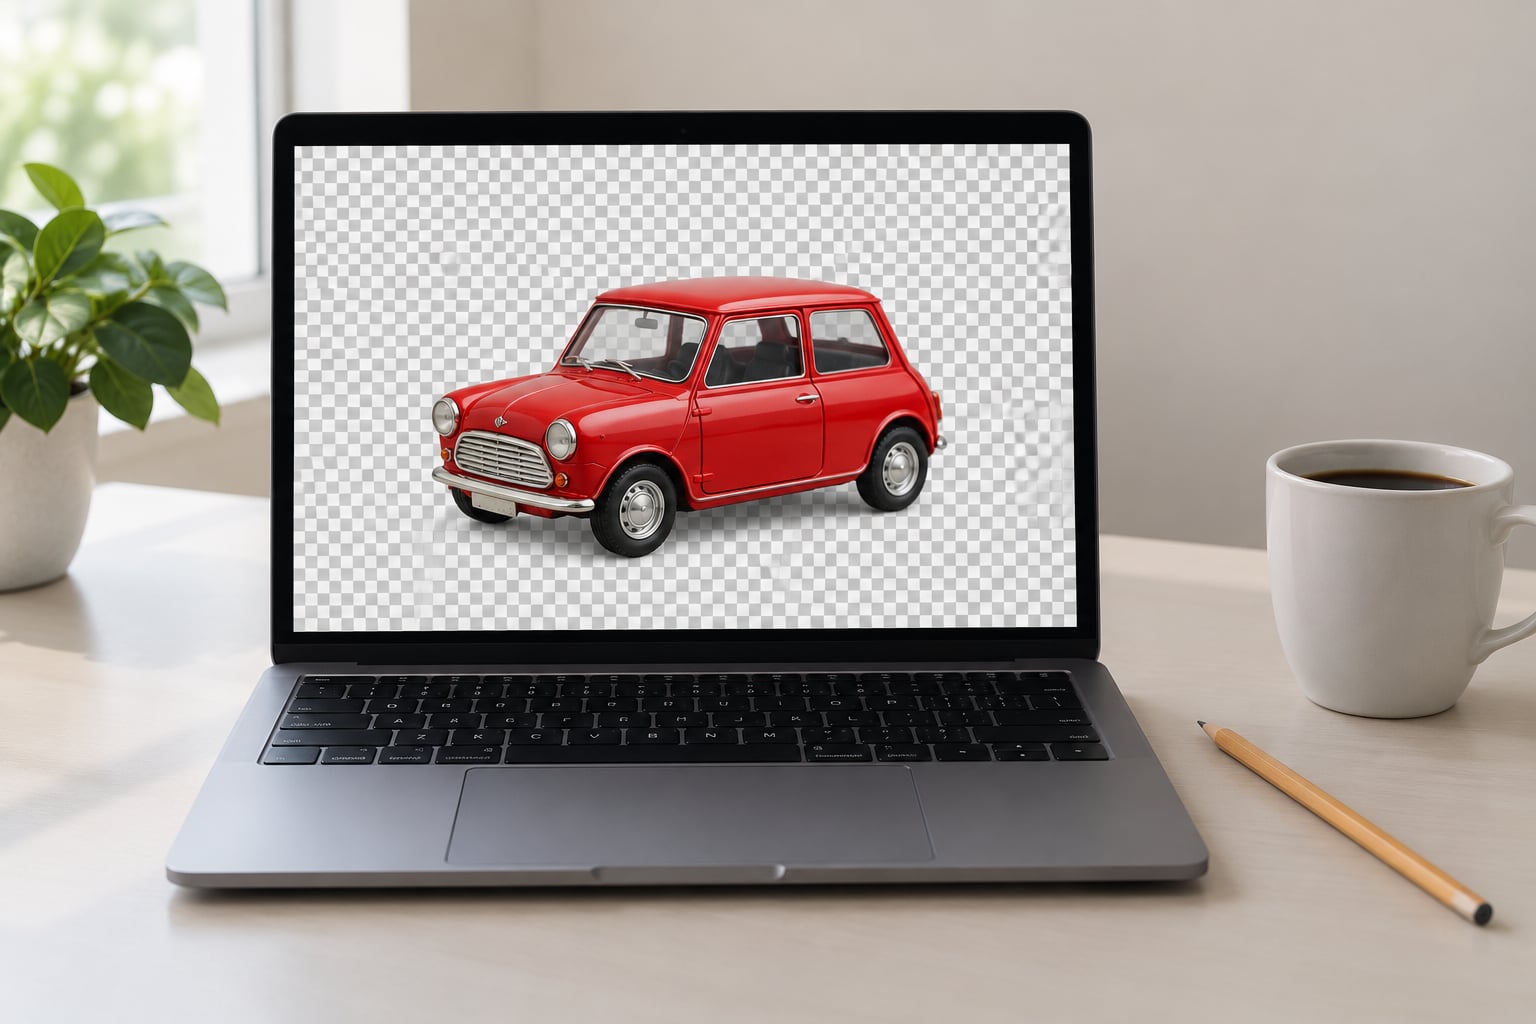
Now duplicate the background layer so you always have the untouched original underneath. Click the small page icon at the bottom of the Layers panel to create a copy, then select the bottom layer and set its Mode to Transparency under the Mode dropdown. That gives you a split view: the photo above, a checkerboard pattern below, and every deleted pixel shows the grid instantly.
You could also click Select, None, then use the keyboard shortcut Ctrl+Shift+I on Windows and Linux, or Cmd+Shift+I on a Mac, to turn the layer into a selection you can fill with transparency.
Select the Main Subject
Rough accuracy beats precise slowness at this stage. For a subject with one clear colour background, the Free Select tool, also called the Lasso tool, is the fastest option: draw a loose loop around the whole subject, closing it back at your starting point.
For a product shot on a flat white or pale grey backdrop, use the Select by Color tool instead. Click once on the background and watch it flood with a marching ants outline. Hold Shift and click again to add other background areas, such as a strip of shadow you want gone too.
You are looking for a dashed outline that hugs the subject. If parts of the subject are not inside the outline, the selection is wrong; if a big patch of background is inside, it is wrong the other way. Fix it now rather than later.
Refine the Edges
Open Select, Grow and enter 1 pixel to cover the soft grey fringe that sits just outside most edges. Then use Select, Feather with a radius between 1 and 2 pixels for hard objects, and 3 to 5 pixels for hair, fur and shadow. Feathering fades the transparency gradually, which is what stops a cut-out from looking like a sticker.
Select and Mask, reachable from Select, Feather and Select and Mask or the Filters menu, is the more powerful version of the same idea. Its Refine Edge brush lets you paint new transparency into a bad edge and put it back where the tool cut too much. It is the panel I reach for when a portrait’s hair has been chewed up.
If your subject touches the frame edge, use Select, Border with 2 pixels after feathering. That keeps a thin strip of the subject from fading out along the side of the frame.
Remove the Background from an Image and Inspect the Edges
With the selection in place, hit the Delete key. Everything outside it becomes transparent and the checkerboard shows through. If nothing happened, the correct layer is not selected or there is no active selection.
Now the important part: zoom in. Press 1 for 100% and move along the outline with the scroll wheel, checking the forehead, the shoulder, the gap between fingers and any hole in the object such as a mug handle. At 800% you can see the individual pixels that make a cut-out look bad.
Fix mistakes by painting on the layer mask rather than erasing pixels. Right-click the layer and choose Add Layer Mask, which creates a white layer linked to your selection. A black brush erases parts of the mask and brings the subject back; a white brush hides it again. Zooming on the mask is forgiving, because a wrong stroke takes one click to undo.
Choose a Transparent or Solid Background
A transparent background is the right choice when the image will sit on a web page, slide, poster or product listing that has its own background. Nothing else to do here, just export.
For a solid colour, add a new layer beneath the cut-out with Layer, New Layer, then use the Bucket Fill tool with that layer active. Choose Custom Color in the dialogue, pick your colour, and click inside the layer to flood it. Move the new layer down with the anchor icon in the Layers panel until it sits below the subject, and use Layer, Layer to Image Size so it fills the canvas edge to edge.
For the marketplace listings most sellers deal with, pure white, sometimes RGB 255 255 255, is the safe background colour.
Save and Export the Finished Image
Use File, Export As, give the file a new name with a .png extension, and press Export. A dialog asks about interlacing; the default is fine for a cut-out. PNG is the format that stores the alpha channel, so the transparent area stays transparent wherever the image is opened.
If you filled a solid background instead, flatten first with Image, Flatten Image so the export does not carry a hidden transparent layer, then export as PNG or JPEG as the destination requires. Keep the working file as .xcf too, so you can go back and fix an edge later without starting over.
Common Mistakes and Easy Fixes
Jagged or stair-stepped edges. The selection was made at 100% zoom and looks fine on screen. Zoom to 400%, add 1 to 2 pixels of Select, Grow, then feather by 1 pixel and delete again.
A white halo around the subject. The bright background bled into the edge pixels of the subject. Select, Feather and Select and Mask, then slide the Refine Edge brush over the fringe with a small radius; it re-samples the nearby colour and replaces the white.
Part of the background stayed selected. Hold Ctrl and drag to remove that area from the selection, or use Select by Color again with Shift held so it subtracts instead of adding. Check the outline before you delete.
The transparency disappeared on saving. You exported as JPEG. Re-export as PNG, or the alpha channel is gone for good.
A blurry or stretched result. The image was enlarged after the cut-out was made. Cut out at the original pixel size, then scale the finished PNG with interpolation switched on in Image, Scale Image.
The exported file is huge. A high-resolution PNG of a large subject can reach tens of megabytes. Export a smaller size for web use, or save a flattened JPEG if the background is solid and transparency is not needed.
Tips for Cleaner Results
Zoom in gradually rather than jumping straight to 800%. A rough selection at 100%, refined at 200% and checked at 400% is faster and produces fewer mistakes.
Keep the duplicate layer until the very end. Being able to toggle between the original and the cut-out is the quickest way to spot a stray selection border that looked intentional on screen.
Test the result on more than one background. A cut-out that looks clean over white often shows a dark fringe over a dark background, so check a light and a dark colour before you commit.
For hair, work on the layer mask at a low brush flow, around 30 to 40 percent, and build the detail up in several passes rather than one heavy stroke.
Work at the photo’s native resolution. Enlarging a small image before cutting out gives the tool and the selection nothing extra to work with, and every edge ends up soft.
Save the .xcf before any large change. Re-doing a difficult selection is far more annoying than reopening a saved file.
Frequently Asked Questions
Can I remove an image background for free without installing software?
Yes. Plenty of websites do it in a browser: upload the photo, press remove, download the result. Most are free for small images and simple cases. The catch is that free downloads are often limited to a low resolution, watermarked, or capped at a few images a day. GIMP is the option with no limits and no upload.
What is the best free program for removing image backgrounds?
GIMP is the strongest free choice overall because it has no watermark, no resolution cap and no account, and it runs offline on Mac, Windows and Linux. One-click AI tools are faster for a quick job on a simple product photo. GIMP is better when you need to fix a difficult edge, work on many images, or keep files on your own machine.
How do I make a background transparent after removing it?
Deleting the background in GIMP already leaves the empty areas transparent, shown as a grey and white checkerboard. All you have to do is export the file as PNG, which is the format that stores transparency. If you also want a coloured background, add a new layer below the cut-out and fill it with a colour using the Bucket Fill tool.
How do I remove a background from hair or other detailed edges?
Feather the selection by 3 to 5 pixels before deleting, then open Select and Mask and paint over the edge with the Refine Edge brush at a low radius. Building the result on a layer mask lets you add hair back with a soft black brush. Work at 200% zoom in several passes rather than trying to get it right in one stroke.
Should I save a background-removed image as PNG or JPEG?
Save as PNG whenever you need transparency. JPEG has no alpha channel, so every transparent pixel is filled with white or black the moment you save. JPEG is only the right choice once you have flattened the image onto a solid background and the file size matters more than the cut-out.
Can I remove the background from a photo on my phone for free?
Yes, through several free mobile apps and through the same websites on a phone browser, though the interface is cramped for edge work. For a portrait or a simple product shot it is fine. If the image is large or the edge is tricky, do the cut-out on a computer with GIMP and share the finished PNG back to the phone.
Conclusion
Start with a duplicate layer so the original stays recoverable, then make a rough selection around the subject before refining it. Feathering and the Refine Edge brush in Select and Mask are what separate a clean cut-out from a jagged one. Export as PNG whenever you need a transparent background, and flatten first if you have added a solid colour underneath.