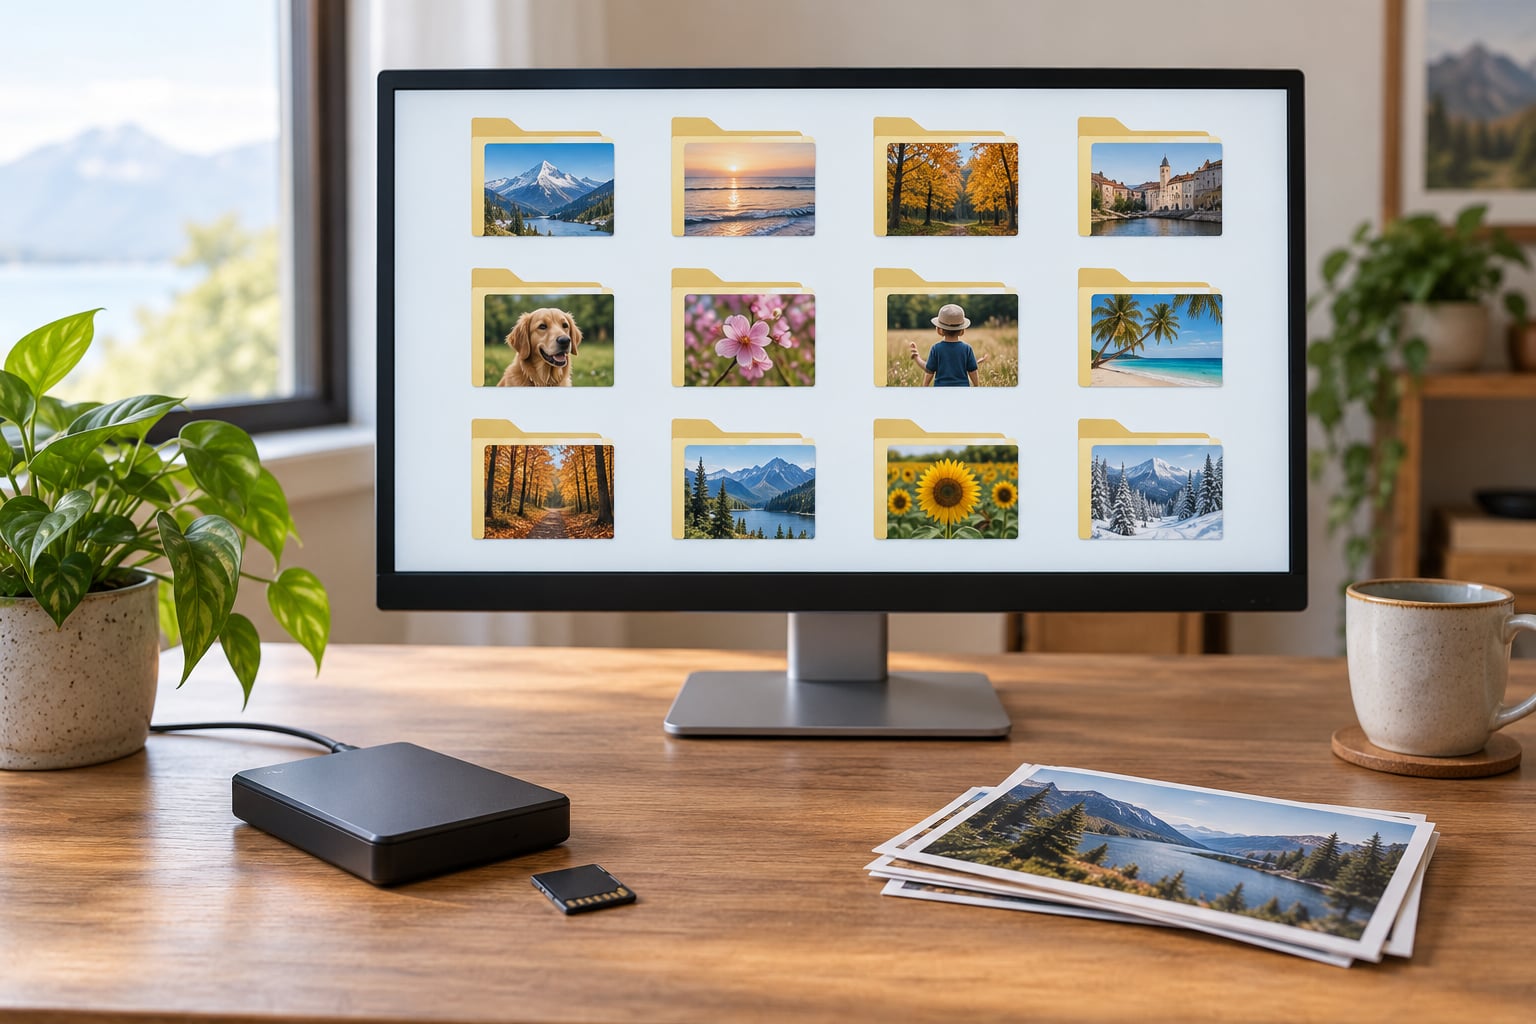
The way to organize thousands of photos on a computer is to pull every copy into one master folder, file it under a year-then-event tree, tag and batch-rename it, strip out duplicates, and keep a tested backup. It takes a few focused sessions rather than a weekend marathon.
Most people stall on this because they try to do it file by file. A 20,000-photo backlog sorted one at a time is a month of evenings nobody has. Batch tools and metadata do most of the work for you, and a plain folder structure beats a complicated catalog for anyone who just wants to find last summer’s beach photos.
Table of Contents
- 1What You Need
- 2Which approach fits your library?
- 3Step-by-Step: How to Organize Thousands of Photos on a Computer
- 41. Back Up the Entire Photo Library
- 52. Audit and Group the Photos
- 63. Choose a Folder Structure That Scales
- 74. Rename and Add Metadata in Batches
- 85. Remove Duplicates Without Losing Preferred Images
- 96. Create Albums or Smart Collections for Everyday Use
- 107. Test Searching, Backups, and Recovery
- 118. Maintain the System Going Forward
- 12Common Mistakes and Fixes
- 13Tips for Large Libraries
- 14Frequently Asked Questions
- 15What is the best program to organize photos on my PC?
- 16Should I use folders or albums to organize photos?
- 17How do I find and remove duplicate photos on my computer?
- 18Is one external hard drive enough to back up photos?
- 19How long does it take to organize thousands of photos?
- 20How do I move photos from my phone to my computer without losing quality?
- 21Conclusion
What You Need
Four things, and you can start with three of them in about an hour.
- A second drive. A USB external drive is enough for the working copy. Get one that is at least as large as the total size of everything you plan to consolidate.
- One backup destination that is not the drive you work on. A second external drive, a NAS on your network, or cloud storage. More on this in step 1.
- A photo manager matched to your platform. The built-in app on Windows or macOS will get you organized. A free third-party tool will get you further.
- A decided folder scheme. Pick it before you move anything, and do not change it in month three.
The tool matters far less than the scheme, which is the consensus in every forum thread I have read on this. People on r/DataHoarder keep a completely different layout from the photographers on r/photography, and both groups get their photos found. Pick one and stick to it.
Which approach fits your library?
This is the comparison that matters, because it decides how much work each of the next eight steps takes.
| Approach | Platforms | Subscription | Works offline | Best for |
|---|---|---|---|---|
| Built-in Windows Photos and File Explorer | Windows 10, 11 | None | Yes | Folders and quick sorting with zero setup |
| Finder plus Apple Photos | macOS, iOS | Optional iCloud | Yes | Phone-to-Mac libraries and face grouping |
| digiKam, PhotoPrism, FastStone Image Viewer | Windows, macOS, Linux | None | Yes | Free-only workflows and huge archives |
| Lightroom Classic, ACDSee, Photo Supreme | Mostly desktop | Commonly monthly or yearly | Yes | RAW shooters who edit and keyword at scale |
| Google Photos or iCloud Photos | Web, phone, desktop | Storage tiers | Partial | Shared family albums, not archival masters |
If you refuse to pay anything, digiKam and FastStone Image Viewer do the job people end up paying for. A photographer on r/Lightroom described organizing by keyword, date and location notes on an external drive, which is metadata-first thinking and works in any catalog app, paid or free.
Step-by-Step: How to Organize Thousands of Photos on a Computer
Work through these in order. Steps 1 through 3 do the heavy lifting, and steps 4 through 8 are the part that keeps the library usable next year.
1. Back Up the Entire Photo Library
Before renaming, moving or deleting anything, copy the originals to a separate drive or cloud backup. Renaming tools and dedupe utilities are powerful, and power cuts out at the worst moment.
The rule people repeat most on r/DataHoarder and r/photography is simple: keep three copies, on two kinds of media, with one copy off-site. An external drive plugged into the same laptop as the working copy is one copy, not two. A NAS on your network is a third copy when it runs a mirrored pair of drives, which is the setup one photographer described as an internal drive for originals plus nightly backups.
Then verify it. Open five random photos from the backup drive, check they are not zero-byte files, and pull one folder back onto your desktop. A backup you have never restored from is a hope, not a backup.
2. Audit and Group the Photos
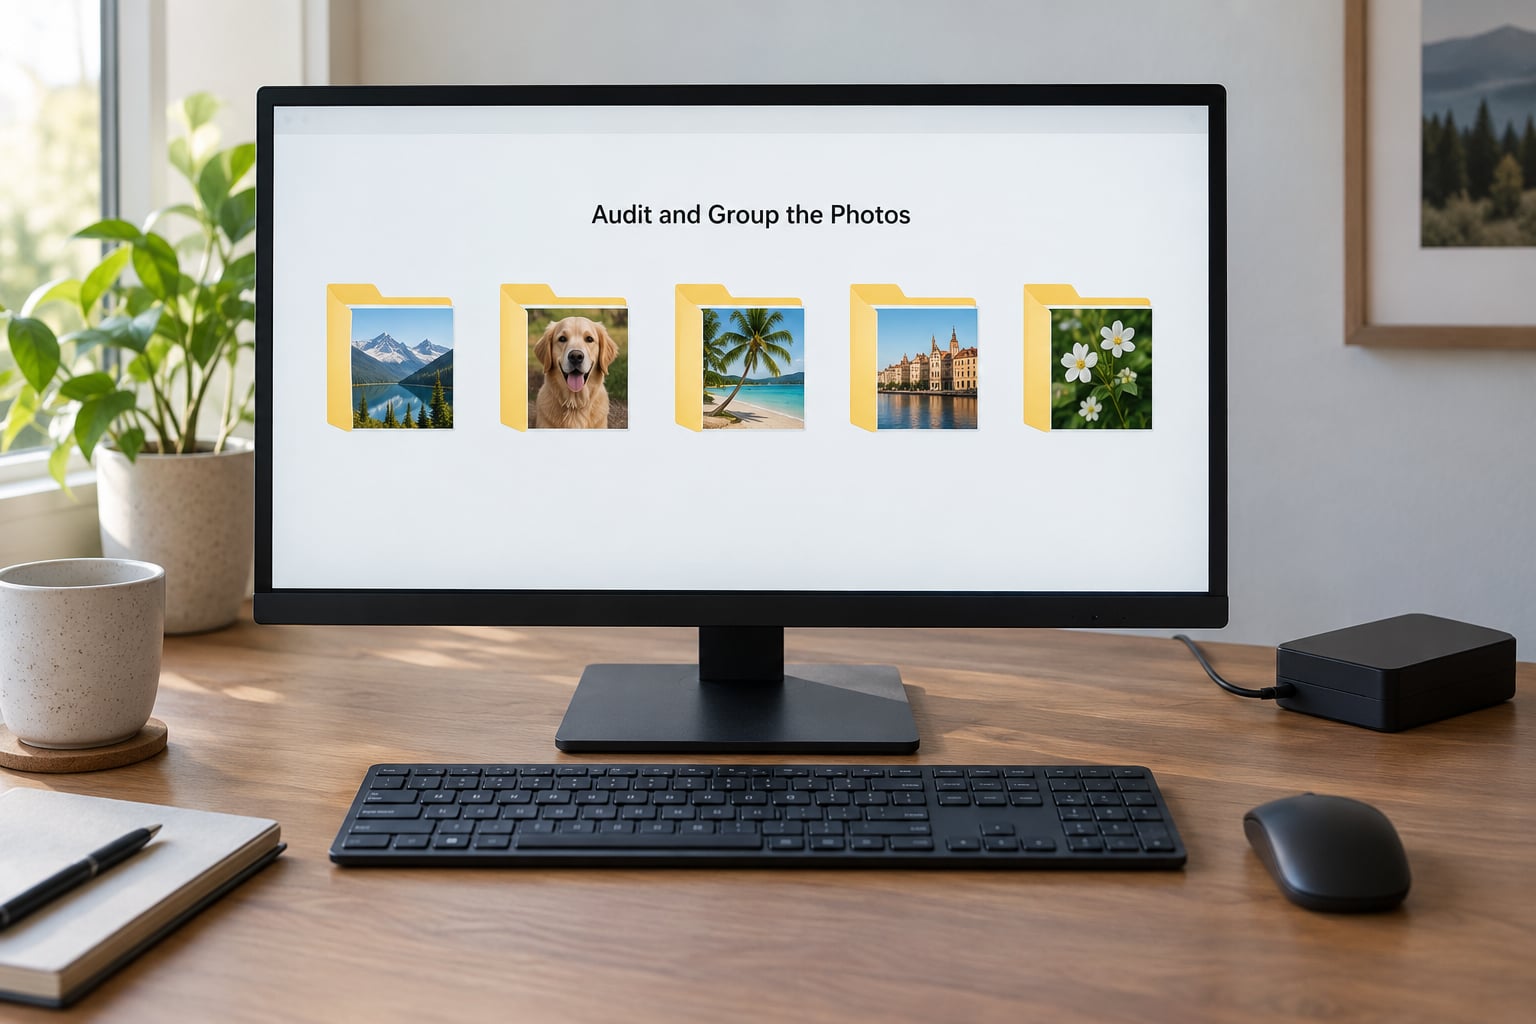
Count what you actually have before you touch it. In Windows, right-click a folder, choose Properties, and check the file count and total size. On macOS, select a folder and open Get Info. Add it up across your phone, current laptop, old laptop, external drives and cloud accounts.
Consolidation is the step almost every guide skips, and it is the one that causes the most grief. Photos split across a phone, a fifteen-year-old ThinkPad and three cloud accounts are not organized, they are scattered. Copy each source into its own folder on the working drive first, name the folder after its origin, and only then start sorting.
Keep the origin folders intact during the audit. Duplicate formats are normal here: the same photo often exists as a HEIC on the phone and a JPEG on the laptop. Note the formats present and whether you have RAW files mixed in, because those change which tools you can use.
3. Choose a Folder Structure That Scales
How you organize thousands of photos comes down to one decision: year first, then event. A photographer on the DPReview forum described the top-level PHOTO folder, then a subfolder per year, then a fixed set of standard folders inside each year. That advice has survived years because it is easy to remember and easy to browse.
Here is the tree to copy:
PHOTO/
  2019/
    2019-03-02_Lena Birthday/
    2019-07-14_Beach Trip/
  2020/
    2020-05-20_Quarantine Gardens/
  2021/
  2022/
  2023/
    2023-08-11_Mountains/
  2024/
    2024-01-01_Family/
    Prints and Scans/
  Unsorted/
Three rules make it work. Use four-digit years so 1999 sorts before 2024. Prefix event folders with the date in YYYY-MM-DD form so they sort chronologically on their own. And leave an Unsorted folder at the bottom, because a system with nowhere to put the awkward stuff is a system people abandon.
Stop at three levels deep. Some r/DataHoarder users put every single image in its own leaf folder named yyyy.mm.dd, and the same posters warn that search slows badly once the archive passes a few hundred thousand files. Three levels plus a good search tool beats a forest of leaf folders every time.
Windows users: create PHOTO inside This PC, not in Pictures. The Windows Pictures folder gets pulled into the default library, and library views slow to a crawl with huge folders. Right-click the folder, Properties, then clear the checkbox that includes it in the library if you want to keep it out.
Mac users: create the tree in a plain folder in your Home directory rather than inside the Pictures library, for the same reason. Apple Photos reads folders but does not follow nested trees the way a file manager does.
4. Rename and Add Metadata in Batches
Never rename by hand once you pass a few hundred files. Batch tools read the EXIF data inside each photo and apply a pattern to hundreds at once.
The pattern worth copying is YYYY-MM-DD_event. A camera that writes IMG_4821.jpg tells you nothing; 2024-07-14_Beach Trip_001.jpg tells your future self everything. Keep the original file where it sits if your manager can hold keywords in a sidecar file instead of rewriting the image. Sidecar XMP files store your keywords, ratings and descriptions next to the photo, which means the raw file is never modified.
Sort by Date taken, never Date modified. Date taken is written by the camera from the clock in the photo header; date modified changes every time a file is copied or edited, and after three moves through two machines your folders are a lie.
In Windows, File Explorer exposes Date taken as a sortable column. In macOS Finder, switch to List view and add the Date Created column, or let Apple Photos read it during import. Both digiKam and Lightroom have rename-on-import rules that apply your pattern automatically as new files arrive, which saves step 8 for you.
Add a description and three or four keywords while you are in the batch, not later. Description is the plain-language line you will search with in five years. Keywords are the boring ones people forget to enter and then wish they had: beach, birthday, 2019, hiking.
5. Remove Duplicates Without Losing Preferred Images
There are two kinds of duplicate and they need different handling.
An exact duplicate is byte-for-byte identical, usually a file copied twice during a merge. These are safe to remove and tools find them fast by checksum, which is a fingerprint computed from the file’s contents. Free dedupe utilities on Windows scan for these in minutes.
A near-duplicate is a different file that looks almost identical, such as a burst sequence, an edited copy, or the same shot saved at two resolutions. Automatic tools flag these, but only you know which one to keep. A photo you cropped and fixed, then dropped into an album, is not a duplicate of the original even when the pixels are similar.
Use the visual comparison view, not the delete button. Most managers show duplicates side by side with their ratings and albums, so you can keep the version that belongs in a print and drop the one that does not.
Two habits protect you here. Never dedupe before the step 1 backup exists and has been verified. And send duplicates to a holding folder rather than deleting them outright, empty it a month later, and you get a free undo for every mistake in between.
6. Create Albums or Smart Collections for Everyday Use
Folders answer where a file lives. Albums and saved searches answer what you want to see right now. You need both.
A folder is physical storage. It holds each file once. That makes it the right place for originals and for anything you back up.
An album is a view. The same file can sit in ten albums without copying anything. That makes albums right for print candidates, client deliveries and anything you hand to another person.
A smart collection is a saved search that fills itself. A rule like rating of four stars and keywords contains hiking, with no date limit, produces a different set every month and never needs updating. This is the closest thing to automation that a free tool gives you.
Set up four recurring ones early: stars only, print candidates, this year’s travel, and anything with no keyword yet. That last one is a working queue rather than a finished album, and it tells you exactly where to pick up next.
The top answer on the highest-ranking Reddit thread for this query was a custom tool that grouped photos into albums based on time and location changes. Every good photo manager implements that same idea: open a map or timeline view and drag a boundary around a cluster of shots, and the app creates the event folder or album for that afternoon or that trip.
7. Test Searching, Backups, and Recovery
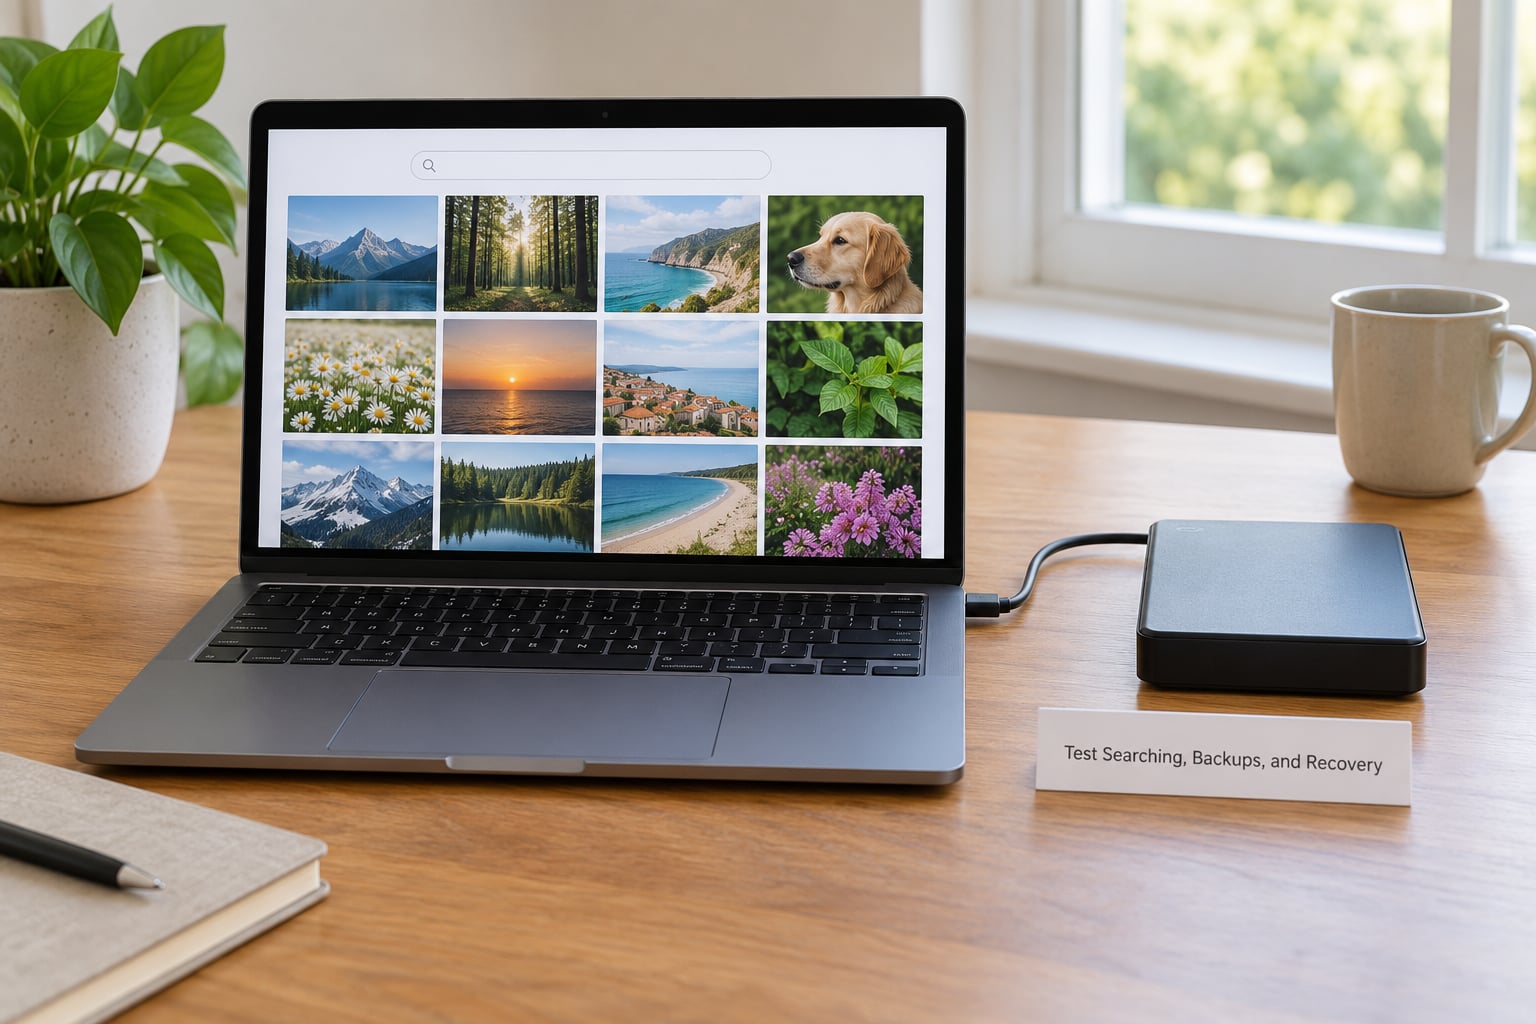
Structure you never test is a guess. Spend twenty minutes proving it works before you trust it.
Search for something specific that only you would know, such as a place name, a rough date, or a person’s name. Try the search box in your photo manager, then try the operating system’s file search on the master folder. Both should find the photo. If only one does, your metadata is not being read and you need to fix that now rather than in a year.
Open twenty files at random from three different years. Check they are the full-resolution originals and not previews, and check the date metadata is right.
Restore five files from the backup to a scratch folder on a different computer. This is the step that separates a working backup system from a hopeful one, and it takes about ten minutes. If the restore is slow or awkward, write down what that is going to look like when you actually need it.
Check your backup is scheduled rather than manual. A monthly copy you skip in a busy week is not a copy. A NAS can run scheduled snapshots; a cloud client can run a folder sync; a plain external drive needs a calendar reminder you cannot snooze.
8. Maintain the System Going Forward
The sort is not the project. The habit is the project, and it is much smaller than the first pass suggests.
Do fifteen minutes a month: import new photos into the current year folder, name the batch, rate the ten best and delete nothing. Check the backup ran. Add keywords to anything from the no-keyword queue.
Run a quarterly audit. Recount files, compare against the previous count, and check the backup log for the last three months. Look for the one folder where everything got dumped in and give it a proper name.
Do one folder a week while you are clearing a backlog. Forum consensus is near-universal on this: people who finished a 40,000-photo archive did it in month-long chunks, not a heroic single session. The Reddit and photo.stackexchange answers describe the same thing. Time is the currency, and small regular spends of it beat one impossible budget.
Set up rules so the system does the work. Rename-on-import in your manager, automatic backup to the NAS, and a phone that syncs to the desktop instead of hoarding a separate library.
Common Mistakes and Fixes
Renaming or editing files in place with no backup. This is the one that ends conversations about someone’s parents’ wedding. Fix: copy first, work on the copy, and keep the original filename recorded in your catalog.
Treating one external drive as a backup. If the copy and the backup live in the same drawer, a flood, a theft or one dropped laptop takes both. Fix: one copy off-site, so a cloud sync or an off-site drive covers that.
Nesting seven folders deep. Deep trees are the main reason people say their photos are unorganized, because finding one file means clicking through six levels of guessing. Fix: collapse to year plus event and use search for anything deeper.
Renaming everything to something clever. If a filename requires a key to decode it, you have created a puzzle rather than a system. Fix: date, then plain words. Sea, birthday, kitchen renovation.
Deleting duplicates before checking metadata. An edited, rated, albumed copy is often the one you want to keep. Fix: dedupe after the backup, compare side by side, and move to a holding folder instead of deleting.
Building a structure that does not match how you actually search. Organize by year if you search by year. If you are the person who looks for photos by person or by trip, put people or trips at the top and dates underneath. A DPReview poster with a fixed set of standard folders per year works because it matches how he browses, not because it is universal.
Letting the Windows Pictures library index the whole archive. A single folder with 50,000 files makes File Explorer visibly slow and search results unreliable. Fix: master folder outside Pictures, no library indexing.
Tips for Large Libraries
Know the time cost up front. Most people quit because they assume the whole thing is one enormous job.
| Library size | Back up and consolidate | Sort into the tree | Rate and keyword | Dedupe |
|---|---|---|---|---|
| 5,000 photos | About an hour | A weekend of short sessions | A few evenings | Under an hour |
| 20,000 photos | Two to three hours | Three to four weeks of short sessions | Ongoing, about an hour a week | A couple of hours, spread out |
| 50,000 photos | Half a day of copying | Two to three months | Ongoing, an hour or so a week | A day, and only if you use a visual tool |
These are real-world ranges for a person doing this on evenings, not a professional digitization project. A 5,000-photo library is a weekend. A 50,000-photo library is a season, and pretending otherwise is how people end up back at zero.
Other tips worth having:
- Pilot one folder first. Pick 500 photos from a single year, run the full system on them, then scale. You will find out your naming scheme does not work in twenty minutes instead of two months.
- Consolidate to one master, then stop. One drive, one tree, one source of truth. Multiple parallel libraries are the reason people feel lost.
- Verify backups with checksums, not vibes. Your backup tool almost certainly logs a checksum comparison. Read the log once a month instead of assuming.
- Watch catalog performance as the library grows. The most common complaint about big photo managers is that they slow down. Keep the master tree in plain folders so you can always fall back to File Explorer or Finder.
- Migrate out of dead apps early. Picasa is gone. Google Photos ended consumer upload. If your library lives inside an app and you cannot export originals to plain folders, that is the first thing to fix.
- Never keep only one copy of anything scanned. A scan of your grandmother’s prints exists once. Scan in flatbed or TIFF, back it up twice, and only then delete the prints if you want to.
- Consolidate your phone too. On iPhone, Settings, Photos, Transfer to Mac or AirDrop keeps originals at full resolution. On Android, the USB file transfer that asks for MTP or Photos rather than Photo Transfer keeps quality intact too.
Frequently Asked Questions
What is the best program to organize photos on my PC?
For Windows, the built-in Photos app plus File Explorer handles folders, Date taken sorting and bulk rename with no install. For more power without paying, FastStone Image Viewer gives duplicate detection and contact sheets, and digiKam adds albums, face tagging and metadata sidecars. Paid managers such as Lightroom Classic are worth it only if you shoot RAW and edit at scale.
Should I use folders or albums to organize photos?
Use both, for different jobs. Folders are physical storage and hold each original once, so that is where backups and archives belong. Albums are views that reference the same file many times over, so they suit print candidates, client galleries and shared family sets. If you pick one only, pick folders, because albums break when a tool changes.
How do I find and remove duplicate photos on my computer?
Run a duplicate scan in your photo manager or a free checksum utility, which finds byte-identical files quickly. Review near-duplicates side by side rather than deleting blind, since an edited or rated copy is often the one you want. Move everything to a holding folder instead of deleting, then empty it a month later so you have an undo.
Is one external hard drive enough to back up photos?
One external drive is a second copy, not a backup. If it sits in the same room as the computer you work on, a theft, flood or fire takes both. The 3-2-1 rule asks for three copies on two kinds of media with one copy off-site, so pair your external drive with a cloud sync or a second drive stored somewhere else, and test a restore.
How long does it take to organize thousands of photos?
A 5,000-photo library is roughly a weekend of short sessions. A 20,000-photo library is closer to three or four weeks of evening work, and 50,000 photos takes a season. The copying and backup part is fast, a few hours. Judging, keywording and deduping are the slow parts, and doing them a folder a week is what actually finishes the job.
How do I move photos from my phone to my computer without losing quality?
On iPhone, open the Photos app, select the shots, tap the share arrow and choose Transfer to Mac or AirDrop, which sends full-resolution originals including HEIC files. On Android, connect by USB and choose the MTP or Photos transfer option rather than Photo Transfer, then copy the DCIM folder. After copying, verify a few files on the computer before deleting anything from the phone.
Conclusion
Do this first: copy the whole library to a second drive, pick the year-then-event tree, and run the full system on one single folder this week. Once that folder works, do one folder a week, fifteen minutes a month for new photos, and test one restore a quarter. Nobody finishes a 40,000-photo backlog in a weekend, and nobody needs to finish it in one sitting either.