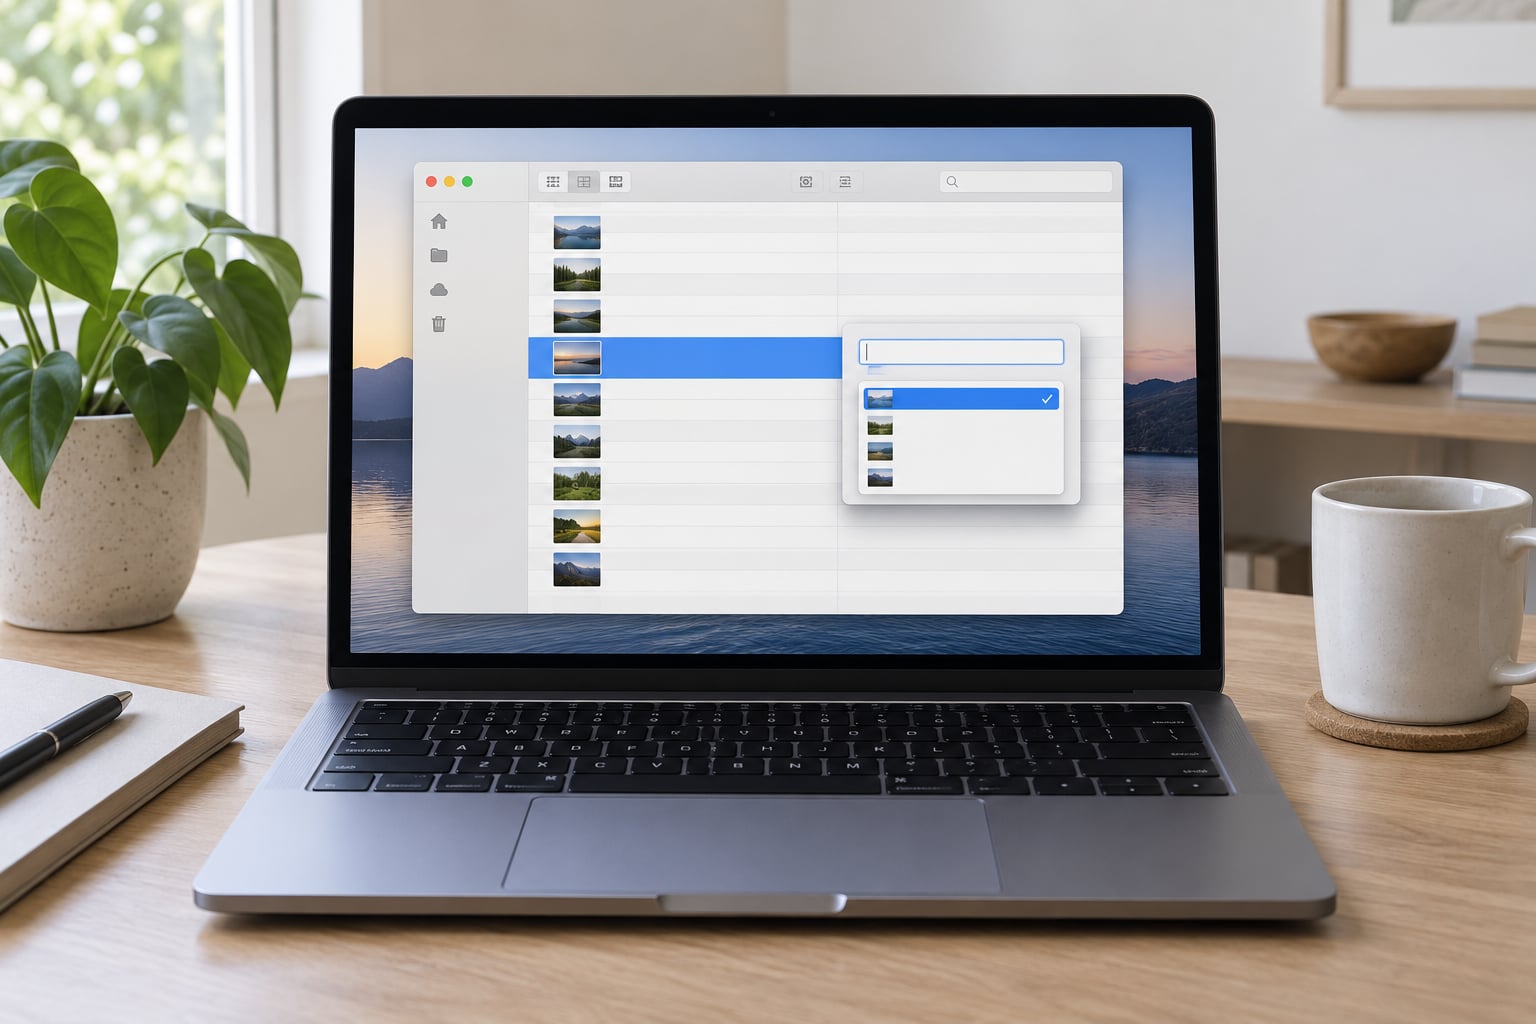
To batch rename files on a Mac, open Finder, select the files you want, press Return, and macOS opens the rename dialog. Pick a rule from that dialog — Add Text, Replace Text, or Format — and it applies the same change to every selected file at once. For hundreds of files, add a Terminal loop or a saved Automator workflow to the mix.
This guide covers what the dialog does, how to number files sequentially, how to undo a rename you did not mean to make, and why a batch rename sometimes refuses to run. Everything here uses tools already on your Mac. Nothing needs installing, and nothing is locked behind a paid app.
Two rules before you start. First, copy the folder to a backup, or make sure Time Machine is current, because a rename can touch every file in a directory. Second, work on a copy of a folder the first time you try a new method. Ten seconds of copying saves twenty minutes of putting files back.
Table of Contents
- 1What You Need
- 2Step-by-Step: How to Batch Rename Files on a Mac
- 3How to Batch Rename Files on a Mac in Finder
- 4How to number files sequentially
- 5Change file extensions in bulk
- 6Automate Repetitive Renaming with Automator
- 7Rename Files from Terminal
- 8Build a Reusable Rename in the Shortcuts App
- 9Rename Photos by the Date You Took Them
- 10Rename Files by Pattern with Regular Expressions
- 11How to Undo a Batch Rename on a Mac
- 12Common Mistakes
- 13Frequently Asked Questions
- 14Can I batch rename multiple files on a Mac without using Terminal?
- 15How do I number files sequentially when batch renaming on a Mac?
- 16Will batch renaming files change their extensions?
- 17How do I undo a batch rename in Finder on a Mac?
- 18How can I rename files that contain spaces or special characters?
- 19What is the safest way to rename hundreds of files on a Mac?
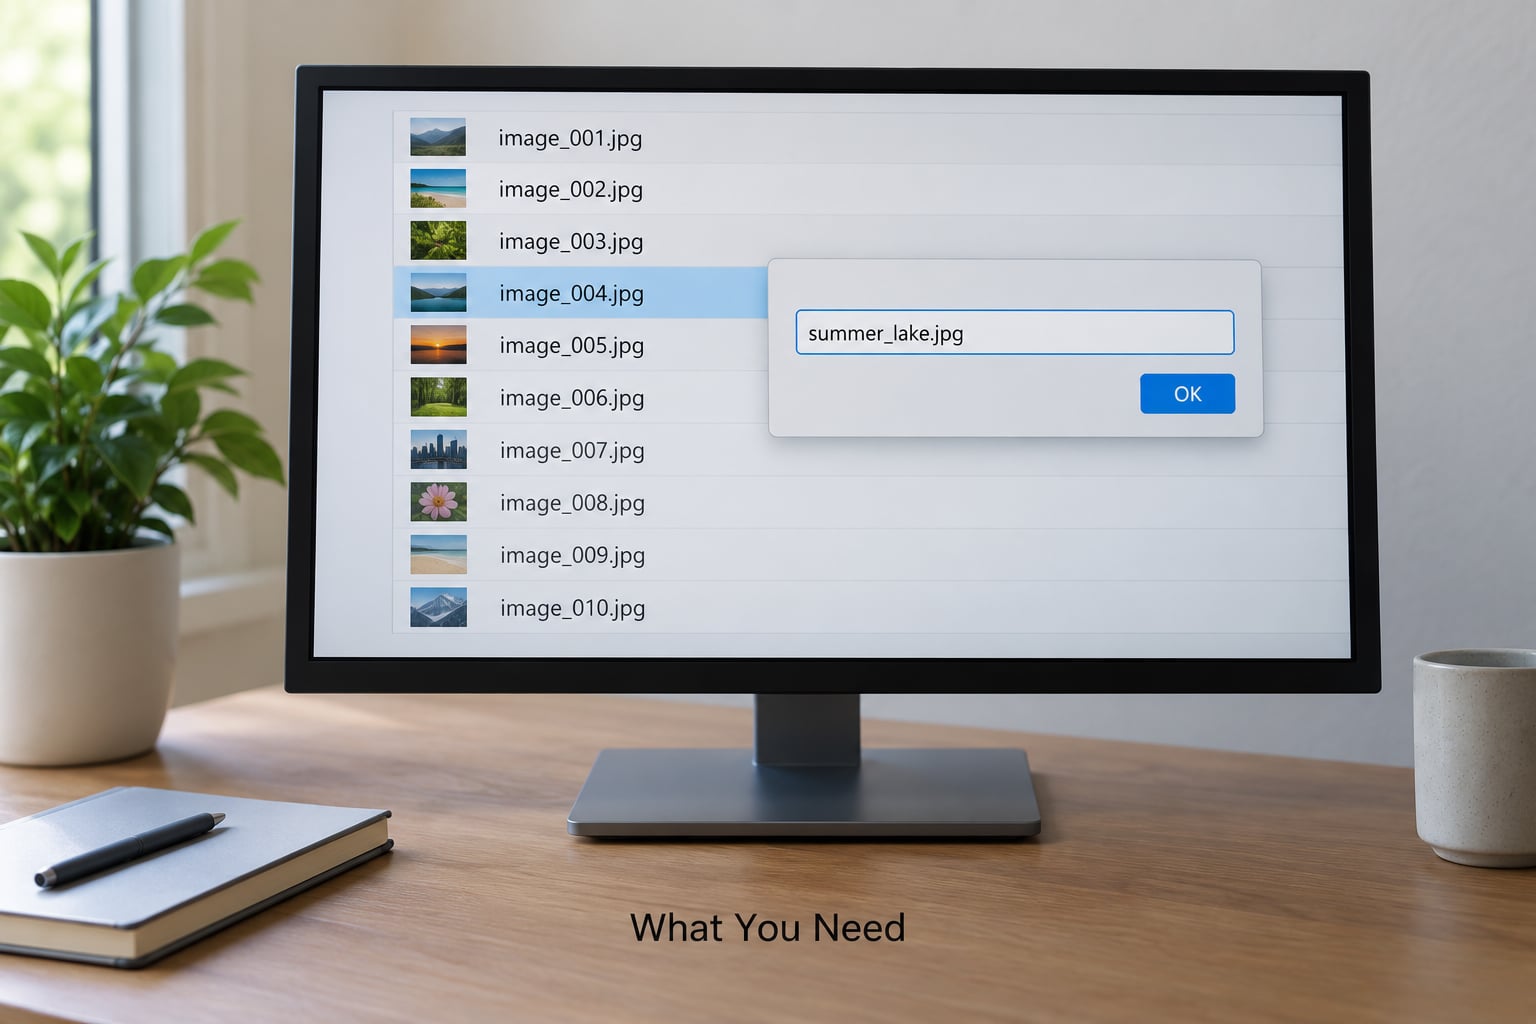
What You Need
You need a Mac running a recent version of macOS. The steps below hold on Big Sur, Monterey, Ventura, Sonoma and Sequoia, and nothing depends on a third-party utility. Terminal ships with macOS too, though you may need to enable it in System Settings, then Privacy and Security, then the Terminal entry under Developer Tools.
What you actually need to decide is which tool suits the job. A folder of 12 screenshots is a Finder job. Three hundred camera downloads that need the same date prefix is an Automator or Terminal job.
| Method | Learning curve | Undo support | Best for |
|---|---|---|---|
| Finder rename dialog | Two minutes | Full, straight from the Edit menu | Anything under about 50 files with a simple rule |
| Automator workflow | About 15 minutes to build it once | Full, as long as you run it from Finder | The same pattern applied to many folders over time |
| Shortcuts app | About 15 minutes, drag and drop | Full, as long as you run it from Finder | Reusable Finder Quick Actions with no Terminal |
| Terminal | Real commands, real risk | None built in | Recursive renames, pattern matching, exact number padding |
One note on the table: Finder and Shortcuts run the rename inside Finder, so Command-Z puts everything back in a single step. Automator behaves the same way. Terminal does not, which is why it goes last in this guide and why I would rather you copy a folder first than rely on remembering the original names.
Step-by-Step: How to Batch Rename Files on a Mac
How to Batch Rename Files on a Mac in Finder
Finder handles the common cases without any setup, and the rename dialog is more capable than most people realize. Here is the full workflow.
- Open the folder in Finder and switch to List view with View, then as Icons, if the names are cut off. Wider columns mean you can actually read what you are changing.
- Select the files. Click the first one, then Shift-click the last to select a contiguous block. To select files that are not next to each other, Command-click each one.
- Press Return, or right-click the selection and choose Rename. The rename dialog appears with the current name selected and editable.
- Choose a rule from the Where menu. Add Text inserts characters before or after each name. Replace Text swaps a string you type for another. Format applies a numbering or date pattern.
- Confirm the preview shown in the dialog, then click Change.
What success looks like: every file in the list now carries the new pattern, extensions such as .jpg or .pdf are still sitting at the end where they belong, and the alphabetical order in the folder has updated to match the new names.
The Where menu deserves a closer look, because the three options behave differently on a multi-selection.
- Add Text is the reliable one. Type a prefix in the first box and a suffix in the second, choose Before Name or After Name, and every selected file gets it.
- Replace Text finds a matching string in each name and swaps it for the replacement. It works across a selection on current macOS, but older systems and some network volumes throw an error when more than one file is selected. If that happens, rename in smaller groups or move to Terminal.
- Format is where numbering and dates live, and it is the option most people have never opened.
Inside Format you get four patterns. Name and Index numbers each selected file by its position in the selection, so ten files become file 1 through file 10. Name and Counter is the one for a single file: it looks at how many similarly named files already sit in the folder and appends the next number, which is handy for duplicates like invoice.pdf becoming invoice 2.pdf. Date Format inserts the file’s date and time using a pattern such as yyyy-MM-dd. Custom Format lets you type your own text with one placeholder, and it is the answer to getting zero-padded numbers.
That last one matters. Finder counts 1, 2, 3 and stops, which sorts badly once you pass 9. In Custom Format you can type the literal text around the counter, including your own zeros: type photo_00 followed by the counter placeholder and you get photo_001, photo_002, photo_009, photo_010. You decide the number of zeros and the sort stays right.
Two smaller things people ask about. First, the shortcut: pressing Return on a selected file opens this same rename dialog, and System Settings, then Keyboard, then Keyboard Shortcuts, then App Shortcuts, lets you assign your own key combination to the Rename menu item. Second, copying file names in bulk: select the files, press Command-C, then Command-V into a text editor or a spreadsheet cell, and each name lands on its own line.
How to number files sequentially
Sequential numbering deserves its own pass because the order Finder uses surprises people. Finder numbers by position in the current selection, and that position follows the sort order in the window. If the window is sorted by Date, file 1 is the oldest. If it is sorted by Name, file 1 comes first alphabetically.
So set the sort you want before you rename. View, then Sort By, then Date, or Name. Then select everything with Command-A, press Return, choose Format, then Name and Index, and click Change.
For the zero-padded version, choose Format, then Custom Format, and build a name like receipt_000 with the counter inserted before the final zero group so you land on receipt_0001 through receipt_0120. Getting that wrong on the first attempt is the whole reason to work on a copy.
Renaming multiple folders follows exactly the same path. Select the folders, press Return, choose Format, then Name and Index, and each folder becomes Project 1, Project 2, Project 3. Finder treats folders the same way it treats files.
Change file extensions in bulk
Finder will not change extensions through the Format menu, and this trips people up regularly. The rename dialog deliberately leaves the extension alone so it cannot break a folder of documents.
To convert a folder of .png files to .jpg, use Terminal instead. Check what you have first, then rename:
cd ~/Pictures/Screenshots
ls -1
for f in *.png; do mv -- "$f" "${f%.png}.jpg"; done
The ${f%.png} part strips the old extension and the closing part adds the new one. Run the ls line before the loop so you know what you are working with.
A warning that matters here: renaming an extension does not convert the file format. A PNG full of compression artifacts stays a PNG wearing a .jpg name, and some apps will refuse to open it. Convert properly with Preview, an image editor, or the sips tool built into macOS before you change the name.
Automate Repetitive Renaming with Automator
Automator is worth the setup when the rule never changes. Build the workflow once, save it, and from then on you right-click a folder and run it.
- Open Automator from Applications, then Utilities. Choose New Document, then pick the Workflow type and click Open.
- Add Rename Finder Items from the Actions list on the left and drag it into the workflow area.
- Set the rule. Rename Finder Items offers the same Add Text, Replace Text and Format options as Finder, plus a Don’t Add and Extension only choice. Configure the change you want.
- Add a filter above it if you only want certain files. A Finder filter on “Kind is Image” keeps your workflow from touching documents in the same folder.
- Save the workflow with Command-S and give it a name you will recognise later.
The saved workflow appears in Finder under Services. Right-click any folder, choose Services, and your workflow name is on the list. You can also drag the saved workflow into the Finder toolbar for one-click access.
A worked example for camera downloads. Suppose a folder holds IMG_4021.jpg through IMG_4090.jpg and you want dated photo names. Add a Filter for images, then Rename Finder Items, then Format, then Custom Format, and build IMG_ followed by the counter with two zeros. You get IMG_001 onward, every shoot, every time.
To get the capture date into the name instead, read the rename by date section below. Automator’s date pattern reads file metadata, not the moment you pressed the shutter.
Rename Files from Terminal
Terminal is the most powerful option here and the one that needs the most care. It can rename files inside subfolders, match patterns, and control the exact digits in a number. Read the command before you press Return.
Start by moving into the folder. The working directory is simply where commands act, and getting it right is what stops a loop from touching anything else:
cd ~/Documents/Invoices
Type pwd to see where you are and ls -1 to list the contents. Always run that list first. It is your preview, and it is the difference between a rename and a bad afternoon.
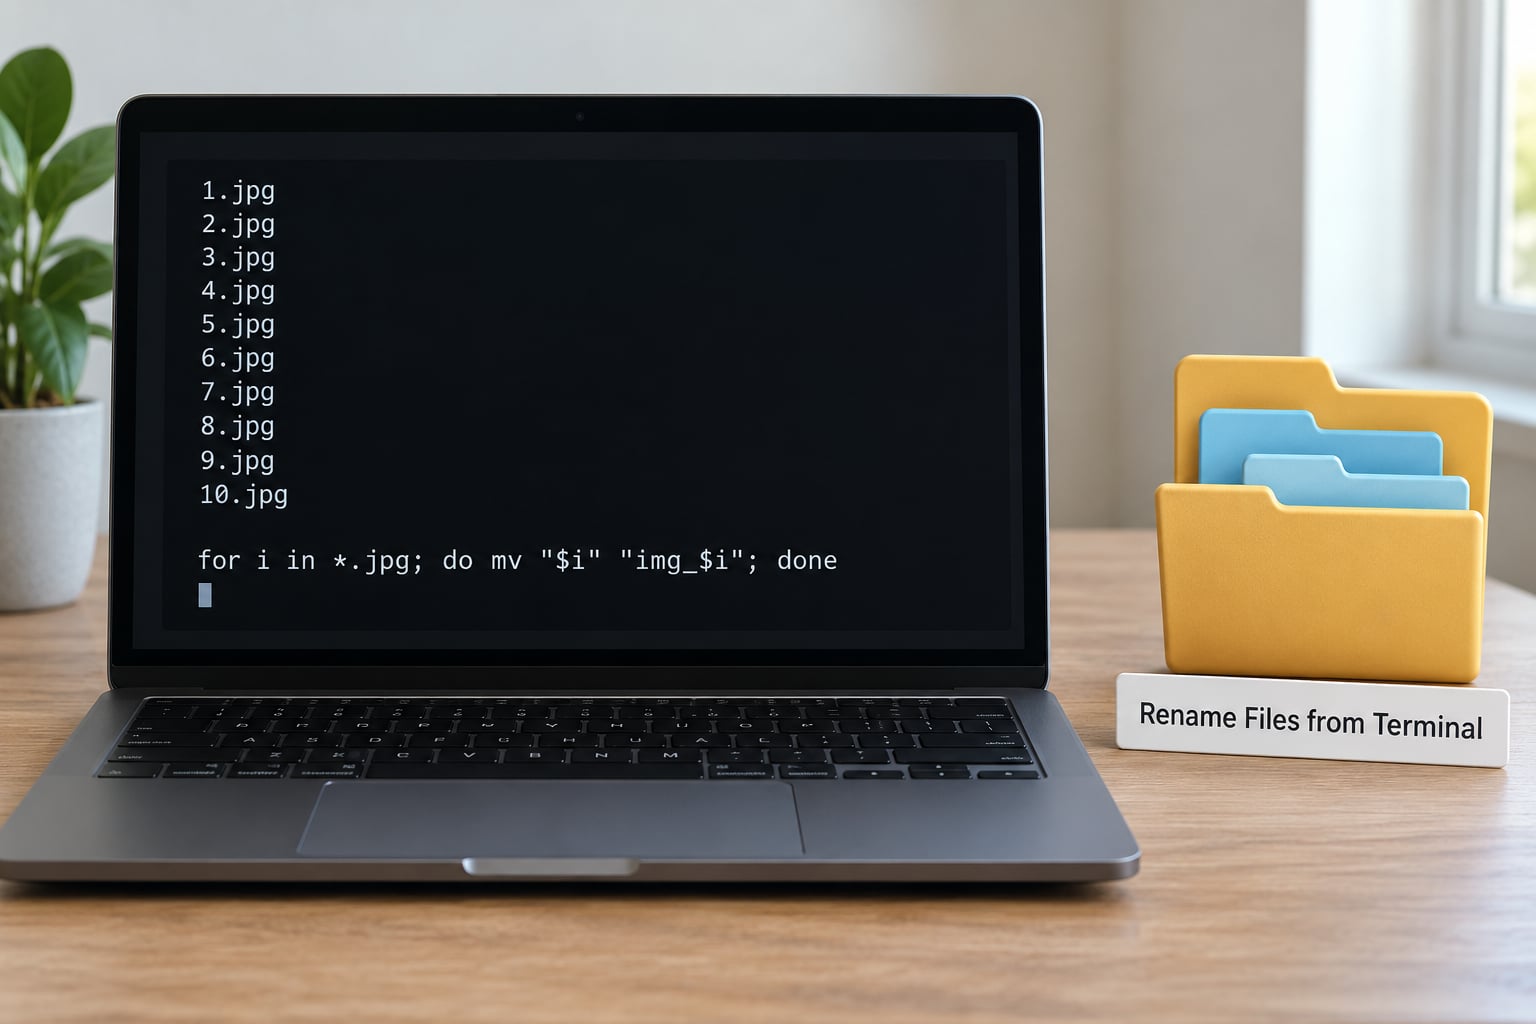
Here is the numbering loop. It walks every .jpg in the folder and gives each one a zero-padded number:
i=1
for f in *.jpg; do
  mv -- "$f" "$(printf 'invoice_%03d.jpg' "$i")"
  i=$((i+1))
done
What each piece does, so you can adapt it rather than paste it blind. for f in *.jpg walks every .jpg file in the current folder. mv -- moves the file, and the -- stops macOS from misreading a filename that starts with a dash as a command option. printf 'invoice_%03d' prints the new name with the counter padded to three digits, so 1 becomes 001 and 10 becomes 010.
For find and replace across the folder:
for f in *.pdf; do
  mv -- "$f" "${f/2025-/2026-}"
done
The ${f/2025-/2026-} swaps the first occurrence only. Change the second slash to a // and it replaces every occurrence in that name.
Renaming across subfolders is the version people search for most and almost never find an answer to. Here is the pattern, using the parent folder name as the prefix, which is what readers with nested project folders end up wanting:
find . -type f -iname '*.pdf' -print0 | while IFS= read -r -d '' f; do
  d=$(basename "$(dirname "$f")")
  mv -- "$f" "${f%/*}/${d}_$(basename "$f")"
done
Read it in pieces. find . -type f -iname '*.pdf' finds every PDF below the current directory, case-insensitively. -print0 and read -r -d '' handle file names containing spaces and line breaks, which is why they appear together so often. basename "$(dirname "$f")" pulls the name of the folder holding the file. ${f%/*} keeps the original path while the new name gets built from the folder name plus the old file name.
That loop has no dry run built in, which is exactly why you test it on three files first. Run it on a copy of the folder, look at the result in Finder, then run it for real.
Build a Reusable Rename in the Shortcuts App
The Shortcuts app gives you the power of Automator in a drag-and-drop interface, with no scripting and no Terminal. Few guides cover it, and for anyone who finds Automator dated, it is the better tool.
- Open Shortcuts from Applications, then Utilities, and click the plus button in the top right.
- Search for Rename Files and add the action. Newer macOS versions ship this action directly; on older releases you build the rename from the Make a New File action instead.
- Configure it. Set the new name to a text field, then add a Count action after it to get a running number for each file.
- Name the shortcut something like Prefix Images, then click the Done button.
- Add it to Finder. Open the shortcut, tap the share button, and choose Add to Finder Quick Actions. It now appears on the right-click menu of any selected file.
Since 2026, my default for anything recurring is a Shortcuts Quick Action. It handles the boring cases and, unlike a Terminal loop, still runs through Finder, so Command-Z still works.
Rename Photos by the Date You Took Them
Sorting photos by when you took them, not when you imported them, needs a different route. This is a common follow-up question, and the honest answer has two parts.
The Date Format option inside Finder’s Format menu reads the file’s created or modified date, which for imported photos is usually the import date. Close enough for downloads, wrong for a two-year archive.
For capture dates, work from the Photos app. Select the shots in Photos, choose File, then Export, then Export Unmodified Originals, and point it at a fresh folder. Those exported files carry their capture date in the metadata. A free metadata tool such as exiftool can read that date and write it into the filename in bulk, which is a scripting job rather than a Finder one.
The practical compromise most photographers land on: export from Photos into per-shoot folders, then use the Terminal loop from earlier to prefix each folder’s contents with the folder name. You get shoot-date grouping without touching the originals.
Rename Files by Pattern with Regular Expressions
When the change depends on structure rather than a fixed string, a regular expression is the right tool. The Match Text action in Shortcuts handles this without a script.
Picture a mixed folder where you need invoice_2025_0042.pdf to become 2025-0042-invoice.pdf. Add a Match Text action, turn on the regular expression option, and use a pattern with three capturing groups: one for the year, one for the number, one for the base name. Each group becomes a variable you place in the new name in whatever order you want.
The pattern for that example looks like invoice_(d{4})_(d{4})_(.+).pdf. The parentheses capture the year, the four-digit number, and the stem. In Shortcuts those come back as numbered variables, and you assemble the new filename from them.
Test the pattern on three files before you point it at a folder. Regular expressions are unforgiving, and a single missing parenthesis turns a tidy rename into a folder of files called nothing.
How to Undo a Batch Rename on a Mac
Good news first: if you renamed through Finder, Automator, or a Shortcuts Quick Action, Command-Z reverses the entire batch in one step. Open the Edit menu and click Undo Rename straight away, while the files are still front and centre.
If you closed the window already, there is no Finder undo history to reach. This is why the copy-first habit exists. Once the window is gone, recovery means pulling the files back from Time Machine or from your backup copy, which is slower and, depending on how long ago it was, may not include the latest state.
Terminal renames have no undo at all. There is no built-in reverse command. Your options are your backup, or a script you wrote yourself that maps old names to new names, which is worth doing in advance if a rename will be large.
Undo also does not repair references. Scripts, playlists, bookmarks and synced folders that pointed at the old names break the moment you rename, and Command-Z restores the names but not every reference to them. Before a rename that touches files an app is tracking, check whether that app stores paths or relative links.
Common Mistakes
Most batch rename problems come down to one of six things. Here is what goes wrong and what actually fixes it.
Files end up with identical names. Finder will not overwrite an existing file, so what you get is a batch where some files silently kept their old names and some changed. Sort by Name before and after every rename and compare the two lists. If you are numbering, choose Custom Format and zero-pad the counter so the names are genuinely unique.
The extension disappears or changes. The rename dialog protects extensions by default, but a Custom Format that includes a full file name pattern can clobber it. Check that the Format you picked is Date Format or Name and Index, not Custom Format with your own extension typed in. To change extensions deliberately, use the mv loop from earlier.
Hidden files get renamed or block the batch. Hidden files stay out of Finder and out of a Terminal glob, so they keep old names while everything around them changes. Show them with Command-Shift-Period in Finder. In Terminal, ls -la lists them. Renaming them is fine; being surprised by them is not.
Spaces and special characters break naive commands. Any filename with a space needs quoting, which is why every mv in this guide wraps the variable in double quotes. Filenames with quotes, backslashes or newlines need more care, which is why the recursive loop uses -print0 with read -d. If a rename command throws an error, this is almost always why.
A replacement hits more than you meant. Replacing -v2 also changes -v20 and -v2-final, and on a multi-file selection you only find out afterwards. Run the replacement on a handful of files first, look at the list, then widen it. In Terminal, preview with echo in place of mv before you commit.
The rename is refused. The usual causes are a file open in another app, a file locked by a running script, or a folder you do not have permission to write to. Quit the app holding the file, check the folder’s Sharing and Permissions in Get Info, and confirm you are not looking at a read-only or network volume. Also confirm you did not rename the folder containing the files while that folder was open in a Finder window.
Before any rename past about fifty files, run this checklist: a backup copy exists, the sort order matches the numbering you expect, a three-file test produced the names you wanted, hidden files are visible if they matter, and no app has those files open. That is the whole safety story.
Frequently Asked Questions
Can I batch rename multiple files on a Mac without using Terminal?
Yes. Finder’s rename dialog handles most batches on its own. Select the files in a Finder window, press Return, then choose Add Text, Replace Text, or Format from the Where menu. Format covers sequential numbering, date stamps and zero-padded custom names. For a rule you repeat often, Automator and the Shortcuts app both build a reusable action you can run from the right-click menu, and both still support Command-Z undo.
How do I number files sequentially when batch renaming on a Mac?
Select the files, press Return, and choose Format, then Name and Index. Finder numbers them by their position in the current sort order, so set View, then Sort By, to Name or Date before you start if that matters. For numbers that sort correctly past 9, choose Custom Format instead and type your own zeros around the counter placeholder, which produces names like photo_001 through photo_120.
Will batch renaming files change their extensions?
No. The Finder rename dialog leaves the extension alone on purpose so a batch cannot turn a folder of documents into unusable files. If you genuinely need to change extensions, use Terminal with a loop such as for f in *.png; do mv u002du002d u0022$fu0022 u0022${f%.png}.jpgu0022; done. Remember that changing a name does not convert the format, so convert the file contents first with Preview, an editor, or the sips tool that ships with macOS.
How do I undo a batch rename in Finder on a Mac?
Press Command-Z, or open the Edit menu and choose Undo Rename, while the folder is still open. Because Finder, Automator, and Shortcuts Quick Actions all run the rename through Finder, one Command-Z reverses the entire batch rather than one file at a time. Undo is no longer available once you close the window, and Terminal renames have no undo at all, so copy the folder before those.
How can I rename files that contain spaces or special characters?
In Terminal, wrap the variable in double quotes, as in mv u002du002d u0022$fu0022 u0022${f}.baku0022. The u002du002d stops macOS treating a name that begins with a dash as a command option. For names containing quotes, backslashes, or newlines, use the recursive pattern based on find . -print0 piped into while IFS= read -r -d ” so the shell receives each name intact. Finder itself handles spaces and most symbols without any special steps.
What is the safest way to rename hundreds of files on a Mac?
Copy the folder first, then work on the copy until you trust the result. For very large batches, build an Automator workflow or a Shortcuts Quick Action with a filter so only the file types you expect are touched, preview on three files, and run the full batch last. Terminal is the most capable option and the least forgiving, so use find and mv with quoted variables there, and keep the backup until you have opened a sample of the renamed files.
Start in Finder. Select the files, press Return, and use the Format menu to number them properly with zero padding, because that one option fixes more sorts than anything else on this page. When the same rule comes back week after week, build it once as a Shortcuts Quick Action or an Automator workflow. Reach for Terminal when you need subfolders, regex, or extensions, and copy the folder first every time you do.