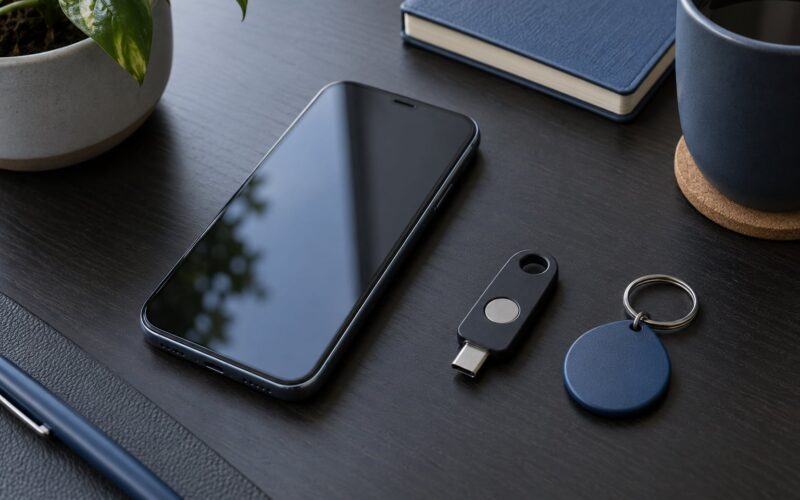
A hardware security key is a small USB or NFC stick that replaces the second half of your login — the code you retype from your phone — with a private key that never leaves the device. Learning how to use a hardware security key takes about fifteen minutes per account, and the whole setup is finished in an afternoon. The catch: register a backup key before you register your first one, or you will find out what account recovery really feels like at the worst possible moment.
Table of Contents
- 1What You Need
- 2Step-by-Step
- 31. Prepare Your Computer or Phone
- 42. Register the Key With Your Account
- 53. Test the Key on Every Device You Use
- 64. Use the Key During Sign-In
- 75. Set Up Backup Keys and Recovery Options
- 86. Remove or Replace an Old Key
- 9Common Mistakes
- 10Frequently Asked Questions
- 11Can I use a security key instead of a password?
- 12What does hardware security key mean?
- 13How do I use my YubiKey for the first time?
- 14What happens if I lose my security key?
- 15Is a security key better than a passkey or an authenticator app?
- 16Conclusion
What You Need
You need three things: a FIDO2 key (YubiKey, Google Titan, Feitian, SoloKey and the NTAG-style NFC tags all speak the same WebAuthn standard), a device with a spare USB port or NFC reader, and one account you care about enough to lose.
What the key actually does is simple. When you register it, the site stores only the public half. At sign-in, the site sends a challenge, the private half inside the key signs it, and the site checks that signature. Nobody ever types or transmits a secret, and a fake lookalike site gets nothing usable because the credential is bound to the real domain.
Before registration opens the security settings, confirm you have a working fallback: a password you know, an authenticator app with current codes, or a printed recovery code from your email provider. If you register a key as your only method while locked out of your recovery email, you have made the account harder to reach and not more secure.
The connector decides where the key works:
- USB-A — the old rectangular shape. Fine on most desktops and older laptops, needs an adapter on anything modern.
- USB-C — the same shape as your laptop charger. The right choice if you have a recent Mac, a Windows 11 laptop, or a modern Linux machine.
- NFC — tap the top of the key against an iPhone or Android phone, or a laptop with an NFC reader. No port, no driver.
- Bluetooth — no USB port at all, and a real pain on Linux desktops. Pick it only if you genuinely have nowhere to plug a key in.
Keys that support several formats at once (a USB-C body with an NFC tag inside) cost nothing extra to buy and remove most of the guesswork later. If you travel, the NFC side is what saves you when the laptop has no free port.
Step-by-Step
1. Prepare Your Computer or Phone
Update the operating system first. Security-key support on macOS, Windows and Linux has improved with nearly every release, and an old build is the most common cause of a key that “doesn’t look familiar.”
Check what you have:
- Windows: Settings, Accounts, Sign-in options. Windows 10 and 11 have supported FIDO2 keys natively for years.
- macOS: System Settings, Touch ID and Password. iCloud Keychain and Safari support passkeys stored on a key.
- Linux: libfido2 and pam-u2f from your distribution’s repositories. Desktop browsers do the rest.
- iPhone and Android: iOS 17+ and Android 9+ can use a security key over NFC for web sign-in; both ask you to enable the feature in security settings first.
How you know it worked: the security settings page loads and shows a two-step verification section you can edit. If that section is missing, the account does not support keys and no amount of plugging in will change that.
2. Register the Key With Your Account
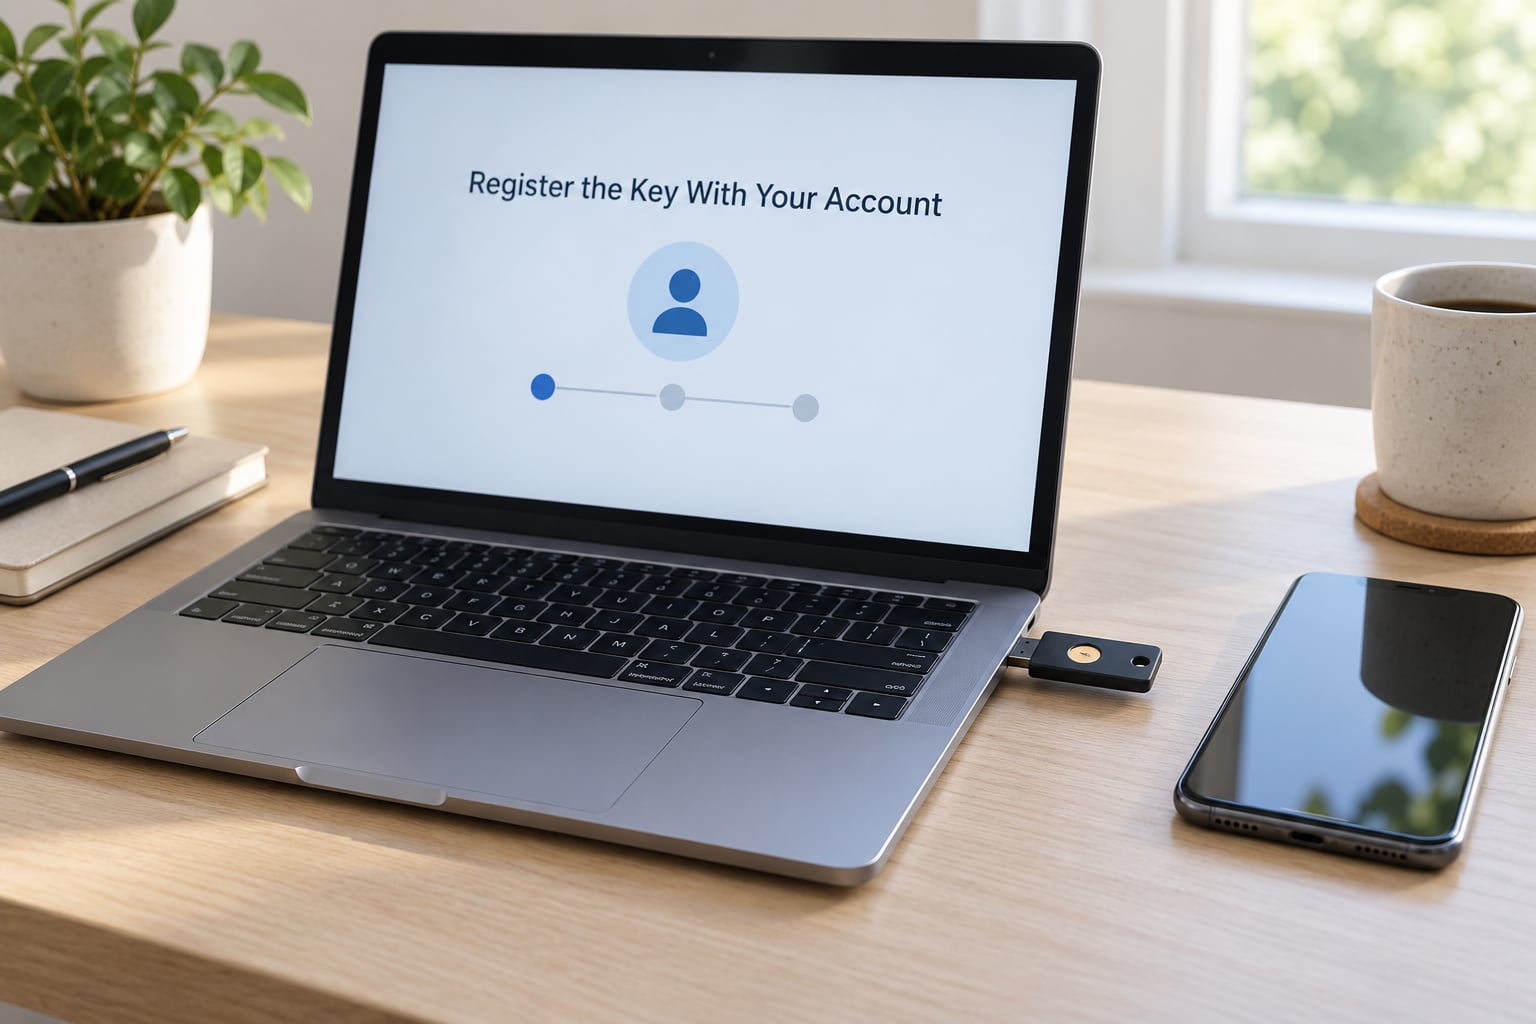
The path is the same almost everywhere, and the wording changes but the sequence does not:
- Open the account’s security settings.
- Choose two-step verification, then Security key as an option.
- Insert the key over USB or hold it against the NFC reader.
- Touch the key to confirm you are physically present.
- Give it a name you will recognise later, such as “Work USB-C”.
- Register a second key before you save anything else.
Concretely, on a Google account: myaccount.google.com, Security, How you sign in to Google, Two-Step Verification, then Security key, Add key, name it, plug in or tap. Microsoft is nearly identical at account.microsoft.com, Security, Advanced security options, Additional security methods. On GitHub, Settings, Password and authentication, Two-factor authentication, then WebAuthn hardware keys. GitHub will let you register several keys and lists them individually, which is exactly what you want to see.
How you know it worked: the key appears by name in the account’s key list, and the site often immediately runs a test sign-in to confirm the credential works. Do not skip that prompt.
3. Test the Key on Every Device You Use
A key registered on one laptop is not automatically ready on your phone or your second machine. Sign in once on each device you rely on and add the key there too. On a phone, look for “Use a security key” under two-step verification, then hold the NFC side against the back of the device near the camera area.
The 2FA-versus-passkey conflict bites here. Users report the “this security key doesn’t look familiar” error when they registered a key as two-factor on one machine and then tried to use it as a passkey on another. Registering it twice, in the two separate menus, is the fix. Each device needs its own registration.
How you know it worked: you can lock each device, sign out, and get back in with the key alone.
4. Use the Key During Sign-In
Sign-in is three moves:
- Enter your username and password as usual.
- Choose “Try another way”, then Security key, or plug the key in when the prompt appears.
- Touch the key to confirm, and the session opens.
The touch is deliberate. The key will not sign anything without that physical press, which is why nobody can trigger a login with your key sitting in an unattended bag. If the site skips straight past the key to a text message, keep reading — that usually means the key has not been added to that account yet, or the browser is offering an old sign-in flow.
On a site that shows a QR code instead, that is the Bluetooth path and you are better off switching the prompt to a USB or NFC option if your key supports one.
5. Set Up Backup Keys and Recovery Options
Two keys is the near-universal advice in the r/yubikey crowd, and the reasoning is plain: one key is one failure point. Keep one at home and one at work or on your person. Register both on every account that matters rather than splitting them across accounts.
Then close the loop in this order: password manager, then email account, then everything else. Each of those three can reset the others, so whichever you set up last should be reachable without the ones before it. Store printed recovery codes somewhere physical and dry, not in a photo on the same phone as the key.
How you know it worked: you can account for every sign-in method you have enabled. If SMS is still on, decide deliberately whether to leave it as an emergency path.
6. Remove or Replace an Old Key
Retiring a key is the step people skip, and it matters — a lost key sitting in an account’s list is a standing invitation. Go to the same security page, find the key by its name, and use Remove key. Do this only after a second key is registered and tested on that account, never before.
If you lost a key, remove it remotely from the account settings on a device you can still log into. That is far better than letting it sit there. If the account is your email and you also lost the key, you are in the password-recovery flow, which is why step 5 exists.
How you know it worked: the key no longer appears in the list, and signing in still works with your remaining key.
Common Mistakes
“This security key doesn’t look familiar.” Almost always a registration that exists on one account or one device but not the one you are signing in from. Re-add the key in that device’s own security settings, or check you are on the right account.
Nothing happens when I plug it in. Try another port. Front-case USB ports on older desktops sometimes lack power, and hubs can be flaky. Plugging directly into the machine rather than through a dock solves it more often than anything else.
It works in Chrome but not Firefox. A known friction point. Firefox has had regressions with certain older key firmware, particularly on USB-C and NFC models. Update the key’s firmware if the maker provides a tool, or sign in with Chrome or Edge once to confirm the credential is sound.
NFC does nothing. Screen lock can block the prompt. Unlock the phone first, then tap. NFC readers in some laptops are slower and picky; a phone tap is the more reliable route on those machines.
The key works but the site still asks for a code. The site is likely asking for a second factor in a flow it does not offer keys for. Choose “Try another way” and pick Security key explicitly rather than assuming the key was ignored.
My account does not offer keys at all. Real and common; plenty of smaller services have no hardware key option. Nothing is broken on your end. Use an authenticator app on those, and spend your key on the accounts that can be restored by an attacker — email, cloud account, password manager, and any money you hold.
A final ten-minute check: sign in to each protected account on each device using only the key, confirm a second key is registered, and confirm you know where the printed recovery codes are.
Frequently Asked Questions
Can I use a security key instead of a password?
Usually not on its own. A security key is designed as a second factor or as a passkey credential, so the standard setup is your password plus the key. Some services and password managers let you sign in with the key alone through passkeys, which is closer to passwordless. Check the account’s sign-in options to see which path it offers.
What does hardware security key mean?
It means a small physical authenticator, usually a USB or NFC device, that signs in to an account with a cryptographic key stored in its secure chip instead of a typed password or a six-digit code. You insert or tap it and touch the surface to confirm you are there.
How do I use my YubiKey for the first time?
Open your account’s security settings, add two-step verification, choose the security key option, then insert or tap the key and touch it to confirm. Give it a clear name, register a second key straight away, then test signing in on every device you use before you rely on it daily.
What happens if I lose my security key?
That depends entirely on what else you registered. With a backup key you sign in with the second one and remove the lost key from the account’s settings page. With no backup, you go through the account’s recovery flow, which usually means email, a phone number, or a printed recovery code.
Is a security key better than a passkey or an authenticator app?
For resisting phishing, a hardware key is the strongest of the three, because the credential physically cannot be handed to a fake site. Passkeys are nearly as strong and far more convenient, but they live on a synced device. An authenticator app is portable and cheap, and TOTP codes can still be phished.
Conclusion
Register the key today, on your password manager first and your email account second, because those two can restore everything else. Before you close the settings page, add a second key and keep it somewhere different from the first. Then spend ten minutes testing a key-only sign-in on each device you use — that is the part most people skip and the part that catches problems while they are still ten minutes old rather than stranded at a locked account.