An old laptop makes a capable home server because the hardware you would otherwise recycle already has a processor, plenty of RAM, a network port and a battery that keeps it alive through a power cut. To do it you wipe the machine, install a server-friendly Linux distribution, stop it sleeping when the lid is closed, and give it a stable place on your network.
For most people the whole job takes an afternoon. The fiddly parts are boring rather than hard: backing up the files first, and stopping the laptop from going to sleep the moment you close the lid.
Table of Contents
- 1What You Need
- 2Step-by-Step: How to Turn an Old Laptop Into a Linux Server
- 31. Back Up the Laptop and Check Its Condition
- 42. Create a Bootable Ubuntu Server USB Drive
- 53. Install Ubuntu Server
- 64. Connect the Server to the Network
- 75. Update the System and Install Server Software
- 86. Secure SSH and Test Remote Administration
- 97. Set Up Storage, Users, and Backups
- 108. Choose a Server Role and Test It
- 11Common Mistakes
- 12Frequently Asked Questions
- 13Can I use an old laptop as a home server?
- 14Which Linux distribution is best for an older laptop?
- 15Why does my Linux server sleep when I close the lid?
- 16Can I use an old laptop as a NAS server and add more drives?
- 17How do I access my server from outside my home network?
- 18Can I use the laptop as a normal computer again?
- 19Conclusion
What You Need
Before you download anything, check the machine is worth the effort. These are the prerequisites I work from.
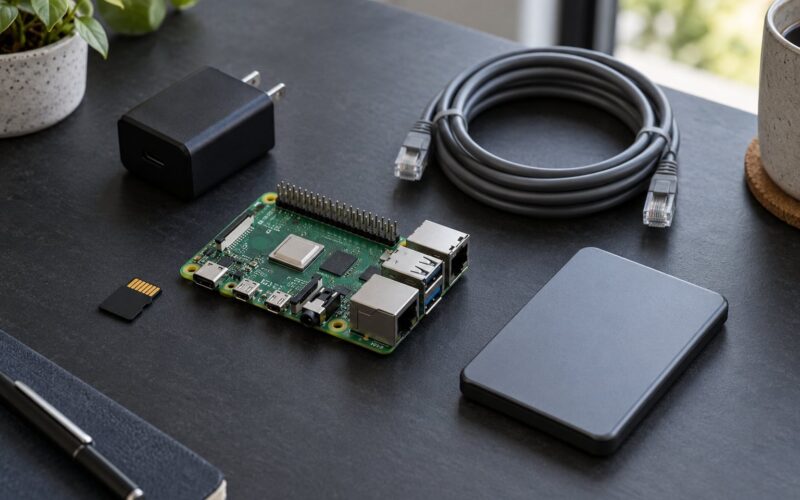
- A 64-bit processor. Anything from roughly the last 15 years qualifies. If the CPU is 32-bit only, current distributions will not install and you would need an old antiX build instead.
- 4GB of RAM as a practical minimum, 8GB if you plan to run containers or a virtual machine host.
- A working drive and free bay space. An SSD of 128GB or more makes a noticeable difference in how the machine feels.
- An 8GB USB drive for the installer, plus separate backup media.
- A Linux ISO and one of Rufus, balenaEtcher or Ventoy to write it to the USB drive.
- An Ethernet cable if you have one. Wireless works, but wired is steadier for something that has to stay reachable.
- A user account on another computer for the SSH login you will set up later.
Back up the laptop before you touch it. Copy everything to an external drive or a cloud folder, then confirm the copy opens correctly — a backup you have not tested is not a backup.
While the machine is still working, spend two minutes on its physical condition. Look at the battery for swelling, blow dust out of the vents, and check that the fan spins freely. A laptop that overheats within ten minutes will throttle a server into uselessness.
Step-by-Step: How to Turn an Old Laptop Into a Linux Server
Here is the full sequence. Work through it in order and do not skip the sleep fix in step 6, because that is the one people miss and regret.
1. Back Up the Laptop and Check Its Condition
Copy your documents, photos, browser bookmarks and anything on the desktop to external storage. Once you install Linux, the existing operating system and its partitions are replaced.
If the laptop no longer boots and you want the files back, boot a live Linux USB instead of installing first. That runs Linux from the USB drive with no changes to the disk, so you can copy files off at your leisure.
2. Create a Bootable Ubuntu Server USB Drive
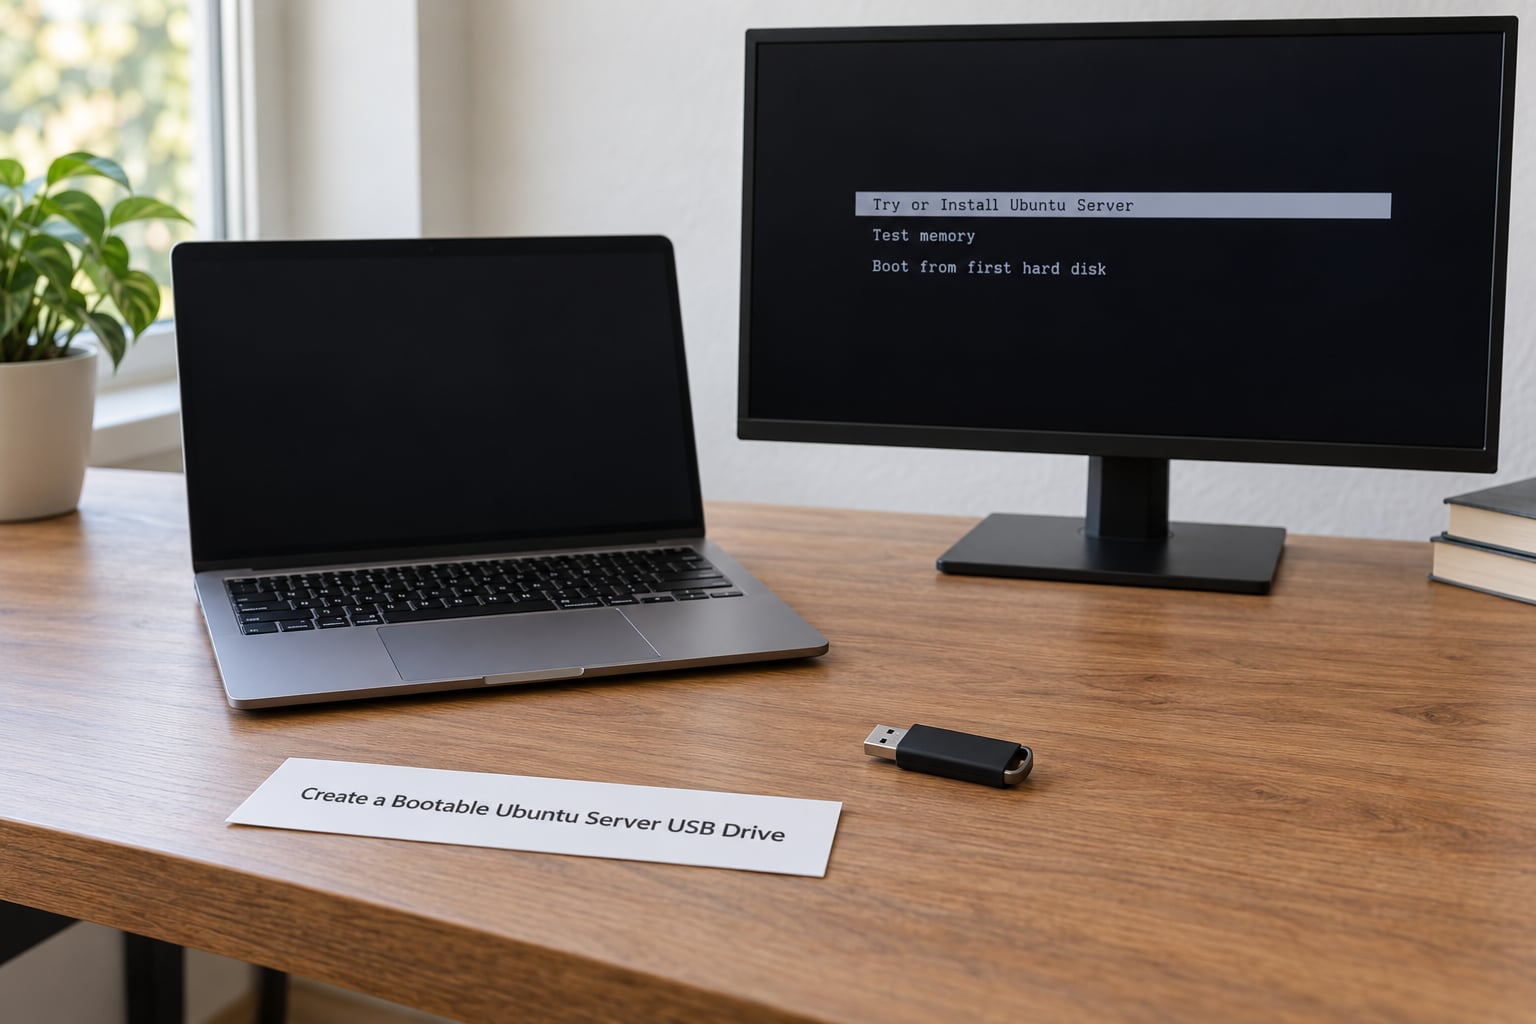
Download the current Ubuntu Server ISO from the official Ubuntu site, then write it to an 8GB USB drive. Rufus on Windows and balenaEtcher on Windows or macOS both do this in a few clicks; Ventoy is useful if you want several ISOs on one drive.
With Rufus, pick the ISO, select the USB drive, set the write mode to ISO image mode, and start. When it finishes, Windows may offer to format the drive — accept it, because that step is part of writing the image.
Verify the download before you write it. Ubuntu publishes a SHA256 checksum, and Rufus or Etcher will compare it for you if you point them at the checksum file. A truncated download produces an installer that fails halfway through.
3. Install Ubuntu Server
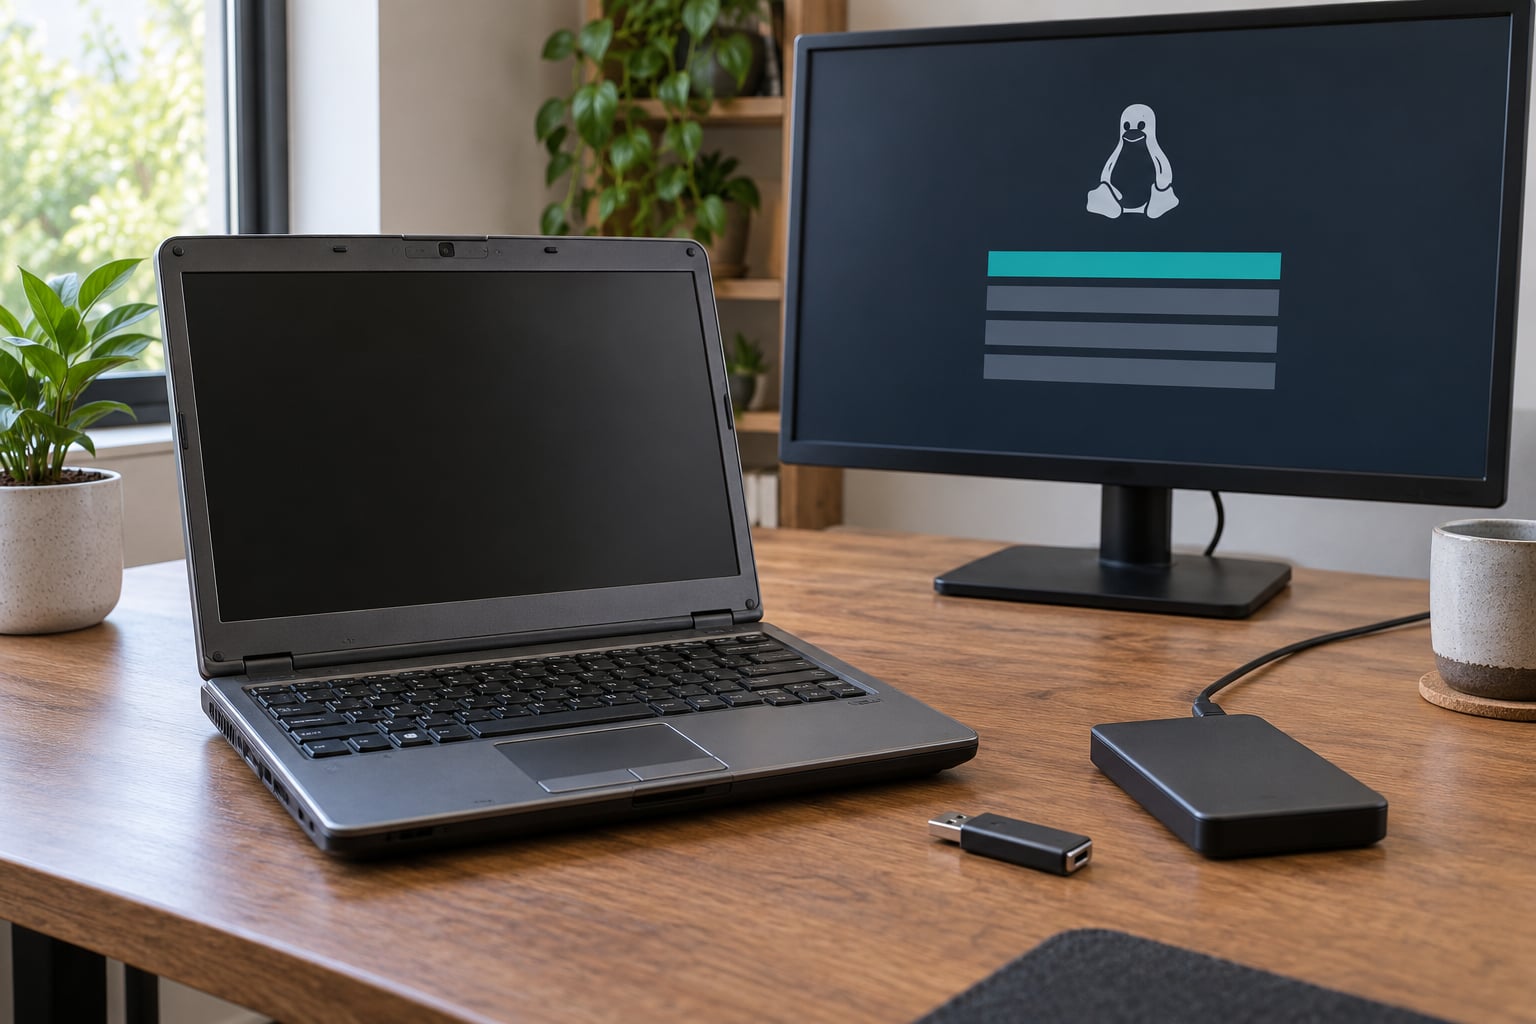
Plug the USB drive into the laptop and restart it. Press the boot menu key while it powers on — commonly F12, F11, F9 or Esc, depending on the brand — and select the USB drive.
Choose “Ubuntu Server” from the boot menu that appears, then let the installer do a disk check. Most people erase the whole disk, which is what you want for a laptop with nothing else on it.
Work through the installer choices:
- Language and keyboard: your normal layout, US English unless you need otherwise.
- Network: plug in the Ethernet cable during the installer so the static DHCP lease is set correctly from the start.
- Hostname: something plain like
homelabornasavoids typos later. - Username and password: create a normal user. This is the account you will use, not root.
- OpenSSH server: tick the box to install it and import your public key if you have one.
- Disk encryption: worth turning on if the machine holds data you care about losing. It means entering a passphrase at every boot, which is a real consideration for a headless box.
Remove the USB drive and let the machine reboot into the fresh install.
4. Connect the Server to the Network
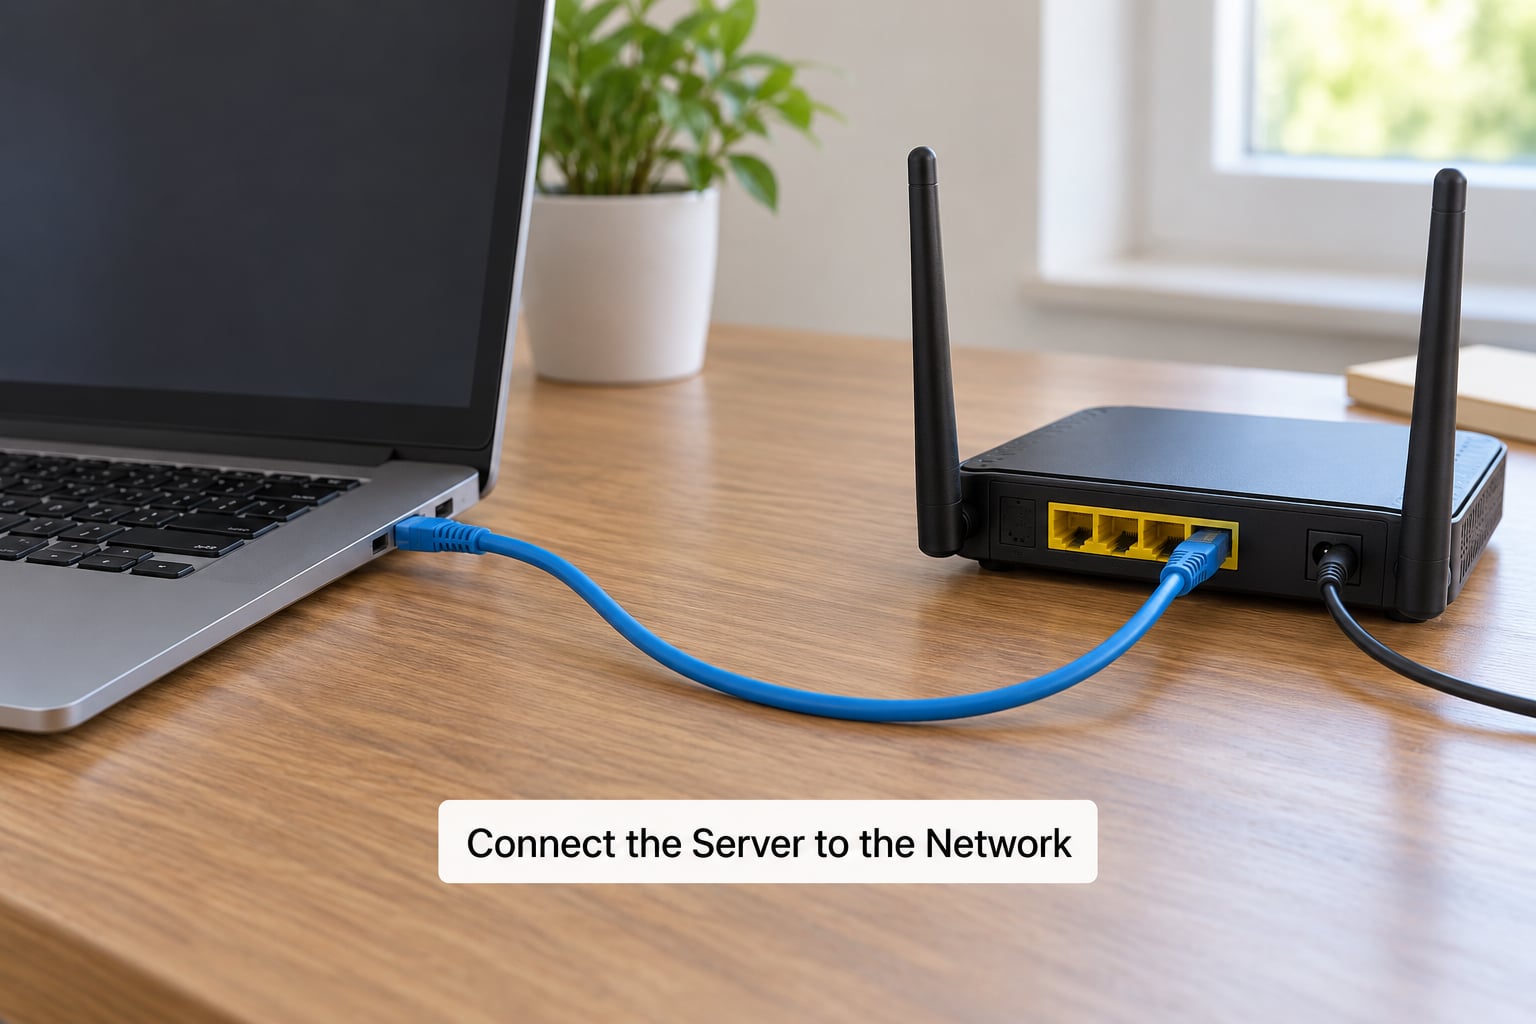
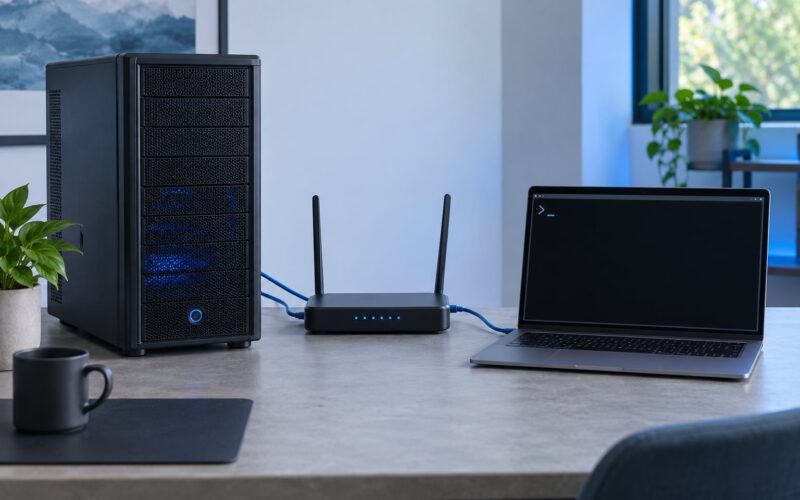
Wired networking is the right default for a server. Wi-Fi cards in older laptops are often 433Mbps 1×1 models, and power saving throttles them further, so a wireless server can feel broken during large file transfers.
Log in and find your address with ip addr show. Look for the inet line on your wired interface — that is your local IP.
Then reserve the address on your router. Most home routers have a DHCP reservation setting that ties a MAC address to a fixed IP. That gives you a stable address without hardcoding anything on the server, and it survives reboots.
Confirm it worked by pinging the address from another computer on the same network. If the reply comes back, the server is visible on the network and step 6 will work.
5. Update the System and Install Server Software
Run the update commands first. An unpatched server on the internet is the classic beginner mistake.
sudo apt update && sudo apt full-upgrade -y
sudo timedatectl set-timezone America/New_York
sudo reboot
Install the packages you actually need rather than a big bundle. Common choices:
sambafor Windows and macOS file sharing over SMB.docker.ioplus the Docker Compose plugin if you plan to run self-hosted apps in containers.cockpitfor a web-based admin panel on port 9090 — a much easier starting point than editing files over SSH.fail2banandufwfor basic lockout and firewall rules.
6. Secure SSH and Test Remote Administration
This step matters more than the install itself, so give it time. From another computer on your network, open a terminal and log in:
ssh [email protected]Use the local IP address you found earlier. If you can get a prompt, your server is reachable and the screen and keyboard are now optional.
Next, switch to key-based login before you ever consider exposing this machine. Copy your public key over with ssh-copy-id [email protected], then confirm you can log in with the key and no password.
Only after that succeeds, edit /etc/ssh/sshd_config and set PasswordAuthentication no, then run sudo systemctl restart ssh. Keep a second terminal open until you confirm the new method works. Locking yourself out of a headless machine is an unpleasant afternoon.
7. Set Up Storage, Users, and Backups
Laptops are constrained here. Most have one SATA port, sometimes a second behind an M.2 slot, and a drive bay where an optical drive used to sit.
The three ways to add storage, roughly in order of preference:
- Optical bay caddy — a 2.5-inch SATA drive in a caddy that replaces the optical drive. Cheap and fast, where the bay exists.
- M.2 to SATA adapter — spends your NVMe slot on a SATA drive instead. Useful on laptops with no optical bay.
- USB enclosure — easy, but a spinning USB drive is slower and more fragile than anything internal.
Mount extra drives through /etc/fstab using UUIDs rather than device names, so a drive still mounts correctly after a reboot when enumeration order changes. Then create a group for the people who need access and set group ownership on the share folder — that avoids the classic permission spiral where nothing is readable or everything is world-writable.
Set up backups before you set up anything worth backing up. Use a second physical drive or a remote target, and schedule the job with a systemd timer or cron. Treat backup storage as separate from the server’s own drive: two copies on one disk is one copy.
8. Choose a Server Role and Test It
Pick one job first rather than installing everything. A sensible starting point depends on what you want:
- File sharing or a NAS: Samba with a dedicated shared folder and a DHCP reservation.
- Media server: Jellyfin, which transcodes well on modern Intel integrated graphics.
- Ad blocking and DNS: Pi-hole, which points clients at itself as their resolver.
- Private cloud: Nextcloud for your own files and calendar.
- Development box: Docker with a Compose file per project.
- Virtual machine host: Proxmox VE, if you want to run several Linux machines on one laptop. This needs virtualization support enabled in the BIOS.
Test each thing properly. Reboot the server and confirm your services come back without you logging in — that is the real test of an always-on machine. Check disk space with df -h, memory with free -h, and service status with systemctl status servicename.
Leave the lid closed and walk away for a day. If it is still up the next morning, the sleep problem is behind you.
Common Mistakes
These are the failures that come up again and again, with the fix for each.
- The laptop sleeps when the lid closes. Create
/etc/systemd/logind.confand setHandleLidSwitch=ignore, then runsudo systemctl restart systemd-logindwhile logged in over SSH. - The machine sleeps on its own. Mask the sleep targets with
sudo systemctl mask sleep.target suspend.target hibernate.target, then disable Wi-Fi power saving withsudo iw dev wlan0 set power_save off. - No Wi-Fi after installing. The card needs a proprietary driver. Run
lspci -kto see which driver is in use, and install the matching package from the distribution’s extra drivers tool. - The installer will not boot from USB. Enter the BIOS and switch the boot mode to UEFI, or disable the secure boot check if the ISO was not signed for it. Save and exit.
- The machine reboots into Windows instead of Linux. Move the Linux drive to the top of the boot order in the BIOS.
- SSH refuses the connection. Check the service with
systemctl status sshand the listening port withss -tlnp | grep :22, then confirm a firewall rule is not blocking it. - You cannot log in after turning off passwords. Reconnect with an identity file:
ssh -i ~/.ssh/id_ed25519 [email protected]. If that fails too, you will need physical keyboard access. - Remote access does not work from outside. Many providers use CGNAT, which makes port forwarding impossible at the router. A mesh VPN such as Tailscale avoids the problem entirely.
- The hard drive is full or errors appear. Look at
df -handdmesg | grep -i error. A drive reporting read errors needs replacing, not reformatting. - It runs hot and throttles. Clean the vents, replace the thermal paste every few years, and check temperatures under load with
sensors.
One caution worth repeating: do not forward port 22 straight to the internet on a home connection. Use key-based SSH plus a mesh VPN, or put a reverse proxy with TLS in front of any web service you host.
On battery health, watch for swelling. A machine that stays plugged in for years can bulge the cell, and a swollen laptop battery is a fire risk rather than a maintenance task.
Frequently Asked Questions
Can I use an old laptop as a home server?
Yes, and for many homes it beats buying a single-board computer. A used laptop usually has more CPU and memory, a wired network port, a screen and keyboard for local recovery, and a battery that acts as a mini-UPS during a power cut. A machine with 4GB of RAM and a 64-bit processor is comfortable for file sharing, media streaming, DNS filtering and light container work. Idle draw is usually well below a desktop tower.
Which Linux distribution is best for an older laptop?
Ubuntu Server or Debian both work on 64-bit hardware and suit a headless machine. If memory is tight, Linux Mint XFCE or MX Linux give you a desktop you can see locally when something breaks. antiX is built for very old and low-memory hardware. Proxmox VE is the choice if you want to run virtual machines rather than services directly. Skip 32-bit-only processors entirely, since current releases need 64-bit.
Why does my Linux server sleep when I close the lid?
Laptop power management treats the lid as a suspend signal, and the default logind setting honours it. Create or edit /etc/systemd/logind.conf, set HandleLidSwitch=ignore, and run sudo systemctl restart systemd-logind. If the machine also sleeps on its own with the lid open, mask the sleep, suspend and hibernate targets with systemctl. Both changes are permanent across reboots.
Can I use an old laptop as a NAS server and add more drives?
Yes, but laptop storage is the main limit. Most have one SATA port, sometimes a second behind the M.2 slot, and a bay where an optical drive sat. An optical bay caddy holding a 2.5-inch SATA drive is the cheapest expansion. An M.2 to SATA adapter trades NVMe speed for another drive. USB enclosures are easy but slower and more failure-prone. Mount drives by UUID in /etc/fstab so they survive reboots.
How do I access my server from outside my home network?
Most providers place home connections behind CGNAT, which blocks port forwarding entirely, so check that first. Tailscale or WireGuard builds an encrypted mesh that works regardless, and is the simplest option for personal use. Forwarding specific ports to a reverse proxy with TLS is reasonable for hosting a public website, but never forward SSH port 22 directly. Use key-based login and a non-default user even so.
Can I use the laptop as a normal computer again?
Yes, nothing is permanent. Keep the original drive untouched on a USB adapter or external enclosure and you can boot Windows or macOS from it whenever you want. Installing Linux alongside Windows in a dual-boot layout also works if you shrink the Windows partition first. If you installed over the whole disk, you will need to reinstall Windows from recovery media, so back up before you start.
Conclusion
Three actions get you most of the way. Back up the laptop and check the battery, fans and cooling while it still works. Install Ubuntu Server from a verified USB drive, headless with SSH enabled. Then test wired networking and a remote login before you install a single service.
Everything after that — file sharing, media, DNS filtering, backups, containers — is just software running on a machine you already own. Take it one role at a time, and check on the box after the first overnight run to confirm nothing is sleeping.