The Terminal is the macOS app that gives you a command line, a text-based way of telling your Mac what to do by typing short commands like ls and cd instead of clicking through windows. It ships with every Mac, so there is nothing to install, and you can learn the basics in about fifteen minutes without writing a single line of code.
That is the honest answer to how to use the terminal on a Mac for beginners: open the app, learn six commands, and stop touching anything until you know what it does. Everything below is ordered that way, starting from the moment you launch Terminal and ending with a small exercise you can repeat whenever you want to see the workflow again.
Table of Contents
- 1What You Need
- 2Step-by-Step: How to Use the Terminal on a Mac for Beginners
- 31. Open Terminal and Recognize the Prompt
- 42. Move Around the Mac File System
- 53. Create, Inspect, and Remove a Practice File
- 64. Copy and Move Files
- 75. Get Help and Avoid Common Typos
- 86. Run a Small Practical Workflow
- 9Essential Command Reference
- 10Keyboard Shortcuts Worth Learning
- 11Common Mistakes
- 12Frequently Asked Questions
- 13Is it safe for beginners to use Terminal on a Mac?
- 14What does the text before the cursor mean in Terminal?
- 15How do I stop a command that is taking too long?
- 16How do I move to my home folder in Terminal?
- 17Can Terminal commands delete files or damage my Mac?
- 18How do I learn Terminal commands without memorizing them all?
- 19Conclusion
What You Need
You need a Mac running macOS and about fifteen quiet minutes. Terminal is built into the operating system, not downloaded from anywhere, and you cannot meaningfully delete it. Several beginners search for ways to remove Terminal because they assume they installed something dangerous. They did not.
There are five ways to open it, and any of them is fine:
- Spotlight (fastest). Press Command and Space together, type
terminal, and press Return. - Finder. Open Applications, scroll to Utilities, and double-click Terminal.
- Launchpad. Open Launchpad from the Dock and type
terminalto filter the icons. - Siri. Say “open Terminal” or ask Siri to show you applications and pick it.
- Dock. Drag Terminal into the Dock after the first launch so it stays one click away.
If you are arriving from Windows, note the name change. macOS calls this app Terminal, not Command Prompt, and the directory you start in is your home folder rather than a system drive.
Before typing anything, agree on four command families to stay away from while you are new: anything involving sudo, anything involving rm, anything that touches a disk or partition, and anything that asks you to change permissions. None of them are needed for the workflow below. A commenter on a Mac Power Users forum thread about learning Terminal made the point that beginners get derailed by advice to customize everything on day one, and that advice was about appearance, not risk. The risk advice matters more.
Step-by-Step: How to Use the Terminal on a Mac for Beginners
1. Open Terminal and Recognize the Prompt
Launch Terminal and you will see one or two lines of text ending in a dollar sign. On a Mac it usually looks like this:
alex@Alexs-MacBook-Pro ~ %Each piece means something. alex is your user name. Alexs-MacBook-Pro is the name of the computer. ~ is your home folder. % marks the end of the prompt and the start of where you type.
The prompt is how you know where you are. After you change folders, the ~ becomes the path of the new folder, so the prompt changes every time your location changes. If you are ever unsure, look at the prompt before typing anything.
One command to run right away is pwd, which prints the working directory. Type it and press Return. A full path appears, something like /Users/alex. That is your current location, written out in full.
2. Move Around the Mac File System
The Mac filesystem is a tree. The root is /, your home folder is /Users/yourname, and the tilde ~ is a shorthand for that same home folder. Every folder inside another folder is called a child, and .. means the parent.
Type ls and press Return. You get a plain list of everything in the current folder. Add -l for a detailed list with permissions, file type, size and date, -a to include hidden files and folders, and -lh to show sizes in readable units such as 4.2K instead of raw bytes.
ls
ls -l
ls -la
ls -lh
To go into a folder, use cd followed by the folder name.
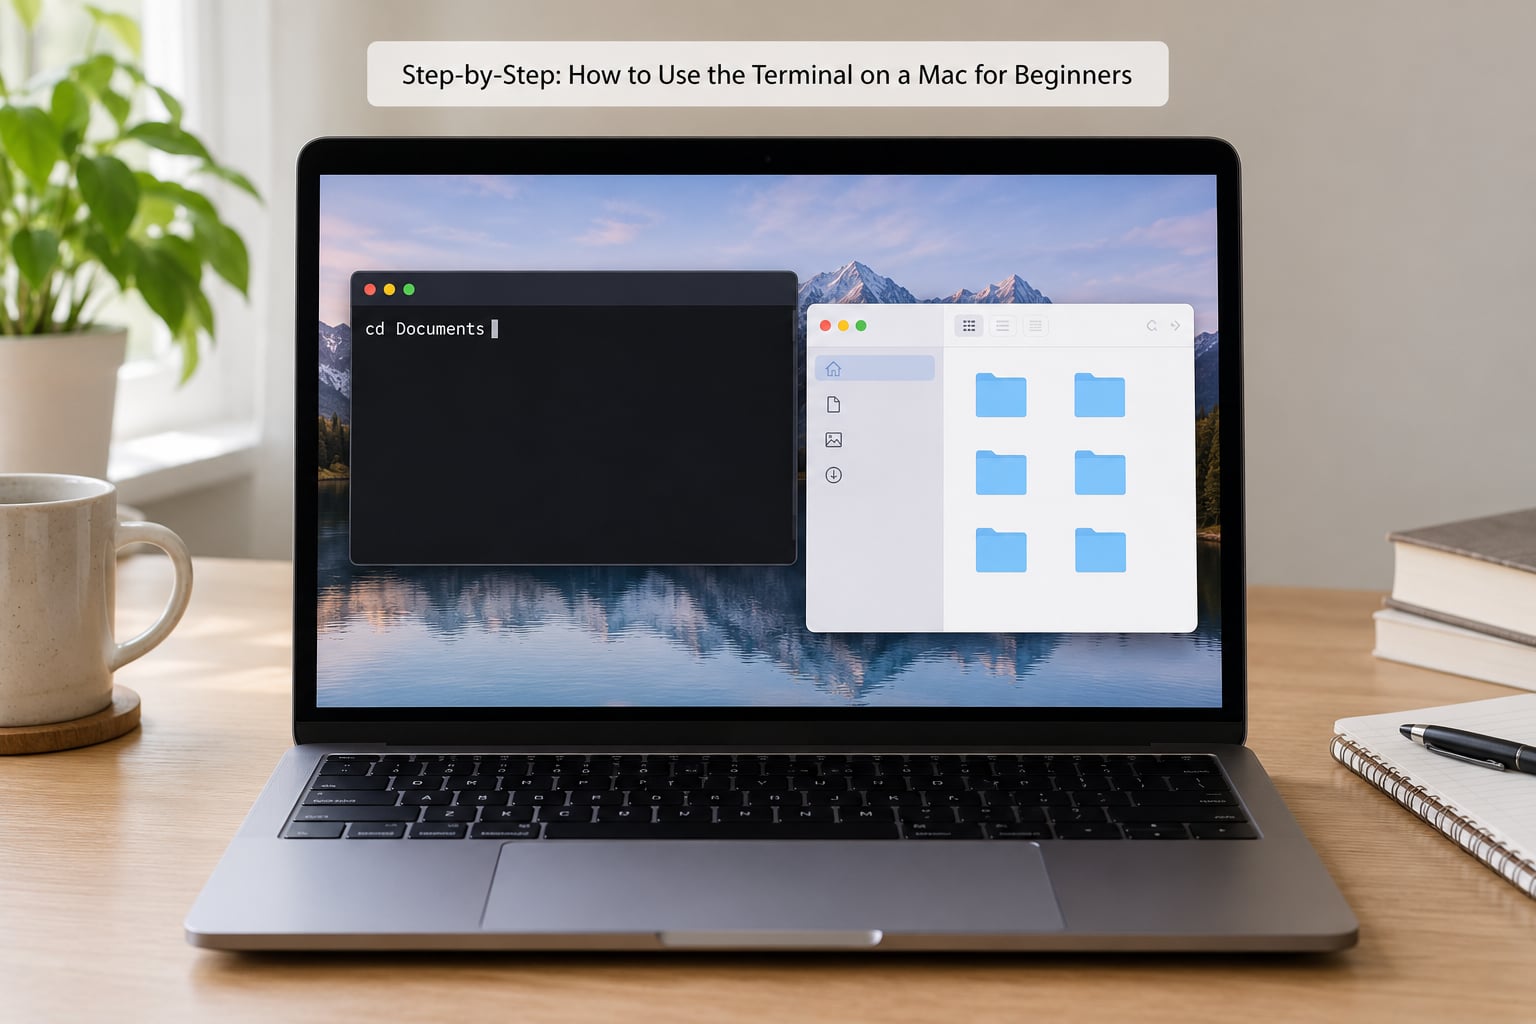
cd DocumentsIf nothing happens after Return, the folder does not exist under that name. Run ls again and copy the name exactly as it appears, because macOS is case-sensitive and Documents is not the same as documents.
Folder names with spaces need quotes. Type cd "My Screenshots" with the quote marks and it works. Leave the quotes off and the shell sees two separate words and complains.
To go back up one level, type cd ... To return to your home folder from anywhere, type cd ~. Both are worth memorizing early because they are your escape route out of any folder.
3. Create, Inspect, and Remove a Practice File
Everything in this step happens inside a folder you create yourself, so nothing important can be touched. Make one with mkdir:
mkdir terminal-practice
cd terminal-practice
The prompt now shows terminal-practice instead of ~. That is your confirmation the move worked.
Create an empty file with touch, give it some text, and then look at it:
touch notes.txt
echo "first line" > notes.txt
cat notes.txt
file notes.txt
cat prints the contents back to you, so seeing first line means the file exists and holds what you expect. file reports what kind of thing it is, which is a small but genuinely useful check when you are not sure what you downloaded.
Remove it with rm notes.txt and confirm with ls. The listing is now empty. rm does not ask for confirmation and does not send the file to the Trash, so treat it as permanent. When a Mac Power Users or Reddit beginner thread asks whether a command can break the machine, the answer for rm is that it can only remove what you name, and typos are the usual cause of a mess.
What to avoid at this stage: rm -rf with a path typed from a forum post, sudo rm in any form, and anything that mentions /System or /Library. A community answer that recurs whenever someone pastes a mysterious sudo command is simply: make a backup first.
4. Copy and Move Files
Copying and moving look almost identical, and the difference is what happens to the original.
cp notes.txt notes-copy.txt
mv notes-copy.txt notes-backup.txt
cp leaves the source in place and creates a second file. mv renames or relocates it, so the original name is gone. Run ls after each one and the difference is visible in the output.
To copy into a different folder, give the destination path:
cp notes.txt ../notes-outside.txtCheck the destination before and after with ls. For folders, add -r, as in cp -r terminal-practice ../practice-backup, otherwise the copy fails.
The most common beginner mistake here is assuming a copy worked because no error appeared. Many commands fail silently to the eye. Always run ls in the destination and see the file name yourself.
5. Get Help and Avoid Common Typos
You do not memorize commands, you look them up. Press Ctrl plus A to jump to the start of the line and Ctrl plus E to jump back to the end, which is the pair beginners who came from Linux mention most often. Press the up arrow to cycle through everything you have typed this session, and press Ctrl plus R and start typing to search that history by fragment.
Press Tab halfway through a file or folder name and the shell completes it. If several names share the start you typed, press Tab twice to see the list. That single habit removes most path typos.
For help on any command, use man followed by the command name.
man lsApple ships every command with a manual page built in, so no internet connection is needed. Press q to quit the manual and get your prompt back. Typing a command by itself, or --help after it, prints a shorter usage summary in some cases.
Two symbols carry most of the weight. && runs the second command only if the first succeeded, and | sends the output of the first command into the second.
cd ~/Documents && ls
ls -la | less
Shell names and flags are case-sensitive too. CD is not cd, and LS will not work.
6. Run a Small Practical Workflow
Here is the whole exercise in one block. Read it before you run it, because reading commands is the habit that keeps you out of trouble later.
mkdir -p ~/terminal-practice/inbox
cd ~/terminal-practice/inbox
touch report.txt
echo "notes" > report.txt
cp report.txt ../report-backup.txt
ls -la
cd ..
ls
cd ~
Line one creates a folder called terminal-practice in your home folder, and inside it an inbox folder. Line two moves you there. Lines three and four create a file and write a line into it. Line five copies it up one level. Line six lists the inbox so you can see the file exists. Line seven moves back up, line eight shows the copy sitting next to the inbox folder, and line nine returns you home.
To clean up when you are done, type rm -r ~/terminal-practice. It asks nothing, so read the line twice before you press Return.
Essential Command Reference
| Command | What it does | Example |
|---|---|---|
| pwd | Prints the current folder path | pwd |
| ls | Lists files in the current folder | ls -la |
| cd | Moves into a folder | cd Documents |
| cd .. | Moves up one level | cd .. |
| cd ~ | Returns to the home folder | cd ~ |
| mkdir | Creates a folder | mkdir practice |
| touch | Creates an empty file | touch notes.txt |
| cp | Copies a file or folder | cp notes.txt copy.txt |
| mv | Moves or renames a file | mv copy.txt final.txt |
| rm | Deletes a file permanently | rm copy.txt |
| cat | Prints the contents of a file | cat notes.txt |
| file | Describes what a file is | file notes.txt |
| open | Opens a file with its default app | open notes.txt |
| echo | Writes text to a file with > | echo “hi” > notes.txt |
| man | Shows the built-in manual page | man cp |
| clear | Clears the screen | clear |
| history | Lists commands from this session | history |
| uname -m | Shows the processor architecture | uname -m |
Keyboard Shortcuts Worth Learning
| Shortcut | What it does in Terminal |
|---|---|
| Tab | Completes a file or folder name |
| Up arrow | Shows the previous command |
| Ctrl + A | Jumps to the start of the line |
| Ctrl + E | Jumps to the end of the line |
| Ctrl + U | Clears the line before the cursor |
| Ctrl + K | Deletes everything after the cursor |
| Ctrl + W | Deletes the previous word |
| Ctrl + C | Stops a command that is running |
| Ctrl + L | Clears the screen |
| Ctrl + R | Searches your command history |
| Option + arrow | Moves one word at a time |
Ctrl + K is a common question for people switching from Windows, where the keys do very little inside a console. On macOS, Ctrl + K throws away the text to the right of your cursor, which is handy when you have typed a long path and only want to fix the end of it.
One more practical note about the shell itself. Current macOS versions use zsh as the default shell, which replaced bash back with macOS Catalina. Many older tutorials tell you to edit bash profile files that no longer exist. If you follow one of those guides and nothing changes, that mismatch is usually why.
When you are ready for level two, Homebrew is the usual next step. It is a package manager that installs developer tools such as git and command line utilities with a single line you paste from its own site. Read that line before pasting it, and prefer the instructions on the Homebrew site itself rather than a copy in a forum reply.
Common Mistakes
Nearly every early stumble comes down to one of five things, and all five have the same fix pattern: slow down, then verify.
Typing a command name wrong. sl instead of ls returns command not found. That message means the shell searched for the name and found nothing, so nothing changed on your Mac. Read the error first; it is more informative than the fear it causes.
Forgetting a space. cdDocuments is treated as a single command name. Put a space between the command and its argument.
Using the wrong path. Copying a path from somewhere else, or guessing a folder name, produces No such file or directory. Run pwd and ls to see where you really are, then use Tab to finish names.
Copying into the wrong directory. A successful cp with no destination path puts the copy in whatever folder you are standing in, which may not be where you expected. Check with ls in the destination right after.
Running destructive commands by accident. rm and sudo are the two that beginners regret. Prevention is simple: never paste a command you do not understand, especially one that asks for an administrator password, and keep a backup you care about.
Two habits prevent most of the rest. Press Tab instead of typing names, and run a read-only command such as ls before anything that changes or deletes.
Frequently Asked Questions
Is it safe for beginners to use Terminal on a Mac?
Yes, as long as you stick to commands that only read things, like pwd, ls and cat. Those change nothing. The commands that cause damage are the ones that delete, format or change permissions, and almost none of them are needed to learn the basics. Create a practice folder, work inside it, and make a backup of anything you care about before experimenting further.
What does the text before the cursor mean in Terminal?
The prompt shows four things: your user name, the name of your computer, your current folder, and the percent sign where your typing begins. A prompt like alex@Alexs-MacBook-Pro ~ % means you are in your home folder. The prompt updates every time you change folders, so it is the quickest way to know where you are before you run a command.
How do I stop a command that is taking too long?
Press Control and C at the same time. That sends an interrupt signal and returns you to the prompt without closing the window. If a command is waiting for your password and you typed nothing, press Control and C there too. Control and C stops the current command only, it does not close Terminal.
How do I move to my home folder in Terminal?
Type cd ~ and press Return. The tilde is shorthand for your home folder, so this works from any location and is the fastest way back if you get lost. You can also type the full path instead, which looks like /Users/yourname. Either way, check pwd afterward to confirm you are where you expect.
Can Terminal commands delete files or damage my Mac?
They can. rm deletes a file permanently and does not send it to the Trash, and commands run with sudo act with administrator rights. Most damage comes from pasting a command you did not read from a forum or a video. Read each line before you run it, and if sudo appears in a command you do not understand, skip it and find another way.
How do I learn Terminal commands without memorizing them all?
Nobody memorizes them. Every macOS command has a manual page built in, so typing man followed by the command name shows you the full documentation offline, and q closes it. Add Tab for name completion, the up arrow for history, and Control and R to search what you have already typed, and you can work from lookups instead of memory.
Conclusion
Four actions cover almost everything a first session needs. Open Terminal with Command and Space, run pwd and ls to see where you are and what is around you, make a practice folder with mkdir and put your experiments inside it, and run man on any command before you use it.
Everything past that is the same loop: type a command, read the output, adjust. Fifteen minutes of that and the window stops looking intimidating.