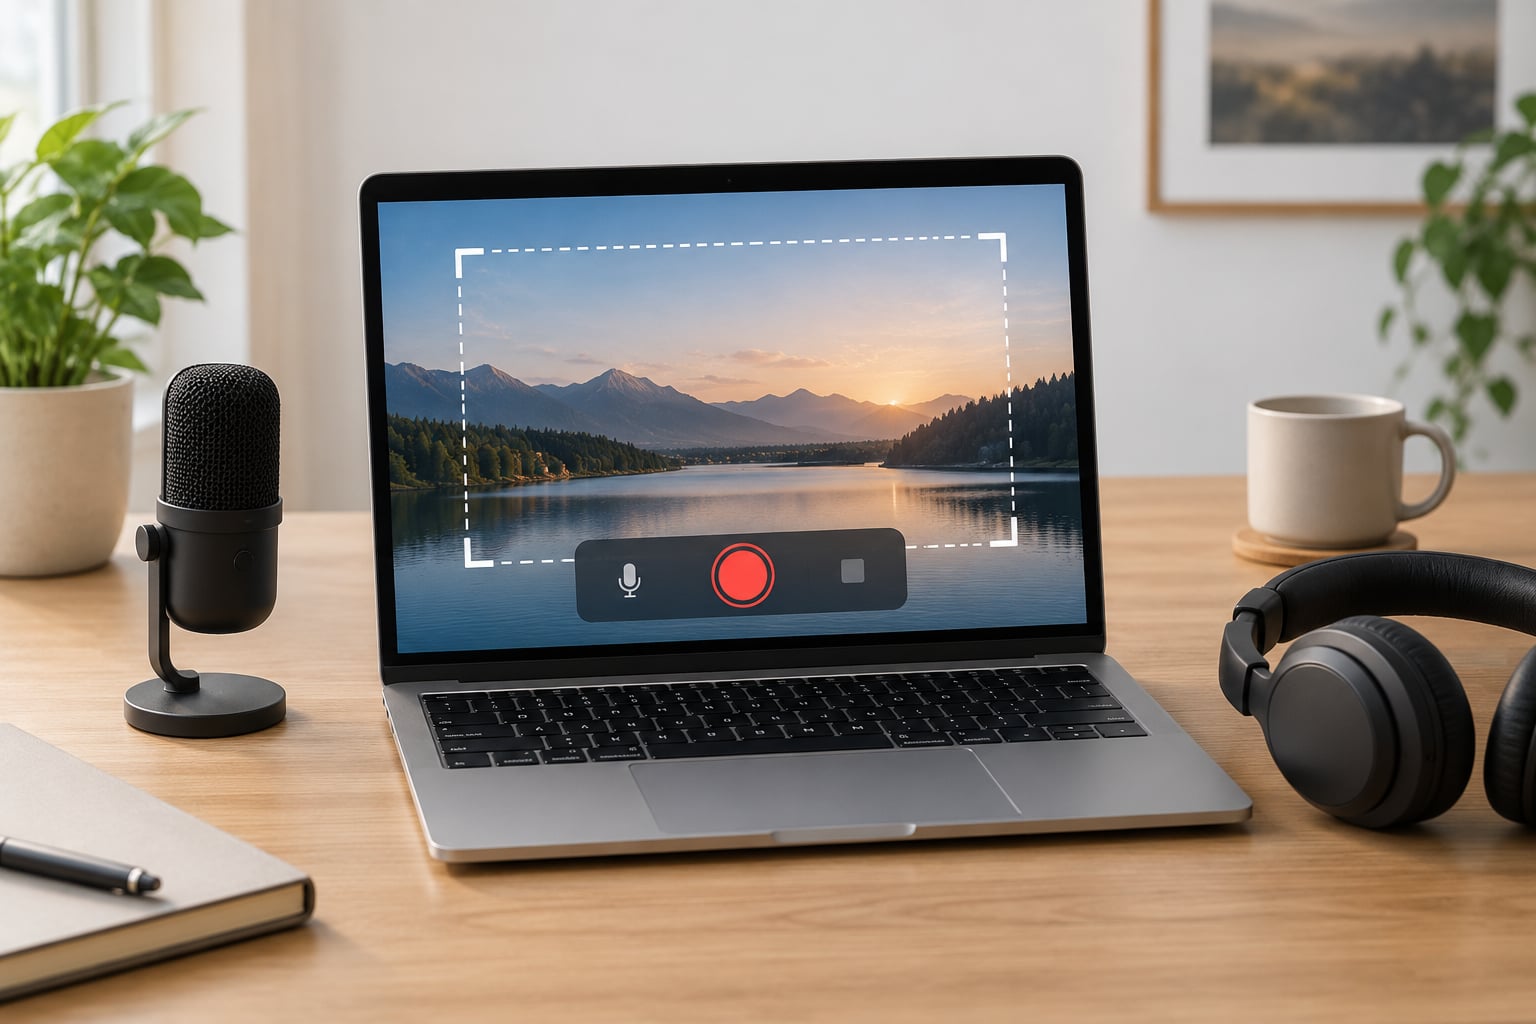
To record your screen on a Mac with audio, press Shift + Command + 5, choose the area you want, then use the Options menu to pick your microphone before you hit Record. That captures your voice and everything on screen. It does not capture the audio your Mac is playing, so system sound needs a virtual audio device like BlackHole.
The whole process takes about two minutes once you know which of the two audio sources you actually need. Most people find out they needed the other one halfway through a recording.
Table of Contents
- 1What You Need
- 2Step-by-Step: How to Record Your Screen on a Mac with Audio
- 3How to Record Your Screen on a Mac with Audio Using the Built-in Screen Recorder
- 4How to Record Audio from Your Mac with QuickTime Player
- 5How to Check and Improve Your Recording
- 6Where to Record on Different macOS Versions
- 7Common Mistakes
- 8No sound at all in the finished file
- 9Your voice is there but the system audio is missing
- 10Headphones plugged in and the recording is silent
- 11Notifications and cursor clutter in the video
- 12A permission dialog appeared and the recording failed
- 13Where the file went
- 14Frequently Asked Questions
- 15Does screen recording on Mac record internal audio?
- 16How do I record internal audio on a Mac?
- 17When I screen record on Mac, there is no sound
- 18How do I record screen and voice at the same time?
- 19How do I record just one app window instead of the whole screen?
- 20Where do screen recordings get saved on a Mac?
- 21Conclusion
What You Need
You do not need to buy anything. macOS ships with a screen recorder and QuickTime Player, and both can be opened from the Dock or Spotlight.
Here is the short checklist before you start:
- A Mac running a recent macOS release. The steps below match the current versions, and older ones use slightly different menu labels.
- About 500 MB of free disk space for every ten minutes of video you plan to capture.
- A microphone if you want narration. The built-in MacBook mic works fine; an external one is better if you are more than an arm’s length away.
- Permission to record the screen, which macOS asks for the first time you stop a recording.
- Notifications turned off, so a message banner does not land in the middle of your video.
Open Control Centre and switch Do Not Disturb on, or check System Settings > Notifications to silence the apps you are about to demo. I have lost a whole take to a Slack badge.
Step-by-Step: How to Record Your Screen on a Mac with Audio
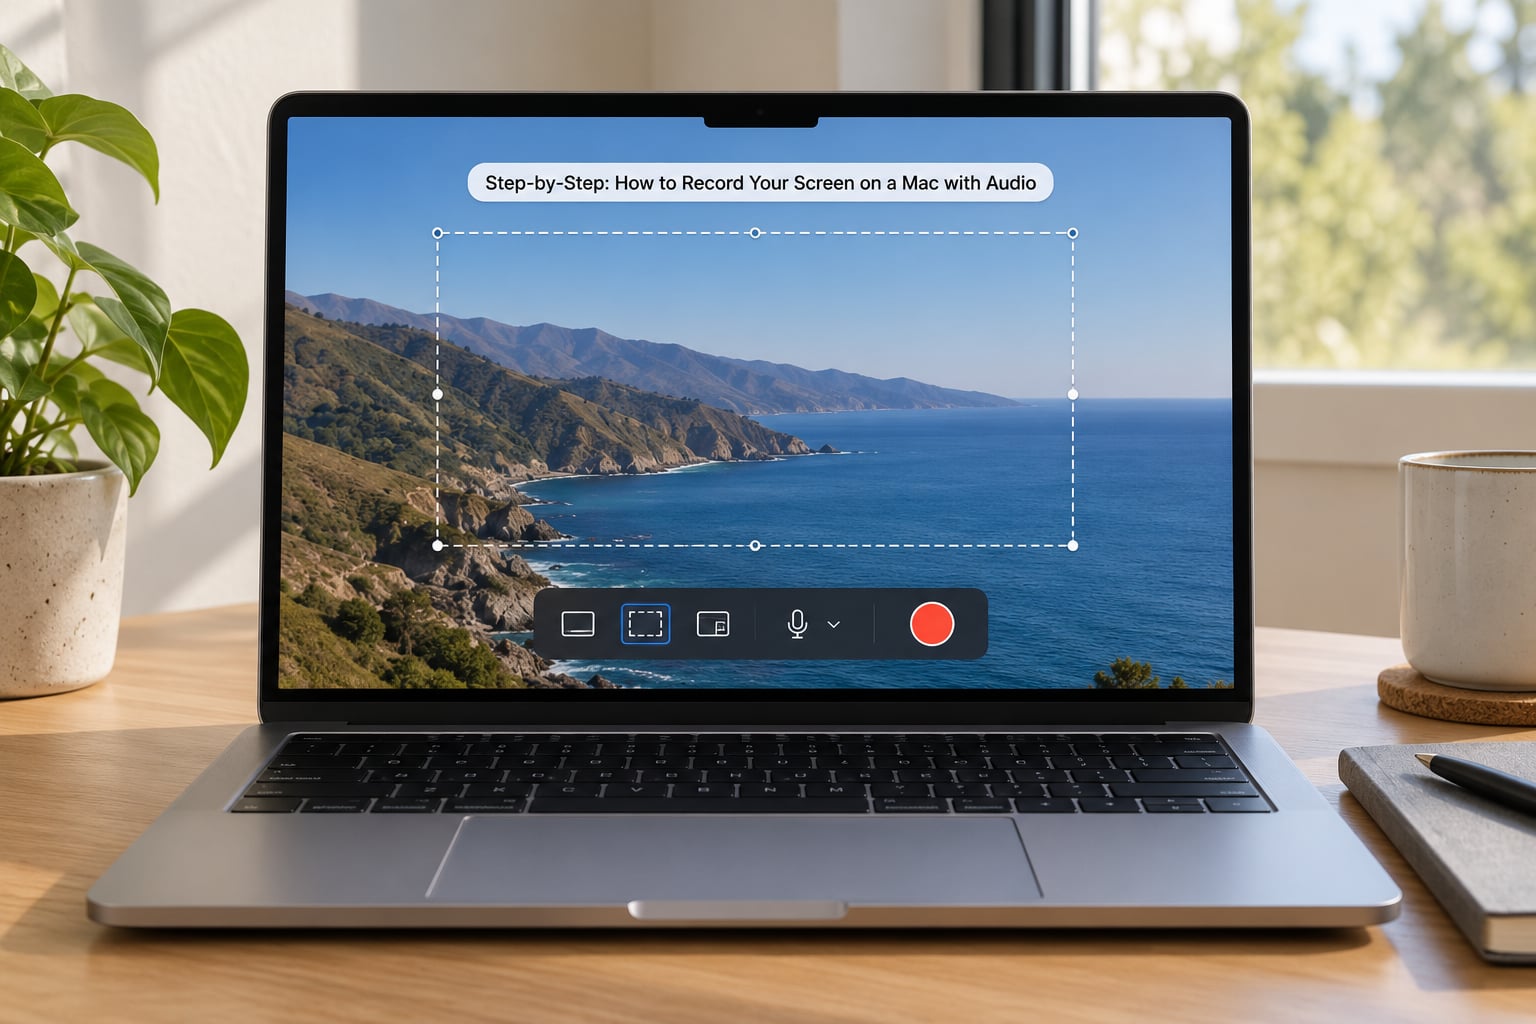
How to Record Your Screen on a Mac with Audio Using the Built-in Screen Recorder
This is the fastest route and it works out of the box for voiceover.
- Press Shift + Command + 5. A small toolbar appears in the middle of the screen with two icons: a camera for stills and a record button for video.
- Choose the record button. Underneath it you will see two options for the capture area. Pick the full screen, or drag the crosshair to select just part of the display. The selected area turns dark grey.
- Click Options beside the record button. Three things matter here: Save to tells you where the file lands, Timer lets you delay five or ten seconds for a countdown, and Microphone lets you choose which input is captured.
- Pick your microphone from that list. If nothing appears there, open System Settings > Sound > Input and confirm a mic is connected and its input level is moving when you speak.
- Optionally tick Show Mouse Clicks so viewers can follow your pointer, then click the record button.
- Do your thing. To stop, click the Stop button in the menu bar at the top right, or press Command + Control + Esc.
- The recording saves automatically as a MOV file on your Desktop unless you chose another folder in Options.
If you record a single app window, drag the crosshair over just that window and release when the outline snaps to the window edges. macOS captures the window area, so keep it visible on screen while you record.
How to Record Audio from Your Mac with QuickTime Player
QuickTime Player gives you more control over the audio input, which is the route most people use when they want system sound as well as their voice. On its own, out of the box, it records the same microphone input as the built-in tool.
To start:
- Open QuickTime Player from Applications > Utilities, or search for it in Spotlight.
- Choose File > New Screen Recording. The same Screenshot toolbar appears, so the capture-area and Options steps work exactly as above.
- If you want a delay before it begins, go to Controls > Options and set a countdown instead of starting immediately.
- Click the record button, work for a while, then stop with the menu bar button or Command + Control + Esc.
- The clip opens in QuickTime. Trim it with Edit > Trim by dragging the yellow handles at each end, which is usually faster than re-recording.
For system sound, QuickTime needs a virtual audio device. Install BlackHole, open Applications > Utilities > Audio MIDI Setup, click the plus button and create a multi-output device containing BlackHole and your speakers. In QuickTime’s Options menu, select BlackHole as the microphone. People on r/screenrecorders describe it as workable rather than obvious, so expect one restart before it clicks.
How to Check and Improve Your Recording
Play back a few seconds before you delete anything. It is much easier to redo a two-minute clip than a twenty-minute one.
Watch the volumes in QuickTime or any player with audio meters. If you see a flat line where your voice should be, the microphone was muted or pointed at the wrong input. If your voice is clear but the system audio is missing, you recorded with the built-in tool and never routed BlackHole.
To improve the next take, set your input level in System Settings > Sound > Input so peaks land around three-quarters of the bar. Keep the Mac on AC power and close heavy apps, because a full disk or a busy CPU shows up as dropped frames. Export through File > Export As if you need a format other than MOV.
Where to Record on Different macOS Versions
The shortcut and the toolbar have been stable for years, which is why nearly every guide online still works. Apple support pages carry a version selector covering recent releases, so if a menu label looks unfamiliar, check which release you are on.
Two things do change. Older releases group the microphone choice under a different label in the Options popover, and audio driver behaviour has shifted enough that virtual devices occasionally need a reinstall after a major macOS update.
Common Mistakes
Almost every complaint about recording a Mac screen with audio comes down to the same handful of problems.
No sound at all in the finished file
You recorded with no microphone selected, or the mic was muted. Open Options during recording and confirm a microphone is chosen and its level meter moves when you talk.
Your voice is there but the system audio is missing
That is the default macOS behaviour, not a bug. macOS does not record internal audio with the built-in tools, so route audio through BlackHole or Loopback and select that device as the microphone input.
Headphones plugged in and the recording is silent
With headphones connected, macOS treats the built-in microphone as unavailable in some apps. Use a virtual device, or disconnect the headphones during recording.
Notifications and cursor clutter in the video
Turn on Do Not Disturb before you start and enable Show Mouse Clicks only if you want the pointer highlighted.
A permission dialog appeared and the recording failed
Go to System Settings > Privacy & Security > Screen Recording and enable your browser or the app you are recording from, then quit and reopen it.
Where the file went
Check the folder you picked under Options, which defaults to the Desktop. Search Finder for MOV files sorted by date if you are unsure.
Frequently Asked Questions
Does screen recording on Mac record internal audio?
Not by default. The built-in screen recorder started with Shift + Command + 5 and QuickTime Player both capture your microphone only. Sound playing from your Mac is left out on purpose, mostly for copyright reasons. To capture it you need a virtual audio device such as BlackHole, which you route system sound through and then select as the microphone input.
How do I record internal audio on a Mac?
Install BlackHole, then open Applications u0026gt; Utilities u0026gt; Audio MIDI Setup. Click the plus button to create a multi-output device that includes BlackHole and your speakers. In System Settings u0026gt; Sound u0026gt; Output, pick that device. Now start a QuickTime screen recording and choose BlackHole in the Options u0026gt; Microphone menu. Both system sound and your voice land in the same track.
When I screen record on Mac, there is no sound
Check three things in order. First, that a microphone is selected under Options during recording. Second, that the mic input level moves in System Settings u0026gt; Sound u0026gt; Input. Third, that you expected system sound, which needs a virtual device rather than the built-in mic. Also confirm the file is not still processing when you play it back.
How do I record screen and voice at the same time?
Use the built-in recorder. Choose your microphone under Options, place it near yourself, and speak while the recording runs. Both the screen and your voice are captured. If you also want the system sound, add a BlackHole multi-output device and select it as the input, since it merges computer audio and microphone into one track.
How do I record just one app window instead of the whole screen?
Press Shift + Command + 5, choose the record button, then drag the selection crosshair over the window you want. The outline snaps to the window edges, and macOS records only that rectangle. Keep the window in the same position and visible while recording, because the capture is an area of the screen rather than a live window grab.
Where do screen recordings get saved on a Mac?
By default they save to your Desktop as MOV files. You can change this before recording by opening Options in the screenshot toolbar and choosing Save to, which lists Documents, a custom folder, or the clipboard. The file appears as soon as you stop, so there is no separate save step unless you move or rename it afterwards.
Conclusion
The quickest useful recording is Shift + Command + 5, select your area, pick a microphone under Options, and hit Record. Before you start, confirm three things: your microphone is chosen and unmuted, Do Not Disturb is on, and you know whether you need system sound as well as your voice.
If you need that system sound, install BlackHole and build a multi-output device in Audio MIDI Setup, then select it as the microphone input. That one extra step is what separates a silent screen capture from a recording people can actually follow.