Windows 10 and Windows 11 both ship with a free screen recorder, so you do not need to install anything. Press Windows key + G to open Xbox Game Bar and hit Record for a full app or window, or open Snipping Tool on Windows 11 and switch to Video mode for a region of your screen. Both save an MP4 you can trim and upload.
Every recording lands in the same buried folder, which is why people assume nothing captured. It is usually waiting in C:Users[YourName]VideosCaptures. Updated for 2026, the steps below still match current Windows 11 builds and the older Windows 10 flow, with labels called out where the two versions differ.
Table of Contents
- 1What You Need Before You Record Your Screen on Windows
- 2Step-by-Step: How to Record Your Screen on Windows 11
- 3Step 1: Open Xbox Game Bar
- 4Step 2: Choose What to Record
- 5Step 3: Set Audio and Microphone Options
- 6Step 4: Start and Stop the Recording
- 7Step 5: Find, Review, and Save the Video
- 8Record a Window or the Entire Desktop with Snipping Tool
- 9Common Mistakes and How to Fix Them
- 10Keyboard Shortcuts Worth Memorizing
- 11What Changed Between Windows 10 and Windows 11
- 12Common Mistakes
- 13Fix a shortcut that opens nothing
- 14Fix a silent recording
- 15Fix a black, blank, or missing picture
- 16Practical habits that prevent most problems
- 17When a Third-Party Recorder Is Worth the Install
- 18Frequently Asked Questions
- 19Can I record my screen on Windows 10 or Windows 11?
- 20How do I record only a specific window on Windows?
- 21Why does my screen recording have no sound?
- 22Where are screen recordings saved on Windows?
- 23How do I record my screen and microphone at the same time?
- 24Why is my screen recording black, blurry, or lagging?
- 25Conclusion
What You Need Before You Record Your Screen on Windows
Nothing to buy. If you are on Windows 10 or Windows 11, both recorders are already on the machine, and knowing how to record your screen on Windows takes about a minute to set up.
- Windows 10 or Windows 11. Snipping Tool gained video recording in Windows 11. On Windows 10 you have Xbox Game Bar only, unless you updated the Snipping Tool app through the Microsoft Store.
- A minute of free disk space. Captures are MP4 files, and a 1080p clip runs roughly 100 MB per five minutes. If the drive is nearly full, the file fails silently and you lose the whole take.
- Permission to record. A personal tutorial is one thing. Recording a video call or a colleague without telling them is a different situation, and in many places you need consent first. Say it out loud before you start.
A wired connection helps more than people expect. Wireless adapters sometimes throttle under the sustained bandwidth a video encoder needs, and you get a stuttery file rather than a clear failure. Closing apps that hold private audio before you start avoids capturing a notification chime or a client call in the background.
Step-by-Step: How to Record Your Screen on Windows 11
The quickest path for recording a game or a full application is Xbox Game Bar. It works identically on Windows 10 and Windows 11, which makes it the safer method if you bounce between both.
Step 1: Open Xbox Game Bar
Press Windows key + G. If nothing happens, try Win + Alt + G, which opens the same overlay. On some keyboards you need Fn plus the Windows key for the shortcut to register at all.
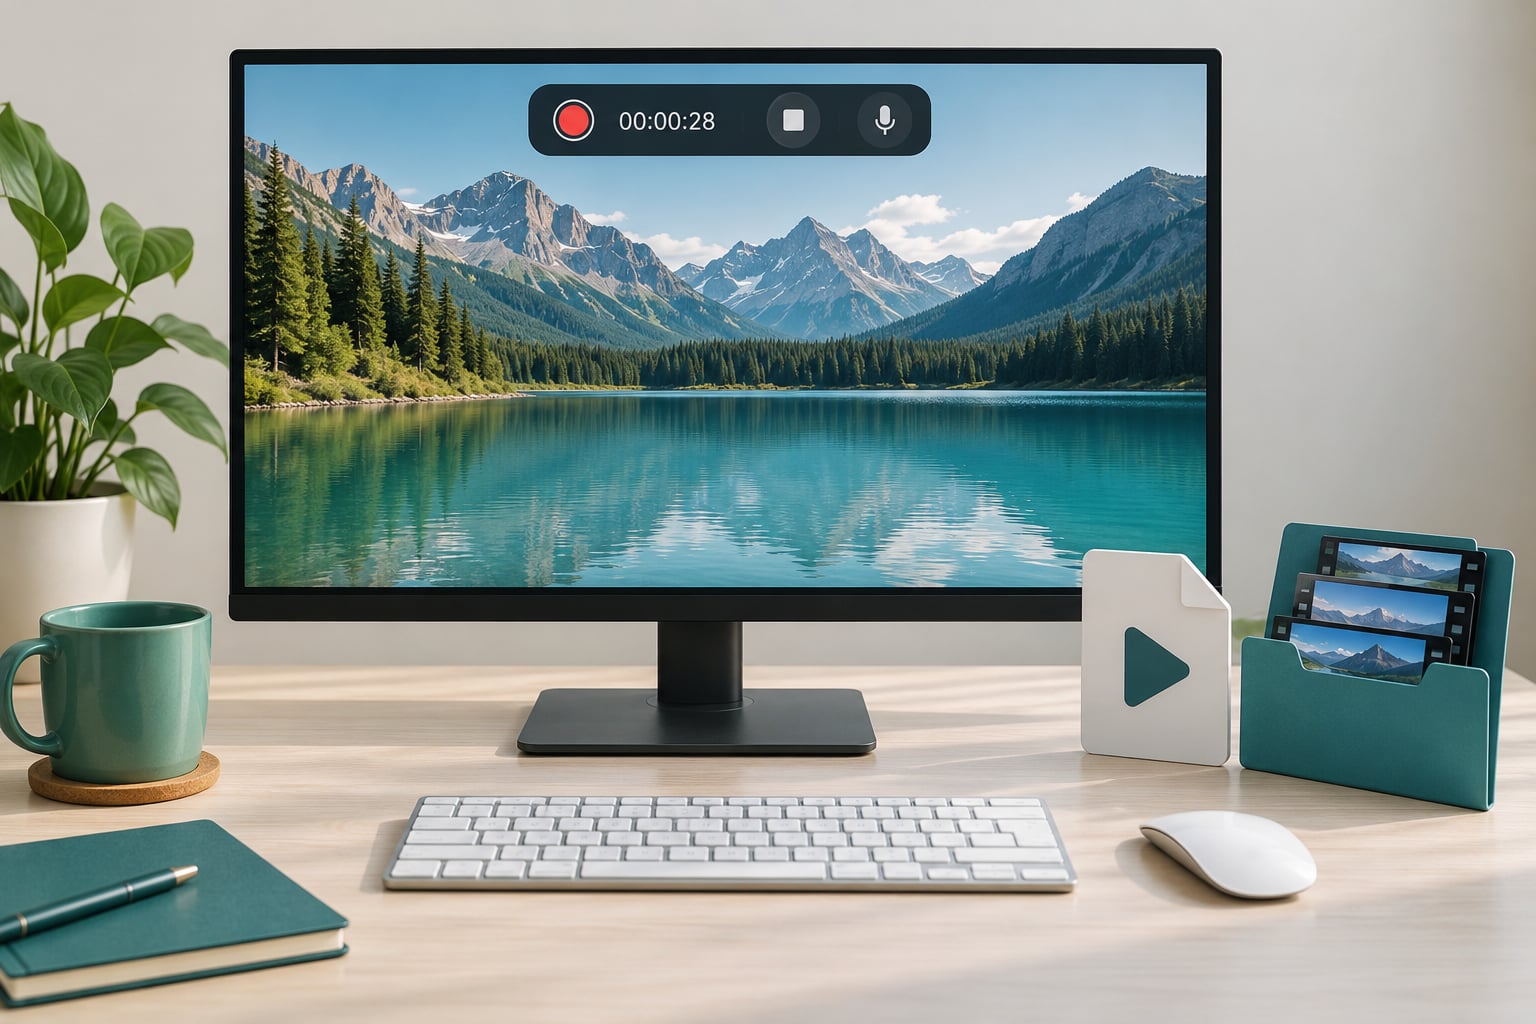
When it opens, a dark translucent widget sits near the top center or left of the screen with capture controls, and a small recording timer with a microphone icon appears near the bottom. That widget is the signal it is ready.
Step 2: Choose What to Record
Game Bar offers two sources in the capture panel: Application, which records the last window you clicked in full, and Screen, which records the whole display.
Pick Application when you want a single program with no taskbar or desktop icons around it. Pick Screen when you need the taskbar, or when you want to switch between several windows mid-take.
There is no separate “entire desktop” entry on most builds, because Screen already is the entire desktop. The label people search for, “record my desktop,” maps to that Screen button. What you will not find is a drag-to-select region option here, and that is the reason to use Snipping Tool instead.
Step 3: Set Audio and Microphone Options
Two toggles sit in the same capture panel. Game audio (or system audio) captures what the computer is playing. Mic captures your voice from the default input device.
Test the microphone level before a long recording rather than after. Windows routes the meter to whichever device Settings lists as your default input, and on a laptop with two built-in mics that is not always the one near your mouth.
For longer-term settings, go to Settings > Gaming > Captures. There you can set the maximum recording length, choose the frame rate (30 fps for tutorials, 60 fps for games), toggle the mouse cursor, and enable background capture. Background capture keeps a rolling buffer, and Windows 11 exposes it as “Record in the background” while Windows 10 calls it “Record what happened.”
The Videos tab under Gaming > Captures holds the same background length and frame rate controls. Windows 10 limits background capture to 30 seconds. Anyone expecting a long tutorial to be recorded in the background will not get it, and that setting is not the culprit.
Step 4: Start and Stop the Recording
Click the Record button in the Game Bar widget, or press Windows key + Alt + R. A red border flashes around the screen for a moment to confirm capture, and the timer in the corner begins counting.
Stop it with the same shortcut, or click the stop button in the widget. The clip saves automatically. There is no save prompt, so if you close the widget the recording still finishes and files away.
To include a second application, start in the first app, press Win + Alt + R to pause into a holding clip, switch windows with Alt + Tab, then press Win + Alt + R again. Game Bar treats the pause as a break in the same file, which is why the finished clip is longer than the footage you actually captured.
Step 5: Find, Review, and Save the Video
Open File Explorer and paste C:Users[YourName]VideosCaptures into the address bar. Replace [YourName] with your Windows user folder name. Game Bar clips land there as MP4 files named Capture on a date, and the Gallery icon inside Game Bar shows the same files without a folder hunt.
Verify in four passes. Play it once to confirm it is not blank. Listen for your system audio and your voice. Watch a fast-moving section to check the frame rate did not collapse. Then check the duration matches the timer you saw.
Snipping Tool recordings save to PicturesScreenshots instead, so a person looking in Captures for a Snipping Tool clip will not find it. This split is the single most common reason people think the recording failed.
To trim without extra software, open the MP4 in Clipchamp, which ships with Windows 11, cut the dead ends, and export. You also have to move it: right-click the file, choose Open file location, and drag it wherever you want it before the next capture.
Record a Window or the Entire Desktop with Snipping Tool
Snipping Tool covers what Game Bar cannot: a selected region of the screen, and in some builds a countdown before recording starts. It exists on both Windows versions, but only Windows 11 ships with video mode enabled by default.
On Windows 11, press Windows key + Shift + S to open it, then click the camera icon at the top to switch from screenshot to Video mode. Choose New and the screen dims as a capture overlay appears.
Pick Rectangle and drag over just the part of the screen you want, or choose Full screen to capture the entire display. Press Select, then Record. A three-second countdown runs before capture begins, which is enough time to move your cursor out of frame.
Press Stop to finish. A preview window appears with a play button, a scissors icon for trimming, and a save icon. Save it and it lands in PicturesScreenshots as an MP4.
On Windows 10, the Snipping Tool that ships with the system is screenshot-only. Update it through the Microsoft Store, or rely on Win + Shift + S for stills and Game Bar for video. Newer Snipping Tool builds also expose a Microphone toggle in the recording toolbar; older builds record system audio only, which explains why some people find their Snipping Tool clips silent.
Window-only capture has one more trick worth knowing: in the Game Bar capture panel, choose Application while the target window is the last one you clicked. Game Bar follows that window even if you move it, so the recording stays framed on the app instead of a static rectangle.
Common Mistakes and How to Fix Them
Most failures come down to four things: a disabled tool, protected content, wrong audio routing, or a machine that cannot keep up.
- Win + Alt + R does nothing. Game Bar is off or blocked. Go to Settings > Gaming > Xbox Game Bar and turn on both “Open Xbox Game Bar using this button on a controller” and “Enable Xbox Game Bar using this button on a keyboard.” Then check Settings > Privacy & security > Gaming, where school or work accounts can disable capture entirely through policy. If you cannot change it, Snipping Tool is your fallback.
- The recording is black. You captured DRM-protected video. Streaming services and some paid apps block capture at the driver level, so the file records a black picture with sound, or no file at all. No setting fixes this, and it is not a bug in the recorder.
- No sound in the file. Game audio was toggled off in the capture panel, or the app plays audio through a device Game Bar does not capture, which happens with some Bluetooth headsets and virtual audio cables. Check the default output device in Settings > System > Sound first.
- The file is choppy. The encoder is falling behind. Close demanding apps, drop from 60 fps to 30 under Gaming > Captures, and avoid recording a 4K game on a laptop with no dedicated GPU. Hardware-accelerated encoding needs supported hardware, and without it the CPU does the work in real time, which usually fails.
- Nothing saved at all. Check free disk space, then confirm your account can write to the Captures folder. Corporate OneDrive-redirected profile folders have caused plenty of silent failures.
Keyboard Shortcuts Worth Memorizing
These work on both Windows 10 and Windows 11, and most of them work while you are inside a game or a full-screen app. Print this list and you will never open the menu again.
| Shortcut | What it does | Available on |
|---|---|---|
| Windows key + G | Open or close Xbox Game Bar | Windows 10 and 11 |
| Windows key + Alt + R | Start recording, or pause and resume | Windows 10 and 11 |
| Windows key + Alt + G | Record the last 30 seconds of activity | Windows 10 and 11 |
| Windows key + Alt + PrtScn | Save a screenshot of the current app window | Windows 10 and 11 |
| Windows key + PrtScn | Capture the whole screen to the Captures folder | Windows 10 and 11 |
| Windows key + Shift + S | Open Snipping Tool for a screenshot or video region | Windows 10 and 11 |
| Windows key + Ctrl + R | Toggle the broadcast bar when streaming | Windows 10 and 11 |
Win + Alt + G is the one people underuse. It keeps a rolling 30-second buffer, so hitting it replays the half minute you just did, which is exactly right for capturing an unexpected bug or a fast sequence without setting up first.
What Changed Between Windows 10 and Windows 11
The recorder did not move, but the labels and the feature set did, and that is where most confusion comes from.
| Capability | Windows 10 | Windows 11 |
|---|---|---|
| Record full screen or one app | Xbox Game Bar | Xbox Game Bar |
| Record a selected region | Not built in; Game Bar captures the whole display | Snipping Tool Video mode |
| Record with no install | Yes | Yes |
| Background recording label | Record what happened | Record in the background |
| Default maximum clip length | 30 minutes | 30 minutes |
| Background capture length | 30 seconds | 30 seconds |
| Default audio | System audio on, microphone off | System audio on, microphone off |
| Export format | MP4 | MP4 |
So on Windows 10, if you need a region, you are either updating Snipping Tool through the Microsoft Store or recording the full screen and cropping in an editor. On Windows 11 the region option is simply there.
Two things stay identical across versions: the default save location and the fact that the microphone is off until you turn it on. Both trip up people who switch between a work PC and a home PC.
Common Mistakes
These are the fixes that come up most often, in the order worth trying.
Fix a shortcut that opens nothing
Test Win + G on a clean desktop. If the widget appears there, the problem is the app you were inside, not Windows: some full-screen games and remote desktop sessions block the overlay. Move to the desktop, start the capture, then switch back with Alt + Tab.
If the widget never appears anywhere, Game Bar is disabled or restricted. Confirm it in Settings > Gaming > Xbox Game Bar, and check whether Game DVR is switched off at the bottom of that page, which disables recording while leaving the overlay available.
Fix a silent recording
Beyond the toggle and the output device, check that the microphone level meter under Settings > System > Sound > Input actually moves when you talk. A fixed level means Windows is listening to the wrong mic, which on a laptop usually means the one over the keyboard rather than the one near your mouth.
If system sound works but your voice does not, mute the app inside the recorder rather than in the mixer, since the recorder carries its own microphone toggle that overrides what the system mixer does.
Fix a black, blank, or missing picture
Protected video is the first suspect, and it is not fixable in Windows. The second is source selection: if you chose Application while the wrong window was focused, the file records an idle window. Reopen Game Bar and confirm the highlighted app.
A third cause is a minimized window. Game Bar keeps recording the app but captures a blank frame, so keep the window visible for the whole take or use Snipping Tool full screen.
Practical habits that prevent most problems
- Record a five-second test clip before the real take, then check it plays.
- Close DRM video before recording a walkthrough, or that section will be black.
- Save captures to a folder you already visit, so you stop losing them.
- Do not run a heavy game or video editor during a capture on a modest laptop.
- Tell anyone on screen that you are recording, and stop if they object.
When a Third-Party Recorder Is Worth the Install
The built-in tools handle tutorials, demos and gameplay clips well enough that most people never leave them. Two situations are different.
First, webcam overlay. Neither Game Bar nor Snipping Tool can put your camera in the corner of the recording, which is why every tutorial maker using this workflow adds the screen and the webcam as separate sources in OBS Studio. It is a bigger tool with a steeper setup, and the payoff is a picture-in-picture video in one pass.
Second, hardware encoding. On a machine with a supported NVIDIA or AMD graphics card, OBS can hand encoding to the dedicated encoder and record at high resolution with almost no impact on frame rate. On a plain laptop, the CPU does the work and quality suffers. If your Game Bar clips keep stuttering, that gap is the reason.
ShareX sits in between for people who take a lot of stills and short clips. It is free, watermark-free, and has hotkeys, but it is a learning curve for a one-off recording. A paid recorder with a free tier tends to add a watermark or a time cap, which most people find annoying within a week.
Frequently Asked Questions
Can I record my screen on Windows 10 or Windows 11?
Yes, and you do not need to install anything. Windows 10 and Windows 11 both include Xbox Game Bar, opened with Windows key + G, which records the full screen or a single application and saves an MP4. Windows 11 adds video recording to Snipping Tool as well. If Game Bar is missing, check Settings u0026gt; Gaming u0026gt; Xbox Game Bar, where it can be turned off.
How do I record only a specific window on Windows?
Open Game Bar with Windows key + G, click the window you want to record so it is the last one you interacted with, then choose Application in the capture panel and press Record. Game Bar follows that window, so moving it does not break the framing. Snipping Tool in Video mode with a Rectangle selection is the alternative if you want a fixed region rather than a window.
Why does my screen recording have no sound?
System audio is a toggle inside the Game Bar capture panel, and it defaults to on, so check it first. Then confirm Windows is playing sound through the device you think it is under Settings u0026gt; System u0026gt; Sound. Bluetooth headsets and virtual audio cables often sit outside what Game Bar captures. A silent clip is treated as broken by most viewers, so test a short take before recording anything long.
Where are screen recordings saved on Windows?
Xbox Game Bar saves MP4 clips to C:u005cUsersu005c[YourName]u005cVideosu005cCaptures. Snipping Tool recordings go to Picturesu005cScreenshots instead, which is why some people cannot find them. You can open the folder from the Gallery icon in Game Bar, or paste the path into the File Explorer address bar. Move the file to a folder you use regularly if you keep losing track of captures.
How do I record my screen and microphone at the same time?
Turn on both the game audio and microphone toggles in the Game Bar capture panel before you press Windows key + Alt + R. If your voice is missing or quiet, set the right input under Settings u0026gt; System u0026gt; Sound u0026gt; Input and watch the level bar while you talk. For a webcam overlay as well, the built-in tools cannot do it; you need a recorder that adds the camera as a separate source.
Why is my screen recording black, blurry, or lagging?
Black video almost always means DRM-protected playback, which Windows blocks at the driver level and no setting can override. Blurry or lagging footage means the encoder is falling behind, which happens on laptops without a dedicated GPU. Drop from 60 fps to 30 under Settings u0026gt; Gaming u0026gt; Captures, close demanding apps, and test again. A minimized window also records as a blank frame.
Conclusion
Start with the shortcut: press Windows key + Alt + R from your desktop, say something for a few seconds, press it again to stop, and find the clip in VideosCaptures. That one loop answers most questions about how to record your screen on Windows, and it takes under a minute.
Once that works, switch the source to Application when you want a single window, and move to Snipping Tool’s Video mode when you need a selected region or the whole desktop with a countdown. If a clip comes out black, it was protected video. If it comes out silent, check the audio toggles and your default output device. That covers nearly every problem people hit.