Converting HEIC photos to JPG takes about a minute per file on a Mac or PC, and the fastest method depends on what you’re using. On a Mac, open the file in Preview and choose File > Export. On Windows 11, open it in the Photos app and choose Save a Copy. On an iPhone, save a JPG copy through the share sheet. Online converters work too, but they put your photos on someone else’s server. The shortest answer to how to convert HEIC photos to JPG is to use the built-in tool on the device already in your hand.
One thing to clear up first. HEIC is a container format that wraps HEVC-compressed image data, and Apple started saving photos this way by default in iOS 11. It stores roughly the same picture in half the space a JPG uses, but almost nothing outside Apple’s ecosystem can read it natively. That is why a batch of iPhone photos can arrive on a Windows PC, an older Android phone, a print shop’s kiosk or a website upload form as files nobody can open.
Converting rewrites the file as a baseline JPG that anything can read. The image stays the same size on screen, and with sensible settings you will not see the difference. What you give up is HEIC’s compression advantage, so the JPG will usually be a couple of times larger than the HEIC original. Plenty of people rename a file from .HEIC to .JPG, which does absolutely nothing, because the data inside is still HEVC.
I have converted a lot of phone libraries for family members, and the pattern is always the same: a few photos convert fine one at a time, then somebody tries two thousand at once and gives up. The trick is picking the right method for the size of the job before you start, and testing a single file so you know what came out the other end.
Table of Contents
- 1What You Need
- 2Step-by-Step
- 3How to Convert HEIC Photos to JPG on a Mac
- 4How to Convert HEIC Photos to JPG on Windows
- 5How to Convert HEIC Photos to JPG on an iPhone or iPad
- 6How to Convert HEIC Photos to JPG Online
- 7How to Choose the Right JPG Quality
- 8Common Mistakes
- 9Frequently Asked Questions
- 10Why can’t I save a HEIC file as a JPG?
- 11Why are my photos suddenly HEIC instead of JPG?
- 12What is the best free program to convert HEIC to JPG?
- 13What is the safest way to convert HEIC files to JPG?
- 14How can I convert a HEIC image to JPG without losing quality?
- 15Conclusion
What You Need
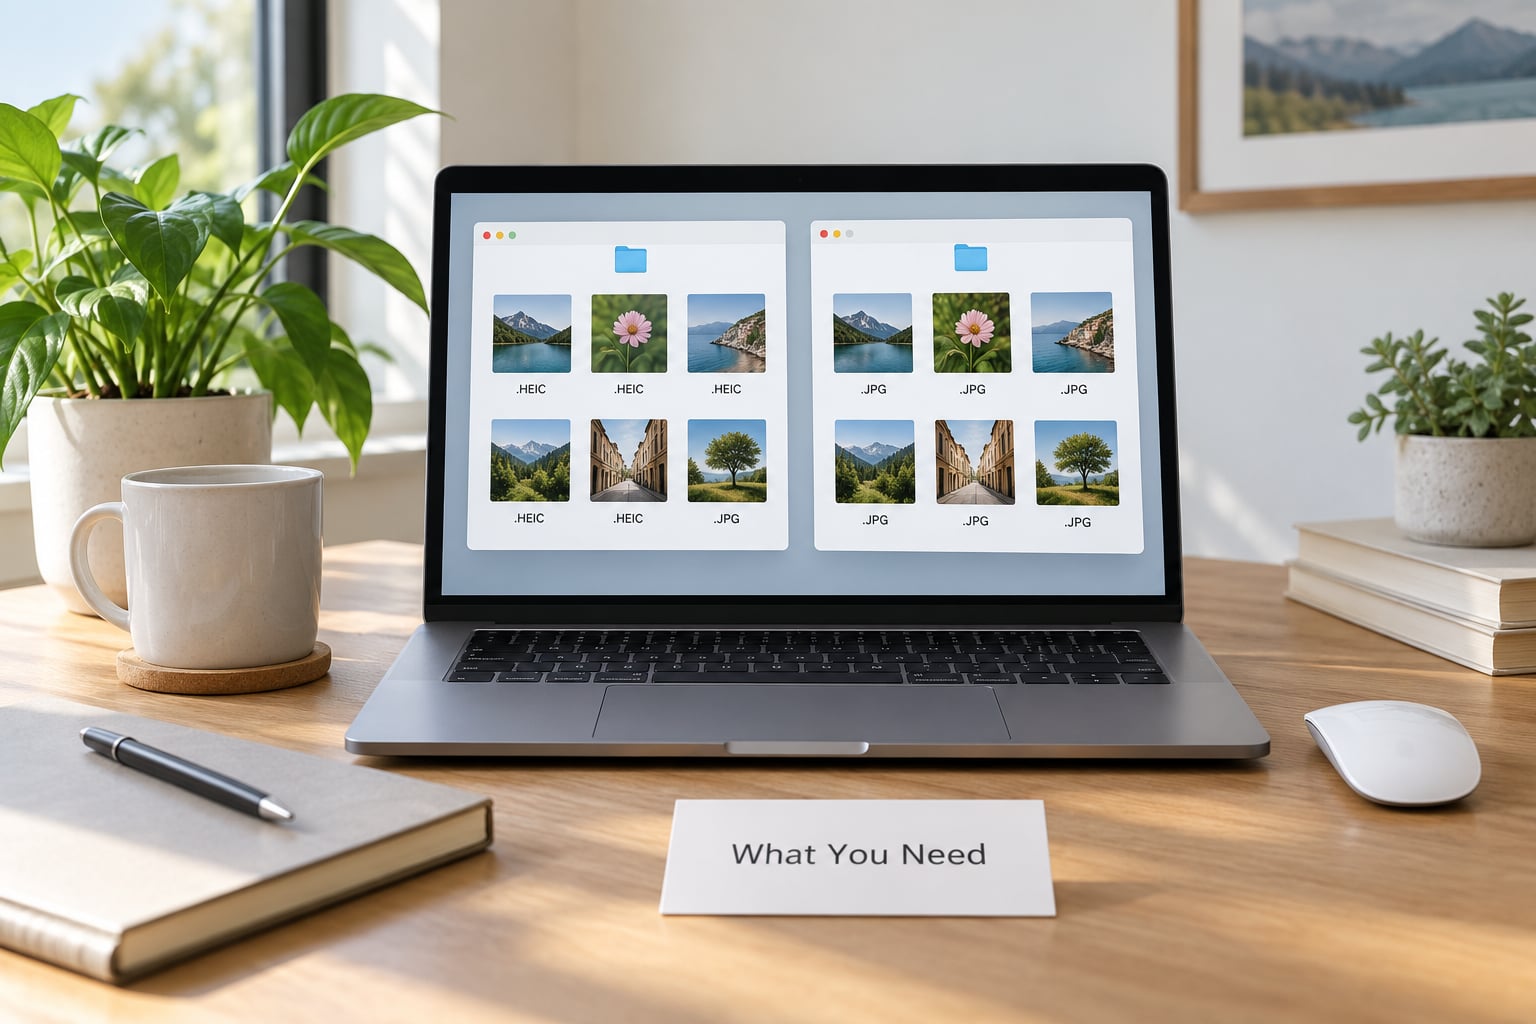
Not much, honestly. The requirements are shorter than most tutorials make them sound.
- Your HEIC source files. They usually arrive in a folder called DCIM or 100APPLE, either copied off the iPhone, exported from iCloud Photos, or sitting in a Downloads folder from an email attachment. A single .HEIC file opens in Preview on macOS High Sierra or newer and in the Photos app on Windows 11.
- Free disk space. Plan for roughly one and a half to two times the size of your HEIC folder, because each JPG is bigger than the file it came from. Converting a 20 GB library of HEIC photos leaves you with somewhere between 30 GB and 40 GB of JPGs.
- A method that matches the job. One file to share with a relative needs the built-in app on the device in your hand. Two thousand files need a batch tool or a script.
- Ten seconds to test the result. Open the first converted file, zoom in to 100 percent, and check the corners. This is the only way to catch a bad quality setting before it applies to a whole library.
One more thing worth settling before you start: privacy. If the photos are personal, travel shots, documents, or anything with children in them, convert them with an offline method. The built-in Mac, Windows and iPhone tools all work without sending a single byte anywhere, and a command-line tool does too. Online converters are fine for a recipe screenshot or a cartoon you drew, and a poor choice for anything else.
Step-by-Step
The table below compares the six methods, so you can pick one and move on.
| Method | Works on | Cost | Batch support | Works offline | Best for |
|---|---|---|---|---|---|
| Preview export | Mac | Free | One file at a time | Yes | A handful of photos |
| Finder Quick Actions | Mac, macOS Monterey and newer | Free | Yes | Yes | Mixed batches in a folder |
| Photos app, Save a Copy | Windows 11 | Free | One file at a time | Yes | Quick single-file jobs |
| Share sheet on iPhone | iPhone and iPad | Free | One file at a time | Yes | Sending one photo right now |
| Browser converter | Any device | Free, with limits | Usually | No | Non-sensitive images only |
| Command line | Mac, Linux, Windows | Free | Thousands of files | Yes | Large libraries, automation |
How to Convert HEIC Photos to JPG on a Mac
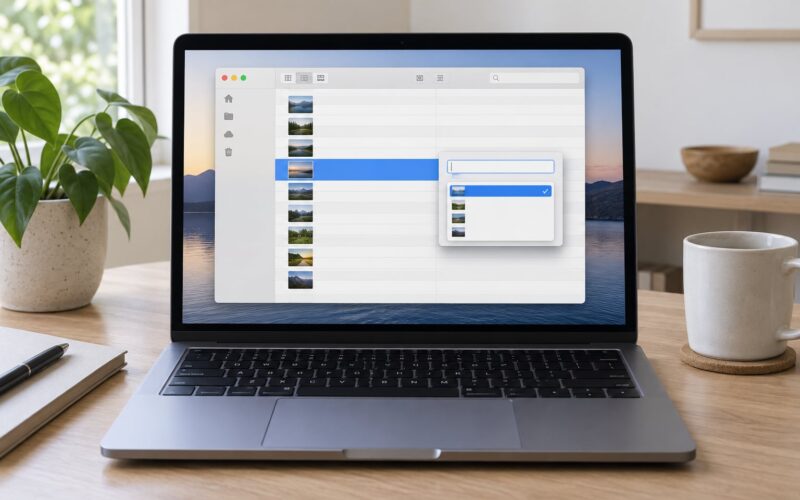
Preview is the fastest route and it needs no extra software. It has opened HEIC files since macOS High Sierra, so the version on your machine is almost certainly new enough.
- Double-click the HEIC file in Finder, or right-click it and choose Open With > Preview.
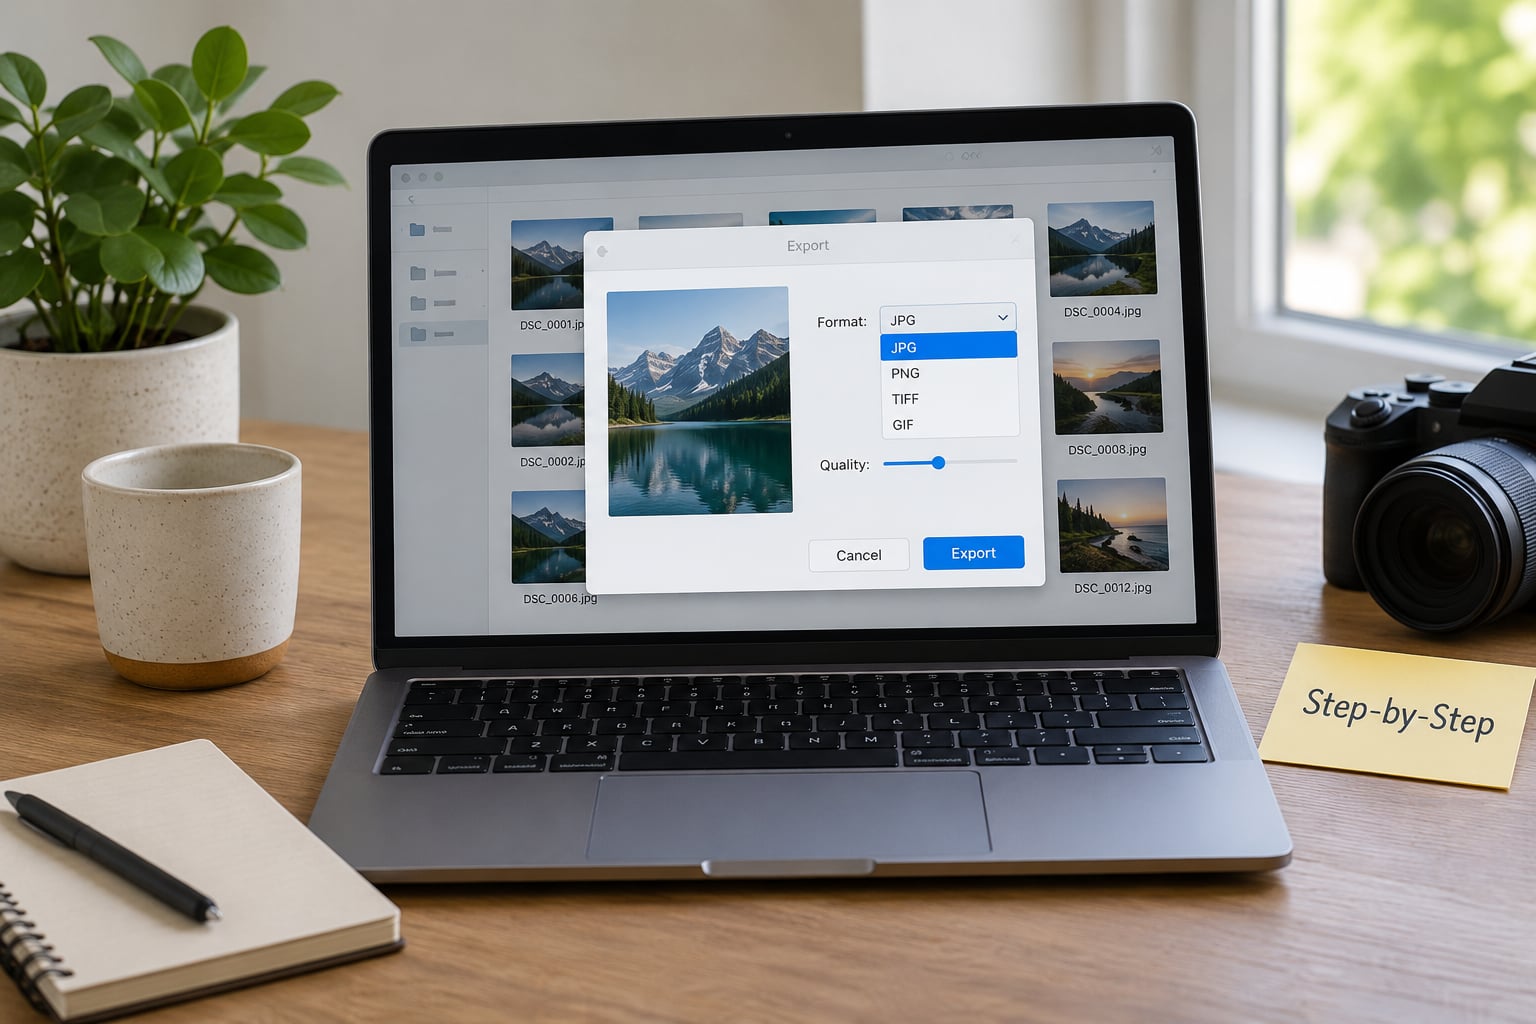
- In the menu bar, choose File > Export.
- In the export panel, set Format to JPEG. Leave the quality slider near the right-hand end unless you need smaller files.
- Click Save, then give the file a new name ending in .jpg. Preview will not warn you about the duplicate name, so add something to distinguish it.
You’ll know it worked when the new file opens and Preview shows the format as JPEG in the Tools > Format list, or when the Finder thumbnail fills in without a crossed-out icon.
For a whole folder on a Mac, skip the one-file loop. Select the HEIC files in Finder, right-click, choose Quick Actions > Convert Image, set the output format to JPEG, and leave Preserve Metadata ticked if you want your shooting date and camera information to survive. This is the built-in batch convert, and it needs macOS Monterey or newer. Files land in a new folder called Converted next to the originals, with the originals left untouched.
Note that Quick Actions offers JPEG, PNG and TIFF. JPEG is what most people want, but if the photos are going into a design tool or a print workflow, PNG is the better choice.
How to Convert HEIC Photos to JPG on Windows
Windows 11 reads HEIC out of the box because it includes the HEIF Image Extension from the Microsoft Store. If your PC is Windows 10, or you have removed the extension since, this method will not open anything and you will get an error instead.
- Open the Microsoft Store, search for HEIF Image Extension, and install it. Restart Photos afterwards.
- Open File Explorer, find your HEIC file, and right-click it > Open with > Photos.
- In the Photos app, click the three-dot menu in the top right and choose Save a Copy. Pick a folder and name the file with a .jpg ending.
That is the whole flow, and Save a Copy leaves the HEIC original exactly where it was. If the three-dot menu is missing, the app is still loading the file, or the HEIF extension is not installed. A zero-byte JPG or an error reading that the format may be damaged almost always means the codec is absent, not that the photo is broken.
Converting several files on Windows means repeating those clicks, or doing a batch convert with a command-line tool as described further down. The Photos app deliberately has no batch export, which is the one feature people miss most when they move from a Mac.
How to Convert HEIC Photos to JPG on an iPhone or iPad
You do not need an app for this. When you tap a HEIC photo in Photos, iOS has already made a display copy in a widely readable format, and the share sheet will hand that copy over as a JPG.
- Open the Photos app and tap the photo you want.
- Tap the share button in the bottom right.
- Scroll past the apps and choose Save Image, or pick a destination such as Mail or Files. The saved copy is a JPG.
If the reason you are converting is that every transfer to your computer produces HEIC files, change one setting and the problem stops. Go to Settings > Apps > Photos > Transfer to Mac or PC, and set it to Automatic. From then on, connecting to a computer and choosing Import Photos hands you JPG files instead of HEIC ones. This is the fix I would try first when the real goal is to avoid conversion altogether.
How to Convert HEIC Photos to JPG Online
A browser converter is the right tool when you have no computer, or when you are converting on a device that cannot open HEIC at all. Treat it as a last resort for anything that matters to you.
- Open a reputable converter in your browser. heictojpg.com and CloudConvert are the two that come up most often in the communities I read.
- Choose your files, or drag them onto the page.
- Set the output format to JPG and, if offered, keep the quality slider high.
- Download the converted files one by one or as a zip.
One free converter worth knowing is the built-in one in your own browser toolkit: Chrome and Edge display HEIC images directly, so right-clicking one and saving it produces a JPG. It handles a single file at a time, and nothing leaves your machine.
Before you upload anything personal, read this. The photos sit on the converter’s servers for as long as the company keeps them, and the site says almost nothing about how long that is. HEIC files also carry Exif data, which regularly includes GPS coordinates, the exact date and time, and the camera model. Many converters strip Exif before serving the image, but you are relying on their word for that. If the photos are of your home, your kids, or any document, use an offline method.
Free online tiers usually cap you at a handful of files, a batch size limit, or a total upload size, and some stamp a watermark on the output. Preview, the Photos app and the command line have none of those limits.
How to Choose the Right JPG Quality
Every conversion re-encodes the image, and JPEG is a lossy format, so something is always given up. The question is how much, and where you can see it.
HEIC stores the picture with HEVC, which is far more efficient than JPEG at the same perceived quality. Moving to JPG therefore means throwing away data the JPG could never have held. In practice the visible difference depends on three things.
The quality setting. The slider in Preview, or the quality option in any other tool, runs from roughly 0 to 100 as a percentage. Above about 85 the loss is invisible at normal viewing sizes. Between 60 and 85 you may start to see softness in skies and foliage. Below 60, expect blocky edges and banding, and do not use it for anything you care about.
Resolution. Leave it alone. Downscaling loses pixels you cannot get back, and a modern phone camera already produces images that are large enough for any reasonable print. Crop only when you have a reason to.
Color and depth. HEIC from an iPhone can be 10-bit, and HDR photos carry a separate gain map that JPEG has no place for. A converted HDR photo will look flatter than the original on an HDR screen, and on a standard screen it usually looks fine. If you are shooting or editing serious HDR work, convert to a format that handles it, such as JPEG with HDR gain mapping or AVIF, rather than a baseline JPG.
Live Photos are a separate problem. A Live Photo is a photo plus a short video, and converting it produces the still frame only, with no way to get the motion back. The same applies to Portrait mode shots edited with a bokeh slider, and to burst sequences. If those matter, leave the HEIC originals alone and convert copies for sharing.
Finally, consider whether JPG is the right target. PNG is lossless, keeps sharp edges and flat graphics, and produces a much larger file. WebP and AVIF are the modern web formats and compress better than JPG at similar quality, but a surprising number of older programs still cannot open them.
Common Mistakes
Renaming .HEIC to .JPG. This is the most common attempt and it does nothing at all. The file extension is just a label; the bytes inside are still HEVC. A renamed file will still fail to open anywhere.
The file will not open on Windows. Install the HEIF Image Extension from the Microsoft Store, then reopen Photos. Without the codec, Windows cannot decode HEVC, and no amount of renaming fixes that.
There is no Convert Image option in Finder. Quick Actions arrived in macOS Monterey. On an older release, use Preview for single files, or a command-line tool for batches. Preview itself needs macOS High Sierra or newer for HEIC.
The converted photos look worse. The quality setting was too low, or a tool defaulted to a small size. Re-run the conversion with quality at 85 or above and resolution left at original.
JPG and JPEG look like two different things. They are not. They are the same format under two extensions, and every program that opens one opens the other.
Batch conversion stops halfway. Usually a single corrupt file, or a folder path with a space in it that was never quoted in a command. Test the batch on ten files first, and check the file that failed by opening it in Preview on a Mac.
Exif data and GPS tags disappeared. Tick Preserve Metadata in Finder Quick Actions, or use the -strip option deliberately only when you want location data removed. When you do want it gone, stripping Exif is the right way to share a photo publicly.
For a library of more than a few hundred files, the command line is the honest answer. Install ImageMagick, then run magick heic:input.HEIC -quality 92 output.jpg for one file, or a loop over a whole folder:
for f in *.HEIC; do magick "heif:$f" -quality 92 "${f%.*}.jpg"; doneThe smaller heif-convert utility from libheif does the same job and is lighter to install. Both work offline, both preserve resolution, and neither adds a watermark. On Windows the same loop runs in PowerShell with magick, on Mac it runs in Terminal. On Linux and macOS, ffmpeg handles HEIC too if you already have it installed.
Frequently Asked Questions
Why can’t I save a HEIC file as a JPG?
Saving a file with a JPG name does not change what is inside it. HEIC holds HEVC-compressed data, and the extension is only a label, so a renamed file still fails to open. You have to re-encode the image: open it in Preview on a Mac and choose File u0026gt; Export, then set Format to JPEG. On Windows 11, use Save a Copy from the three-dot menu in the Photos app after installing the HEIF Image Extension.
Why are my photos suddenly HEIC instead of JPG?
Apple switched the default camera format to HEIC in iOS 11 because it stores a similar image in roughly half the space of a JPG. The format is only readable by Apple devices and modern Windows, which is why those photos suddenly stop opening elsewhere. If you prefer traditional files, go to Settings u0026gt; Apps u0026gt; Photos and turn off HEIC, or set Transfer to Mac or PC to Automatic so transfers hand you JPGs.
What is the best free program to convert HEIC to JPG?
For a Mac, Finder Quick Actions converts a whole folder for free on macOS Monterey and newer. For Windows 11, the built-in Photos app is free but only one file at a time. For a large library on any platform, ImageMagick on the command line is the only truly unlimited free option, and heif-convert is a lighter alternative. All of them work offline with no watermark and no file count cap.
What is the safest way to convert HEIC files to JPG?
Use an offline method, because HEIC photos carry Exif data that can include GPS coordinates and timestamps. Preview on Mac, the Photos app on Windows 11, the iPhone share sheet, and command-line tools all convert on your own machine and upload nothing. Browser converters put your photos on a third-party server, and how long they are kept is not something those sites will tell you.
How can I convert a HEIC image to JPG without losing quality?
Set the JPEG quality slider to 85 or higher, leave the resolution at its original value, and tick Preserve Metadata in Finder Quick Actions if you want the Exif data kept. Quality below about 70 shows visible softening in skies and foliage, while anything above 85 is indistinguishable from the original at normal viewing sizes. A 10-bit or HDR HEIC will still look flatter as a JPG, since JPEG has no way to carry the gain map.
Conclusion
On a Mac, Preview with File > Export is the quickest way to convert a few HEIC photos, and Finder Quick Actions handles a whole folder on macOS Monterey or newer. On Windows 11, install the HEIF Image Extension and use Save a Copy from the Photos app. On an iPhone, share the photo and choose Save Image, or set Transfer to Mac or PC to Automatic so you stop producing HEIC files altogether.
For a library in the thousands, ImageMagick on the command line is the method that will not run out of patience. Whatever you pick, convert one photo first, open it, and look at it properly before you point the tool at the rest of the library.