To encrypt a USB flash drive on a Mac or a PC, use the encryption your operating system already ships with: BitLocker To Go on Windows 11 and Windows 10 Pro, Disk Utility on macOS, or VeraCrypt if the same drive has to open on every platform. On a Windows laptop the whole job takes about two minutes, right-click included. Expect ten minutes on a Mac the first time, because Disk Utility erases the drive before it protects it.
Encryption matters because flash drives are small, cheap and constantly misplaced. An unencrypted drive in the wrong hands hands over everything on it, with no second prompt. Encrypting one does not make it slower by much, does not make it smaller, and does not stop you from losing the password.
Table of Contents
- 1What You Need: The Drive, a Backup, and Your OS
- 2Step-by-Step: How to Encrypt a USB Flash Drive
- 3Windows: Encrypting a USB Flash Drive with BitLocker To Go
- 4Mac: Encrypting a USB Flash Drive with Disk Utility
- 5Using Third-Party USB Encryption Software
- 6How to Open an Encrypted USB Flash Drive, and How to Remove the Encryption
- 7Common Mistakes
- 8Protecting and Using an Encrypted Drive Safely
- 9Frequently Asked Questions
- 10Can USB flash drives be encrypted?
- 11How do I know if my USB drive is already encrypted?
- 12What happens if I forget my USB encryption password?
- 13Can I open a BitLocker-encrypted USB drive on a Mac or an Android phone?
- 14Does USB encryption slow the drive down?
- 15How do I add a password to a USB drive without BitLocker on Windows 11?
- 16The Short Version: Pick One Method and Start With the Backup
What You Need: The Drive, a Backup, and Your OS
You need a USB drive you can erase, a working computer, and enough free space to hold a full copy of anything already on the drive. That last point is the one people skip, and skipping it is how people lose work.
Every method below destroys the data currently on the drive. BitLocker prompts you to confirm a format before it starts, and Disk Utility erases the volume the moment you click Erase. Copy anything you care about to an internal drive first, then confirm the copy is good before you begin.
The instructions are split by platform, so use the branch that matches you:
- Windows 11 or Windows 10 Pro — BitLocker To Go, built in, no extra software.
- Windows 11 or Windows 10 Home — no BitLocker To Go. Use VeraCrypt, or 7-Zip if you only need one protected folder.
- macOS — Disk Utility, built in. Choose the encrypted format, not the unencrypted one.
- Linux — GNOME Disks or KDE Partition Manager with the LUKS format.
- Shared between Windows, macOS and Linux — a VeraCrypt container is the one format all three read.
Two more prerequisites worth knowing. You need administrator rights for BitLocker, VeraCrypt and Linux encryption, so public and library machines will block all of them. And on Windows, if the drive is formatted NTFS, only Windows will mount it; choose exFAT if the drive also has to work on a Mac.
Step-by-Step: How to Encrypt a USB Flash Drive
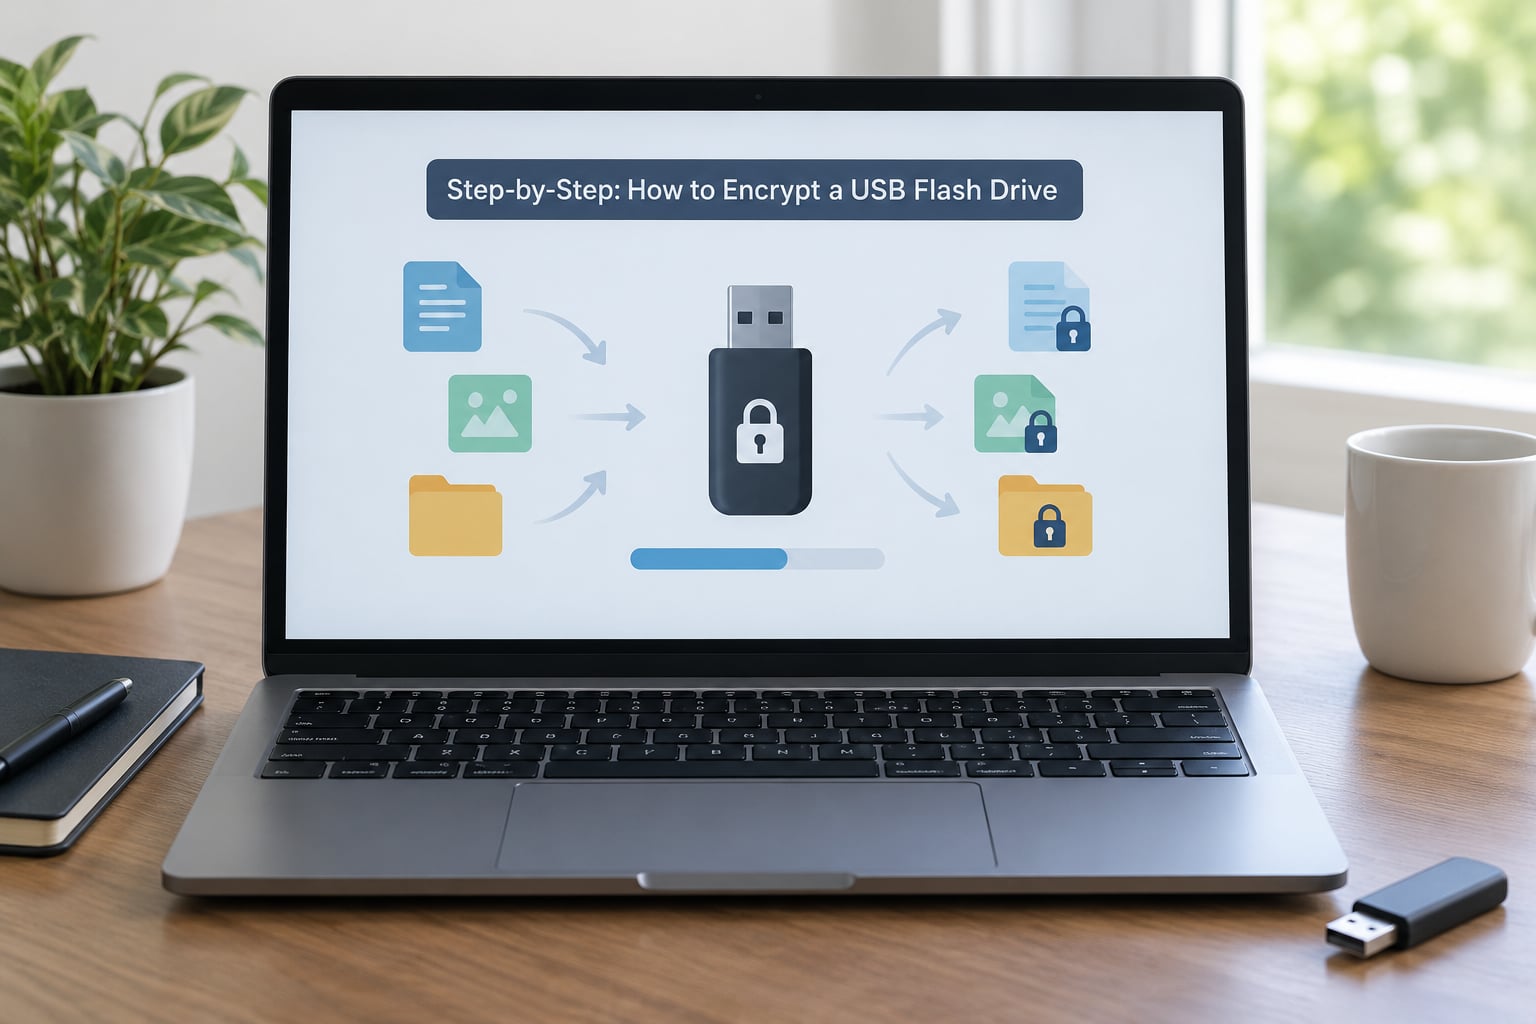
Here is the full order of operations. Follow the H3 section below that matches your platform for the exact clicks.
- Insert the USB drive and back up everything on it to your computer.
- Confirm the backup by opening two or three files from the copy.
- Format the drive, picking exFAT for cross-platform use or NTFS for Windows-only use.
- Enable encryption with BitLocker To Go, Disk Utility, or a VeraCrypt container.
- Save the recovery key or the unlock password somewhere other than the drive itself.
- Copy your files across to the now-empty encrypted drive.
- Verify the encryption by ejecting the drive, reinserting it and confirming it asks for a password.
- Eject properly each time from the system tray or Finder before unplugging.
Step seven is the one people skip, and it is the only proof you have. A drive that opens straight to your files after a reinsert did not get encrypted, whatever the progress bar said.
Windows: Encrypting a USB Flash Drive with BitLocker To Go
BitLocker To Go is the removable-media edition of Windows full-disk encryption, and on Windows 11 and Windows 10 Pro it takes a right-click and a password.
- Insert the drive and right-click it in File Explorer.
- Choose Turn on BitLocker.
- Tick Use a password to unlock the drive, enter a strong password twice, and click Next.
- Keep Encrypt entire drive selected rather than only encrypting the used space, then click Next.
- Choose Compatible Mode so the drive stays readable on older Windows machines, or New Encryption Mode for Windows 10 and 11 only.
- Select Save to a Microsoft account, Save to a file, or Print the recovery key, then click Next. Saving to a file on your desktop is the usual choice.
- Click Start Encrypting and wait for the progress bar to finish.
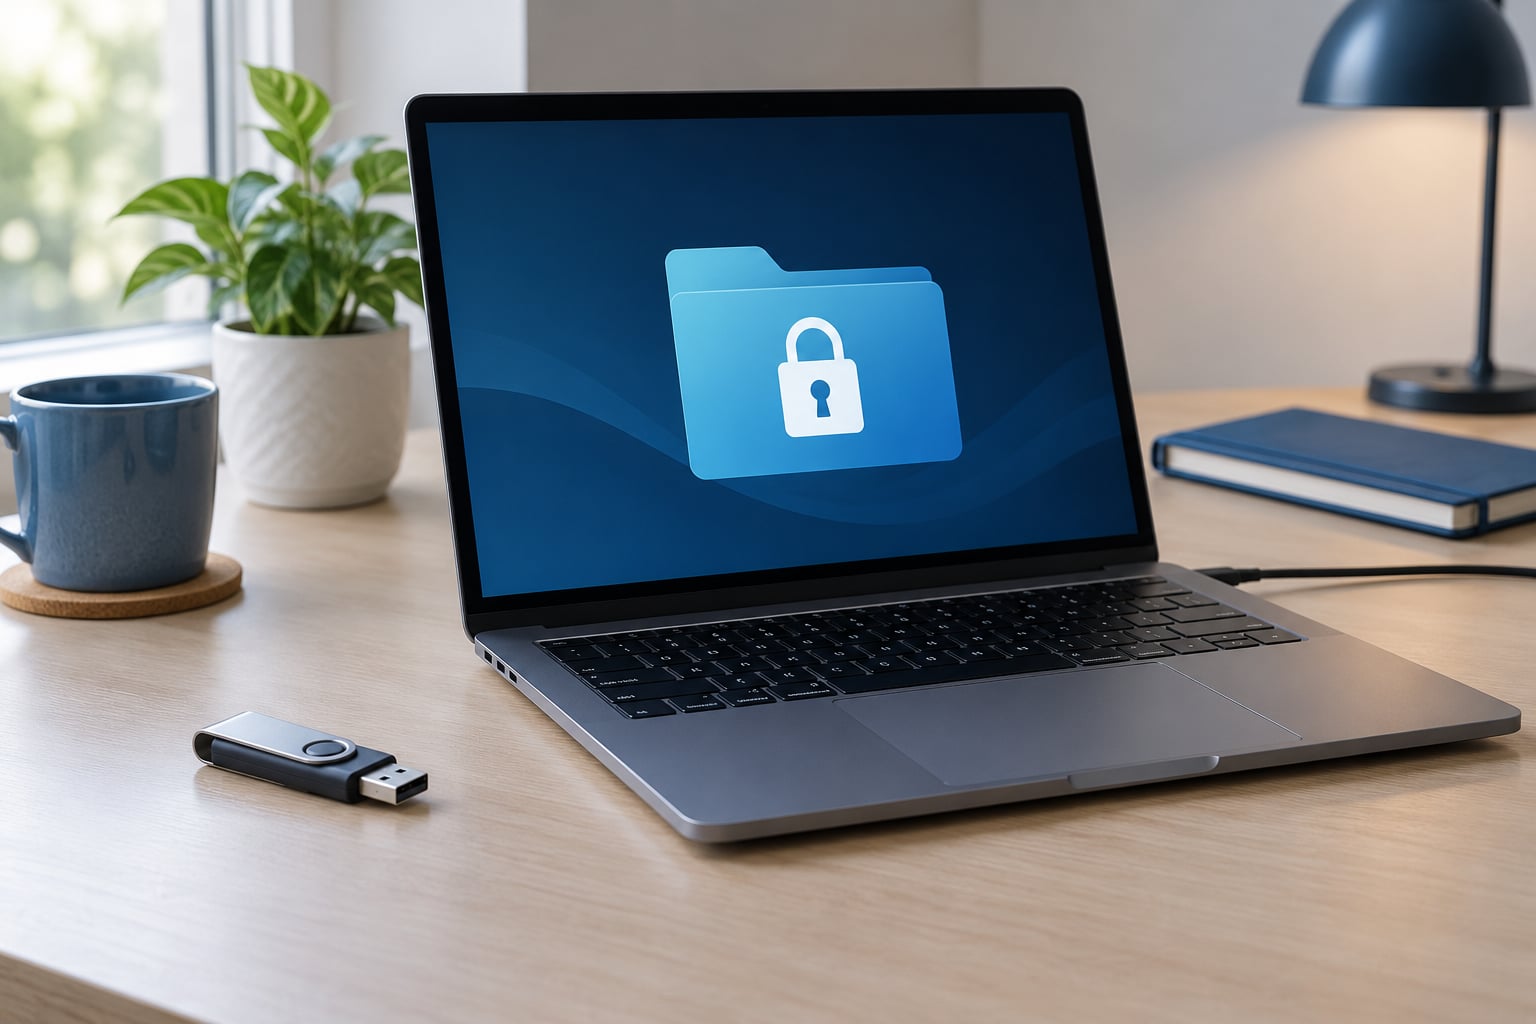
When it completes, the drive icon in File Explorer shows a small padlock. Eject it, plug it back in, and Windows asks for the password before showing a single file name. That prompt is the verification step.
BitLocker To Go is not on Windows Home. If the right-click menu shows no BitLocker option, check Settings > System > About and look at the Windows edition, because the limit is the edition, not the hardware. Most PCs have the TPM and the secure boot capability BitLocker wants, so a Home edition is the usual reason the option is missing. Work machines sometimes hide it through group policy, which your IT department controls.
To remove the encryption later, right-click the drive and choose Decrypt BitLocker. Decrypting rewrites the drive in plaintext, so it takes as long as encrypting did.
Mac: Encrypting a USB Flash Drive with Disk Utility
On macOS, Disk Utility encrypts a drive as part of erasing it, so the encryption and the format happen in one dialog. The path is Finder > Applications > Utilities > Disk Utility, then View > Show All Devices.
- Select the USB drive in the left sidebar, not a volume nested under it.
- Click Erase at the top of the window.
- Set Format to APFS (Encrypted) for a drive that stays on a Mac, or Mac OS Extended (Encrypted) for the older, broader-compatible format.
- Enter a name in the Name field, which is the drive label that appears in Finder.
- Type the encryption password twice, with the optional password hint you want to see later.
- Click Erase and wait. A 32 GB drive usually takes well under a minute.
APFS Encrypted is the stronger default on modern hardware and supports full-disk encryption. Mac OS Extended (Encrypted) is the sensible pick when the drive has to open on a Mac running an older system. If you leave the format as plain APFS or plain Mac OS Extended, the password box never appears and the drive is not encrypted at all.
Later, double-click the drive in Finder. A password dialog opens, you type the password, and the volume mounts as if nothing happened. The password is stored in your login keychain after the first unlock unless you tick Remember Password, so if you are on a shared Mac, do not tick it. Note that a native encrypted APFS volume will not open on Windows; for that, you need the VeraCrypt method below.
Using Third-Party USB Encryption Software
Third-party tools are the right call when the built-in one is missing, or when the drive has to open on more than one operating system. VeraCrypt covers both cases; 7-Zip covers the narrow one where you only need a protected folder.
With VeraCrypt, install it on the computer first, not on the drive, then open it and click Create Volume. Choose Create a volume within a container volume for most cases, or Encrypt a non-system partition or drive when you want the whole stick to be one encrypted filesystem. Set the space to something smaller than the drive so you can keep a normal, unencrypted partition alongside it. Pick AES encryption, leave the hash on SHA-512, then set a password and move your mouse in the window until the entropy bar fills. The formatting stage takes longer the more space and the stronger the hash, and the mouse movement is not a bug.
7-Zip is a lighter option. Right-click a folder > Add to archive > set the format to 7z > under Encryption enter a password, choose AES-256, and tick Encrypt file names. That last box is the one people miss, and without it the archive lists your file names in the clear even though the contents are encrypted.
When you compare tools, look at four things. First, where the software comes from: the open-source projects are the ones that get audited, and r/sysadmin readers consistently pick VeraCrypt over closed vendor utilities for exactly that reason. Second, the algorithm, where AES-256 is the current expectation and anything weaker deserves a second look. Third, the recovery story, because a tool with no reset option and no way to try the password means one wrong keystroke ends the data. Fourth, compatibility: a VeraCrypt container opens on Windows, macOS and Linux, and a BitLocker volume opens on none of them outside Windows.
How to Open an Encrypted USB Flash Drive, and How to Remove the Encryption
On Windows, double-clicking a BitLocker drive pops the password box straight away; the right-click menu has Unlock BitLocker if you want the extended options. On a Mac, double-clicking in Finder opens the same dialog. The password is checked against a key stored in the drive’s own hardware-protected area, which is why the unlock takes a second and not a hang.
What you almost never need to do is decrypt the whole drive. Removing encryption rewrites every file in plaintext and takes as long as the original encryption did, so leave it switched on and just unlock it when you need the files. Decrypt only when you are retiring the drive, handing it to someone who has no business knowing the password, or repurposing it.
Changing a password is different from removing encryption. On Windows, right-click the drive > Change BitLocker Password. On a VeraCrypt container, mounting it and using Change Password works without reformatting, though VeraCrypt re-writes the header and it is worth copying the container somewhere safe first. For an encrypted Mac volume created in Disk Utility, the practical route is to erase and redo it.
Common Mistakes
Formatting before you back up is the expensive one. Every method here erases the drive first, and a formatted drive with no recovery software is a drive you re-download.
Forgetting the password is the anxious one, and it deserves a straight answer: there is no backdoor. If you lose both the password and the BitLocker recovery key, the data is gone. This is not a flaw, it is the entire point of AES-256, and it is why the recovery key goes in a password manager or a printed copy at home, never in the same bag as the drive.
Selecting the wrong filesystem costs you cross-platform access. NTFS volumes will not mount on a Mac, and Mac-formatted drives will not mount on Windows. exFAT is the compromise, and it handles files larger than 4 GB, which FAT32 does not.
Expecting BitLocker on Windows Home wastes an afternoon for a lot of people. The feature is edition-gated, so no amount of administrator rights will surface it. VeraCrypt takes about five minutes and covers the same files.
Interrupting a format or a decrypt leaves a drive that looks empty and is. Let the operation finish, then eject from the system tray rather than pulling the plug, because write caches may not have flushed. A truncated container is a container you may not be able to mount again.
Treating encryption as a backup is the quiet failure. The encryption protects the files while the drive is in your hand; it does not protect a drive that has flooded, melted or been eaten by a laptop bag. Keep a copy somewhere else.
Protecting and Using an Encrypted Drive Safely
Use a passphrase, not a word. A five-word sequence from things nobody would guess about you beats a capitalised surname with a number stuck on the end, and r/opsec readers routinely use 25-plus character passphrases for exactly this reason. Length does the work that symbols create noise.
Keep the recovery key somewhere with a different failure mode than the drive. A password manager on a different machine, or a printed sheet in a home drawer. A photo of the key on the same phone you keep the drive in is not a backup.
Transfer files, then unplug deliberately. Scan anything you pick up at a conference or a client’s office, and never run programs from a USB stick on a work machine, since locked-down PCs frequently refuse to run code from removable media anyway.
Before you sell, lend permanently or recycle an old encrypted drive, erase it properly rather than deleting the files. On Windows, use the Reset this PC > Remove everything > Clean the drive option, or a full format on a USB. On a Mac, Disk Utility > Erase with a non-encrypted format, then confirm the whole drive is overwritten. If the drive held anything you would not want read aloud, reformatting is not proof of destruction, and physically breaking the chip is the only certain method.
One request comes up on the SanDisk forums more than any other: giving someone a drive they can view but not copy. Standard encryption does not do this, because anyone who can read a file can usually save it. The closest real answers are mounting a VeraCrypt container read-only, or handing over a locked container plus the password and trusting the recipient, which is a people problem rather than a technical one.
Frequently Asked Questions
Can USB flash drives be encrypted?
Yes, any USB flash drive can be encrypted, because encryption is software, not a feature of the hardware. Windows 11 and Windows 10 Pro use BitLocker To Go, macOS uses Disk Utility, Linux uses GNOME Disks or cryptsetup with LUKS, and VeraCrypt works on all three. Some drives ship with hardware encryption, which is a different thing, but a plain drive can always be protected with software.
How do I know if my USB drive is already encrypted?
Look for a padlock icon on the drive in File Explorer or on the volume name in Disk Utility. The surer test is to eject it, plug it into another computer, and see whether the file names appear immediately or a password box appears first. If names show straight away, the drive is not encrypted. Opening the drive properties on Windows also shows a BitLocker status line when it is on.
What happens if I forget my USB encryption password?
If you have the BitLocker recovery key, that 48-digit code, you can use it to unlock the drive and set a new password. If you have neither the password nor the recovery key, the data is unrecoverable, and no support line, vendor or piece of software can change that. There is no reset backdoor, because a backdoor would undo the reason for encrypting. That is why the recovery key needs a home separate from the drive.
Can I open a BitLocker-encrypted USB drive on a Mac or an Android phone?
Not with anything built in. macOS has no BitLocker client, and Android has no way to mount a BitLocker volume over USB. If the drive has to be read on a Mac, encrypt it with VeraCrypt instead, since one container opens on Windows, macOS and Linux. ChromeOS can also read a VeraCrypt container from a USB drive, which is the version most people in the ChromeOS community end up using.
Does USB encryption slow the drive down?
On any modern Windows PC or Mac, barely. BitLocker and VeraCrypt use AES-256 in XTS mode with hardware acceleration built into the processor, so overhead is measured in percentage points rather than a visible delay. You may notice slightly higher CPU use on a machine without AES support, and writing an encrypted volume takes extra time once, because every sector has to be rewritten. Transfers after that run at normal speed.
How do I add a password to a USB drive without BitLocker on Windows 11?
Install VeraCrypt, choose Create Volume, and select Create a volume within a container volume, leaving a little free space outside the container. Pick AES encryption, SHA-512, set a password, and move the mouse until the entropy bar fills. If you only need to protect a single folder, adding it to a 7z archive with AES-256 and the Encrypt file names box ticked is quicker, and needs no installation.
The Short Version: Pick One Method and Start With the Backup
If you are on Windows 11 or Windows 10 Pro, right-click the drive, choose Turn on BitLocker, and set a passphrase. That is the whole job, and the drive then asks for the password on any Windows PC you plug it into.
On a Mac, open Disk Utility, erase the drive as APFS (Encrypted) or Mac OS Extended (Encrypted), and set a password during the erase. On Windows Home, or whenever the drive has to open on more than one operating system, use a VeraCrypt container with AES and SHA-512.
Whatever you choose, copy the files off first, save the recovery key somewhere the drive cannot reach, and confirm the password prompt appears after a reinsert. Then the encryption is real, and you can go back to whatever you were actually doing.