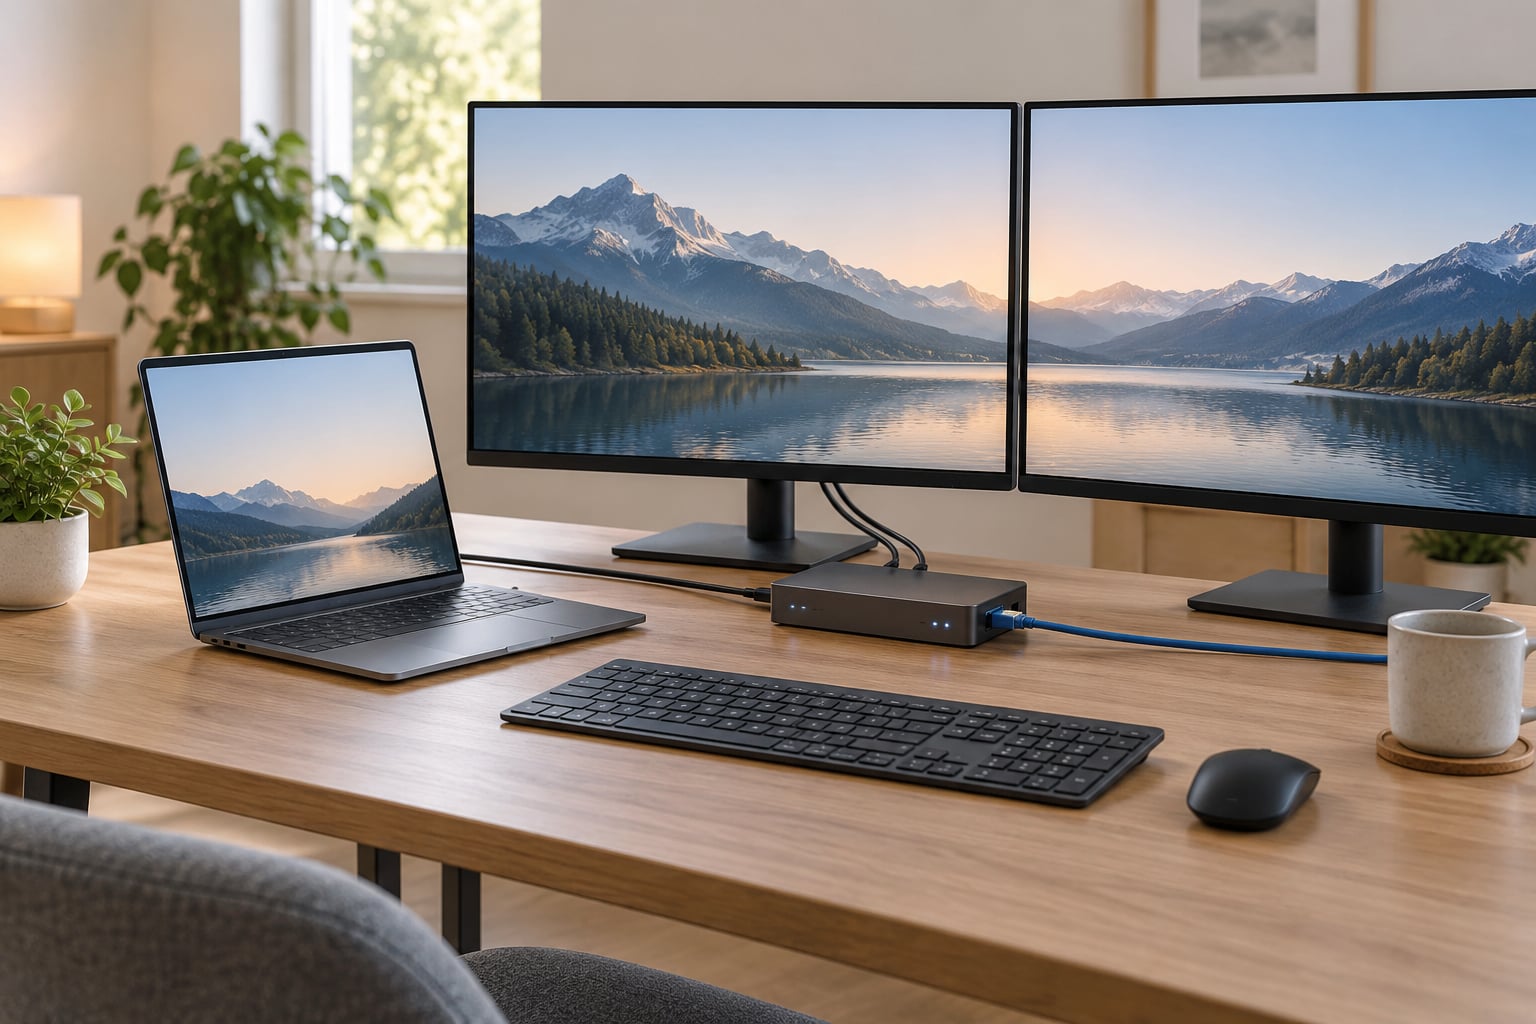
To use a docking station with a laptop, plug in the dock’s power adapter, connect your monitors, keyboard, mouse and Ethernet cable to the dock, then attach the single USB-C or Thunderbolt cable to your laptop and set the displays in your operating system’s display settings. That order matters. The dock needs power before it can read what you plug into it.
The whole job takes about five minutes once you know which port on your laptop to use. If you are starting from a bare laptop with one screen, expect a desktop-style desk in a few steps rather than a long configuration session.
Table of Contents
- 1What You Need Before You Start
- 2Step-by-Step: How to Use a Docking Station With a Laptop
- 3Position and Power the Dock
- 4Connect the Dock to Your Laptop
- 5Set Up One or More Monitors
- 6Connect Ethernet, USB Devices, and Audio Through the Dock
- 7Arrange Displays and Save Your Settings
- 8Test the Full Docking Station Setup
- 9How to Undock Without Losing Work
- 10Common Mistakes When You Use a Docking Station With a Laptop
- 11Frequently Asked Questions
- 12Can one docking station connect two monitors?
- 13Do I need Thunderbolt for a USB-C docking station?
- 14Why is my laptop not charging through the dock?
- 15Can I use a docking station for gaming?
- 16Can I use one docking station with more than one laptop?
- 17Conclusion
What You Need Before You Start
Gather these five things before you unbox anything, because the one you are missing is usually the reason a setup stalls halfway.
- The docking station itself and its upstream (host) cable, usually USB-C or Thunderbolt.
- The power adapter or brick that came with the dock, if the dock has one.
- Display cables matching the ports on your monitors and the video outputs on the dock: HDMI, DisplayPort or DVI.
- An Ethernet cable if you want a wired network through the dock.
- A laptop with a compatible port: USB-C with DisplayPort Alt Mode, Thunderbolt 3 or 4, or USB4.
About charging: most docks that include a power adapter also pass power through to the laptop, but the wattage is what matters. A dock rated at 65W will charge a thin laptop slowly or not at all while it is driving two monitors, and the same dock may be fine with a 13-inch machine. Read the dock’s Power Delivery figure and compare it with the charger that came with your laptop.
To check compatibility before you buy, look at the laptop’s spec sheet for “Thunderbolt” or “USB-C with DisplayPort Alt Mode.” Some ports carry data only, some carry charging only, and some carry both. If the port symbol is the plain USB-C trident rather than a Thunderbolt lightning bolt, video may still work, but expect fewer displays and lower refresh rates.
Step-by-Step: How to Use a Docking Station With a Laptop
Position and Power the Dock
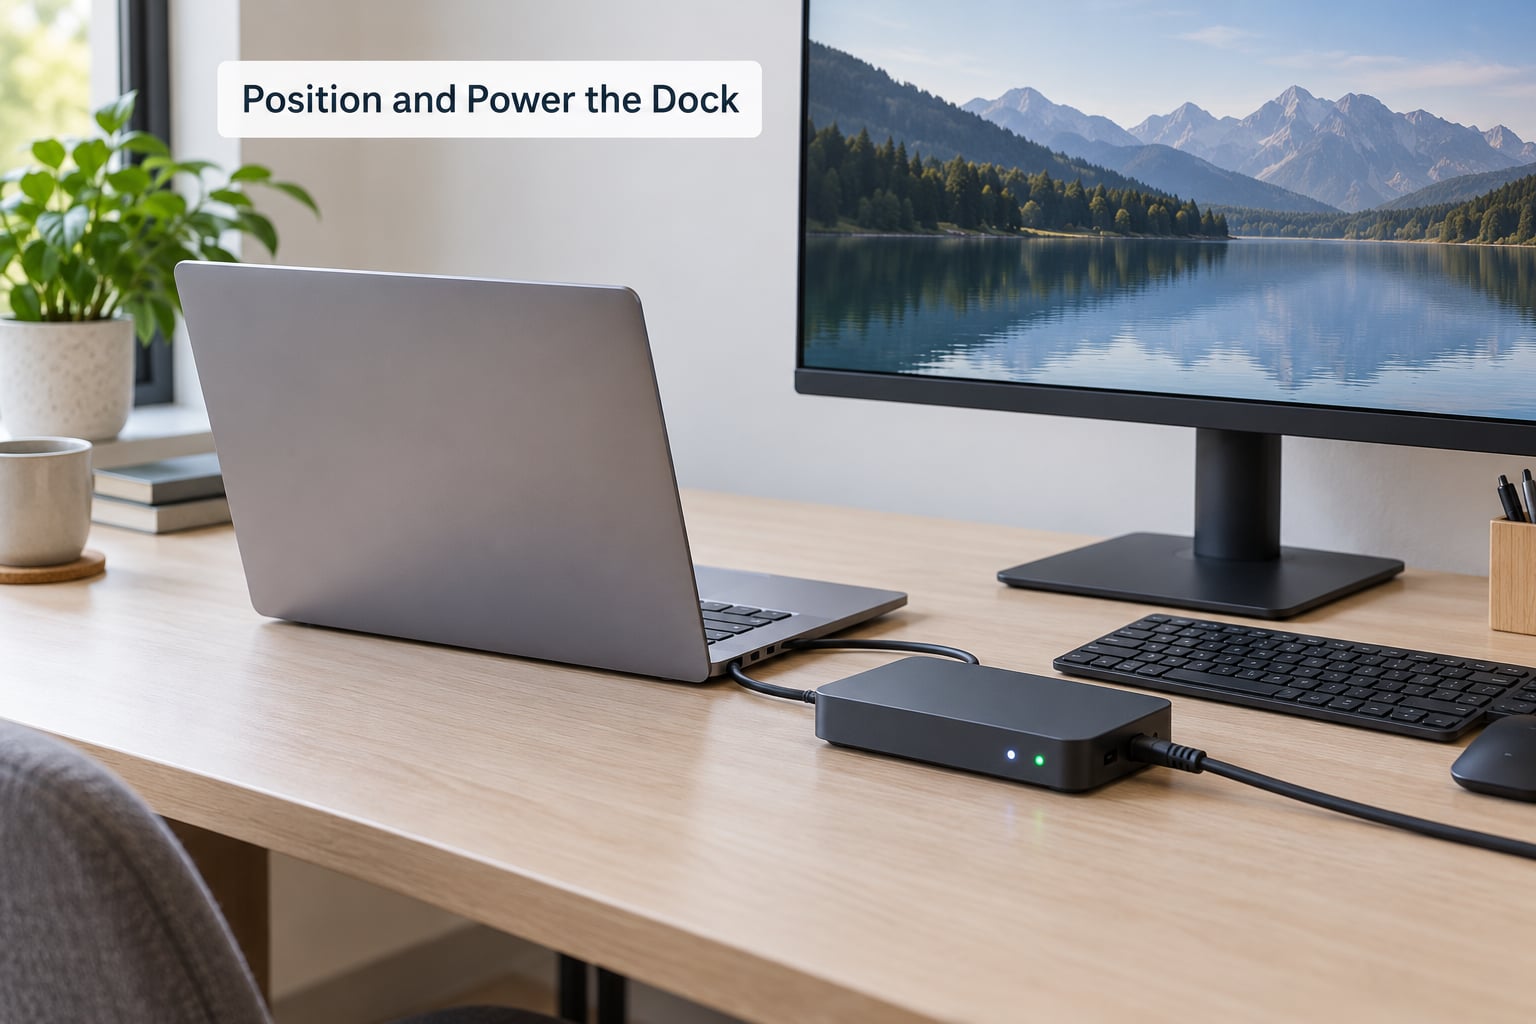
Set the dock where the cables can actually reach, then connect its power adapter to a wall outlet and the DC end to the dock. Most docks show one or more small indicator lights once they have power.
Here is the part that confuses people: a dock with its own power supply still needs that supply even though your laptop can charge over USB-C. The adapter does not exist to charge your computer. It powers the dock’s internal hub, its USB ports, its network controller and the displays, so those things are available the moment you plug in.
Leave the dock powered while you connect everything else. Hot-swapping the upstream cable on a running machine is a separate topic, and it causes more trouble than it saves.
Connect the Dock to Your Laptop
Plug the dock’s upstream cable into the correct port on the laptop. On most laptops the port that supports charging and video is one specific USB-C port, often marked with a display, a charging symbol or a Thunderbolt logo, and it is not always the same physical port on every model.
Some USB-C ports only act as data ports when the laptop is closed, and some docks require a Thunderbolt-compatible port to negotiate video at all. A Thunderbolt 3 or 4 port also gives you the bandwidth for higher resolutions and faster drive transfers.
One warning: do not run several high-draw devices through an unpowered USB-A hub plugged into the laptop. External drives and bus-powered displays can pull more current than a laptop port supplies, which causes random disconnects. If your setup has more than two USB devices, use a self-powered dock.
Set Up One or More Monitors
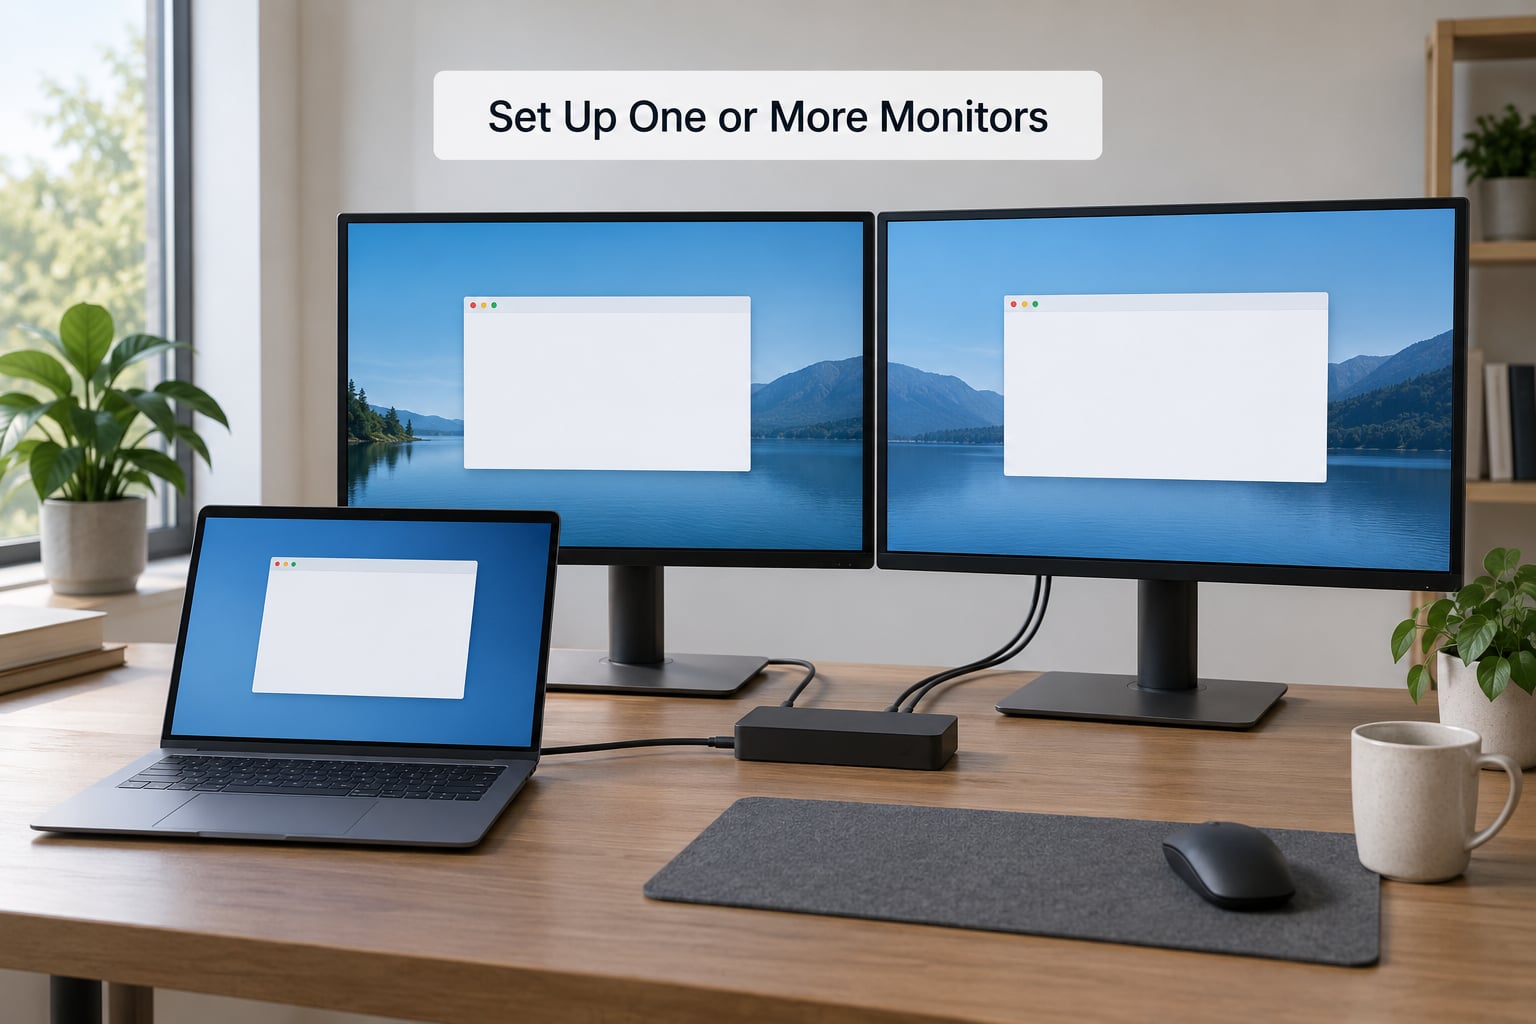
Connect each monitor to the dock with the cable that matches both ends. HDMI in and HDMI out, or DisplayPort in and DisplayPort out. If a monitor stays black, try the other cable before changing anything in software.
Then tell the operating system what to do with the screens.
Windows 11 and Windows 10: open Settings, go to System > Display, and press Detect under Display settings. Set Multiple displays to Extend these displays, then click each screen in the diagram and use Identity to set it as the main display. Resolution and display orientation live in the same panel.
macOS: open System Settings > Displays. Press Add Display if a second screen is not listed, then use the Arrange Displays drag handles to position them. Hold Option to reveal “Use As Extended Display” instead of mirroring.
Linux: on GNOME, open Settings > Displays and use the Arrangement section. On other desktops, the xrandr tool gives you the same controls from a terminal.
Success check: every connected monitor appears in the display settings, shows a desktop background, and moves a cursor window independently when set to Extend. Note that some laptops support two external displays natively and a third only through a display adapter that uses software rendering, which can stutter at higher resolutions.
Connect Ethernet, USB Devices, and Audio Through the Dock
Push the Ethernet cable into the dock’s LAN port until it clicks, the same way you would into a wall jack. On Windows, open Network and internet settings and look for a Wired connection; on macOS, check Ethernet under Network; on Linux, the wired interface usually appears automatically.
If your laptop also has Wi-Fi, decide which one you want to use. Wired is the better default for remote work, large file transfers and anything touching a home network, since the latency is steadier. Keep Wi-Fi on only if you need it for a second connection.
Plug the keyboard, mouse, webcam, external drive and any other peripherals into the dock’s USB-A ports. Check that the operating system picked the dock’s devices rather than the laptop’s internal ones: compare the name of the USB audio input in your sound settings, and if you have two identical mice or headsets, unplug one briefly to see which one disappears.
For sound, choose the dock’s audio output in the sound settings. On Windows that is Sound > Output; on macOS, Sound > Output; on Linux, the Sound panel. Monitor speakers connected by HDMI usually appear as a separate output named after the display.
Arrange Displays and Save Your Settings
Set your preferred monitor as the main display, adjust orientation if one is mounted vertically, and pick a scaling option that keeps text readable. Windows 11 remembers monitor numbering and position once you click Apply, and macOS restores the arrangement when you reconnect the same dock.
After that, choose Extend if you want separate desktops or Mirror if you want the same picture on both screens. Mirroring is the default on many machines and surprises people who expected three windows of work.
On mainstream Linux desktops the GNOME display panel handles the same job. Once the arrangement suits you, note the resolution, scaling and primary display choice, because you will want to repeat them on the office dock or on a replacement laptop.
Some docks support being moved between machines. If yours does, unplug from the host, connect to the new computer and expect a short pause while the operating system enumerates the ports again. Thunderbolt docks are the ones built for this; plain USB-C docks vary by model.
Test the Full Docking Station Setup
Run through five checks before you call it done: a window moves smoothly across every screen, a web page loads over the wired connection, the keyboard and mouse respond, sound plays through the output you chose, and the battery icon shows charging.
If something is missing, work the fixes in order rather than jumping around. Disconnect the upstream cable and reconnect it, then open the display settings and press Detect. Next, check that the dock’s power adapter is seated and its lights are on. Then swap the cable or the laptop port. Finally, update the dock firmware and the operating system.
A full power cycle solves more “not detected” reports than anything else: shut the laptop down completely rather than closing the lid, unplug the dock, wait about 30 seconds, then reconnect. Sleep or shut down first when you dock a running machine, and the blank-screen-on-first-plug-in problem usually disappears.
How to Undock Without Losing Work
Close network shares and mapped drives first, then eject any USB storage and card reader media. Sleep or shut the laptop down before pulling the upstream cable. Unplugging a live connection can leave file transfers half-written, and on a shared office dock it can interrupt someone else’s session.
Common Mistakes When You Use a Docking Station With a Laptop
The laptop does not recognize the dock at all. Work up the ladder: full power cycle, confirm the dock’s power light, try a different USB-C port on the laptop, try the original cable, then update firmware. Some business laptops show a firmware or driver prompt on screen at boot and it blocks the connection until you answer it.
No display, or only one display. On Windows, confirm Multiple displays is set to Extend rather than the second-monitor-only option. Swap cables between ports to find the faulty one. Some laptops cap external displays, and on a USB-C dock without DisplayPort Alt Mode only one video output may be active. Software-rendering docks need their driver installed before a second screen appears.
Flickering, low resolution or a mismatched refresh rate. A cable that is only wired for HDMI 1.4 or a dock without headroom for 4K at 60Hz will negotiate a lower mode automatically. Swap in a certified cable, and check the refresh rate in display settings rather than accepting the fallback value.
Ethernet missing or dropping. Confirm the cable is seated in the LAN port and not a USB port that looks similar. A link light on the dock helps. Some corporate networks block devices that show up with a new hardware address, which looks exactly like a connection failure.
USB devices work intermittently. That pattern usually means power, not drivers. Try removing the highest-draw device, such as an external drive or bus-powered display, and see if the rest becomes steady.
No sound. The monitor picked as the main display usually becomes the default output. Change it in sound settings each time, or set it before you leave the desk so it persists.
The laptop will not charge. Check that the dock’s Power Delivery rating meets your laptop’s charger wattage, that you are using the port marked for charging, and that the cable carries power as well as data. A dock that charges only through a dedicated charge port needs that cable connected too.
A few habits prevent most of this: keep the dock firmware current, use cables you trust even if the one in the box feels thin, and check the manufacturer’s compatibility list before pairing an unfamiliar dock with an unfamiliar laptop.
Frequently Asked Questions
Can one docking station connect two monitors?
Usually, yes, provided the laptop’s port and the dock both support it. Check that your USB-C port offers DisplayPort Alt Mode or Thunderbolt, and that the dock has two video outputs. Ports labeled as sharing one controller may run at reduced resolution when both are used. Set the second display to Extend rather than Mirror so the screens stay independent.
Do I need Thunderbolt for a USB-C docking station?
Not always. A USB-C docking station may work with a laptop that supports DisplayPort Alt Mode, but Thunderbolt or USB4 gives broader display support, faster transfers and more consistent performance. Two 4K displays at 60Hz usually need Thunderbolt, while two 1080p displays are fine over plain Alt Mode.
Why is my laptop not charging through the dock?
The laptop may need a compatible USB-C port, a dock power supply rated high enough, or a cable that carries charging and data. Some docks also have a separate charge port that must be connected. Compare the dock’s Power Delivery rating with your laptop’s charger wattage, and check the battery icon after a minute or two to confirm charging.
Can I use a docking station for gaming?
You can use one for a desktop-style gaming setup, but the dock, laptop graphics, connector and monitor must all support the resolution and refresh rate you want. Competitive play benefits more from a direct video connection. For a docked setup, a Thunderbolt dock plus a native Alt Mode port generally handles high refresh rates more reliably than a software-rendering dock.
Can I use one docking station with more than one laptop?
Often yes. Thunderbolt docks are designed to move between machines, and a native Thunderbolt dock plus a software-rendering dock use separate driver stacks, so they rarely conflict. Expect display settings to reset each time you connect, and check that each laptop supports the monitor count and resolution you need.
Conclusion
Start by powering the dock and plugging its upstream cable into the right port on your laptop. Add one display and confirm it appears in your operating system’s display settings, then attach Ethernet and USB devices one at a time so you know which step fixed what.
Most connection problems come down to one of three things: the wrong USB-C port, a cable that cannot carry what you need, or a dock that is underpowered for the number of displays you attached. Reading both specifications before you start is faster than troubleshooting after.