An eSIM is a digital SIM built into your phone’s hardware, so you can buy a travel data plan, install the profile from a QR code, and connect to a partner network in your destination country without touching a plastic card. Knowing how to use eSIM when traveling abroad takes about ten minutes of setup. Do it before you fly and you land with data already working instead of paying per-day roaming charges from the moment you switch your phone back on.
Most of the difficulty is not the install itself. It is checking compatibility before you pay, choosing which line carries your data, and understanding that most travel eSIMs are data-only.
Table of Contents
- 1What You Need
- 2Step-by-Step: How to Use eSIM When Traveling Abroad
- 31. Check That Your Phone Supports eSIM
- 42. Choose a Travel eSIM for Your Destination
- 53. Buy the eSIM and Receive the Activation Details
- 64. Install the eSIM Profile: How to Use eSIM QR Codes
- 75. Turn On the eSIM for Cellular Data
- 86. Test the Connection Before Departure
- 9Common Mistakes
- 10Frequently Asked Questions
- 11Do I need a physical SIM card if I use an eSIM abroad?
- 12Can I use an eSIM as soon as I buy it?
- 13Is an eSIM the same as international roaming?
- 14Can a travel eSIM make calls and send texts?
- 15What happens to my eSIM after I return home?
- 16Why does my eSIM show no bars or no internet while traveling?
- 17Conclusion
What You Need
Before anything else, confirm your phone can hold an eSIM profile at all, because a plan bought for the wrong device is the single most common expensive mistake.
- An eSIM-capable phone. Most iPhones from the XS/XR generation onward and most recent flagship and mid-range Android phones support eSIM. Older and cheaper Android models often do not.
- A carrier-unlocked phone. A phone bought on a contract may only accept that carrier’s own eSIM. Unlocked status is usually easy to check and hard to undo.
- A reliable internet connection to download the profile, which is typically a few megabytes. Home Wi-Fi is fine, and in-flight Wi-Fi works if you install after takeoff rather than before.
- The QR code or manual activation details from your provider. Some are delivered by email, some inside a provider app, and a few in a physical card.
- The provider’s app, installed before departure, if your plan is app-based. App-based eSIMs behave differently from system profiles, and the app usually needs to be running once before it can hand the profile over.
- Photo ID for the rare provider or destination that registers a plan against a passport or national ID.
iPhone and Android follow the same order of operations but different menu names, and the differences are more than wording. On iPhone, the profile is added inside Settings and you then choose which line handles cellular data. On Android, the eSIM area sits under Network settings, and several manufacturers rename it, so the wording of a tutorial written for a Pixel may not match your Samsung.
Step-by-Step: How to Use eSIM When Traveling Abroad
Read this as four separate jobs that people constantly blur together: buying a plan, installing the profile, activating it, and switching it on to carry data. Each has its own failure mode.
1. Check That Your Phone Supports eSIM
Dial *#06# on your phone. If an EID appears alongside your IMEI, the hardware has an eSIM chip and can hold a digital profile. That is the fastest check that works across iPhone and Android without digging through settings.
Then confirm the phone is unlocked. On iPhone, open Settings, then General, then About, and look for Carrier Lock. Seeing “No SIM restrictions” means unlocked. On Android, the equivalent sits under About phone or Status information, often labelled Carrier lock or SIM status.
Two more checks matter:
- Regional availability. Some eSIM-enabled models sold in mainland China, and some carrier-locked handsets bought abroad, restrict or block third-party eSIM profiles. Check your exact model number, not the marketing name.
- Number of free eSIM slots. Most modern phones hold several stored profiles and one or two active at a time, but budget models may hold only one. If you plan a second trip, you need to know that now.
Verification point: you can see the phone model and its EID in under a minute, and your home carrier’s app should show the phone as unlocked or as still tied to a device payment plan.
2. Choose a Travel eSIM for Your Destination
This is where travelers lose money, and the deciding factors are specific rather than vague. Compare these before you pay:
- Countries covered. A single-country plan is cheapest but useless the moment you cross a border. For multi-country trips, compare a regional plan against separate per-country plans, since regional plans are easier but often capped per day.
- Data allowance. Map navigation, photo uploads and video calls are the big consumers. A week of ordinary browsing is light; video calls and cloud photo backups are not.
- Validity period. Check whether days start when you install, when you activate, or when you first connect. Many plans start counting on first connection, which makes early installation safe, but some start on install and burn paid days while you sit at home.
- Hotspot support. Many budget data plans block tethering explicitly. If you plan to share a connection with a laptop or tablet, confirm hotspot is included.
- Voice and SMS. The majority of travel eSIMs are data-only. A small number add a local number for calls and SMS, and those plans are worth paying up for if you need banking codes.
- Network type. Plans advertise “local” versus “roaming” connections. Local means the data originates on a partner network in your destination country and is usually faster, while roaming data travels back to a home network and is often throttled.
- After the data cap. Some plans stop entirely, some throttle to a crawl, and some auto-top-up. This single line of the terms matters more than anyone admits, and travelers regularly discover it mid-trip.
Verification point: the provider’s coverage page lists the exact countries and the partner networks used, and the terms page states the activation deadline and what happens at the cap.
3. Buy the eSIM and Receive the Activation Details
You can buy through your home carrier, through a specialist travel eSIM provider, or through your employer or destination partner. Each gives a different balance of coverage and paperwork.
Buying from your home carrier is the least work and the easiest to bill, and it usually supports keeping your number for 2FA. A specialist provider usually has broader destination coverage and clearer data allowances, but you get a data line with no voice number. Employer plans are worth checking first if your company already provides one.
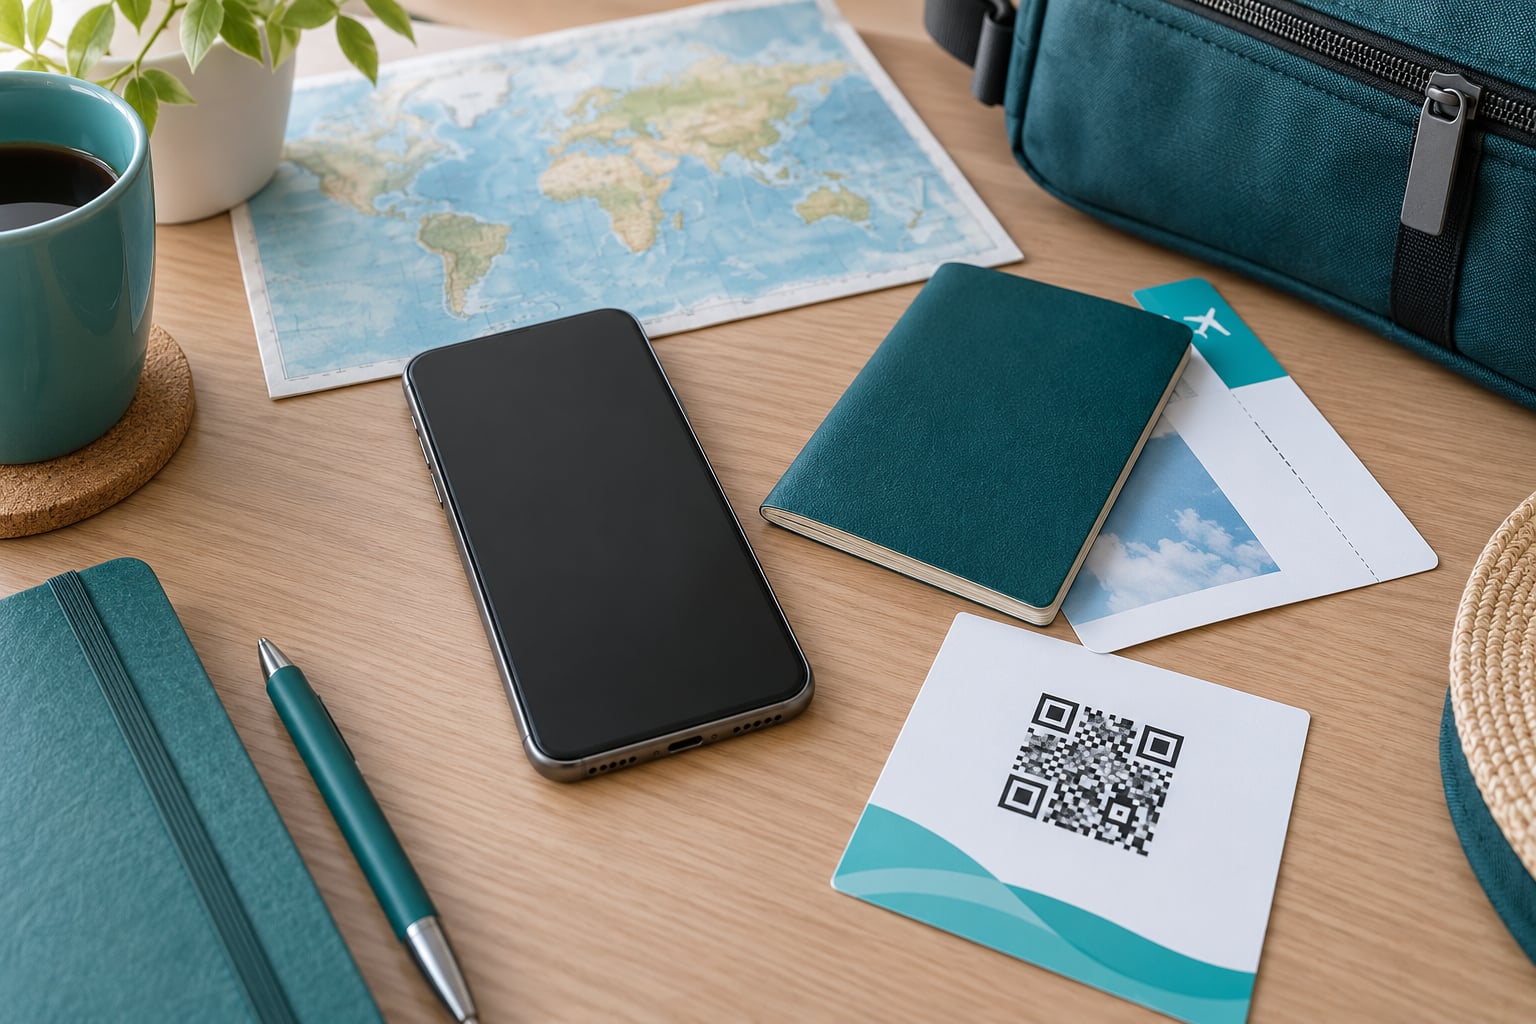
After purchase, the activation details arrive in one of three places: an email with a QR code and a long activation code, an in-app section behind a login, or a printed card. Keep all of it, especially a screenshot of the manual activation details. QR codes are frequently single-use and tied to one device install.
Verification point: you hold either a scannable QR code or the SM-DP+ address plus activation code needed for manual entry. Do not buy before the compatibility check is done, because refunds on an incompatible purchase are rarely instant.
4. Install the eSIM Profile: How to Use eSIM QR Codes
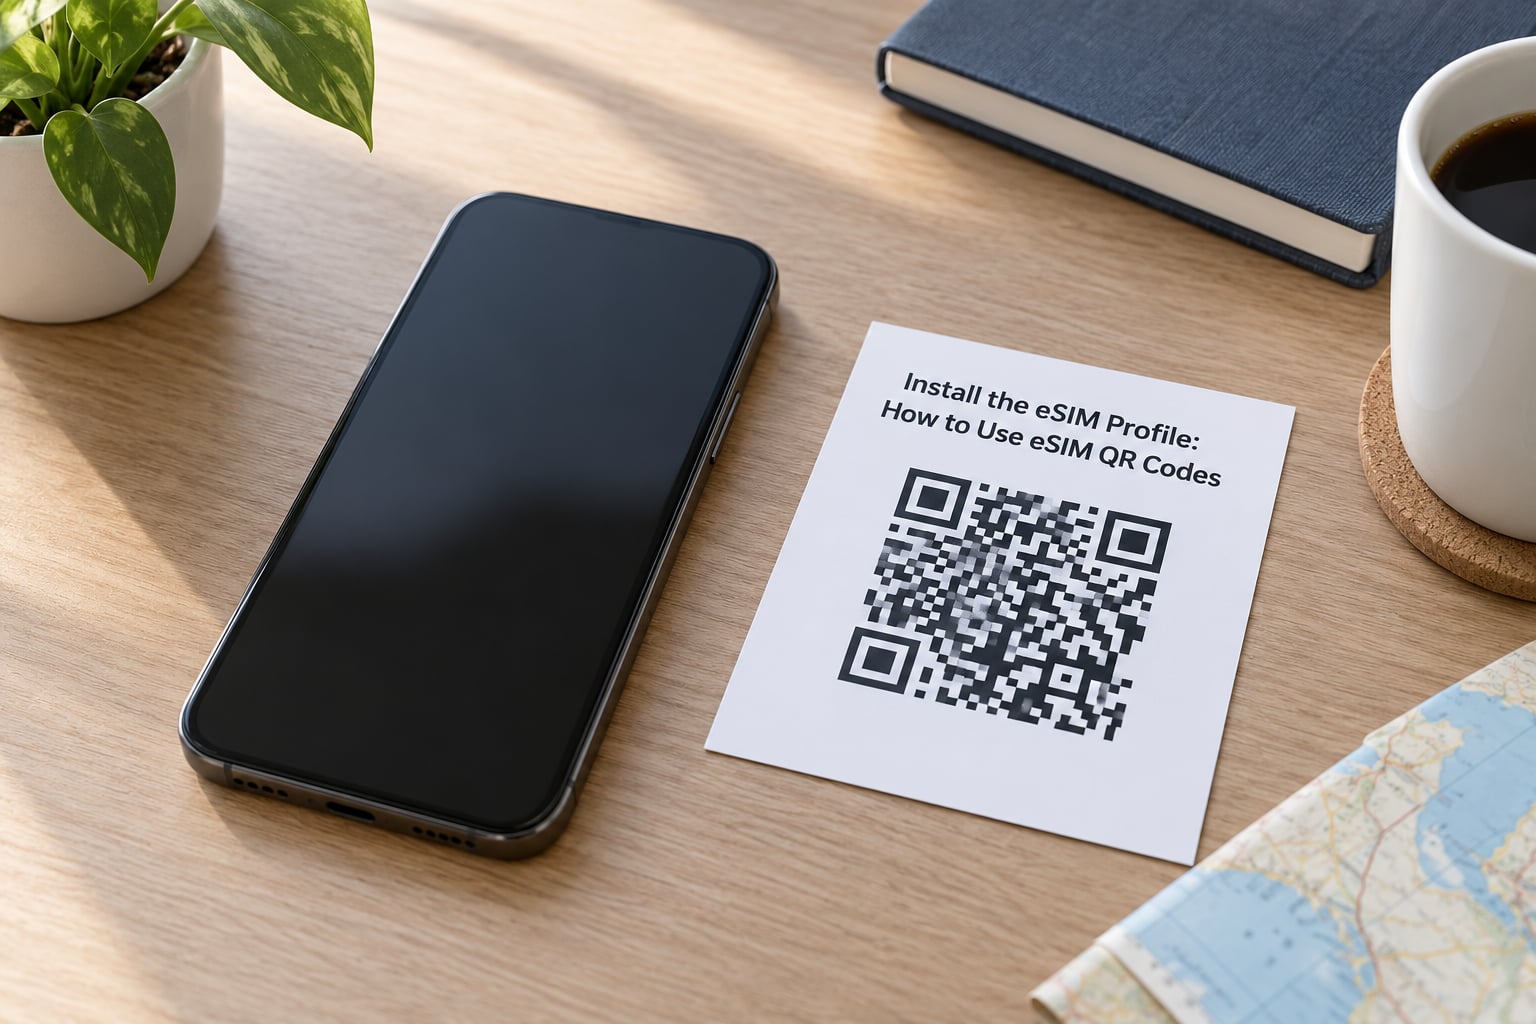
On iPhone: open the Camera app and point it at the QR code. iOS offers to add an eSIM, which takes you to the setup screen. You can also go directly through Settings, then Cellular, then Add Cellular Plan, then Use QR Code. For manual entry, choose Enter Activation Details and type the SM-DP+ address and activation code exactly as provided.
On Android: open Settings, then Network and internet or Connections, then the SIMs or eSIM area. The label varies by manufacturer. On recent Pixel phones it is under Network and internet, then SIMs, then Download eSIM. On Samsung, look under Connections, then Mobile networks, then eSIM or Add eSIM. Xiaomi and other Android skins bury it further down, so search your settings for “eSIM” rather than hunting through menus.
Two warnings before you scan:
- Do not scan a screenshot of a QR code that was emailed to you. Many codes are single-use and bound to one device, so an already-consumed code fails with a generic error. Scan the original email on the phone that will use the plan.
- Install on the phone you will actually travel with. Profiles usually cannot be moved between devices, and deleting one to try again can be harder than it looks.
App-based eSIMs are installed differently. The provider’s app downloads the profile and hands it to the system, sometimes over Wi-Fi only. Open the app once at home, allow it to finish its setup, and check that the profile appears in your system settings before you rely on it.
Verification point: your phone shows a named line in Settings that carries the provider’s plan name rather than a blank “eSIM” entry. Finding that named profile is the difference between “downloaded” and “installed”.
5. Turn On the eSIM for Cellular Data
Installing a profile does nothing by itself. You still have to tell the phone to use it, and most failures after landing come from skipping this part.
iPhone: Settings, then Cellular, then Cellular Data. A dual-SIM iPhone shows one entry per line, here your home SIM and the travel eSIM. Select the eSIM, then open it and turn on Data Roaming. Open your home line’s entry and make sure Data Roaming is off there.
Android: Settings, then Network and internet or Connections, then SIMs. Set the eSIM as the preferred or default mobile data SIM, and turn data roaming on for the eSIM entry only. Leave roaming switched off on your home SIM.
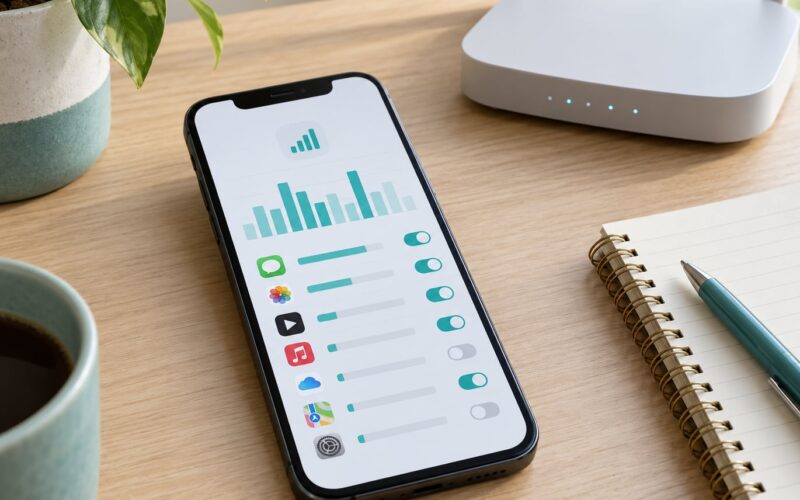
Answering the most-asked question directly: yes, turn data roaming off on your home line once you are abroad. Keeping it on means a background app, a photo backup or a map can quietly send traffic over your home carrier’s network and start per-day international charges.
You can leave your home line switched on entirely. That is the whole point of a dual-SIM setup: keep your real number active to receive calls, SMS and two-factor codes, while the travel eSIM carries the data. Be aware of two details. Only one line handles cellular data at a time, so the other is available but not browsing. And when both lines are active, your number may show as the line’s country code rather than your home one, which confuses some apps that store a country code alongside a number.
Do not delete your home line while troubleshooting. Deleting a profile is a one-way door in practice, and recovering it can mean a trip to a carrier store.
Verification point: the phone shows the eSIM carrier name in the status bar, and a web page loads while Wi-Fi is switched off.
6. Test the Connection Before Departure
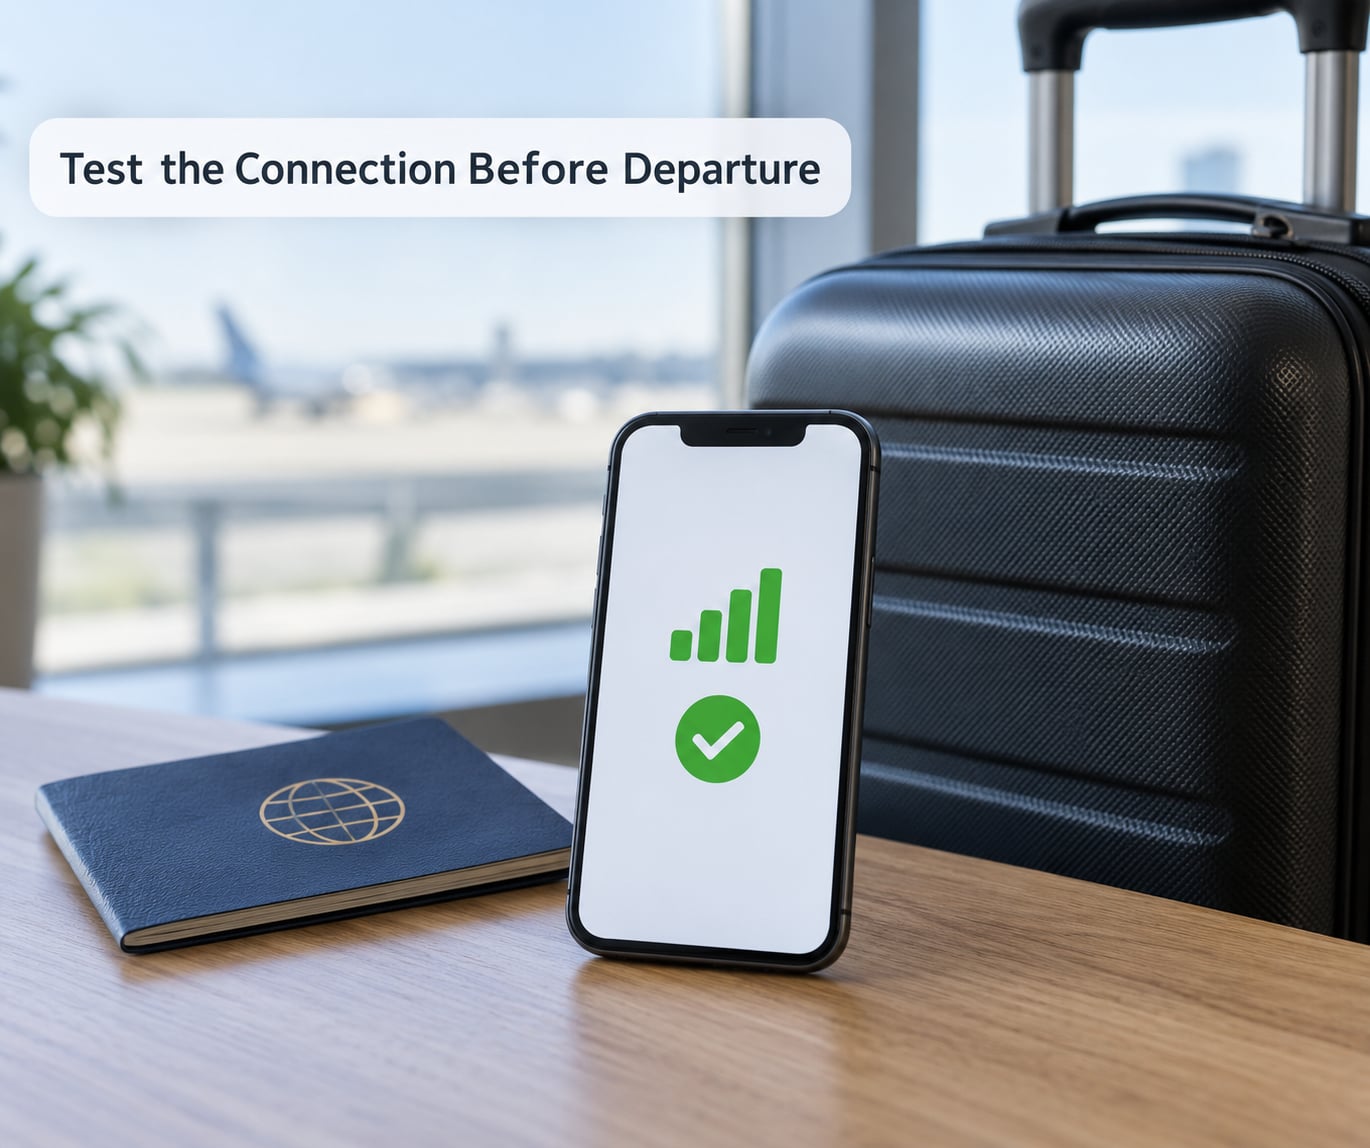
Test before you leave rather than at the airport. Here is the sequence I use:
- Confirm the profile appears in settings with the provider’s plan name.
- Turn Wi-Fi off, switch the phone to airplane mode, then back to normal, to force a fresh registration with the network.
- Open a page and confirm data loads over cellular.
- Send a test message and place a short test call if your plan includes voice, so you learn now whether the number works at all.
- If you plan to tether, connect your laptop or tablet and confirm the hotspot carries data.
One realistic expectation: many travel eSIMs will install perfectly at home but refuse to connect there, because the plan is restricted to the destination country. That is normal, and it is not a broken install. Confirm the profile is installed, then expect the first connection on arrival.
If you get no bars or no internet, work down this list: airplane mode off, data roaming on for the eSIM line, the eSIM selected as the cellular data line, a phone restart to force re-registration, then a check of whether the plan’s activation window has opened. If you are already in the destination country and still stuck, switch the network mode from 5G to LTE, since some partner networks register slowly on 5G-only profiles.
Verification point: you have a screenshot of the installed profile and a clear memory of what the phone shows when data works, which makes troubleshooting ten times faster.
Common Mistakes
Nearly every “eSIM not working” report I see traces back to one of the following.
- Buying for a phone that cannot hold the profile. Check the EID before purchase. If your phone is carrier-locked, it may accept only that carrier’s eSIM.
- Scanning a used or screenshot QR code. Codes are often single-use. Rescan from the original email on the phone that will use the plan.
- Missing the activation deadline. Many plans must be activated within a set window of purchase. Past it, support may refuse to help.
- Downloading the profile and assuming you are done. Installation is not activation. You must select the line and enable data on it.
- Changing the wrong line. Selections are per line, and it is easy to enable data on the home SIM while the eSIM sits idle.
- Leaving airplane mode on, or roaming off on the eSIM. Both look identical to a broken plan: no bars, no data.
- Deleting the wrong profile while experimenting. Keep a record of which line is which before you change anything.
- Installing days early on a plan that counts from install. Paid validity can quietly burn while you are at home.
- Expecting calls and SMS from a data-only plan. Most travel eSIMs cannot receive ordinary texts or banking codes. Check the plan before you assume, and download any authenticator app codes in advance.
- Ignoring the daily cap. Plans that throttle after a high-speed allowance often become unusable for navigation. Plan for the limit or buy a larger allowance.
Keep a physical SIM as a backup when a trip is remote, long or work-critical. Network reliability, not SIM format, is the real variable, and a card you can swap in an airport shop is a genuine safety net. Download offline maps before you fly for the same reason.
Frequently Asked Questions
Do I need a physical SIM card if I use an eSIM abroad?
No, not for data. An eSIM is a digital profile stored in your phone’s hardware, so no plastic card is needed. What most travelers still carry is a backup physical SIM for remote, long or work-critical trips, because a card is easy to swap and easy to debug. If your phone has no free eSIM slot or is carrier-locked, a physical SIM is your only option.
Can I use an eSIM as soon as I buy it?
Usually within minutes, but not always immediately where you are. Buying, installing and connecting are three steps. Most plans connect the moment you install and select the line, but many travel eSIMs are restricted to the destination country and will install at home without connecting until you land. Check whether your validity clock starts on install or on first connection before you install early.
Is an eSIM the same as international roaming?
No. International roaming runs your data through your home carrier while you are abroad, usually at a per-day rate, and often throttled. A travel eSIM connects your phone to a partner network in the destination country, so traffic is treated as local and is normally faster. You can still keep your home line active for calls and texts, with data roaming switched off on it.
Can a travel eSIM make calls and send texts?
Most cannot. The majority of travel eSIMs are data-only, with no voice number and no ordinary SMS, which means bank codes and account logins will not reach them. A smaller group of plans includes a local number with calls and texts, at the cost of a higher allowance and a fixed number for the trip. If you need to receive one-time codes, buy a plan that includes SMS and test it before departure.
What happens to my eSIM after I return home?
The profile usually stays installed and shows as inactive, costing you nothing once its validity period ends. You can leave it in place so a future trip is instant, or delete it to free a slot. Remember to switch your cellular data line back to your home SIM and re-enable data roaming on your home line, which is the step most people forget.
Why does my eSIM show no bars or no internet while traveling?
In order of likelihood: airplane mode is still on, data roaming is off for the eSIM line, the eSIM is not selected as your cellular data line, the plan’s activation window has not opened, or the phone has not re-registered with the network. Work through those, then restart the phone and temporarily set the network mode to LTE, since some partner networks register slowly on 5G-only profiles.
Conclusion
Start with the compatibility check, not the shop. Dial *#06#, confirm an EID appears, and verify your phone is carrier-unlocked before you spend anything.
Then choose a plan by coverage and terms rather than by headline data volume: which countries, how the validity clock starts, whether hotspot works, and what happens at the cap. Buy it before you travel, install the profile on the phone you will fly with, select it as your cellular data line, and turn roaming off on your home line so nothing quietly bills your carrier.
Test with Wi-Fi off and airplane mode cycled before departure, and when a connection matters enough to lose the trip over, keep a physical SIM or a downloaded offline backup ready.