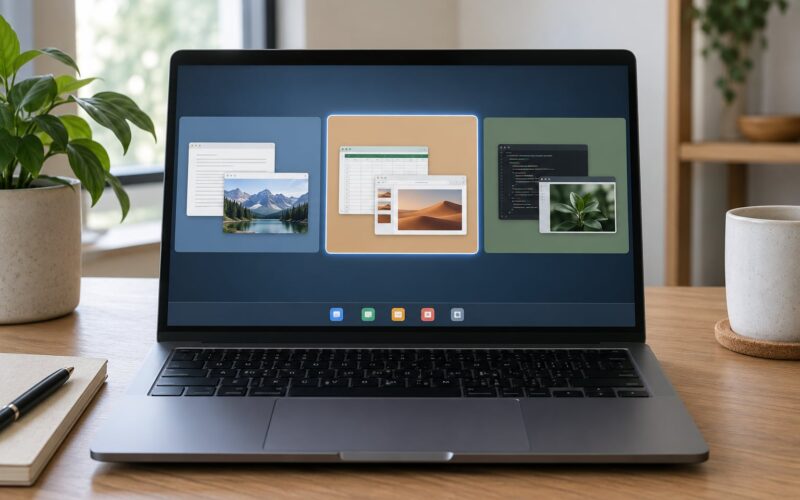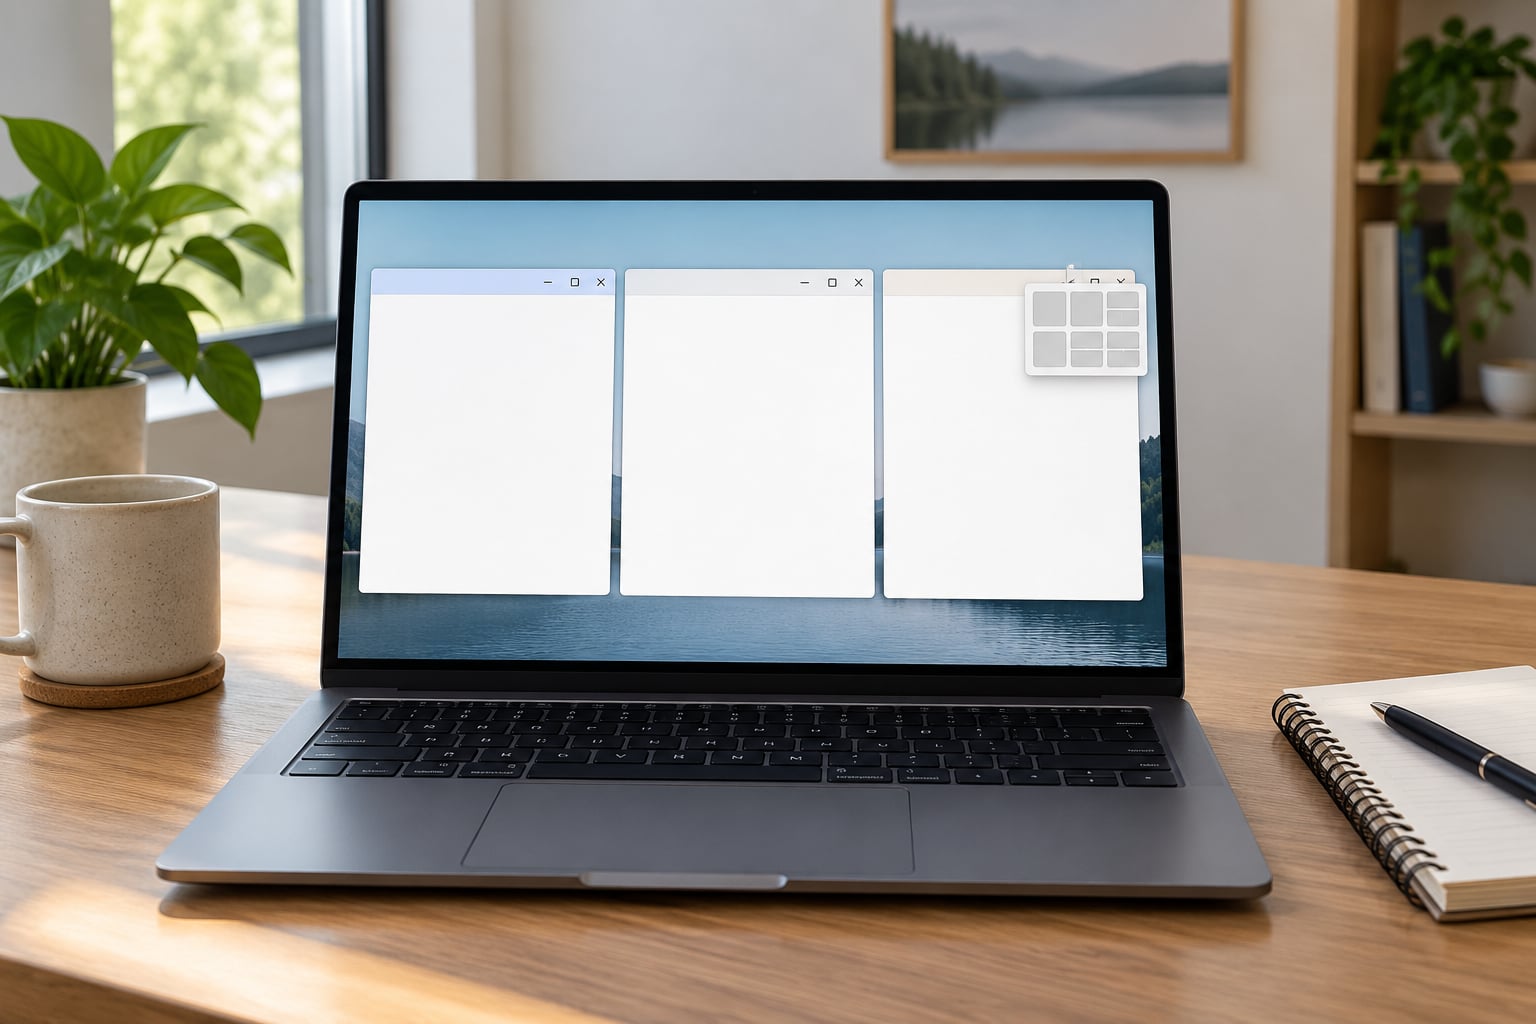
Snap Layouts is a Windows 11 feature that splits your screen into preset zones so you can drop two, three, or four windows into place without dragging edges around. You open the layout menu by hovering a window’s maximize button or pressing Win + Z, pick a shape, and click a zone. It takes about ten seconds the first time, and it takes over your whole workday after that.
One thing to clear up right away: Snap Layouts does not exist in Windows 10. If you search for a fix on a Windows 10 machine and keep finding Windows 11 guides, that is not a broken search result. Windows 10 has basic edge snapping with Win + Arrow, and PowerToys FancyZones is the closest replacement for the layout picker.
The menu itself is the part that surprises people. It is not a separate window, it has no name on screen, and it disappears the moment you move the cursor away. Once you know two ways to summon it, the rest is picking shapes.
Table of Contents
- 1What You Need
- 2Step-by-Step: How to Use Snap Layouts in Windows
- 3Step 1: Open the Snap Layouts Menu
- 4Step 2: Choose a Two- or Three-Window Layout
- 5Step 3: Switch Between Snap Groups
- 6Step 4: How to Use Snap Layouts Keyboard Shortcuts for Faster Snapping
- 7Step 5: Save the Most Useful Layout for Your Work
- 8Common Mistakes
- 9Frequently Asked Questions
- 10What is the keyboard shortcut to snap a window to the side of the screen?
- 11Can I use Snap Layouts on Windows 10?
- 12How do I save a snap layout in Windows 11?
- 13Why are my snap layouts not working in Windows 11?
- 14How do I turn off Snap Layouts in Windows 11?
- 15What is the difference between Snap Layouts and Snap Assist?
- 16Conclusion
What You Need
You need Windows 11, which means check with Win + R, type winver, and press Enter. Anything reported as build 22000 or higher has Snap Layouts. Windows 10 does not, and neither does Windows 7 or 8.
You also need a window that is not already maximized, because the maximize button doubles as the layout trigger and you cannot hover a button on a window that has no visible controls. Restore it first with Win + Down Arrow.
Screen size decides which layouts you get. Microsoft sizes zones to your display, so a 13-inch laptop screen shows roughly four layout options while a 27-inch monitor or ultrawide shows six. Portrait monitors get top-and-bottom stacks instead of side-by-side columns. If you expected a layout you have seen elsewhere and it is missing, this is usually why.
Mouse, keyboard, or touchscreen all work. The hover trigger needs a pointer, so on a touchscreen tablet use Win + Z or drag the window to the top edge instead.
Step-by-Step: How to Use Snap Layouts in Windows
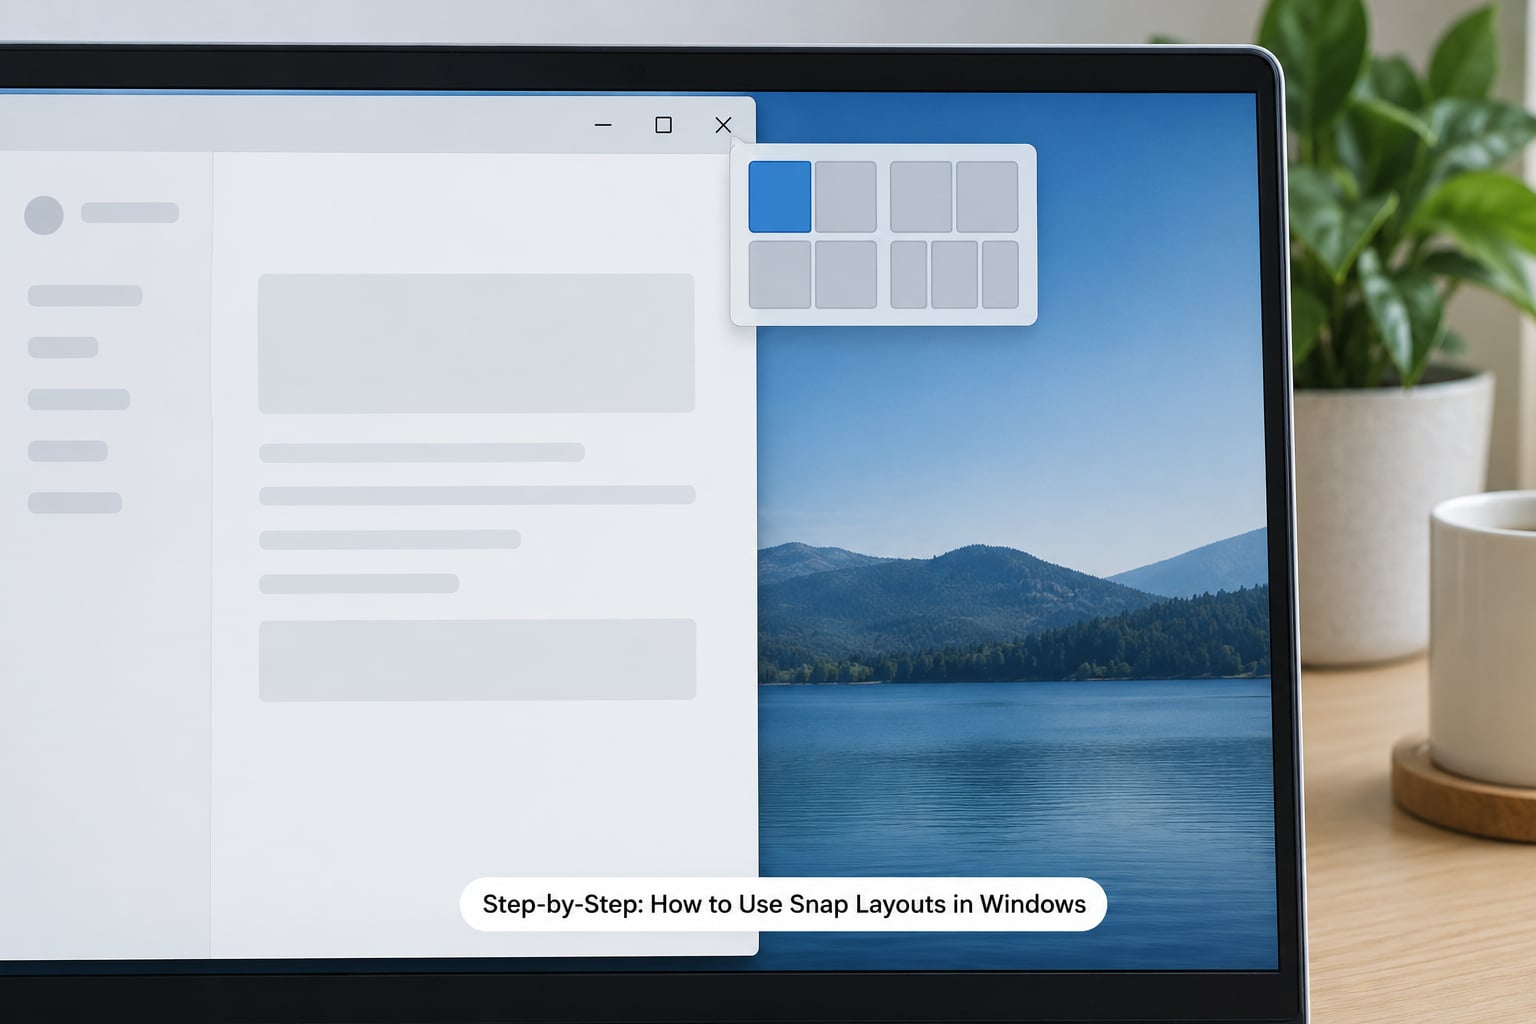
Step 1: Open the Snap Layouts Menu
Three triggers open the same menu, and you can learn whichever one your hands find first.
- Hover the maximize button. Move the pointer to the top-right corner of the window and pause on the middle button of the three window controls. The layout flyout appears a fraction of a second later. You did it if a small dark grid of grey zones shows up over your window.
- Press Win + Z. This is the fastest route and works no matter where the cursor is. The flyout appears centered near the top of the screen.
- Drag the window to the top edge of the screen. Push the title bar hard against the very top, past the snap-to-top threshold, and the same flyout drops down.
Press Esc and the menu closes without changing anything. That is also how you back out of a layout choice you have already clicked, before you pick a zone.
Step 2: Choose a Two- or Three-Window Layout
Hover a shape in the flyout and your current window turns into a live preview showing exactly where it will land. Two halves, a two-thirds plus one-third split, thirds, and a four-quadrant grid are the shapes you will see most often.
Click the zone you highlighted and the window snaps there instantly. Then Snap Assist takes over: the remaining zones light up and show thumbnails of your other open windows. Click a thumbnail to fill that zone, and repeat for each one you want.
Two details worth knowing. If you do not want Snap Assist, press Esc and it goes away, leaving the rest of the screen untouched. And if you snap one window to a quarter and then want the adjacent window to fill the space beside it, drag that second window to the shared edge and Windows resizes both at once.
Step 3: Switch Between Snap Groups
A Snap Group is the set of windows you have arranged together. Windows remembers the grouping and lets you bring the whole arrangement back in one action, which is the closest thing to saving a layout.
- From the taskbar: hover an app icon that belongs to a group and the preview shows every window in that group. Click any thumbnail and the entire arrangement returns to the screen.
- From Task View: press Win + Tab. Each Snap Group appears as a single card containing its windows. Click the card, then click the specific window you want.
- From Alt + Tab: if you have enabled snap groups in Alt + Tab, each group shows up as one entry alongside your individual windows. Keep pressing Alt + Tab to cycle groups.
Moving a window between groups works by dragging it onto a taskbar icon and dropping it on that icon, which adds it to that group. Groups are tied to the display they were created on, so a group built on your laptop screen stays on the laptop screen when you plug in a second monitor.
Step 4: How to Use Snap Layouts Keyboard Shortcuts for Faster Snapping
Once the flyout is muscle memory, Win + Arrow keys beat it. Most power users I have watched end up ignoring the menu for basic arranging.
| Shortcut | What it does |
|---|---|
| Win + Left Arrow | Snap the active window to the left half |
| Win + Right Arrow | Snap the active window to the right half |
| Win + Up Arrow | Maximize the active window |
| Win + Down Arrow | Restore, or snap to the bottom half |
| Win + Right then Win + Down | Snap into the bottom-right quarter |
| Win + Left then Win + Up | Snap into the top-left quarter |
| Win + Tab | Open Task View and click a Snap Group |
| Win + Z | Open the Snap Layouts flyout |
| Esc | Close the flyout or cancel Snap Assist |
The chained combos are the useful ones. Pressing Win + Right then Win + Down before letting go puts a window in a quarter rather than half a screen, and the same trick gets you any corner from the keyboard alone.
One warning about Win + Z: some keyboard remapping and virtual desktop tools use that combination. If the flyout never opens but everything else works, check what your hotkey app has bound to Win + Z.
Step 5: Save the Most Useful Layout for Your Work
Windows does not have a named layout save button. Snap Groups do the job implicitly: every time you arrange a set of windows, that arrangement becomes a group you can recall later from the taskbar.
Different jobs want different shapes. For writing, two halves with the document on the right and references on the left beats any fancier arrangement. Research splits into thirds so a document, a browser, and a notes app each get real width. Chat plus reference, two halves again, but with the conversation pinned left and the material you are discussing open on the right. Code tends to want three columns or a quarter for the editor with the other three quarters filled by terminal, browser, and output.
To modify a group you are already using, just move the window to a different position. The group updates to match. To start over, drag the extra window out of the arrangement until only the windows you want remain grouped.
Once you want zones Windows does not offer, that is when PowerToys FancyZones earns its place. It replaces the built-in snapping with a grid you design yourself, including shifting new windows into the zone under your cursor, and it gives Windows 10 users the layout picker they never had.
Common Mistakes
The flyout never appears. Check Settings, then System, then Multitasking, and confirm Snap windows is on. The three triggers are separate toggles underneath it, so if only one is disabled, only that one fails.
You changed a setting and nothing happened. Sign out and sign back in. A full reboot is the advice most guides give, but signing out is usually enough and saves you the restart.
The menu pops up when you did not want it. That is the drag-to-top trigger firing during a drag you meant for something else. Turn off Show snap layouts when I drag a window to the top of my screen and keep the maximize-button hover, which is the combination most people settle on after a few days.
Windows snap to the wrong side. Win + Arrow acts on the active window, not the one you are looking at. Click the window you actually mean first, or Alt + Tab to it.
Snap suggestions keep interrupting. Snap Assist fills empty zones with thumbnails of your open windows. Turn off Suggest what I can snap next to it on the Multitasking page if you would rather choose every window yourself.
One app has no layouts at all. Apps that draw their own title bar and their own window buttons, and some older Electron-based apps, never hand the maximize control to Windows. So do apps whose minimum window width is wider than a quarter of your screen. There is no fix on the Windows side.
You want the Windows 10 version. It is not there. Use Win + Arrow for basic snapping or install FancyZones.
Frequently Asked Questions
What is the keyboard shortcut to snap a window to the side of the screen?
Win + Left Arrow snaps the active window to the left half of the screen and Win + Right Arrow snaps it to the right half. Win + Up Arrow maximizes it and Win + Down Arrow restores it or drops it into the bottom half. To reach a quarter instead of a half, chain the keys, for example Win + Right followed by Win + Down for the bottom-right corner. Win + Z opens the full Snap Layouts picker when you want more than two windows.
Can I use Snap Layouts on Windows 10?
No. Snap Layouts is a Windows 11 feature and there is no equivalent in Windows 10, which is why searching for a fix on a Windows 10 machine turns up nothing useful. Windows 10 offers edge snapping through Win + Arrow keys only. For the layout picker on Windows 10, install Microsoft PowerToys and turn on FancyZones, which gives you custom zones that Windows itself does not ship.
How do I save a snap layout in Windows 11?
Windows saves layouts automatically as Snap Groups. Arrange your windows into the layout you want, and that set becomes a group you can bring back in one click from a taskbar preview, from Task View with Win + Tab, or from Alt + Tab if you enabled that option in Settings. There is no button that names or exports a layout. To keep a layout permanently, rebuild it on each display you use and leave the windows snapped in place before you close them.
Why are my snap layouts not working in Windows 11?
Most of the time the feature is switched off or one of its triggers is disabled. Open Settings, then System, then Multitasking and confirm Snap windows is on, then check the maximize-hover, drag-to-top, and snap-a-window-without-dragging toggles underneath it. Sign out and sign back in after changing anything. If it works in most apps but not one, that app draws its own title bar and window buttons, so Windows never gets control of the maximize caption button.
How do I turn off Snap Layouts in Windows 11?
Go to Settings, then System, then Multitasking, and switch Snap windows off to remove snapping everywhere. To keep snapping but silence the flyout, leave the master toggle on and switch off the individual triggers you dislike: show snap layouts when I hover the maximize button, and show snap layouts when I drag a window to the top of my screen. Many people turn off the drag trigger and keep the hover trigger.
What is the difference between Snap Layouts and Snap Assist?
Snap Layouts is the menu that offers you zone shapes, opened by hovering the maximize button, pressing Win + Z, or dragging to the top of the screen. Snap Assist is what happens after you choose one: the empty zones fill with thumbnails of your other open windows so you can choose what goes next. Layouts decide the arrangement, Snap Assist helps you fill it in one pass.
Conclusion
Start with one action: press Win + Z, pick the two-thirds and one-third layout, and drop a browser on one side and a document on the other. Once two windows feel natural, add the third zone for research days, and use Snap Groups to recall the arrangement tomorrow without rebuilding it.
If the flyout never showed up, check Settings, then System, then Multitasking first. That one toggle fixes more broken Snap Layouts than anything else.