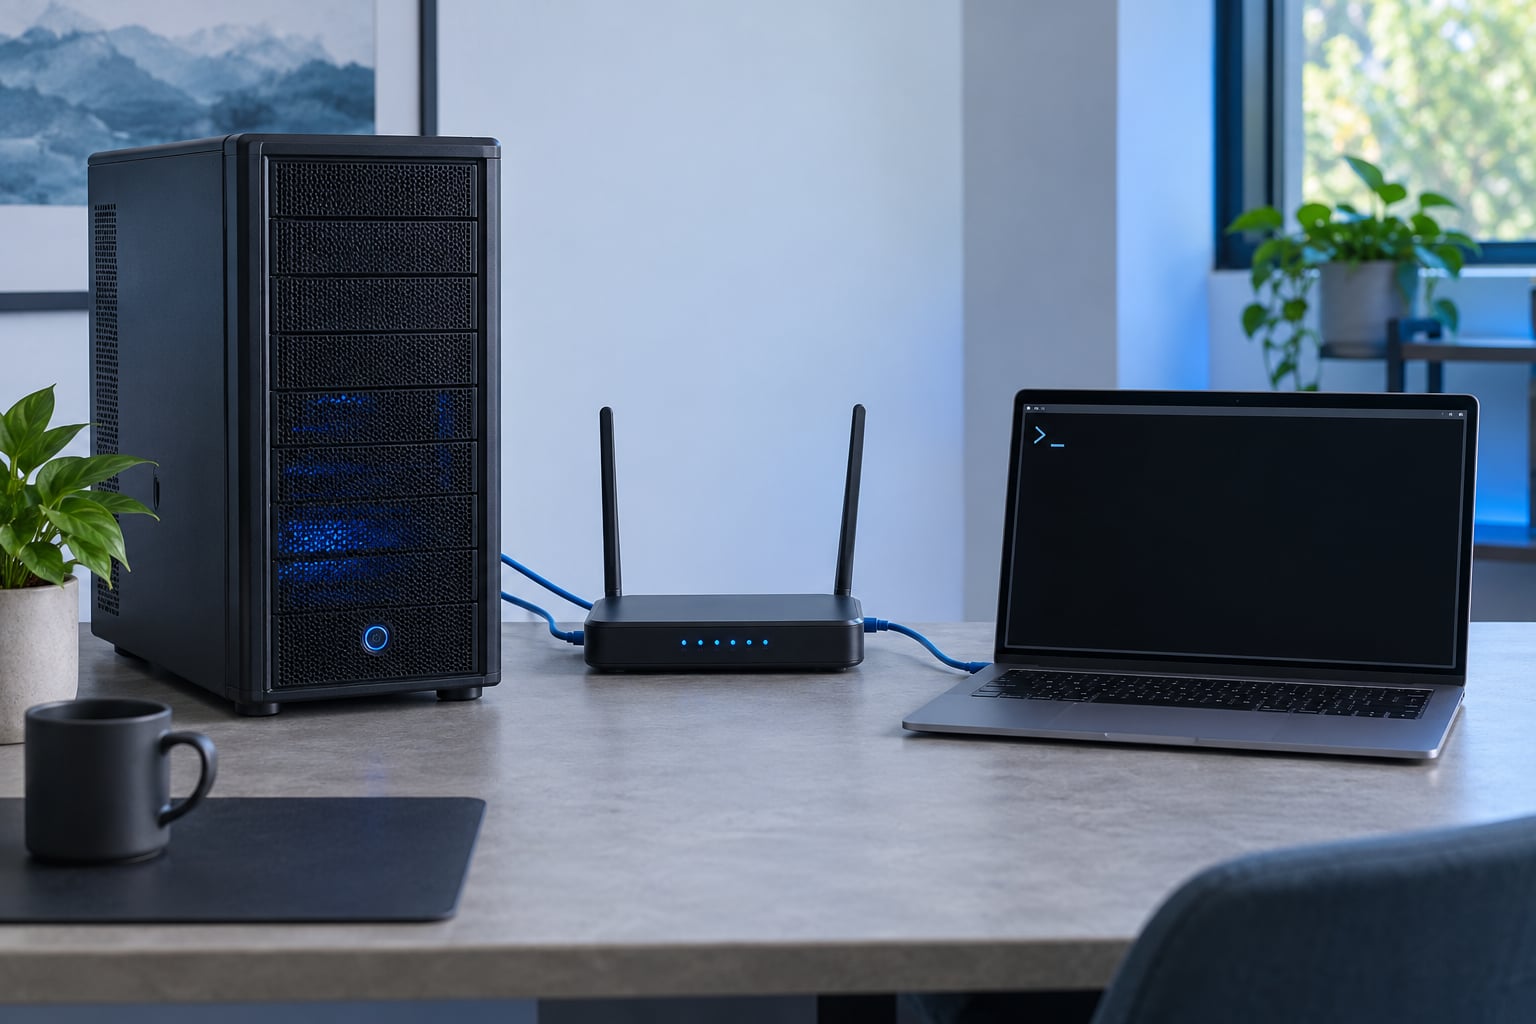
If you’re wondering how to use an SSH tunnel to access a home server, the short answer is a single command run on the machine where you’re sitting. An SSH tunnel carries traffic for a web app, admin panel or database across an encrypted SSH connection, so you can reach a home server from anywhere without opening a single port on your router. Setup takes about fifteen minutes once SSH itself works on the server.
On most home connections you can’t forward a port at all, because the router hands your server a private address and many ISPs sit behind carrier-grade NAT on top of that. A tunnel sidesteps both problems because the SSH session is initiated outbound, by you.
Table of Contents
- 1What You Need
- 2Step-by-Step
- 3Step 1: Prepare the Home Server
- 4Step 2: Find the Home Server’s Local Address
- 5Step 3: Start the SSH Tunnel
- 6Step 4: Access the Home Server Through the Tunnel
- 7Step 5: Keep the Tunnel Running and Close It Safely
- 8Step 6: Test the Setup and Troubleshoot the Connection
- 9Common Mistakes
- 10Frequently Asked Questions
- 11Do I need port forwarding on my router to use an SSH tunnel?
- 12How do I handle a dynamic IP address from my ISP?
- 13Can I reach my home server from my phone?
- 14Is SSH tunneling actually safe for reaching my home server?
- 15How do I expose several services through one tunnel?
- 16Conclusion
What You Need
You need an OpenSSH client on the machine you’ll connect from. Linux, macOS and Windows 10 and 11 all ship with one, so nothing to install there; on Windows you can confirm with ssh -V in PowerShell or Command Prompt.
The home server needs an SSH daemon running, a stable local address on your LAN, and a firewall rule that allows SSH inbound on the local network only. You also need the login details for the account you’ll connect as, and permission to install or enable that daemon if it isn’t there yet.
A key pair is strongly recommended even on a home network. Password logins on port 22 attract automated scanning within days of being online, and a key removes that entire class of problem.
Optional: a small public VPS. If your ISP uses CGNAT, or you have no access to your router’s settings, you’ll need a reachable middle host to relay a reverse tunnel. A tiny instance is enough, since it only passes encrypted bytes.
Step-by-Step
Step 1: Prepare the Home Server
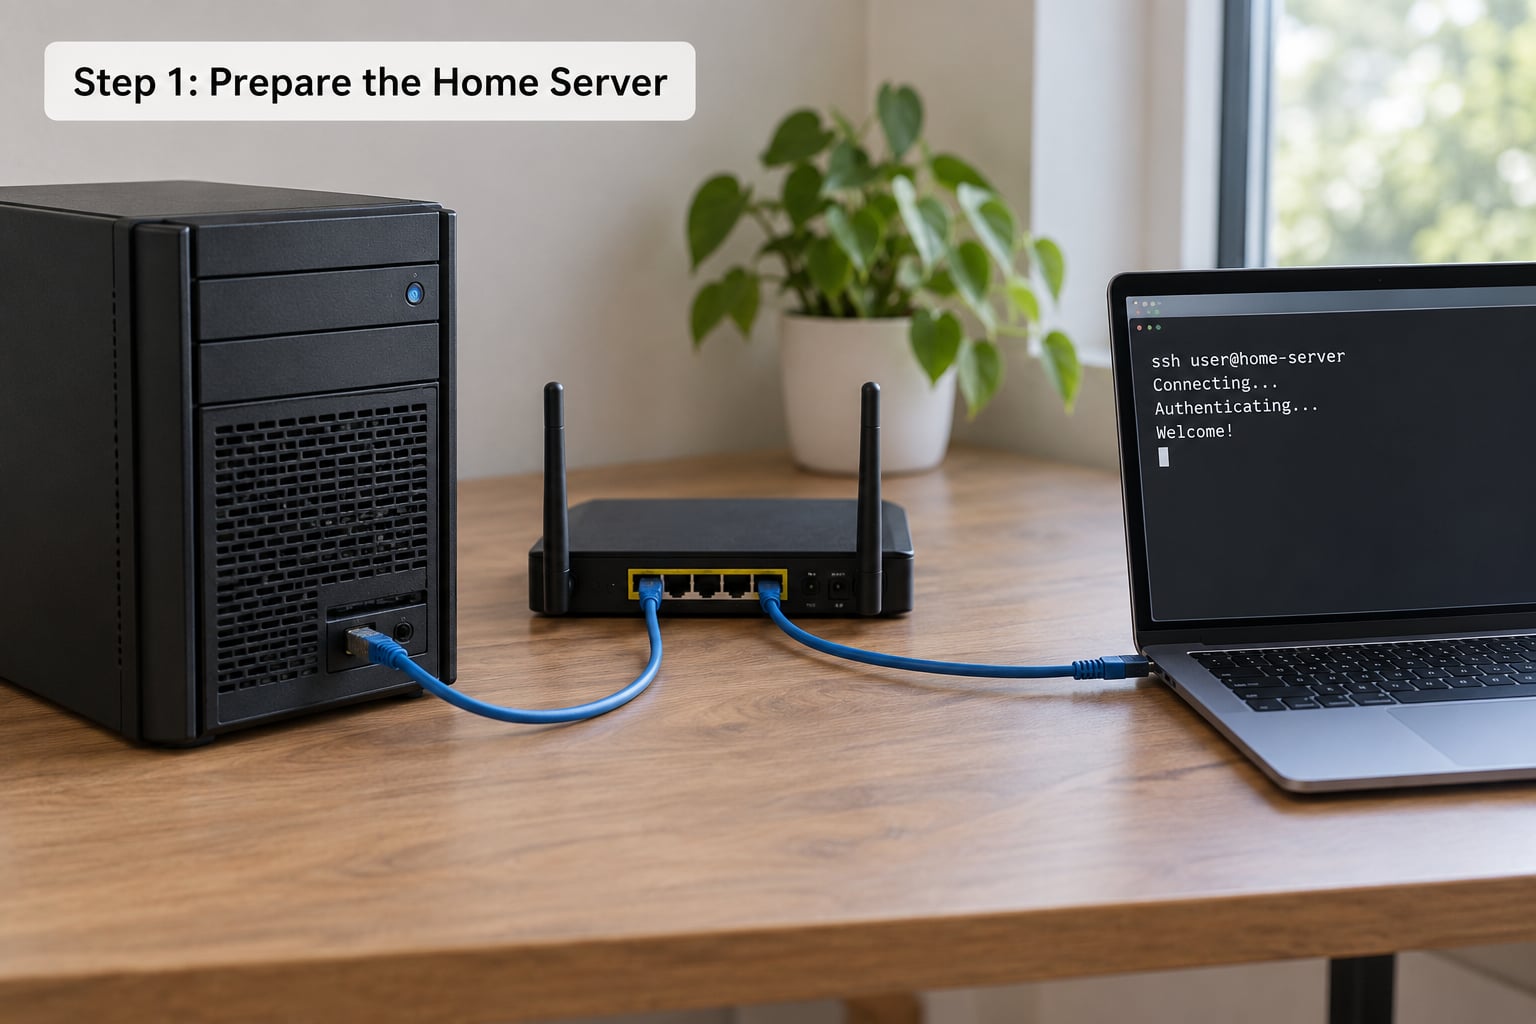
Install and start OpenSSH Server if it isn’t running yet. On Debian and Ubuntu that’s sudo apt install openssh-server; on Fedora it’s sudo dnf install openssh-server. Check the service before you go any further:
systemctl status ssh
If it isn’t active, start it and set it to come back after a reboot. sudo systemctl enable --now ssh does both in one go.
Next, open the SSH port on the server’s firewall. Keep the rule scoped to your own subnet rather than the whole internet:
sudo ufw allow from 192.168.1.0/24 to any port 22 proto tcp
Finally, pick the service you’ll reach through the tunnel and note the port it listens on. A Jellyfin server usually sits on 8096, Home Assistant on 8123, Portainer on 9000. Knowing that port now saves guessing later.
Step 2: Find the Home Server’s Local Address
Run this on the home server and read the address on the interface that talks to your router:
hostname -I
You’ll see something like 192.168.1.50. That’s the private address the tunnel will target, and it’s why port forwarding through a router fails to reach devices that only listen on loopback.
Give the server a DHCP reservation in your router so that address doesn’t drift when leases renew. A home server that changes IP after a reboot is the single most common cause of tunnels that “worked yesterday”.
Step 3: Start the SSH Tunnel
The command most people mean when they want to use an SSH tunnel to access a home server is local port forwarding, run from the laptop or the machine you’re working on. It tells your computer to listen on a local port and pipe everything sent to it through the SSH session, out to the home server:
ssh -N -L 8080:127.0.0.1:8096 [email protected]
Reading it left to right: -N means don’t run a remote command, just forward. -L is local forwarding. 8080 is the port your own machine listens on. 127.0.0.1:8096 is the destination as seen from the home server, and [email protected] is where SSH connects.
Both 127.0.0.1 references matter. The first is on the machine you’re sitting at; the second is evaluated on the home server, so the app has to be reachable from there.
Four tunnel types cover most home lab needs, and mixing them up is the usual reason a command doesn’t do what you expected:
| Flag | Name | Traffic flows | Typical home server use |
|---|---|---|---|
| -L | Local port forwarding | Your machine to the home server | Reaching one app, database or dashboard |
| -R | Remote port forwarding | Home server out to a public host | Exposing a service through a VPS when you have no router access |
| -D | Dynamic (SOCKS5) forwarding | Your browser through the home server | Browsing the whole home LAN from elsewhere |
| -J | Jump host | Your machine through one host to another | Reaching a second machine on the LAN |
Add key authentication before you rely on any of this. Generate a key, copy the public half over, then test the login:
ssh-keygen -t ed25519 -C "home-tunnel"
ssh-copy-id [email protected]
On Windows without ssh-copy-id, pipe the key across manually with type $env:USERPROFILE.sshid_ed25519.pub | ssh [email protected] "mkdir -p ~/.ssh && cat >> ~/.ssh/authorized_keys".
Step 4: Access the Home Server Through the Tunnel
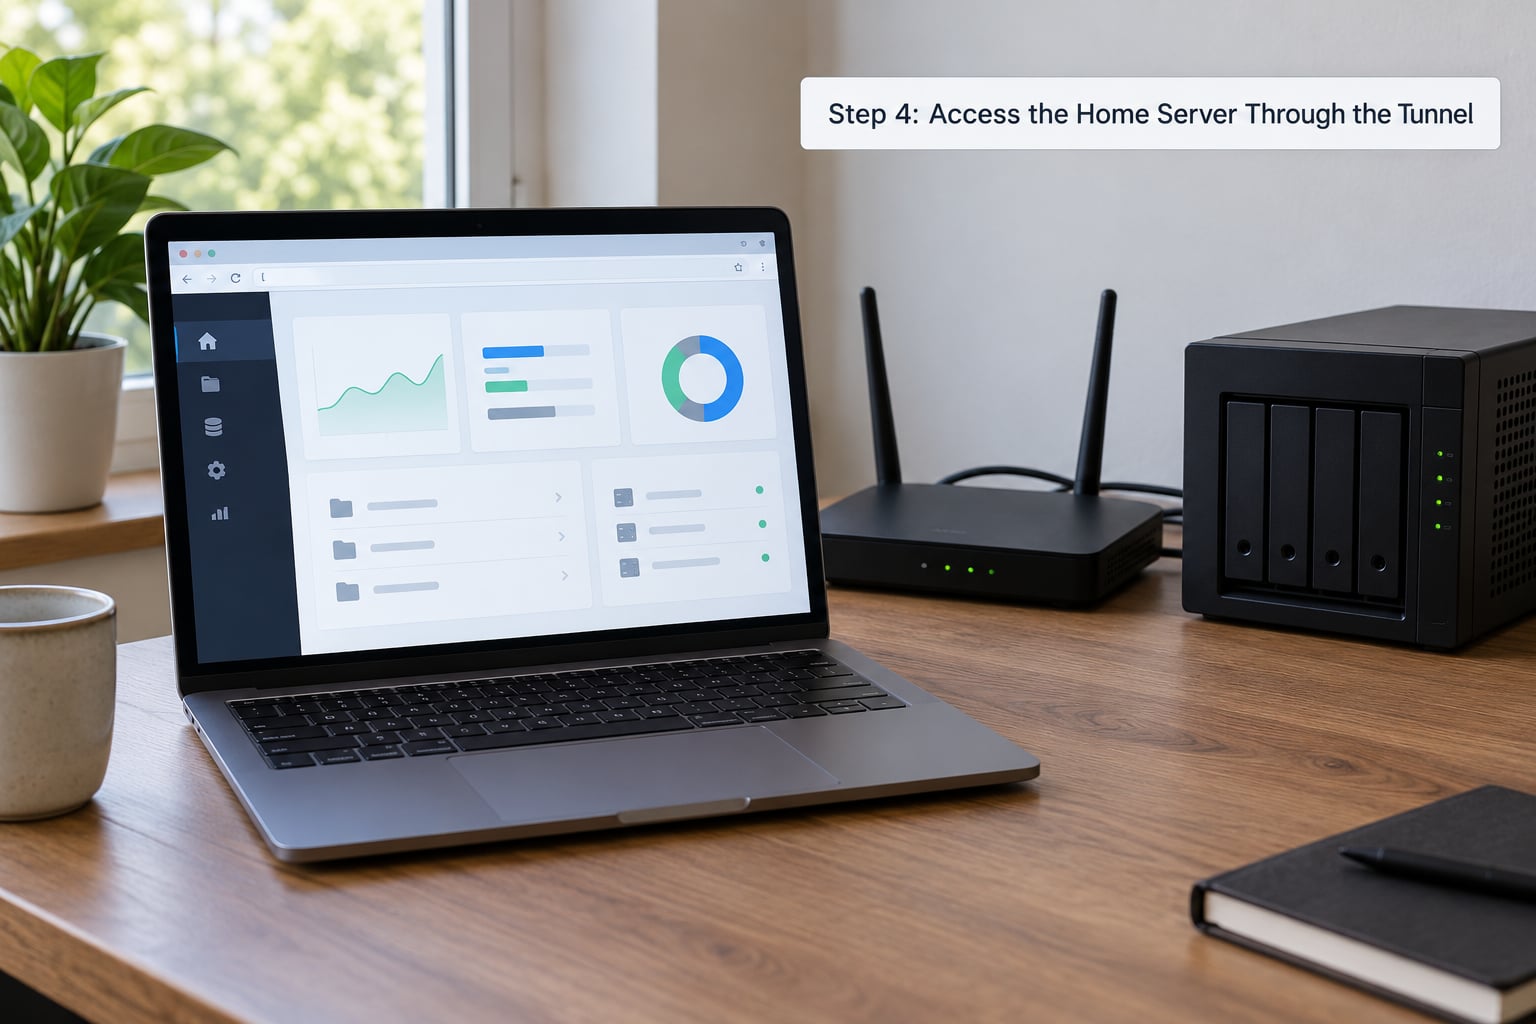
Leave the tunnel running in its terminal and open a browser. Type http://127.0.0.1:8080 into the address bar. The browser sends that request to your own machine on port 8080, the SSH connection carries it to the home server, and the app responds through the same path.
Nothing is listening on port 8080 anywhere on the internet, which is exactly the point. The only inbound connection your router sees is the SSH one you started.
Applications use the same address. A native client such as a database tool, a media player or a VNC viewer points at 127.0.0.1:8080 and needs no other change. If a GUI tool has its own tunnel dialog, MySQL Workbench and pgAdmin both do, and they build the same command for you.
To reach several services at once, repeat the -L flag in a single session:
ssh -N -L 8080:127.0.0.1:8096 -L 9000:127.0.0.1:9000 [email protected]
And if you want a browser pointed at the whole home network rather than one app, open a SOCKS proxy instead:
ssh -N -D 1080 [email protected]
Set your browser’s proxy to SOCKS5 on 127.0.0.1 port 1080, then browse to the server by its LAN address. In Firefox that’s Settings, Network Settings, Manual proxy, SOCKS Host.
Step 5: Keep the Tunnel Running and Close It Safely
A tunnel on an ordinary home connection drops when the ISP changes your IP, when Wi-Fi roams between access points, or when a router reboots. Send periodic keepalives so idle timeouts don’t kill it, and add these flags by default:
ssh -N -o ServerAliveInterval=30 -o ServerAliveCountMax=3 -o ExitOnForwardFailure=yes -L 8080:127.0.0.1:8096 [email protected]
ServerAliveInterval pings every 30 seconds and allows three missed replies before giving up, which catches a dead link early. ExitOnForwardFailure makes the command quit instead of running silently with no tunnel, a behavior that wastes a surprising amount of debugging time.
For anything longer than a quick session, put the tunnel under a multiplexer so it survives closing the terminal. Screen is the quick version:
screen -S tunnel
ssh -N -o ServerAliveInterval=30 -L 8080:127.0.0.1:8096 [email protected]
Detach with Ctrl-A then D, and reattach later with screen -r tunnel. Close it deliberately when you’re finished: exit in the tunnel terminal, or list and kill the session with screen -ls. If you close the window without exiting, the ssh process usually dies with it, but a detached multiplexer session keeps running until you say otherwise.
For something that should always be up, wrap the command in autossh, which restarts a dropped tunnel automatically. Pair it with a systemd unit and you never think about it again.
Step 6: Test the Setup and Troubleshoot the Connection
Test in layers so you know which piece is broken. First confirm SSH itself works, with no forwarding at all:
ssh [email protected] 'echo tunnel-ready'
If that returns your word and nothing else, the server and your credentials are fine. Next, confirm the service is actually listening on the home server:
ss -tlnp | grep 8096
Then confirm the tunnel forwards. From your own machine, with the tunnel running:
curl -I http://127.0.0.1:8080
nc -zv 127.0.0.1 8080
A Connection refused from curl means the SSH session is up but nothing is answering on the far side. From the home server, curl the app directly on its own port. If that fails too, the service is down. If it works locally but not through the tunnel, check whether the app binds to 127.0.0.1 only, which some apps do by default.
If SSH itself refuses the connection, work outward from the server: is the daemon running, is the port blocked by a firewall rule, and does the LAN address still match what Step 2 printed?
Common Mistakes
These account for nearly every broken tunnel I’ve watched someone debug. Work down the list in order, because the first two cause most of the rest.
| Symptom | Likely cause | Fix |
|---|---|---|
| bind: Address already in use | The local port is taken by an earlier tunnel or another app | Use a different local port, or find the holder with lsof -i :8080 |
| Connection refused on 127.0.0.1 | Tunnel is up, the service behind it isn’t, or it’s bound to loopback only | Curl the app’s port on the home server directly, then rebind it to 0.0.0.0 if needed |
| Permission denied (publickey) | Key isn’t in authorized_keys, or wrong key offered | Run ssh-copy-id, then check the key path with ssh -v to see which one is offered |
| REMOTE HOST IDENTIFICATION HAS CHANGED | Server was reinstalled or rebuilt and its host key changed | Remove the old entry with ssh-keygen -R and accept the new key after confirming the rebuild |
| Tunnel connects then dies after minutes | Idle timeout, carrier NAT timeout, or an IP change | Add ServerAliveInterval and wrap the command in autossh or a systemd unit |
| Nothing works from outside home | CGNAT, so router port forwarding can never work | Relay through a small VPS with ssh -R instead |
On that last row, the fix is a reverse tunnel. From the home server, push a port out to your VPS, then connect to the VPS instead of home:
ssh -N -R 8080:127.0.0.1:8096 [email protected]
Give that a dedicated account and a dedicated key, then restrict that key so it can only open tunnels and nothing more. In ~/.ssh/authorized_keys on the VPS, prefix the public key with the options you want:
restrict,port-forwarding,command="sleep infinity" ssh-ed25519 AAAA...tunnelkeySet GatewayPorts no in the VPS’s sshd_config so the port stays bound to loopback there and isn’t reachable by other people on that machine.
On hardening: turn off password authentication with PasswordAuthentication no once keys work, and keep PermitRootLogin no. Disabling root login costs nothing and closes a path people script against by default.
Moving SSH off port 22 is worth doing for a different reason than people expect. It won’t hide your server from a port scan, but it does cut the automated noise in your auth log to nearly nothing, which makes real attempts easier to spot.
And if the tunnel needs to exist full time across IP changes, autossh with a systemd unit beats any hand-rolled retry loop.
Frequently Asked Questions
Do I need port forwarding on my router to use an SSH tunnel?
No, and that is the main reason to use one. The SSH connection is opened outbound by your laptop, so your router never has to accept an unsolicited incoming connection. This is what makes SSH tunnels work on connections where port forwarding is impossible, including most cellular and many fiber providers.
How do I handle a dynamic IP address from my ISP?
Local forwarding handles it for free, because your laptop starts the SSH session each time and finds the server by whatever address it has now. Only the reverse-tunnel-through-a-VPS setup cares about IP changes, and there autossh reconnects after the address shifts. A DHCP reservation on your router keeps the home server’s LAN address stable too.
Can I reach my home server from my phone?
Yes. Install an SSH client such as Termius or JuiceSSH, then run the same ssh -L command from the phone’s terminal or the app’s tunnel dialog. On iOS, a client like Termius can hold the session open in the background longer than the built-in terminal will. The phone needs no VPN client of any kind.
Is SSH tunneling actually safe for reaching my home server?
Yes, as long as the SSH connection itself is sound. Everything inside the tunnel is encrypted between your machine and the server, and the app never needs a public address. The risk sits at the SSH login, not the tunnel: use key-based authentication, disable password logins, and restrict any key used for a reverse tunnel so it cannot open a shell.
How do I expose several services through one tunnel?
Repeat the -L flag for each service in a single command, giving each one a different local port, and the connection carries all of them. For services you open rarely, a small shell script in your SSH config is tidier than a long line. Remember that every -L target is evaluated on the home server, not on your laptop.
Conclusion
Start by confirming you can log into the home server with plain ssh [email protected] from your laptop. That single check is the foundation of how to use an SSH tunnel to access a home server, and everything else builds on it.
Once it works, add -L for the one service you actually need, keep ServerAliveInterval and ExitOnForwardFailure in the command from day one, and use key-based authentication rather than a password. Test the tunnel on something you can afford to interrupt before you point anything important at it. And if your connection turns out to be behind CGNAT, add a small VPS with ssh -R rather than fighting the router.