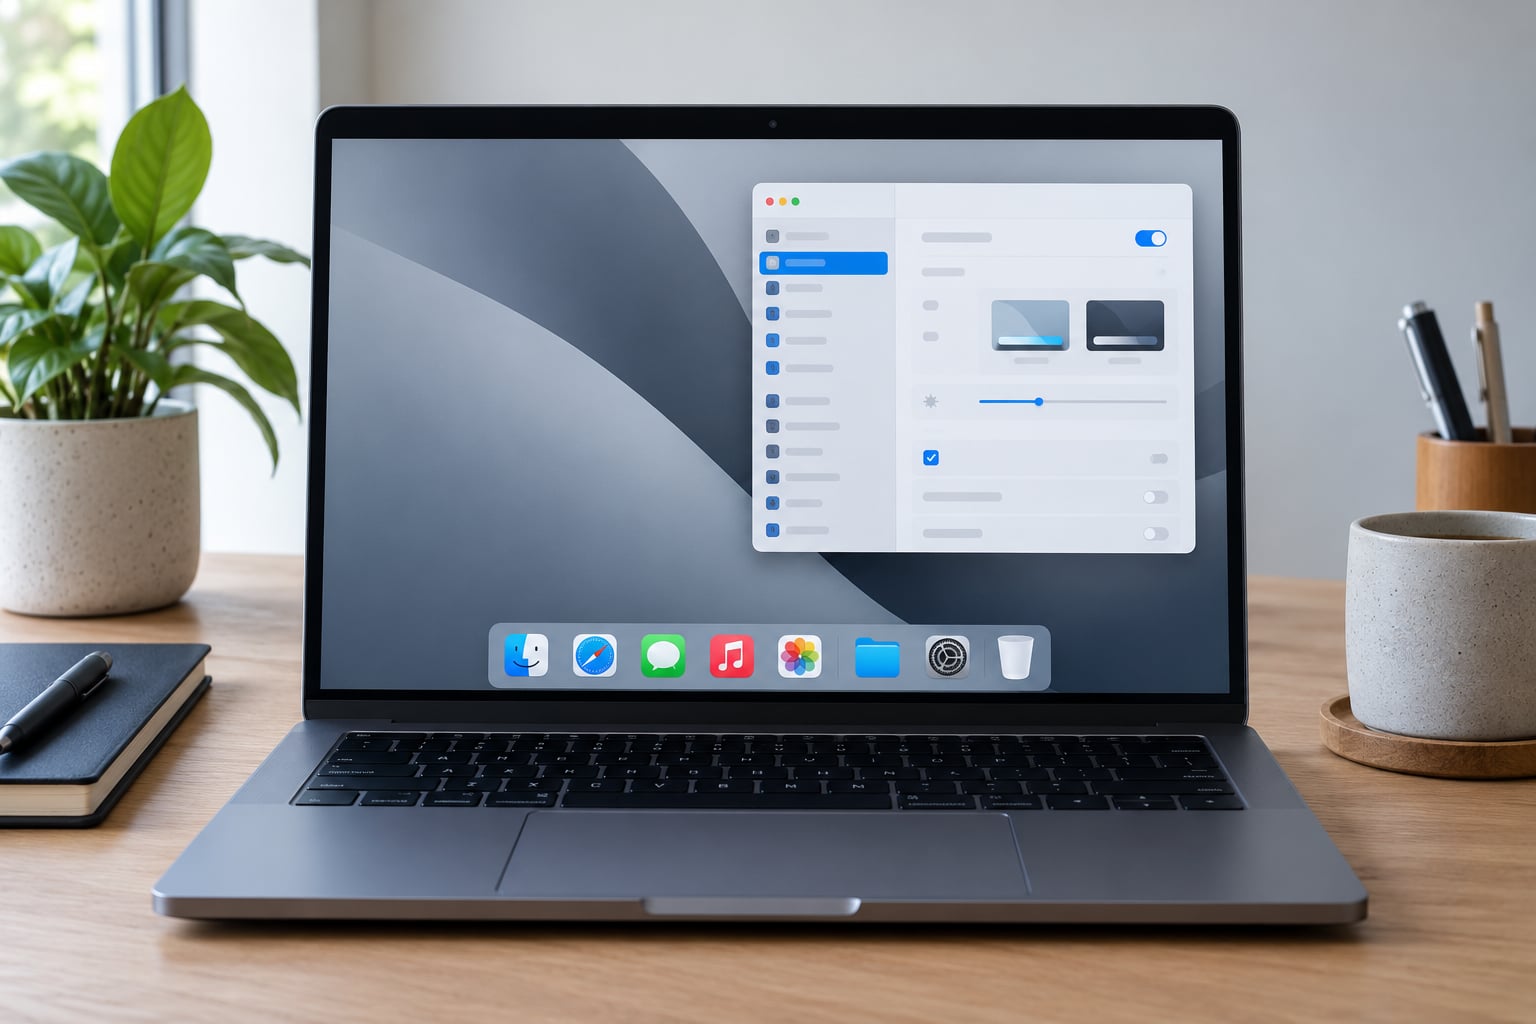
Customizing the Dock on your Mac takes about two minutes. Open the Apple menu, choose System Settings, then pick Desktop & Dock to change icon size, position on screen, magnification, and auto-hide. For anything faster, right-click the Dock itself for the menu most people actually need.
The Dock is the quickest route to your apps, and the stock setup wastes space: six Apple apps you may never open, a stack of minimized windows, and recent apps crowding out the icons you do use. On a 13-inch MacBook that room matters.
This guide covers both menu paths, because the wording changed. If you follow an older tutorial that says System Preferences > Dock & Menu Bar, that path stopped existing in macOS Ventura. Everything below works on current releases and tells you what changed.
Table of Contents
- 1What You Need
- 2Step-by-Step: how to customize the Dock on a Mac
- 3Set the Dock position and size
- 4Adjust magnification and appearance
- 5Control windows, folders, and recent apps
- 6How to customize the Dock on a Mac: add, remove, and organize icons
- 7Set Dock preferences that save screen space
- 8Common Mistakes
- 9Frequently Asked Questions
- 10How do I rearrange the Dock on my MacBook?
- 11How do I make the Dock smaller on a Mac?
- 12How do I remove apps from the Dock?
- 13My Mac Dock is disappearing and will not come back
- 14How do I hide the Dock on a Mac permanently?
- 15Why is my Mac so slow and laggy with a full Dock?
- 16Conclusion
What You Need
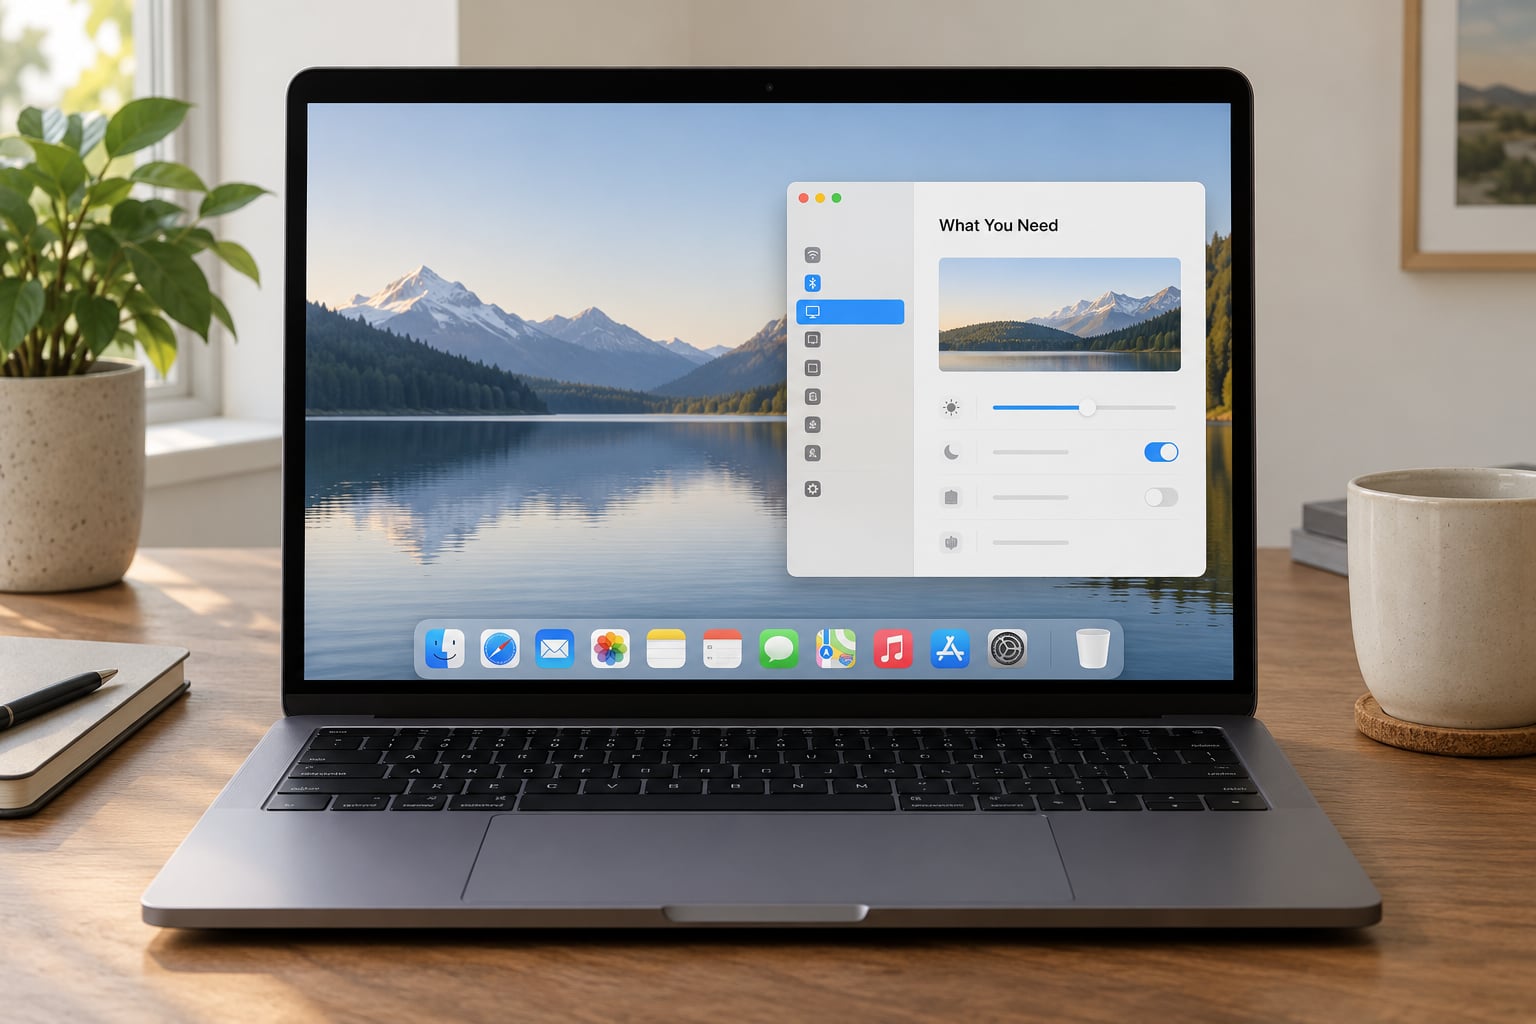
You need nothing but your Mac. No downloads, no admin password, no third-party utility for any of the changes described below.
The one thing worth knowing first is which macOS you are running, because the Dock controls sit in one of two places:
- macOS Ventura, Sonoma, Sequoia, Tahoe: Apple menu > System Settings > Desktop & Dock.
- macOS Monterey and earlier: Apple menu > System Preferences > Dock & Menu Bar.
Check with Apple menu > About This Mac. The wording changed at Ventura, and that rename is the single biggest reason older guides send you looking for a pane that no longer exists.
If you manage more than one Mac, keep reading. The Terminal commands at the end apply the same layout to every machine, which is why people automating a new Mac setup use them.
Step-by-Step: how to customize the Dock on a Mac
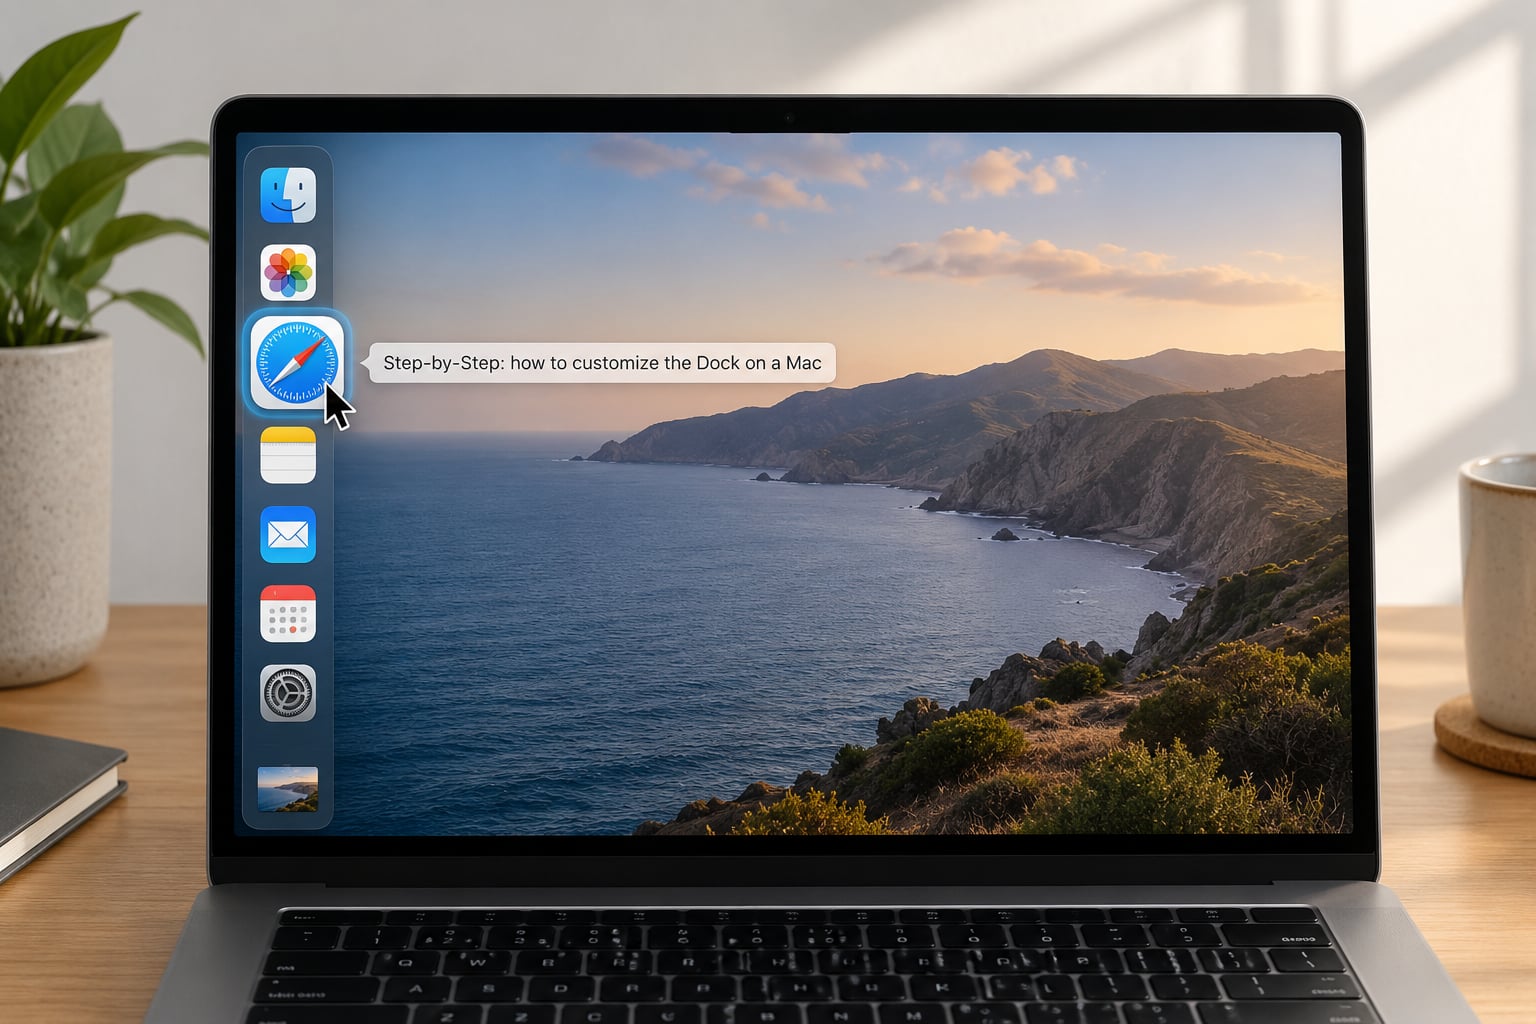
Work through these in order. Position and size first, then magnification, then the clutter settings, then the icons themselves. Changing the layout from a messy Dock is slower than starting from a clean one.
Set the Dock position and size
To move the Dock, click an empty spot in the Dock so the context menu appears, then choose Position on Screen and pick Left, Right, or Bottom. The Dock slides over immediately, so you can see the result without opening anything.
The same control exists in System Settings > Desktop & Dock, where it sits under Position on screen. On pre-Ventura Macs it is a dropdown labelled Position on screen inside Dock & Menu Bar.
Left and right placements cost you the full height of the Dock on tall screens but free up vertical room, which is the trade Windows switchers care about on a laptop. Bottom keeps it in the familiar spot.
For size, open Desktop & Dock and drag the Size slider. The Dock resizes live as you drag, so stop when the icons are large enough to hit without looking.
You can also resize directly on the Dock itself. If it sits at the bottom, drag the vertical separator line between your apps and the folders on the right side. Dragging that line left shrinks the whole Dock, right enlarges it.
If the slider moves but nothing changes, a third-party window manager is usually holding the size. Quit it and try again. That is the most common cause and it is worth ruling out before anything else.
Adjust magnification and appearance
Magnification is the effect where Dock icons swell as your cursor passes over them. Toggle it with the Magnification checkbox in Desktop & Dock, then set how large they grow with the Magnification slider.
Some people find magnification distracting because icons keep shifting under the cursor. Turning it off is a one-click change and you will notice the difference every time you open the Dock.
To magnify temporarily without changing the setting, hold Control and Shift while moving your cursor along the Dock. Icons grow, then shrink back when you let go. This is the fastest way to check a label you cannot read.
On appearance, the Dock follows whatever you have set in System Settings > Appearance, so switching the Mac to Dark Mode darkens the Dock with it. To make the Dock stand on its own, pick Light, Dark, or Multicolored in the Appearance section of Desktop & Dock.
The flat, no-reflection look some people prefer is a Terminal setting rather than a checkbox, and I have put it in the next section. Multicolored restores the older colorful icon treatment that new installs switch to grey.
Control windows, folders, and recent apps
The right-hand side of the Dock is what fills it up. Three switches decide what sits there.
- Show suggested and recent apps in Dock — off means the section disappears entirely, which is the single biggest cleanup available.
- Show indicators for open applications — a dot beside every running app. Turning it off makes the Dock visually calmer.
- Minimize windows into application icon — collapsed windows tuck into the app’s icon instead of taking their own slot.
If you enable Minimize windows into application icon, you need to know how to get the window back, because nobody finds this the first time. Click and hold the app icon, or right-click it and choose Show All Windows, and the window reappears where it was.
The separator line between the two halves is fixed by macOS. Persistent apps you have chosen sit left of it; folders, the Downloads stack, and minimized windows sit right of it. You cannot drag a running app across it.
Folders in the Dock are just folders. Drag one from Finder to the left of the separator and it becomes a single stacked icon that expands on click, which is the neatest way to hold a group of apps you rarely open.
How to customize the Dock on a Mac: add, remove, and organize icons
To add an app, open Applications in Finder and drag its icon onto the Dock. It slots in wherever you drop it. Launchpad works the same way, though Apple removed Launchpad from the Dock by default in recent releases.
To remove a permanent app, right-click its icon and choose Remove from Dock. The app itself stays in Applications; only the icon goes.
There is a second method worth knowing. Drag the icon up and out of the Dock, past the edge, and hold it there until a Remove tag appears over the icon, then drop it back.
For an app you opened but did not install in the Dock, right-click and choose Options > Keep in Dock instead. That promotes it to a permanent spot. Right-click > Remove from Dock clears both temporary and permanent entries.
To reorder, drag the icon along the Dock to the position you want. Drop it before the separator for a place among your main apps, after it for the secondary group.
Safari downloads can be pinned too. Download a file, click the downloads button beside the address bar, then choose Add to Dock. The item lands on the right side of the separator, where it behaves like any other stack.
Set Dock preferences that save screen space
The largest space saving on a laptop is auto-hide. Turn on Automatically hide and show the Dock in Desktop & Dock and the Dock slides off screen until your cursor hits the bottom edge. The shortcut is Command-Option-D if you want it on demand.
Auto-hide has one drawback people hit immediately: the Dock slides back in over full-screen apps. If you work in a full-screen window, leave auto-hide off and move the Dock to a side instead.
Everything below runs in Terminal (Applications > Utilities > Terminal). Each command ends with killall Dock, which restarts the Dock so the change loads. Nothing here is permanent damage: the reset command at the end undoes the lot.
Speed up the auto-hide reveal, or slow it down:
defaults write com.apple.dock autohide-delay -float 0
defaults write com.apple.dock autohide-time-modifier -float 0.15
The first removes the pause before the Dock appears, the second makes it slide in faster. Raise the second number past 1 for a slower, more deliberate reveal.
Set the icon size and side directly, which is handy when a slider seems unresponsive:
defaults write com.apple.dock tilesize -int 48
defaults write com.apple.dock orientation -string left
Values above about 64 pixels overflow the screen, which is why a hand-set number can look like a broken Dock.
Show only running apps, hide recent apps, dim hidden windows, or choose the minimize animation:
defaults write com.apple.dock static-only -bool true
defaults write com.apple.dock show-recents -bool false
defaults write com.apple.dock showhidden -bool true
defaults write com.apple.dock mineffect -string scale
Scale is the quickest minimize animation. The other values are suck and gene. Single-app mode hides everything except the app you are in, which suits a laptop you use for one thing at a time:
defaults write com.apple.dock single-app -bool trueTo get the flat 2D Dock with no reflections:
defaults write com.apple.dock no-glass -bool trueSpacers are blank tiles that divide your apps into groups. They exist only as Dock tiles, and removing one is a drag out of the Dock like any other icon:
defaults write com.apple.dock persistent-apps -array-add '{tile-data=134291408; tile-type=spacer-tile;}'
defaults write com.apple.dock persistent-apps -array-add '{tile-data=134291408; tile-type=small-spacer-tile;}'
Add a small spacer instead of a full-height one if you want apps separated without losing a row of screen space. Each command adds one tile, so run it again for a second gap.
To rebuild the same layout on another Mac, dockutil handles the icon list. Install it with Homebrew using brew install dockutil, then pin an app with dockutil –add /Applications/Safari.app. On a company machine where you cannot install packages, the defaults commands above do the same job.
And to undo everything at once:
defaults delete com.apple.dock
killall Dock
The Dock restarts and returns to factory settings, spacers included. Remember this one before you start experimenting.
Common Mistakes
If your Dock disappears and will not come back, the fastest fix most people land on is locking and unlocking with Command-Control-Q, or logging out and back in. That re-launches the Dock process and clears whatever wedged it.
When that fails, force a restart of the Dock process on its own: run killall Dock in Terminal. The Dock flickers and rebuilds itself within a second or two. No windows close and no work is lost.
If the bottom bar vanished and Command-Option-D does nothing, check whether a full-screen app is active. Its own space covers the Dock, and moving the cursor to the bottom edge brings your space back. Move the mouse further up than feels natural; the hot zone is a few pixels tall.
Icons that keep coming back after you remove them usually belong to something set to launch at login. Open System Settings > General > Login Items and Extensions, clear the app there, then remove the icon again.
A Dock stuck at the wrong size after an update is usually a stale window manager or a conflicting background app. Quit anything that manages windows, then restart the Dock process. If the Size slider still does nothing, the reset command fixes it in about two seconds.
Changes that revert after a macOS update are normal. Apple ships new Dock defaults, and settings tied to the old layout get overwritten. This is the strongest argument for writing the layout down with dockutil instead of rebuilding it by hand every autumn.
Third-party Dock apps go further than Apple’s settings, and two cautions apply. Anything requiring System Integrity Protection to be switched off can leave the machine exposed, and I would not disable it for a Dock. Several visual replacement apps also stopped being maintained years ago and break on current releases.
On multiple displays, the Dock follows the display your pointer is on. To pin it to one screen, keep the cursor on that display. macOS does not support two independent Docks, which is the limitation people hit when they expect a taskbar per monitor.
Two more worth knowing. A Dock full of minimized windows shrinks every icon, so turning off recent apps pays off more than resizing. And if you customize on a Mac that syncs settings through iCloud, a managed profile can overwrite your layout, which is worth checking before you rebuild it a second time.
Frequently Asked Questions
How do I rearrange the Dock on my MacBook?
Click and hold any Dock icon, then drag it left or right to a new position. Drop it before the vertical separator to place it with your main apps, or after it for the secondary group. macOS saves the order automatically, so there is no confirm step. Drag an icon out past the edge of the Dock and a Remove tag appears if you would rather take it out entirely.
How do I make the Dock smaller on a Mac?
Open Apple menu u0026gt; System Settings u0026gt; Desktop u0026amp; Dock and drag the Size slider left. You can also drag the separator line inside the Dock itself, which sits between your apps and the folders on the right. Smaller icons plus fewer minimized windows is usually better than size alone. To undo a Terminal resize, run defaults write com.apple.dock tilesize -int 64.
How do I remove apps from the Dock?
Right-click the app icon and choose Remove from Dock. The app stays installed in Applications, so nothing is lost. This clears both permanent icons and apps that only appear because you opened them recently. For a temporary app you want to promote instead, right-click and choose Options u0026gt; Keep in Dock.
My Mac Dock is disappearing and will not come back
Run killall Dock in Terminal, which restarts the Dock process without closing any windows. If that does not work, press Command-Control-Q to lock the screen and unlock it again. Auto-hide also looks like a missing Dock, so confirm that cursor still reveals it at the screen edge. In a full-screen app, the Dock is covered rather than gone.
How do I hide the Dock on a Mac permanently?
Turn on Automatically hide and show the Dock in System Settings u0026gt; Desktop u0026amp; Dock, then press Command-Option-D to toggle it on demand. A fully hidden Dock still launches apps through Spotlight with Command-Space. Leaving it permanently visible is usually better for full-screen work, because auto-hide slides in over full-screen apps.
Why is my Mac so slow and laggy with a full Dock?
A crowded Dock is a symptom more often than a cause, but it makes clicking harder and the magnification effect slower. Turn off Show suggested and recent apps in Dock, close minimized windows, and clear launch items in System Settings u0026gt; General u0026gt; Login Items. If the whole system lags, Activity Monitor sorted by CPU shows whether the Dock is the problem at all.
Conclusion
Start in System Settings > Desktop & Dock. Set the position and size first, because every other change is easier to judge once the Dock sits where you want it and holds a sensible number of icons.
Then turn off Show suggested and recent apps, which frees more space than anything else in the list. Finish by rearranging what remains and keeping only apps you actually launch.
Every change is reversible, and defaults delete com.apple.dock followed by killall Dock puts the Dock back exactly as it arrived. Screenshot your finished layout before a macOS update, or save it with dockutil, and you will not have to rebuild it from scratch.