Learning how to use Spotlight search like a power user comes down to three habits: open it with the keyboard instead of the mouse, narrow a query with operators instead of scrolling results, and use it as a launcher rather than a file finder. Spotlight is macOS’s built-in search field, it indexes your files locally on the Mac, and it already answers arithmetic, unit conversions and dictionary lookups. Set aside ten minutes to tune the settings and it becomes the fastest tool on the system.
Most people type a word, take whatever appears first, and never look further. That is the beginner version. The rest of this guide covers the parts that get skipped: previewing a result before opening it, quoted searches, the clipboard actions panel, and the privacy list that decides what gets indexed at all.
Table of Contents
- 1What You Need Before Using Spotlight Search Like a Power User
- 2Step-by-Step: How to Use Spotlight Search Like a Power User
- 3Step 1: Open Spotlight and Search Efficiently
- 4Step 2: How to Use Spotlight Search Like a Power User for Precise Results
- 5Step 3: Find Applications, Settings, and System Locations
- 6Step 4: Run Calculator and Conversion Searches
- 7Step 5: Use Clipboard Actions for Quick Edits
- 8Step 6: Search with Privacy in Mind
- 9Step 7: Build a Faster Everyday Search Habit
- 10Common Mistakes and Quick Fixes for macOS Spotlight Search
- 11Frequently Asked Questions
- 12How do I invoke Spotlight search?
- 13How does Spotlight search indexing work?
- 14Why isn’t my Mac’s Spotlight search working?
- 15How do I reindex Spotlight on macOS?
- 16How long should Spotlight indexing take?
- 17What is the best alternative to Spotlight on Mac?
- 18Conclusion
What You Need Before Using Spotlight Search Like a Power User
You need a Mac running a current macOS release and about ten minutes. Nothing else. Spotlight ships with the system, so there is no app to install and no account to create.
Where the settings live has changed over the years. On macOS Ventura and later the panel is System Settings > Siri & Spotlight, reached from the Apple menu. Older guides point at System Preferences > Spotlight, and if you are following an old tutorial that is why the path looks wrong to you.
Two other things worth checking before you start:
- Permissions. If you denied Files and Folders or Full Disk Access to Spotlight, some results will simply never appear. Check System Settings > Privacy & Security.
- Your shortcut. Command + Space is the default, but it can be remapped in System Settings > Keyboard > Keyboard Shortcuts > App Shortcuts. The Globe or fn key also opens Spotlight on newer keyboards, depending on your settings.
To confirm Spotlight opens at all, press Command + Space. If a search field drops down near the top right, you are ready.
Step-by-Step: How to Use Spotlight Search Like a Power User
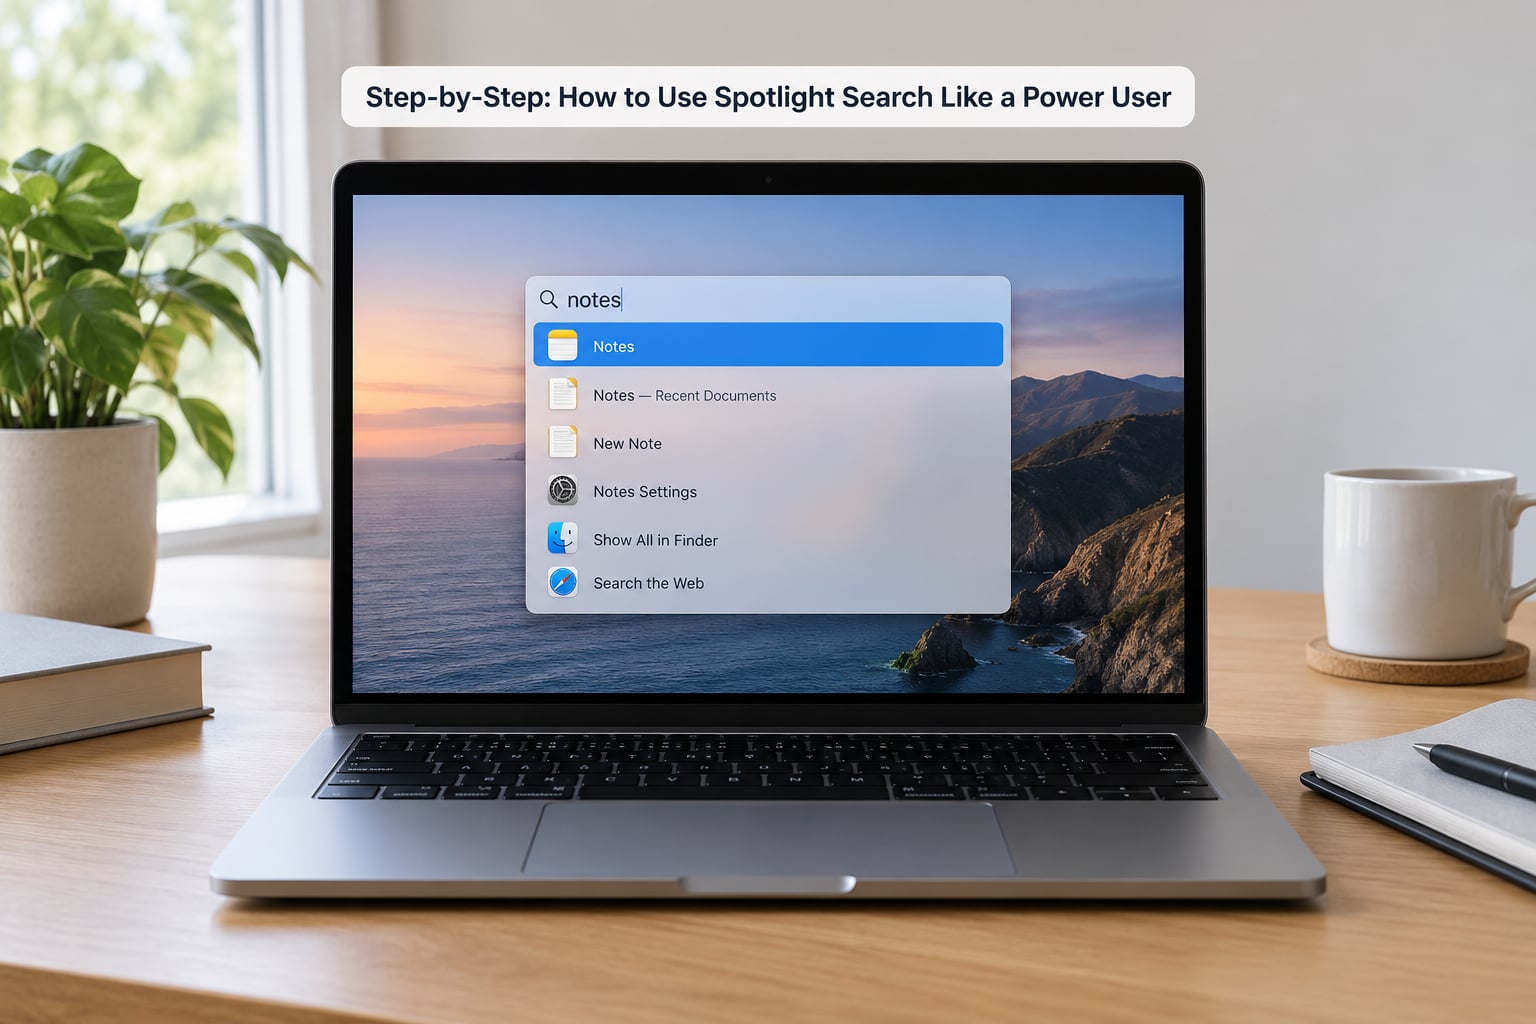
Step 1: Open Spotlight and Search Efficiently
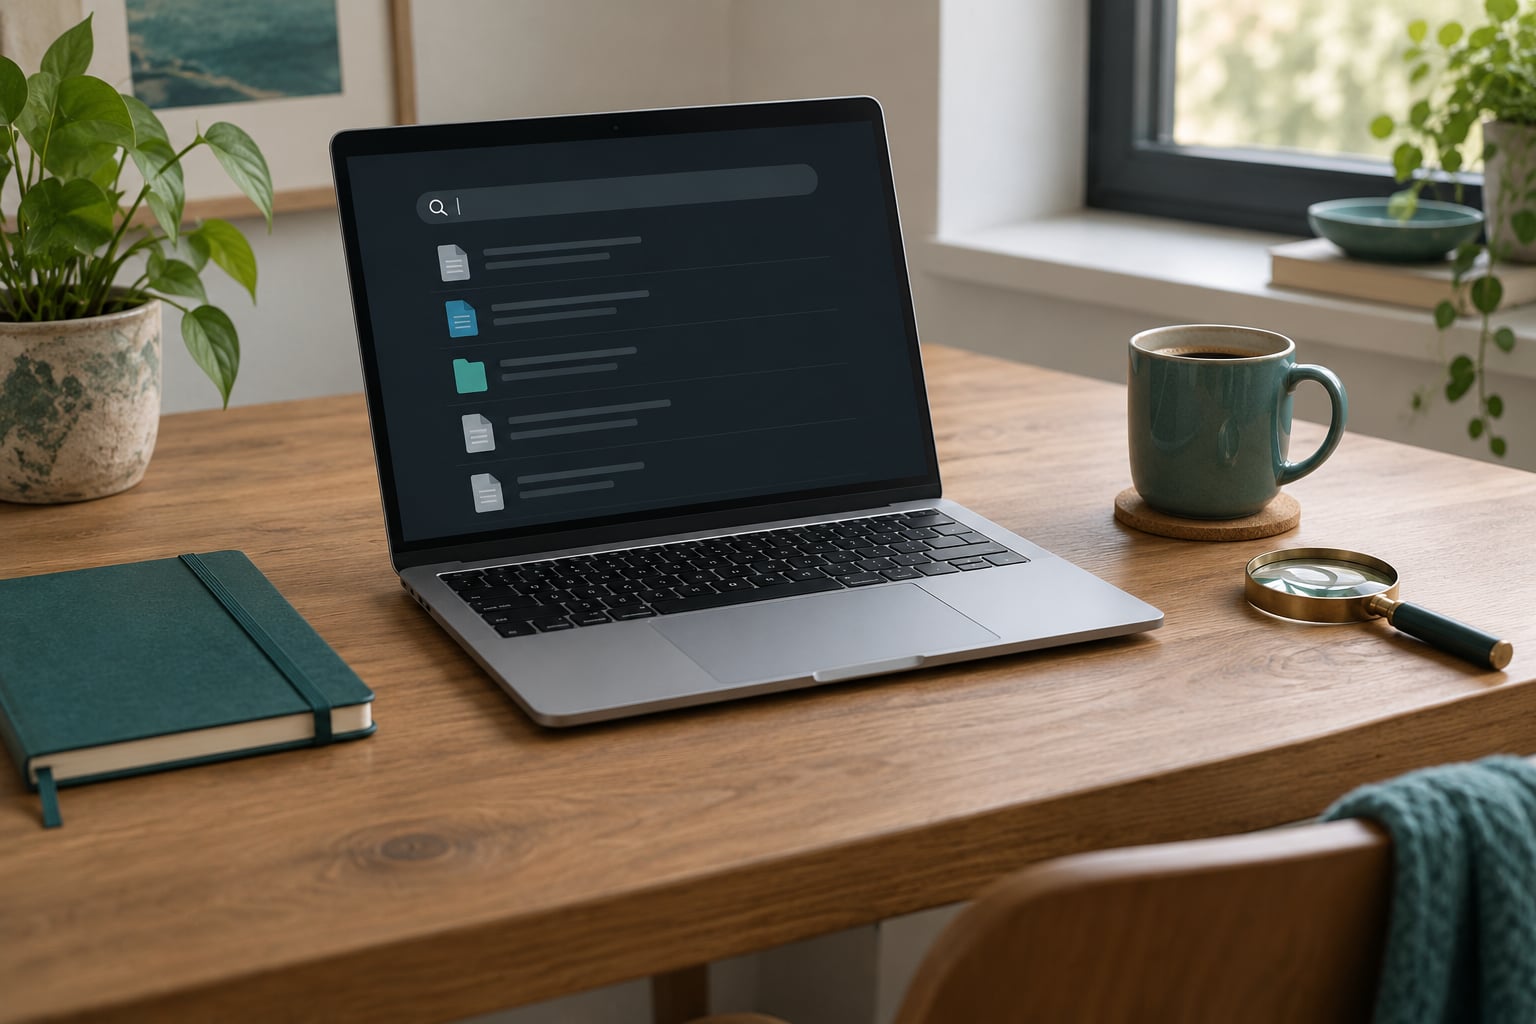
Press Command + Space and start typing immediately. Do not wait for the field to finish drawing; it is ready the instant the keys land.
As you type, Spotlight ranks results by relevance, recency and how often you open each item. That last part is why the list reorders itself after a week of use. Results you never click drift down, which is the ranking working, not a bug.
Move through the list with the up and down arrow keys, open the highlighted item with Return, and press Escape to dismiss without opening anything. Holding Command while you press Return opens the highlighted file in Finder instead of launching it in its default app. That shortcut alone saves me a trip into Finder most mornings.
Spotlight also understands system commands written as plain words. Typing brightness down or volume up and pressing Return adjusts the setting without opening System Settings at all.
Step 2: How to Use Spotlight Search Like a Power User for Precise Results
Wrap a phrase in double quotes to find that exact wording instead of loose matches. Searching “quarterly review” skips a file called review-notes-old.txt that has nothing to do with it.
Here is the honest part: macOS Spotlight has no rich operator syntax. No AND, no NOT, no field:value pairs like a search engine. What it does have is name matching plus content matching, which covers most cases when you use quotes and a specific noun.
So narrowing happens in two places. Inside Spotlight, add the file type or a distinctive word from the content, then quote the part that matters. For everything else, use the Finder search bar, where == works as a metadata operator. These queries are useful:
name ends with pdfandname contains invoicein Finder, scoped to Documents, then narrow with quotes in Spotlight.kMDItemTextContent == "*Northwind*"cfinds documents whose text mentions a project name, even when the filename does not.kind == image and name ends with pngin Finder, filtered by date modified, then narrowed in Spotlight by typing part of the filename.
Developers can push this further from the Terminal. mdfind queries the same index that Spotlight reads, so mdfind "kMDItemFSName == '*.xlsx'c" returns spreadsheet paths you can pipe into other commands. That is the real power-user move: Spotlight drives your hands, mdfind drives your scripts.
Step 3: Find Applications, Settings, and System Locations
Type the name of a setting, not the app that contains it. Searching battery or displays surfaces the matching System Settings panel directly, which saves two levels of folder hunting every single time.
Applications behave the same way. Type Safari and the app is the top hit, ahead of any document or webpage sharing that word. Once you stop using an app it falls down the list, and if you want it gone entirely, deselect its checkbox under the search category list in Siri & Spotlight settings.
Two categories cause most of the surprise results. Siri Suggestions pulls in web content from Apple, and web search results sit at the bottom as a fallback. When you only want what is on the Mac, turn off Siri Suggestions and leave the rest alone. Your results get cleaner immediately.
For repeating an action, look for a Quick Actions entry in the results list. Press the Command key on a highlighted result and the actions row appears above, offering options such as Rename, Move To, or a Quick Action you have set up. It is the same action menu Finder shows, without opening Finder.
Step 4: Run Calculator and Conversion Searches
Type the calculation and press Return. Spotlight evaluates arithmetic in the field as you type, so 48 * 7.5 shows the result before you touch a key.
Unit conversions work the same way, in either direction:
12cm in inchesfor a length2.5kg in lbsfor weight500gb in mbfor storage72f in cfor temperature
Date arithmetic is the one people miss. Typing today plus 3 weeks or next friday returns a date. It handles both wording and abbreviations, so in 45 days works the same way.
There is a dictionary lookup too. Type define succinct and the definition appears in the results, no browser required. On a stock-focused Mac, typing a ticker symbol such as AAPL shows the current quote.
Press Return on a math result to copy it to the clipboard, which is faster than retyping a number you just calculated.
Step 5: Use Clipboard Actions for Quick Edits
Clipboard actions turn copied text into something else without a detour through an app. Copy any text, press Command + Space, and a Clipboard category appears near the top of the results. Expand it and you can see which actions apply to what you copied.
A copied phone number offers actions like calling it or searching for it. A copied address opens Maps. Copied text can be flipped to uppercase or title case. Copied links get opened or searched.
What appears depends on the copied content and on your macOS version, so do not expect a fixed list. On some releases the actions only show once Spotlight has finished categorising the copy, and on others the category sits below your recent files in the list rather than at the top.
If the Clipboard category is missing, copy something first and try again. That is the usual cause. The category simply has nothing to offer without a fresh clipboard entry, and it stays hidden rather than showing an empty list.
Step 6: Search with Privacy in Mind
The Spotlight index stays on your Mac. It is built locally from file metadata and content, and it is not sent to Apple. What people usually want control over is scope, not ownership: which folders get indexed at all.
Open System Settings > Siri & Spotlight and scroll to the Search Privacy list at the bottom. Press the plus button, pick a folder, and it drops into the list with a minus beside it. Everything inside is excluded from Spotlight search going forward.
Useful folders to exclude include anything containing client material, encrypted archives, and large media libraries you never search by name. Excluding a folder also stops Spotlight from ranking it, which removes a pile of irrelevant hits from your results.
There is a side effect worth knowing. When you add a location to the privacy list, Spotlight removes it from the index. Remove it again and Spotlight rebuilds those entries. That toggle is the fix most people reach for when a stubborn folder will not index, and it is the same procedure Apple describes for a full rebuild.
The other lever is the search category checkboxes in the same panel. Unchecking Mail, Messages or Contacts means those items stop appearing as results, and their content stops being matched for terms. That is a reasonable setting for anyone who searches on a shared or recorded machine.
Step 7: Build a Faster Everyday Search Habit
The routine takes about a week to stick. It is short enough to repeat without thinking.
- Reach for Command + Space before opening Finder or the Dock. Any file or app is two keystrokes away.
- Type the distinctive word, not the whole phrase. Longer queries narrow less than you expect.
- Quote the exact wording when you know it, since loose matching is the default.
- Read the preview pane on the right before pressing Return. You often spot the wrong file there and save yourself.
- Hold Command with Return when you want to see the file in Finder rather than open it.
If a result is wrong, refine the query instead of opening the closest match. Adding one more word usually fixes it, and retyping is cheaper than undoing a wrong edit.
Once this is automatic, the rest of macOS gets faster with it. Dock cleanup, Finder sidebar trimming and desktop folders stop mattering, because you are no longer hunting through them.
Common Mistakes and Quick Fixes for macOS Spotlight Search
Spotlight cannot find a file you know exists. Check the privacy list first, since an excluded folder never appears. After that, check Files and Folders permissions in System Settings > Privacy & Security. The third cause is a stale index, covered below.
Results come back in an order that makes no sense. Ranking follows relevance, recency and usage. Items you never open sink; web results and Siri Suggestions can sit above local files. Turn off Siri Suggestions and reorder the category list in Siri & Spotlight settings.
Applications vanished after a macOS update. This is the most reported Spotlight complaint, especially after major updates such as macOS Sequoia. The index often rebuilds itself over a few hours. If it has not, the reindex steps below resolve it.
Command + Space does nothing. Another app may have claimed the shortcut. Open System Settings > Keyboard > Keyboard Shortcuts > App Shortcuts and look for a conflicting mapping, or remap Spotlight to a free combination there.
Clipboard actions never appear. Copy something first, then open Spotlight. Actions also change with content type, so a copied block of text offers fewer options than a copied address or link.
Some plain text files are never found. This has been reported since macOS Mojave and is not something you configure your way out of. Searching inside the file’s folder in Finder with content search remains the workaround.
The reindex procedure, in order.
- Open System Settings > Siri & Spotlight.
- Scroll to Search Privacy and click the plus button.
- Select your startup disk or home folder and add it.
- Wait a few minutes, then return and remove it from the list.
- Spotlight drops those locations from the index and rebuilds them, which usually restores missing apps and documents faster than a reinstall.
On indexing timing, expect a busy hour or two after a fresh setup or a major update, longer on a large drive with many files. If the progress indicator in Spotlight settings has not moved for a full day, treat it as stuck and run the toggle above.
For users who want more than the built-in field: Raycast adds clipboard history and window switching, Alfred focuses on custom workflows and a command line. Long-time Mac users tend to migrate to one of those once Spotlight’s reliability frustrates them. There is no single best answer here, only the feature set that matches how you work.
Frequently Asked Questions
How do I invoke Spotlight search?
Press Command + Space on any Mac with a current macOS release. On newer keyboards the Globe or fn key also opens Spotlight, depending on your system settings. You can type the moment the field appears. Use the arrow keys to move through results, Return to open the highlighted one, and Escape to dismiss without opening anything.
How does Spotlight search indexing work?
Spotlight builds a local index of file metadata and content the first time your Mac is set up, refreshes it after software updates, and updates it incrementally as your data changes. Queries run against that cached index instead of scanning files live, which is why results appear instantly. A disabled, stale or partly excluded index is why files go missing.
Why isn’t my Mac’s Spotlight search working?
The usual causes are an excluded folder, missing Files and Folders permissions, Siri Suggestions crowding out local results, or a stale index after a major macOS update. Check the Search Privacy list and Privacy u0026amp; Security permissions first, turn off Siri Suggestions if results feel wrong, then rebuild the index by adding your home folder to Search Privacy and removing it again.
How do I reindex Spotlight on macOS?
Open System Settings, choose Siri u0026amp; Spotlight, scroll to Search Privacy and click the plus button. Add your startup disk or home folder, wait a few minutes, then remove it from the list. Spotlight drops those locations from the index and rebuilds them. Users on forum threads report this restores missing apps and documents faster than a full reinstall.
How long should Spotlight indexing take?
On a fresh setup or right after a major macOS update, expect a busy hour or two on an average machine, longer on a large drive with many files. The indicator sits in the Siri u0026amp; Spotlight settings panel while work happens. If it has not moved for a full day, treat indexing as stuck and use the Search Privacy toggle to force a rebuild.
What is the best alternative to Spotlight on Mac?
Raycast is the common upgrade for people who want clipboard history and window switching on top of search. Alfred suits users who build their own workflows and prefer a command line. LaunchBar appeals to anyone wanting a minimal launcher. Spot the one for scripting queries against the same index. Keep Spotlight either way; it is the fastest fallback when nothing else opens.
Conclusion
Start with one change: press Command + Space instead of reaching for Finder, and give it a specific word rather than a half-remembered fragment. Once that feels normal, open System Settings > Siri & Spotlight and spend five minutes on the category list and the privacy entries. That is how to use Spotlight search like a power user in practice: a fast opener, a quoted query, a previewed result, and an index that only covers what you want it to cover.