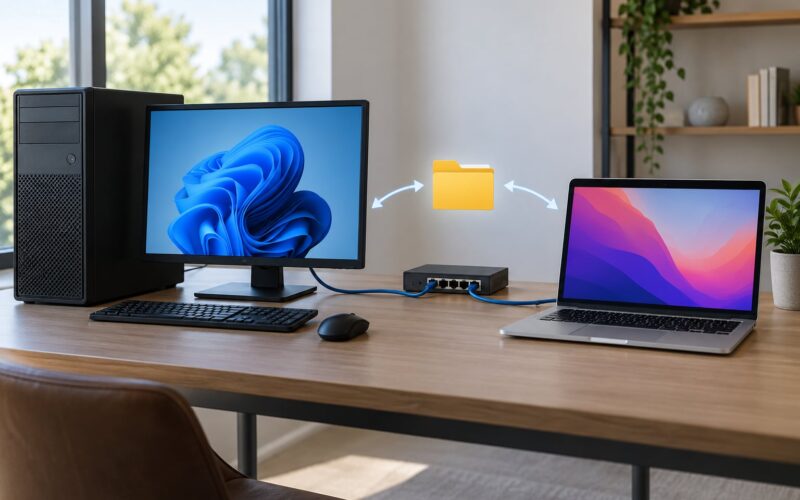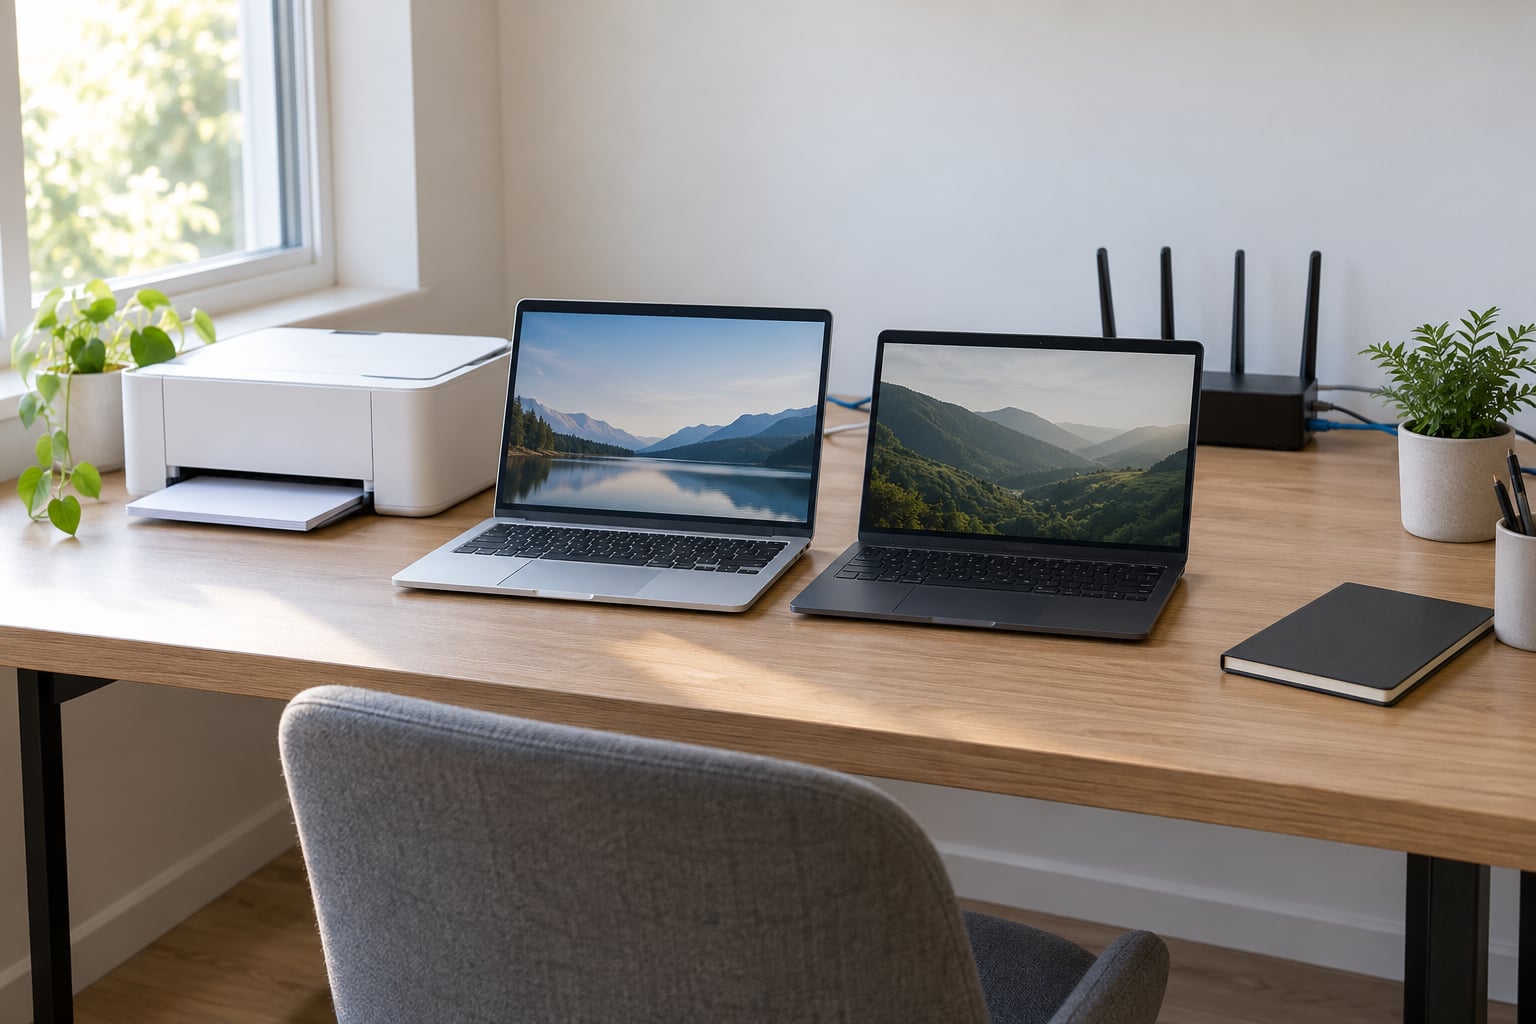
Yes. Knowing how to share a printer between Mac and Windows comes down to choosing which machine hosts the queue, and the whole job takes about ten minutes. The computer the printer is plugged into is the host; the other machine is the client. The client adds the printer over the network and prints to it as if it were plugged in directly.
One thing to know before you start: if your printer is connected by USB, the host computer has to stay switched on and awake, or the client will see an offline printer. Printers with built-in Wi-Fi or Ethernet avoid that problem entirely. Both directions are covered below, so you can follow whichever side your printer is actually on.
Steps below cover Windows 10, Windows 11, and macOS Ventura and later. Older macOS releases used an app called System Preferences, and the paths differ slightly.
Table of Contents
- 1What You Need
- 2Step-by-Step: Share the Printer From Windows
- 3Step 1: Connect the Printer to the Network
- 4Step 2: Share the Printer in Windows
- 5Step 3: Add the Shared Printer on the Mac
- 6Step 4: Set It as the Default Printer and Test a Page
- 7Common Mistakes and Fixes When Sharing a Printer Between Mac and Windows
- 8The Mac says there was a problem connecting to the server
- 9Jobs sit on Waiting forever and never print
- 10The printer does not appear on the Mac at all
- 11Windows cannot see a printer shared from the Mac
- 12Duplex and tray settings missing after sharing between Mac and Windows
- 13Two tips that keep a shared printer stable
- 14Frequently Asked Questions
- 15Do both computers need to be on for printer sharing to work?
- 16Can I share a printer that is connected by USB?
- 17How do I share one printer between two computers?
- 18How do I share a Mac printer with a Windows PC?
- 19Why is my Mac not recognizing the shared printer?
- 20Should I use SMB or IPP to share a printer?
What You Need
Before touching any settings, check these five things. If one is missing, the connection will fail later and you will spend an hour chasing the wrong cause.
- Both computers on the same network, with the same Wi-Fi password or on the same Ethernet network. Guest networks usually isolate devices from each other, so a router’s guest Wi-Fi will not work.
- Administrator access on both machines, or an account that can change printer settings.
- The printer’s driver installed on the Windows PC, so the host side is working before you start sharing.
- The printer name or IP address of the host computer. You can find it in Windows Settings under About, or in macOS under Settings, General, About.
- For a USB-only printer: the USB cable connected to whichever machine will act as the host.
It also helps to know whether the printer is a network printer or a USB printer, because it changes the fix for most problems. A network printer has its own Wi-Fi or Ethernet connection and its own IP address. A USB printer depends entirely on the host computer. If your printer has a screen with network options, connecting it directly to the router is the better long-term setup.
Step-by-Step: Share the Printer From Windows
This is the common direction: the printer sits on the Windows PC, and the Mac prints to it. Work through all four steps in order.
Step 1: Connect the Printer to the Network
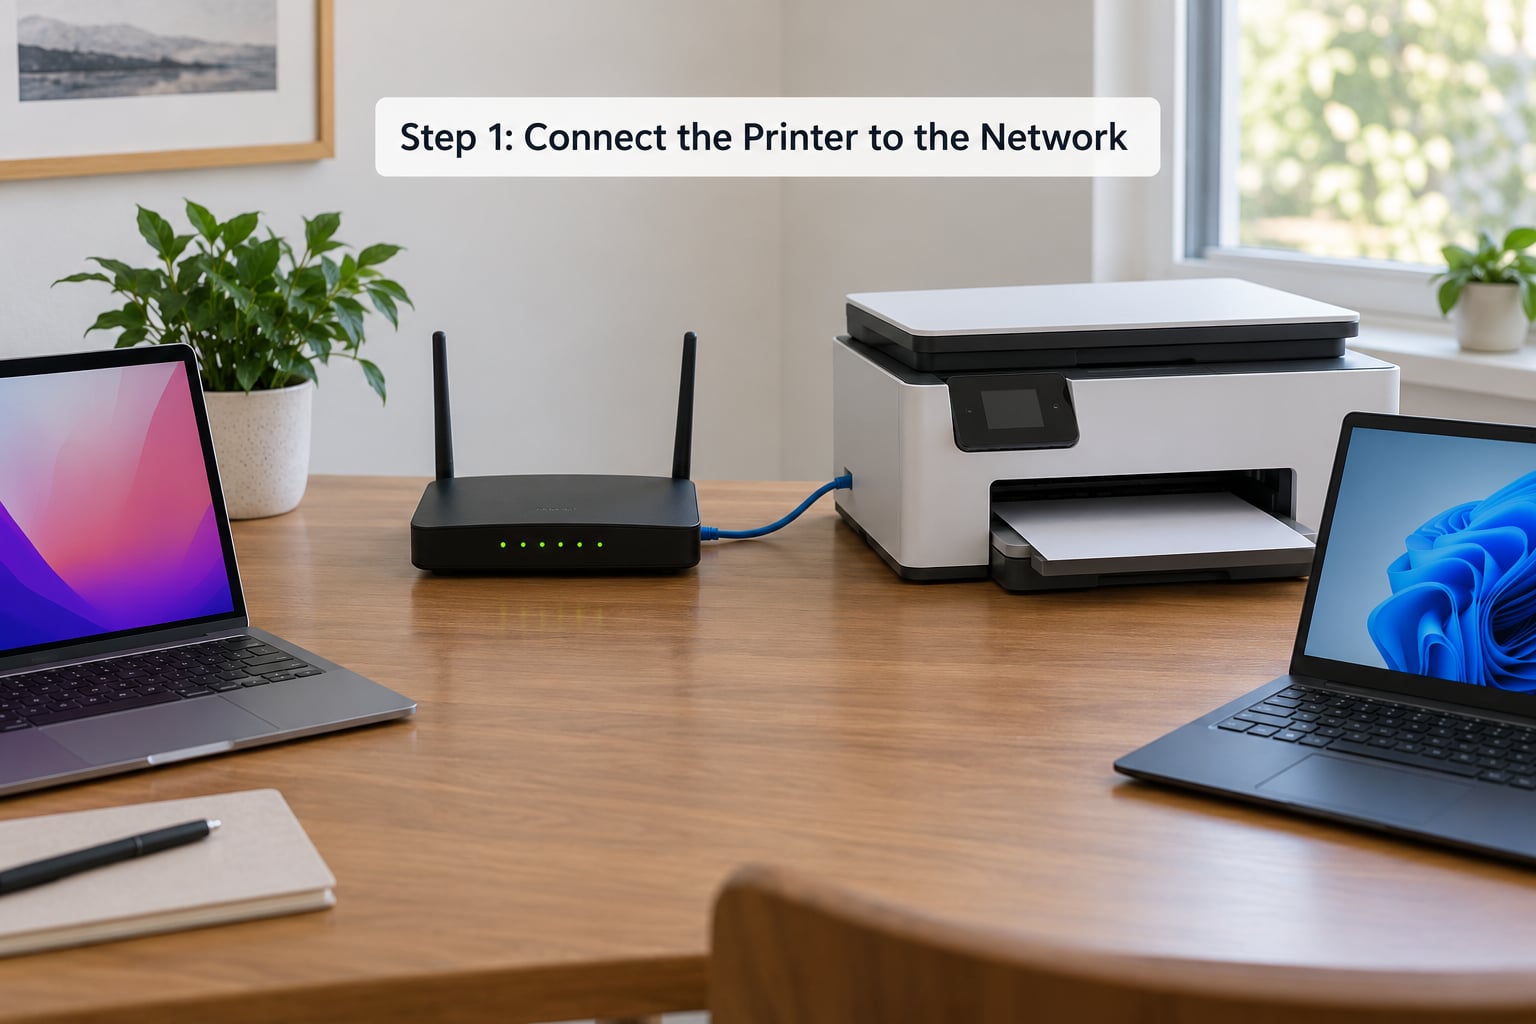
First, get the printer and the Windows PC onto the same network the Mac is using. For a USB printer, that means the printer stays plugged into the Windows PC by USB and the PC itself joins the network. For a network printer, connect it by Ethernet or add its Wi-Fi network details on the printer’s own display or setup page.
How to tell it worked: open Settings on the Windows PC, go to Network and internet, then Wi-Fi, and confirm you are on the same network name your Mac uses. If the Windows PC is on Ethernet and the Mac is on Wi-Fi, they still need to be the same home network, with the router bridging both.
Step 2: Share the Printer in Windows
On Windows 11, open Settings, go to Bluetooth and devices, then Printers and scanners. Click the printer, then Share. On Windows 10, the path is Settings, Devices, Printers and scanners, and the share options sit under the printer properties. Both open a panel with a Share this printer checkbox.
Tick the checkbox and choose the people who can use it. Pick a share name with no spaces and no special characters, something like OfficePrinter. Spaces cause a surprising number of connection failures because the Mac reads the name in two parts. Leave the share name alone once clients are using it, since renaming it breaks every saved connection.
Under the share name, there is a “Render print jobs on client computers” option. Leave it unticked. Ticking it means each computer does its own formatting, which looks more like local printing but breaks advanced features like booklet printing and some duplex settings on laser printers.
Check one more thing before you move on. Open Control Panel, then Network and Sharing Center, then Change advanced sharing settings. Your network profile should be Private. If it reads Public, Windows blocks discovery between computers, and your Mac will never see the shared printer. This is the single most common reason a correctly shared printer stays invisible.
Step 3: Add the Shared Printer on the Mac
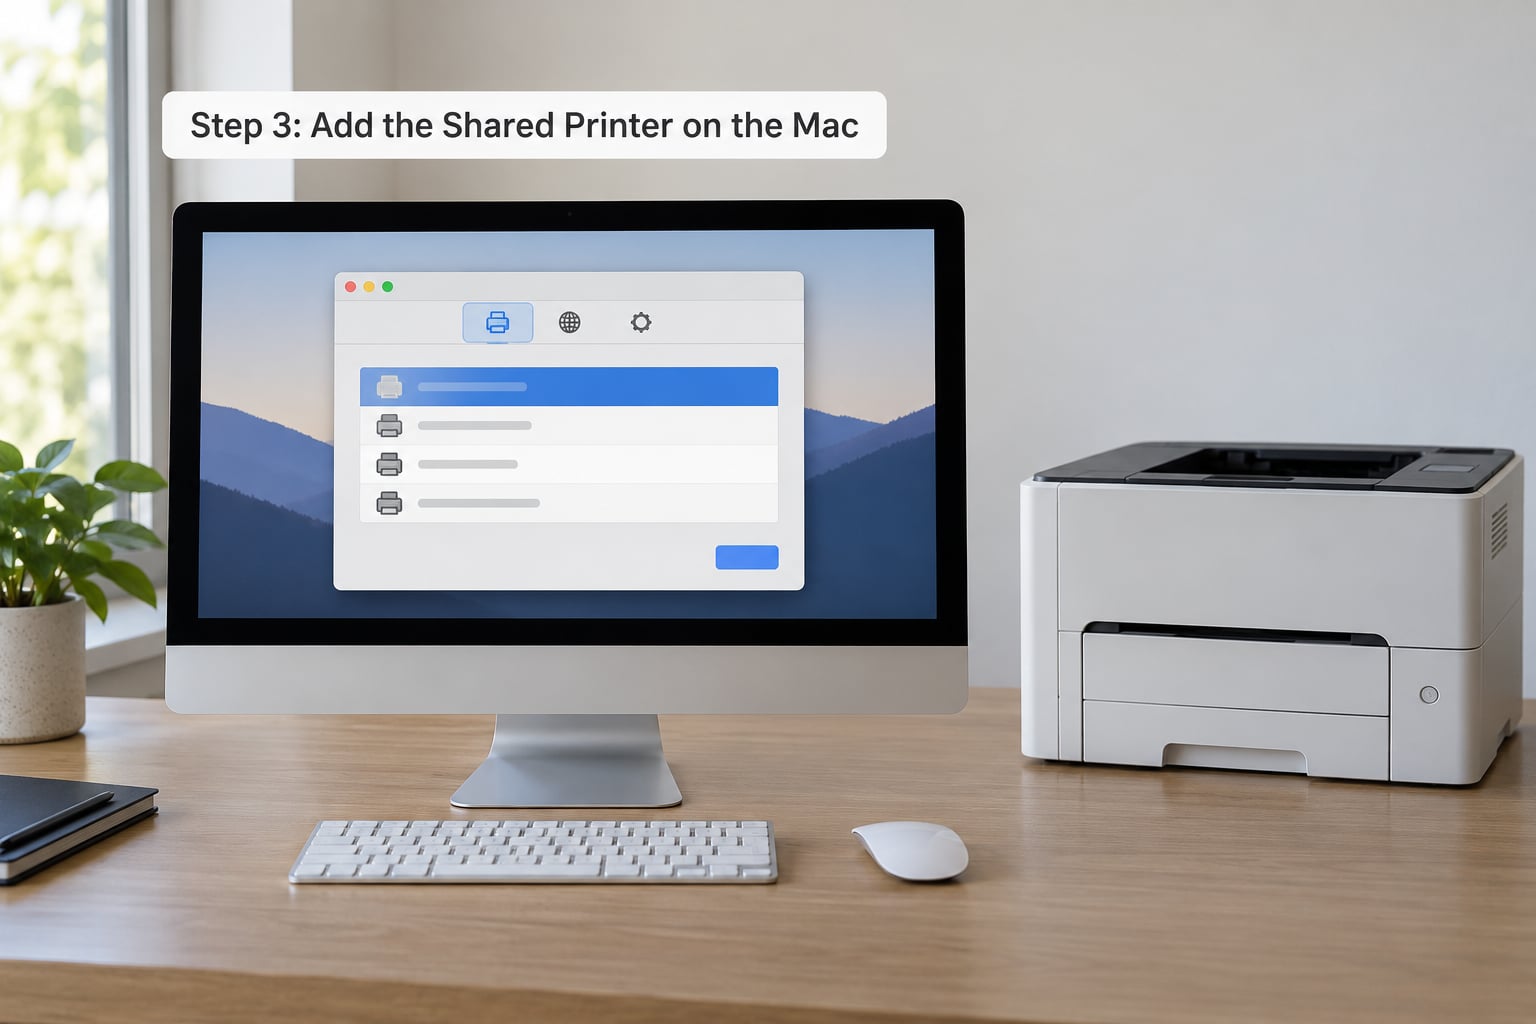
On the Mac, open System Settings, choose Printers and scanners, then Add Printer. The add dialog has tabs. Use the Default tab first, because it attempts Bonjour discovery and often finds the queue without any typing.
If the printer does not appear, add it by address instead. Go to the Add Printer dialog’s Windows tab and enter the SMB path in the form \COMPUTERNAMEShareName, using the Windows PC’s name and the share name you set in step 2. If the Mac rejects that, try the General tab with the IPP address, which looks like http://COMPUTERNAME:631/printers/ShareName.
When the queue appears, you can rename it to whatever you like. The name shown on the Mac does not have to match the share name, though keeping them the same saves confusion later. Choose the default printer from the queue’s menu when you want it to be the one used by the keyboard shortcut Command-P.
Step 4: Set It as the Default Printer and Test a Page
Print a test page before you walk away. Open a document, press Command-P, and check the printer list in the top right corner. The shared printer should appear there, and the default printer is marked with Default.
Use the print queue’s Settings pane to confirm duplex printing and the correct paper tray are available. If those options are greyed out, the Mac is using a generic driver, and the fix is to install the manufacturer’s Mac driver instead of accepting the auto-downloaded one. Generic drivers work for plain documents and quietly fail on anything more complicated.
To share a Mac printer with a Windows PC, the path runs the other way. On the Mac, open System Settings, then General, then Sharing, turn on Printer Sharing, and tick the printer in the list. The Mac runs its print system called CUPS, and it listens on port 631 for IPP connections from other machines.
On the Windows PC, open Settings, Bluetooth and devices, Printers and scanners, then Add device. When the shared queue does not show up automatically, choose Add manually, then Add a printer using an IP address or hostname. Use the Mac’s hostname, which you can find in Settings, General, About, in the form PRINTER-NAME.local, and select the queue from the list. Connect by IP as the fallback, using the Mac’s IP address and the port 631.
Common Mistakes and Fixes When Sharing a Printer Between Mac and Windows
Most failed attempts at how to share a printer between Mac and Windows stop at one of five buckets, and the error message usually tells you which. Work through them in this order rather than reinstalling things at random.
The Mac says there was a problem connecting to the server
The Mac can see the shared printer name in the network list but cannot open the queue. This is almost always a firewall or credentials problem. On the Windows side, check that File and printer sharing is set to enabled in the Control Panel’s advanced sharing settings, and confirm the network profile reads Private rather than Public.
If the share requires a password, the Mac asks for a username and password during setup. Use a Windows account with a password set. Accounts with no password cannot authenticate over the network, which is a common cause of this exact error.
Jobs sit on Waiting forever and never print
A queue that accepts jobs and then stalls is the classic symptom of a host computer that has gone to sleep, or of an SMB queue that broke after a macOS update. Check whether the host is awake first. If it is awake and the jobs still hang, delete the queue on the Mac, re-add it using the IPP address rather than the SMB path, and print a test page again.
Setting the host’s power settings to never sleep, or sending it a wake-on-LAN packet before printing, resolves most of these. Keeping the printer on the network itself is the permanent fix.
The printer does not appear on the Mac at all
Three causes account for nearly every case. The network profiles do not match, with the Windows PC on a guest network. The share name contains a space or symbol. Or network discovery is switched off, which is the default in some Windows configurations.
To confirm the two machines can see each other at all, open Finder on the Mac, press Command-K for Connect to Server, and enter smb:// followed by the Windows PC’s name. If that window opens and shows the PC’s shared folder, the network path is fine and the problem is the printer share itself. If it fails, the issue is the network, not the printer.
Windows cannot see a printer shared from the Mac
Check the firewall first. On the Mac, go to System Settings, Network, Firewall, then Options, and confirm incoming connections are allowed for the Mac’s file sharing service. Then verify the Mac is actually reachable by opening the Windows File Explorer address bar, typing \MAC-NAME.local, and pressing Enter.
If the Mac appears, add the printer manually by hostname rather than relying on discovery. Windows App and Remote Desktop sessions behave differently here: printers are not redirected automatically into a remote session, so printers already installed locally will not show up inside it.
Duplex and tray settings missing after sharing between Mac and Windows
That means the generic driver is in use. Install the manufacturer’s driver for your exact model on both machines, remove the existing queue, and add the printer again. Native drivers from HP, Brother, Canon and Epson generally behave the same across macOS and Windows once installed on each, which is what makes duplex, tray selection and colour matching predictable.
Two tips that keep a shared printer stable
Reserve a static IP address for the host computer in your router’s settings, or set a DHCP reservation by MAC address. Without it, a reboot can give the host a new address and every saved connection breaks at once. It costs two minutes and removes a whole category of calls to whoever set the network up.
Second, for more than two computers or a room where several people print, put the printer on Wi-Fi or Ethernet directly. No host, no sharing, no sleep problem. Sharing from a PC is the right answer for a USB printer you do not want to replug, not for a printer that can reach the network itself.
Frequently Asked Questions
Do both computers need to be on for printer sharing to work?
Yes, when the printer is shared from a computer. The host PC has to be switched on, awake, and connected to the same network for the client to reach the queue. Sleep or a restart makes the shared printer show as offline on the other machine. The way around it is to connect the printer to Wi-Fi or Ethernet directly, so it no longer depends on a host.
Can I share a printer that is connected by USB?
Yes. Plug the USB cable into the host computer, install the printer’s driver there, then share it from that machine’s printer settings. It works exactly the same way as a network printer, with one condition: the host must stay awake. If the printer has its own Wi-Fi or Ethernet port, connecting it to the network directly is more reliable and removes the host dependency.
How do I share one printer between two computers?
Add it once as a client on the second machine rather than reinstalling anything. The client adds the queue by hostname or IP address, and both machines then talk to the same queue, so print jobs from either side appear in the same list. If you want to keep control over who prints, set sharing permissions on the host to specific users instead of everyone.
How do I share a Mac printer with a Windows PC?
On the Mac, open System Settings, General, Sharing, and turn on Printer Sharing, then tick your printer. On the Windows PC, go to Settings, Bluetooth and devices, Printers and scanners, then Add device. If it does not appear, choose Add manually, then add a printer using an IP address or hostname, using the Mac hostname in the form NAME.local and selecting the queue from the list.
Why is my Mac not recognizing the shared printer?
The usual causes are a Windows network profile set to Public, a share name containing spaces, or file and printer sharing being disabled in the Control Panel’s advanced sharing settings. To isolate the cause, connect to the Windows PC from the Mac’s Finder with Command-K and smb:// followed by the PC name. If that works, the network is fine and the printer share needs fixing.
Should I use SMB or IPP to share a printer?
Use IPP when you can. It is the modern printing protocol, it works over HTTP on port 631, and it survives operating system updates more reliably than SMB. SMB sharing still works and is the default when you browse for a shared printer, but queues have been known to hang after a macOS update. If jobs stall, delete the queue and re-add it with the IPP address.
Start with the network. Confirm both machines sit on the same Wi-Fi network, set the Windows profile to Private, and give the share a simple name with no spaces. If your printer has network capability, connect it to the router directly and skip sharing entirely. If it is a USB printer you want to keep where it is, share it from Windows with the four steps above, add it on the Mac by address, and give the host a reserved IP address so it keeps working after the next reboot. That is the short version of how to share a printer between Mac and Windows.